Hi, Jackie here from Teal & Lime. This spring I am on a mission to help you uncover your inner decorator (complete with a free Decorating Style Crash Course video series). One of my favorite ways to get in touch with your creative side is with a simple DIY project that will turn out so pretty you will grin from ear to ear every time you see it. I’ve got just such a project for you today.
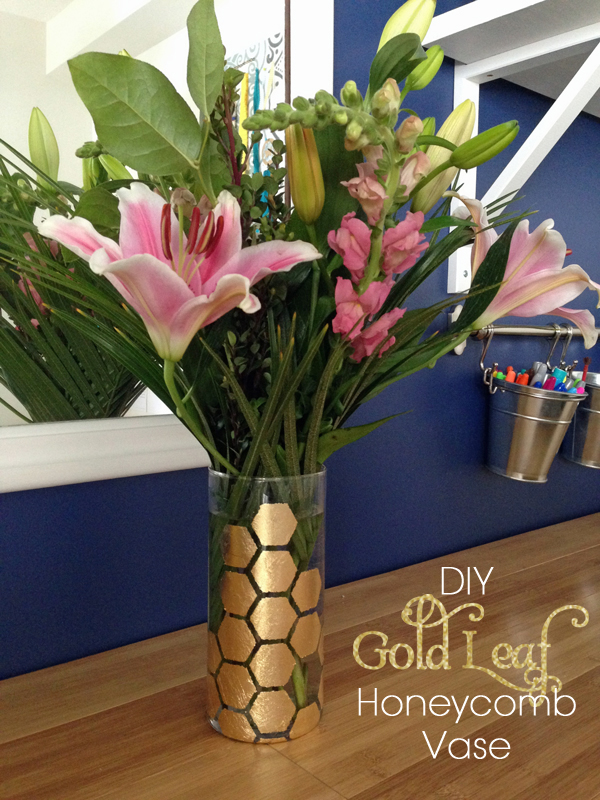
I feel like I am always scrambling for a pretty vase. I have some nice decorative ceramic vases, which are not the kind I usually put fresh blooms in…they aren’t always suitable for water. When I buy fresh flowers or someone brings me a bouquet, I dig through the kitchen cupboards for a glass vase that came with the last bouquet from the florist. I am sick of plain glass vases. So, I gave one of my go-to glass cylinder vases a fresh, glowing makeover.
Have you seen all the gold and hexagon patterns popping up lately? I for one love both these trends…and think together they are even better!
I love the honeycomb look on accent tables, lamp bases, vases, well pretty much anywhere.
What I don’t like is spending a lot of money on a trend I may not be as fond of in a couple of months. In those cases, I like to spend my time (a little of it) and make something trendy I will love for now without breaking the bank.
Today, I want to show you one of my favorite techniques EVER…gold leafing on glass. I first employed this method to decorate Christmas ornaments and vases for the holidays.
Now I am stepping it up a notch, by introducing pattern…with the help of a stencil.
To make your own gold leaf honeycomb vase follow these easy steps. Seriously, I made this vase in less than 10 minutes. (It took me longer to go buy flowers to put in it.)
Supplies:
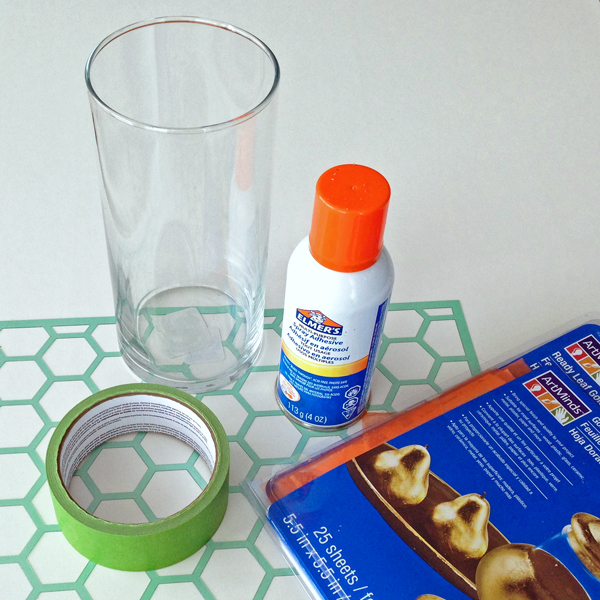
- Glass cylinder vase (try a dollar store or thrift store)
- Small geometric stencil (mine is from the scrapbooking section at Micheals)
- Elmer’s spray adhesive
- Ready Leaf Gold Leaf (the stuff with the orange wax paper backing)
- Soft bristle brush
- Painter’s Tape
Step by step:
1. Tape your stencil tightly around your glass vase. It is easiest to tape one end, then wrap the stencil around tightly and secure the other end.
2. Mask off any areas of the stencil you don’t want gold leafed. I chose to make my hexagon pattern irregular, so I masked off all the spaces I didn’t want to use. Using an irregular pattern helps disguise the fact that you are not going all the way around the vase with a seamless pattern.

3. Lightly, but evenly, spray the open areas with spray adhesive. This stuff is sticky and will make the glass look frosted, which is why masking any areas you don’t plan to gold leaf is super important.
4. Quickly remove your tape and stencil while the glue is still tacky.
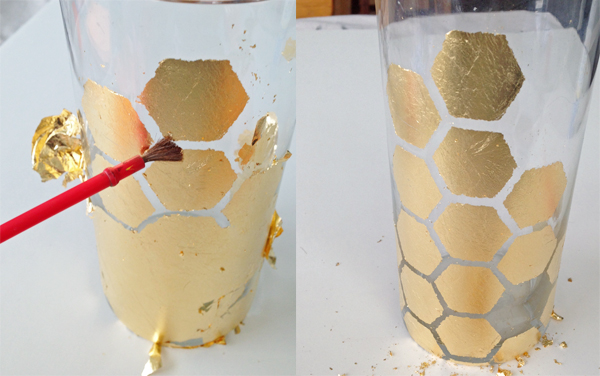
5. Apply the gold leaf to the adhesive. Use your finger to rub over the orange wax paper backing to ensure the gold leaf is well-adhered. Note: The gold leaf will not stick to sections of the glass that have no adhesive, but it may appear to at first.

6. Use a soft brush (I usually borrow one of my kids soft watercolor painting brushes) and brush over the gold leaf removing all the loose areas in between your pattern. Keep brushing until all the loose gold leaf comes off.
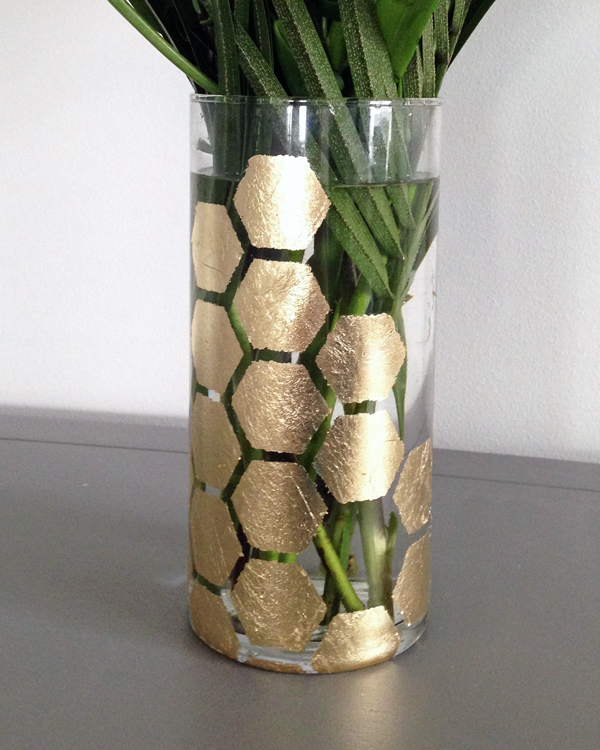
Now, get some flowers to put in your pretty new vase! And, every time you walk by marvel at the gleaming gold gorgeousness!
And, if you are up for the challenge and want to use more of your leftover gold leaf sheets, check out the gold leaf herringbone glass table top I created (in under an hour)! Or, try my gold leaf lettering tutorial to make your own greeting card or art print.
I love this project! I have a bunch of plain glass vases looking for a makeover! Just yesterday I wanted to put flowers in one of them and thought “meh”… Used a pail instead, which looks more rustic than I was looking for. Gold on glass truly looks more glamorous:)
What a simple but beautiful project!
I love, love, love this idea. Such a great tutorial and so pretty. I am definitely going to try this. I would love for you to link up to my Inspire Me Tues. party. – – -http://www.astrollthrulife.net/2014/03/210th-inspire-me-tuesday.html –Hope to see you there. Hugs, Marty
Looks like so much work but so worth it because it’s gorgeous!
I love this – it looks so chic
Did you have to use any sealer? Its gorgeous!! I am definitely making some 🙂
Hi. I’m about to try to knock one of these vases out as a wedding gift; I came across your tutorial on the bride to be’s DIY board on Pinterest. I was wondering how the gold leaf is holding up with the Elmer’s adhesive… I haven’t tried gold leaf before, and came across some info stating that spray adhesive doesn’t hold as well as the gilding glue you can purchase in craft stores… I purchased more than one vase to cover my potential learning curve, but now I’m reluctant to get started without the proper glue. 🙂