If it wasn’t evidenced enough by my post at the end of the year, I am currently in a state of obsession over heat embossing. Until now, I had never embossed anything in my life. I’m not a paper crafter, and I was under the impression that you could only use the fun embossing powders with stamps, ink and paper. All I knew was that you saturated a rubber stamp using an embossing ink pad, stamped a piece of paper, sprinkled the embossing powder over the ink (much like glitter) and then used a heat source to make the powder stick and raise to the surface.
Once I discovered that you could use embossing powder without stamps, my brain went into overdrive. I literally lost sleep (See? Obsession.) trying to figure out something different to emboss. I decided that I really wanted to try it on a large scale on a t-shirt, but I couldn’t find any evidence through Google that you could use embossing powder on fabric.
I took that as a challenge.
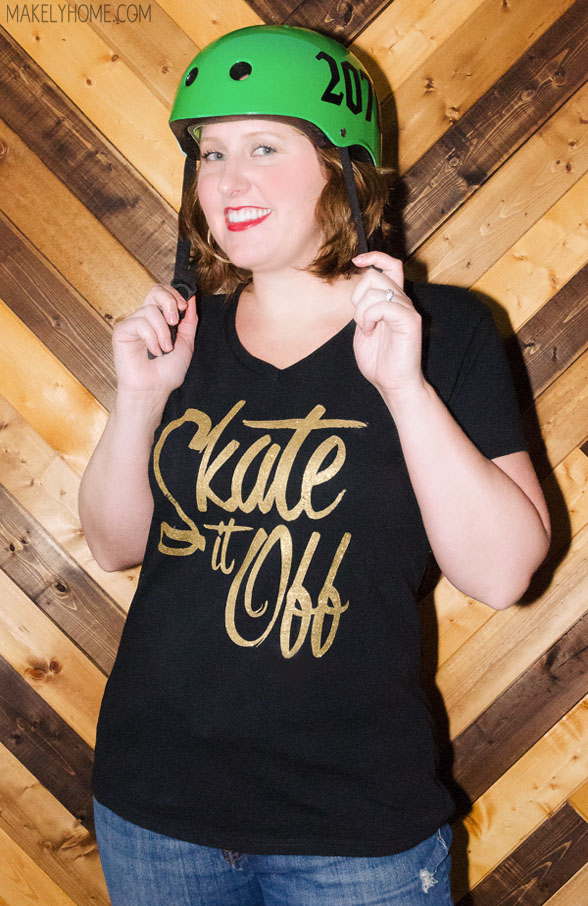
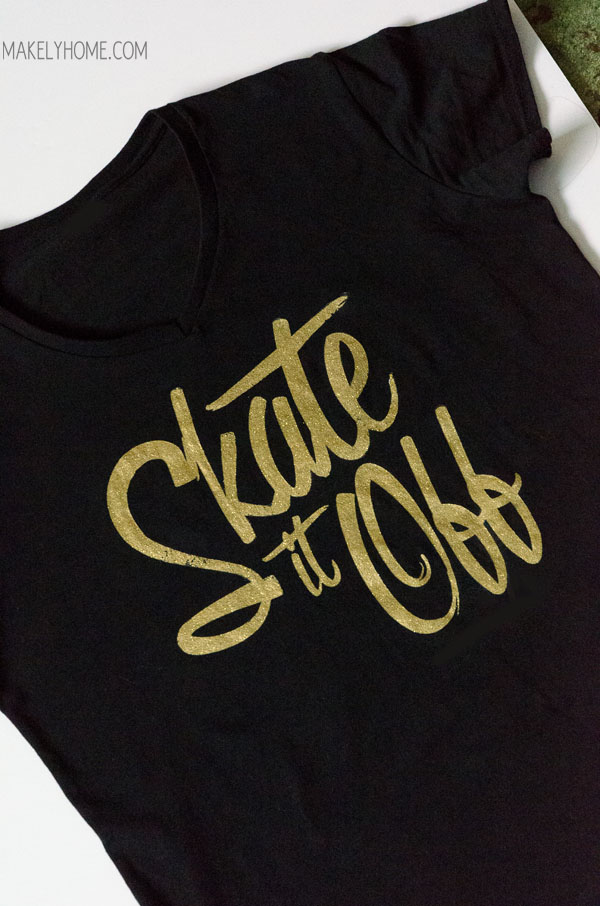
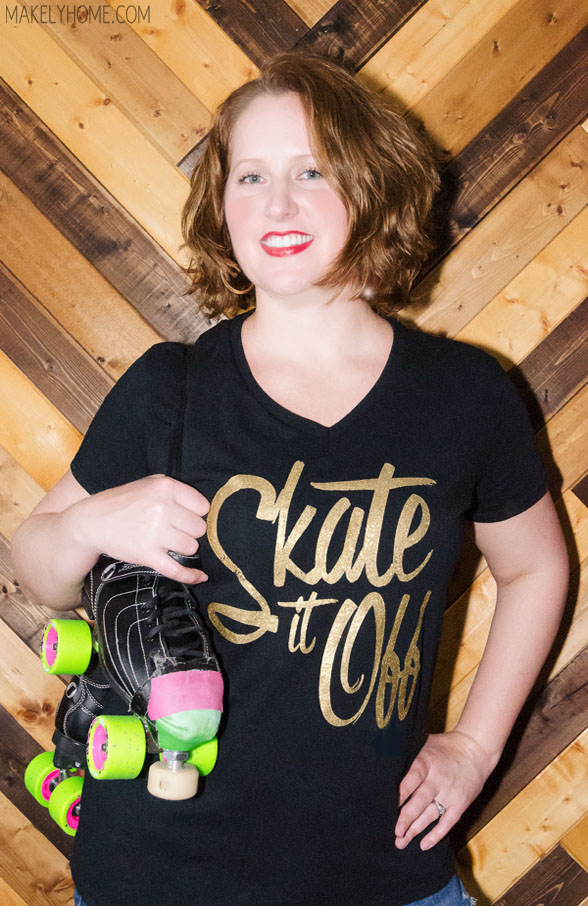
For my first project of the year, I am sharing with you how I came up with a method for heat embossing on fabric. The result is incredible, and I am having a hard time shouting from the rooftops about how awesome this looks. Since I’m equally obsessed (okay, slightly more obsessed) with roller derby than I am with heat embossing on fabric, I obviously had to meld the two into one project – a Skate It Off roller derby themed tee. You can easily use this tutorial to make a shirt with any design on the front, though. I may be making a few more with other messages or pictures.
Easy DIY Heat Embossing on Fabric
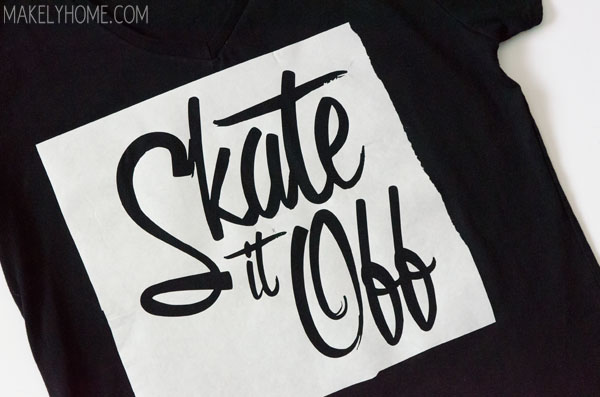
1. I began by designing a Skate It Off graphic (the font is called Olympic Branding) and cutting it out of Freezer paper with my Silhouette CAMEO. I reversed the image, cut it on a cutting mat with the shiny side of the paper facing up, and used a blade length of 3, a speed of 3 and a thickness of 10. If you don’t have a CAMEO or another craft cutter, you can print an image from your computer, trace it onto freezer paper, and use an X-Acto knife to cut it out (like you would for a freezer paper stencil).
2. Then, I ironed the freezer paper onto a 100% cotton t-shirt. I’m not sure what will happen with the later heating process if you are using a blended fabric, so I’d recommend sticking to 100% cotton. I made a little x on the freezer paper at the center of the graphic to help me line it up on the shirt correctly.
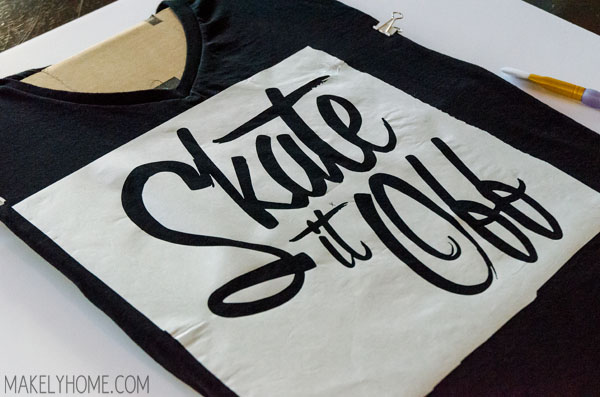
3. Next, I put a piece of cardboard inside my shirt and pulled the edges around the cardboard as tightly as I could. I secured them along the edges with binder clips, but clothespins would work just as well.
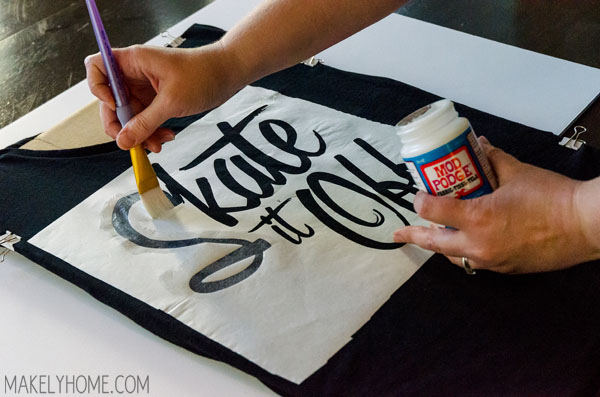
4. With a paint brush, I filled in the stencil with an even coat of Mod Podge Fabric. I was careful not to make sure that the coat of Mod Podge was relatively smooth so that the final product wouldn’t have any raised spots. I probably could have done the whole graphic at once, but I finished the word Skate completely and then went back and did “it Off.” I was just concerned that the Mod Podge may dry too quickly.
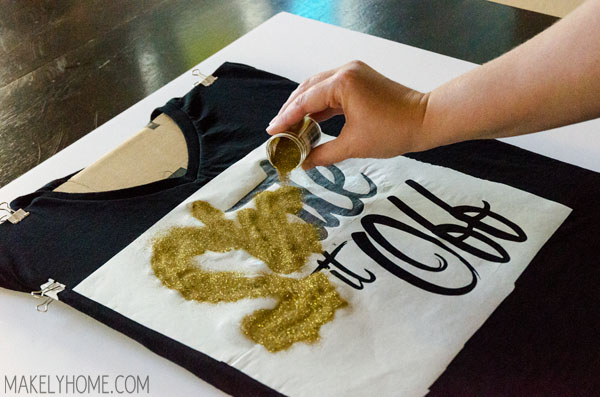
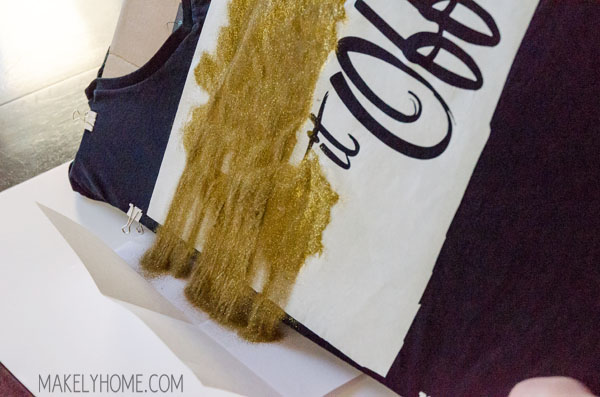
5. While the Mod Podge was still wet, I sprinkled an embossing powder over the stencil. I used Reflections (Michael’s house brand) Tinsel Embossing Powder in Gold. It has a glitter finish to it, but embossing powders come in all different finishes. I poured it on just as I would glitter, let it sit for about 30 seconds, and the poured the extra off into a folded sheet of paper so that I could pour it back into the jar.
6. I then went back and Mod Podged and powdered the “it Off” section of the graphic in exactly the same way.
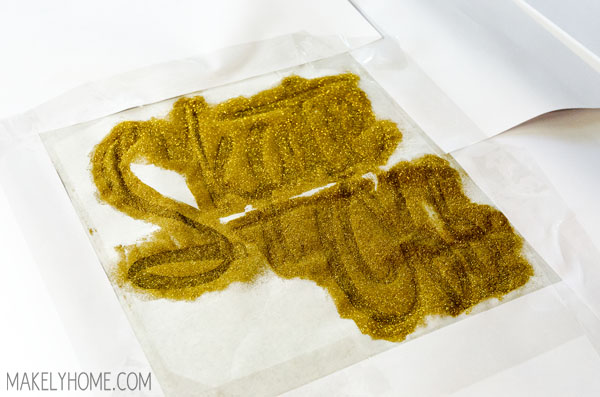
7. When the t-shirt was all powdered, I taped some sheets of paper around the freezer paper to protect the rest of my shirt. I was concerned that any stray pieces of powder would get heat embossed onto the shirt, and ain’t nobody got time for that.
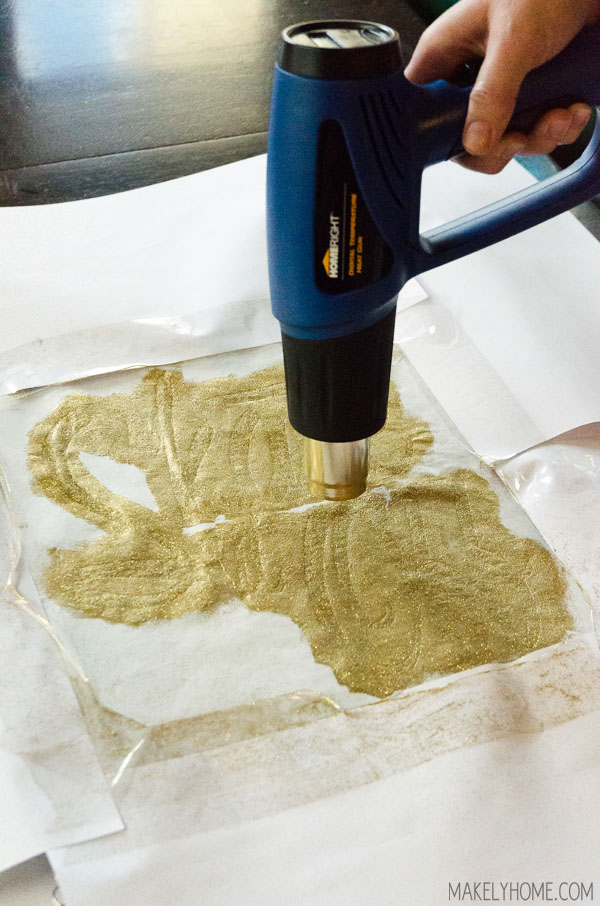
8. I plugged in my new HomeRight Digital Temperature Heat Gun and warmed it up to 400º. This new version of their heat gun works just as well as past versions, but I love that you can see exactly what temperature you are using (it ranges from 125º to 1000º). I held it above the design and watched the embossing powder slowly melt into the shirt. You will want to do this in a protected space, since some of the powder will blow around. It’s hard to say exactly when it’s finished melting other than you will just know. It took me about 15 minutes, and you can see how the color changed from the image above.
9. I let the embossing powder cool for a few minutes and then I peeled the freezer paper off of the shirt. It was pretty easy to get off, and I didn’t have any parts of the graphic that tried to come up with the paper.
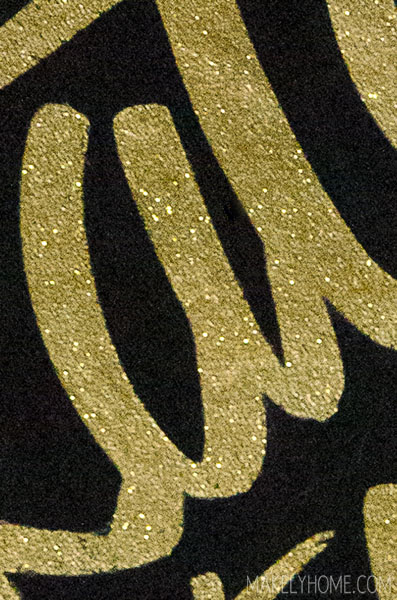
And here’s an extreme close-up.
10. The heat gun also drys the Mod Podge, so you don’t have to wait 72 hours to wear your shirt. Give it a few hours just to be safe, and then go forth in your new shirt!
To test the washability of the shirt, I literally threw it into the washer as soon as I was finished peeling off the freezer paper. I washed it in a delicate cycle and it came out perfectly (but I would recommend waiting the 72 hours before you wash yours). I threw it in the dryer on a casual cycle, and some of the powder did come off of the shirt. I actually like it like that since it gives it more of a distressed look, but if you aren’t going for that look, be sure to hang to dry.
Oh, and what am I trying to skate off? My hips. A big hit on the derby track. A bad day. Friend drama. The rest of the world. Skating makes all of that stuff go away, and I’m so glad that I found it.
Do you think that you might try your hand at heat embossing? Give it a try and let me know how it turns out!
This post has been sponsored by HomeRight.
This looks awesome!! I’ve always wanted to try heat embossing and NOW I have an excuse;)
Great job!!
Thanks so much!
I can’t believe this pin is 5 years old! Did I even know about Pinterest 5 years ago??? You… Are a GENIUS!!
I have been wondering what else it Embossing powder could be used on because it does have an amazing look, and I don’t send cards to people so I don’t use it for that… I’m going to use it on 4” wide ribbon for a hair bow for my niece! Thank you for the inspiration!!
I love this!! adding the tool to my wishlist!!
Thanks, Danielle!
LOVE this!!
Why do you stretch the shirt before you start putting the Mod Podge on? And could you use a hairdryer, or does it really need to be a heat gun?
Thanks, Em! I didn’t really stretch the shirt so much as pull it tight. I figured it would make it easier to get all of the extra embossing powder off of the shirt if it wasn’t lose and wrinkled. Also, I don’t know if a hairdryer will work or not. I used a temperature of 400 degrees and it took a while (so I might should have gone hotter). I don’t think a regular hair dryer gets that hot.
And, the dryer would blow it all hell and gone.
OH…… MY……. GOSH !!!!!! Like you, I thought embossing was just for foo-foo papery things. Are you kidding me??? I SOO totally want to do this!!! And that bad boy goes to 1000 degrees??? Is that legal??!!! Well, I guess the question of what to do with my Michael’s gift card from Christmas has just been answered! And I think I’ll trade the clothing store card for a heat gun! I can totally see why you want to shout from the rooftops! You got me, hook, line and sinker!!! I am totally sharing this with all my fb friends!!!
Ha! Thanks, Penny! 😉
You said it girl. I’ve done all kinds of crafts. This has open a new door for me. Thanks so much for sharing.
YESSSSSSSSS. Done, done and DONE! Is there anything better than watching that powder melt before your very eyes?! (I used to be cooler… )
Ha! Yes, it is pretty awesome to watch. Even my husband was fascinated (and wanted a turn with the heat gun)!
Cool! Will I be able to put it in the wash several times – have you managed to do that with yours?
Hey Lara- Yes, you can. BUT you have to remember to wash it in cold water and not put it in the dryer. I accidentally washed mine in warm water and it was a glitter explosion! Although the design is still totally in tact, it looks like I sprayed the whole shirt with some of that glitter spray paint. It actually looks really cool, but it wasn’t my original intention. 😀
I’ve only used my heat gun for burning photos onto remembrance candles. So glad I found this! Is there a way to seal it so it can be washed without losing the glitter?
Hello can you share how you burned your photos onto memory candles
This is an AWESOME tutorial! I’m definitely going to do this for a few different projects! Thank you! PS- Also- great font!
I know this post is old, but still amazing! just what I wanted to know. Thanks
great idea ,i have heat embosed fabric with rubberstamps and had decent results but didnt think of your method with freezer paper..ingenous!!!
can you use a heat press instead of a heat gun? I do have a heat gun but it doesn’t tell you the temperature it is at. I do own a professional heat press machine though if that will work…..
What kind of Mod Podge did you use?
Don’t skate it off for me, I like big hips. Great shirt anyway and a awesome post