One night, in the middle of putting together Emma’s big girl bedroom, I woke up with a vision. I know a lot of people’s visions involve religion, family or relationships, but mine always seem to involve decorating.
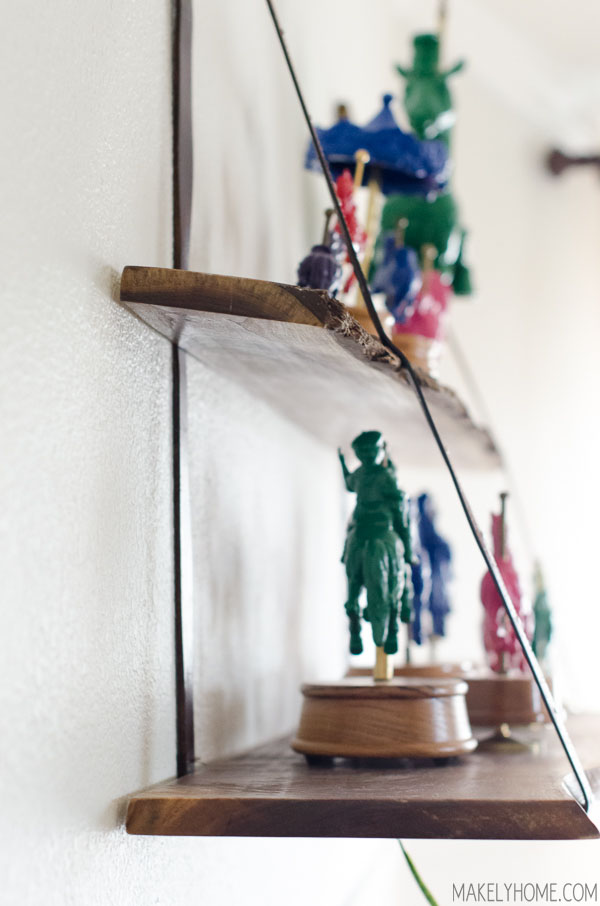
I had really been wanting to make something out of live edge wood, a slab of wood that is planed flat on the top and bottom but left natural on the sides. A lot of it is also has great figure, which means that it has interesting texture or appearance due to the way the tree grew or the make up of its grain.
Once I had my vision, I couldn’t get it out of my head. I searched all over Austin for a place I could buy two smallish slabs of live edge walnut, but I came up short. Even though these pieces would likely be mill castoffs, we don’t really have any mills here. I checked a few of our speciality lumber yards, but the only live edge slabs they had were really exotic (read: totally expensive) slabs.
After hemming and hawing for a few days, I ended up buying 2 slabs online. “You bought slabs of wood online?” Yep. It was my best option, I thought. I found two walnut pieces that were similar in length and slightly different widths – exactly what I wanted. With shipping, it cost me $160. Yikes! But, it was worth it.
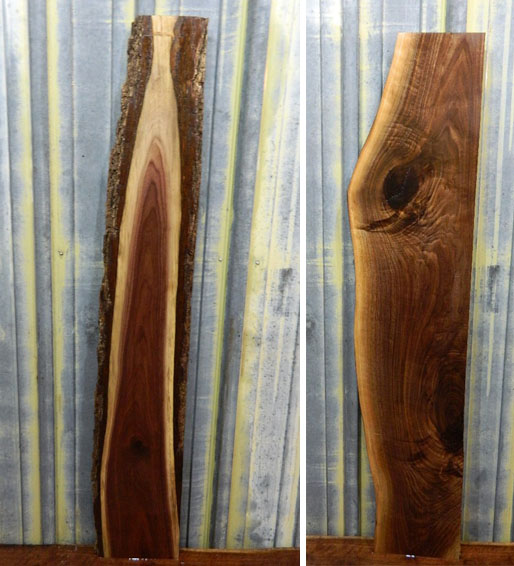
When my slabs arrived (quickly and in perfect condition), Tom cut the smaller one (the one on the left) so that it had a flat piece to rest against the wall. Then, I gave them both a light sanding and applied 3 coats of Tung oil to bring out the grain and figure.
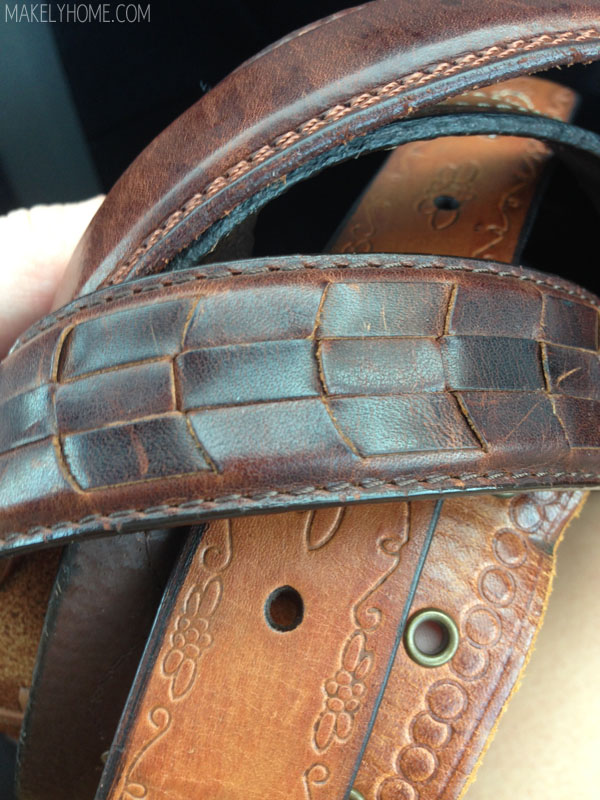
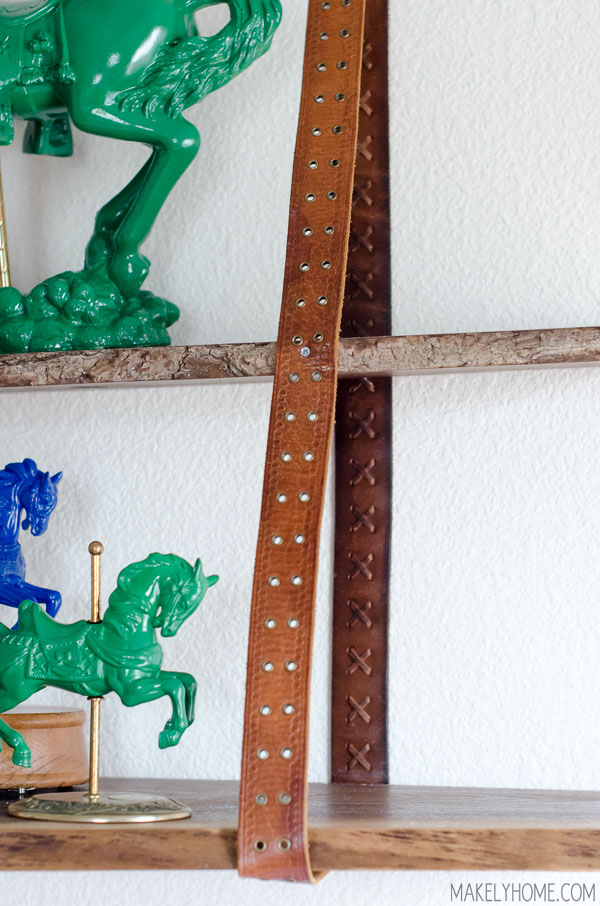
Then, the whole family loaded up and went to Goodwill, in search for brown leather belts, since I wanted to use them to suspend the shelves on the wall. I had been in love with this project that I saw on Design*Sponge several years ago, so I was thrilled to finally figure out a way to use leather belts in one of my own projects. I didn’t know how many belts that I’d need or how they would fit together with their different widths and buckles, so I ended up buying 8 of them.
When the Tung oil on the shelves had dried, we took the shelves to Emma’s room so I could figure out exactly where I wanted them on the wall. From there, Tom found the location of the studs and marked the shelves in the same location. Then, he installed keyhole fasteners on the shelves and put a screw in the wall stud. These fasteners aren’t enough to support the weight of the slabs, but they do anchor them to the wall. We had to prop the bottom one up as best we could so that it wouldn’t sag. The top shelf did pretty well on its own, since it is considerably lighter.

Then, we fished the leather belts back behind the shelves. I ended up only needing four belts – two on each side. It took some adjusting, but we ended up making it work where there was a buckle at the very top of the suspension. We screwed that piece into a wall stud, about 15 inches above the top shelf.

Then, we pulled tightly and buckled the belts together so that they were supporting the bottom shelf. We used a level to make sure that the shelf was level, and then put a screw through the belt on the bottom of the shelf.
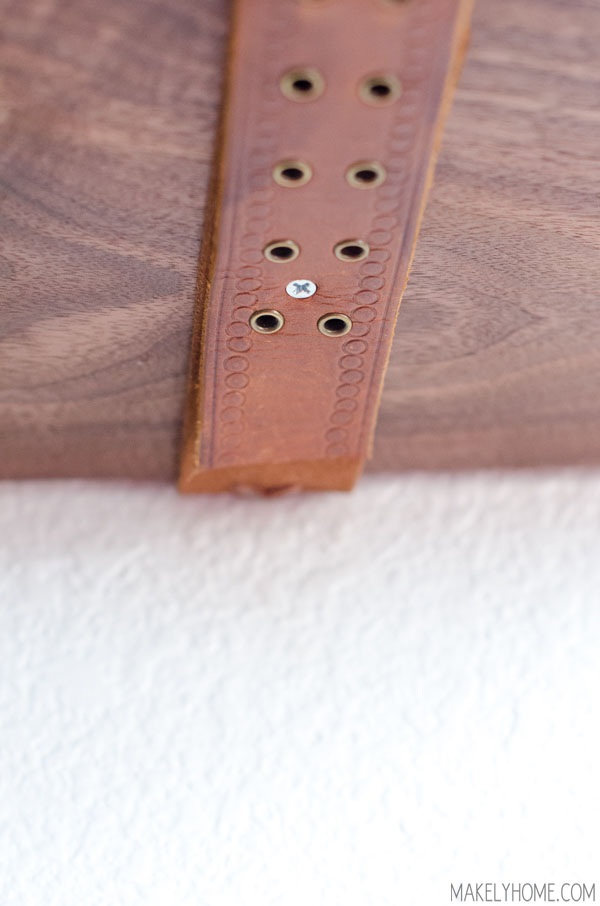
We put another screw through the belt into the front of the top shelf. That helps keep the top shelf from sagging.
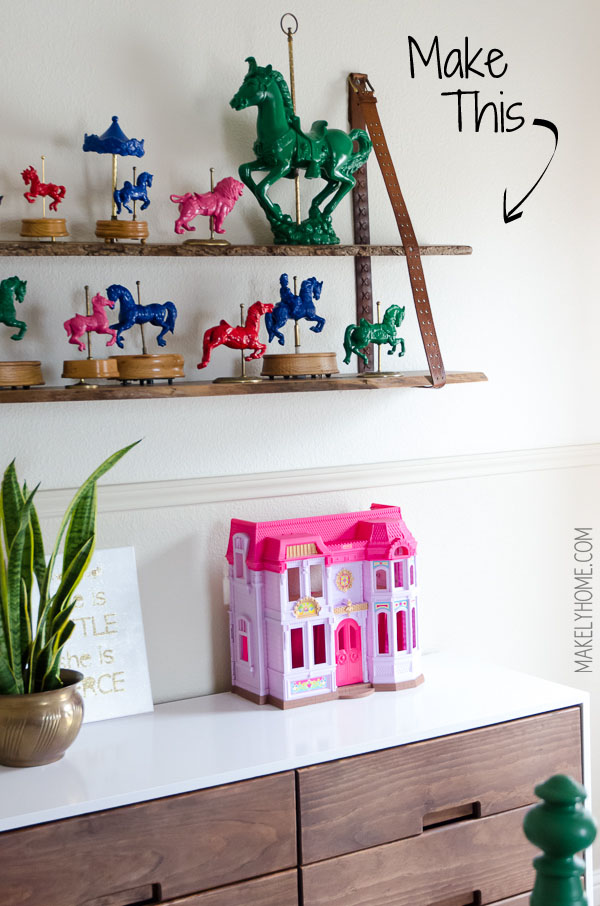
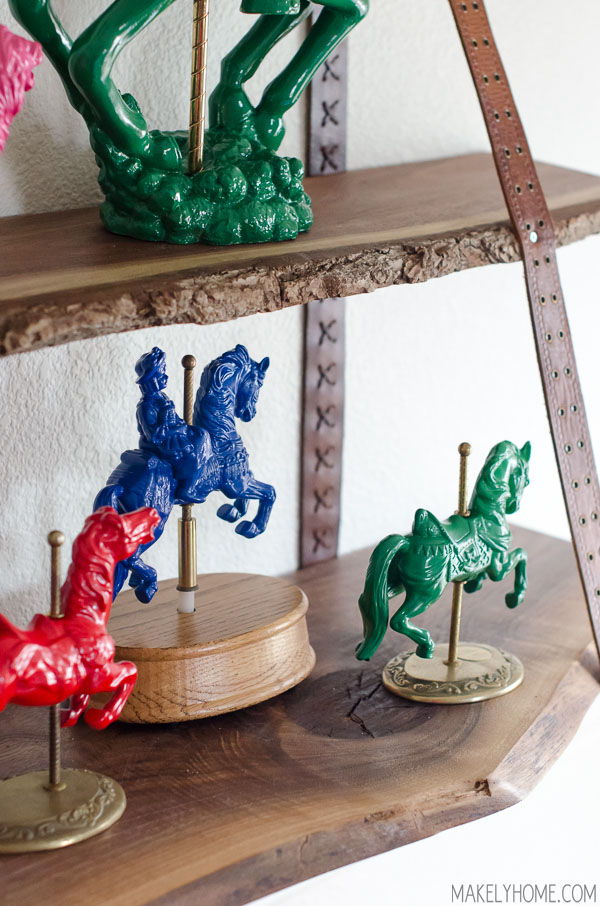
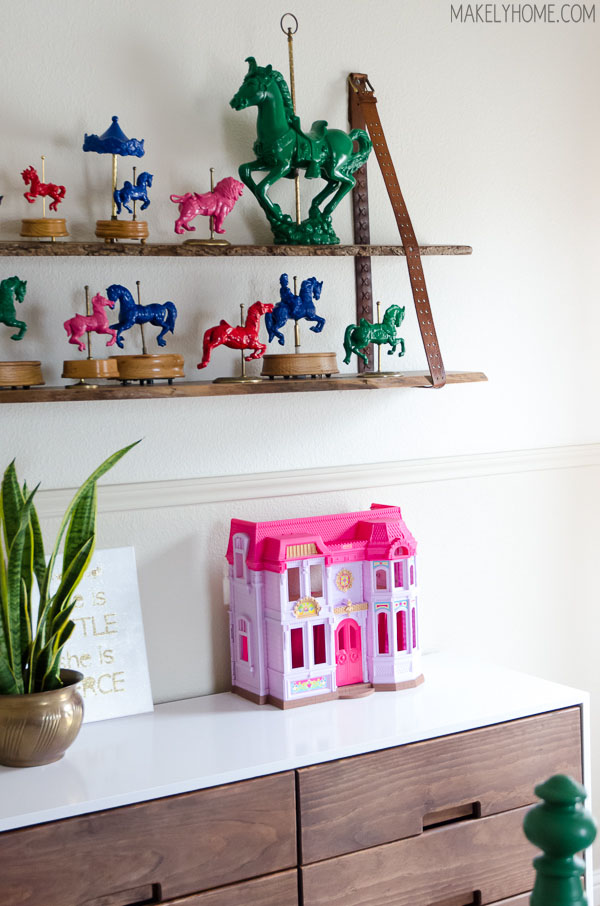
Then, I added my mother’s-turned-Emma’s updated carousel horse collection. I think the brightly colored horses on the rustic shelves is a great juxtaposition.
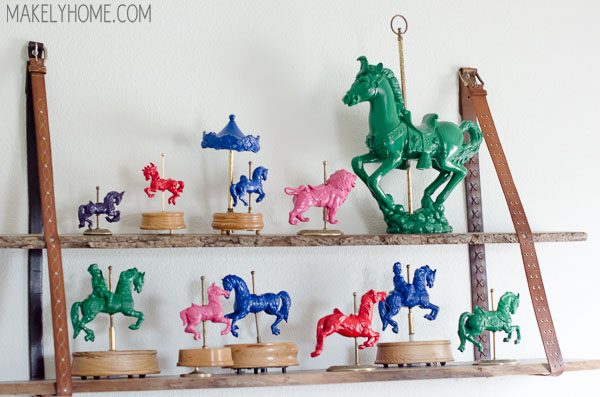
It’s hard to pick a favorite project from Emma’s room, but this is definitely in the top 3! I also love how it looks over the modern dresser that Tom built.
As always, let me know if you have any questions! Could you see yourself incorporating thrifted leather belts or live edge wood slabs somewhere in your decor?
Love this idea!