Howdy, y’all! This post is part of an amazing blog tour called Show Your State Pride. It was put together by my good friend Beckie at Infarrantly Creative, and the blog tour starts there with her cute project featuring Indiana. If you are following along with the tour, you are probably joining me from Laura at Finding Home. Welcome!
If you know a Texan (or have even heard of a Texan), it’s probably safe to say that you know we are a special breed of people. We do everything bigger and have a state pride that’s unmatched elsewhere. Although we do have more than our fair share of crazy stuff and people around here, I have loved living in this bigger-than-life state for the last 30 years.
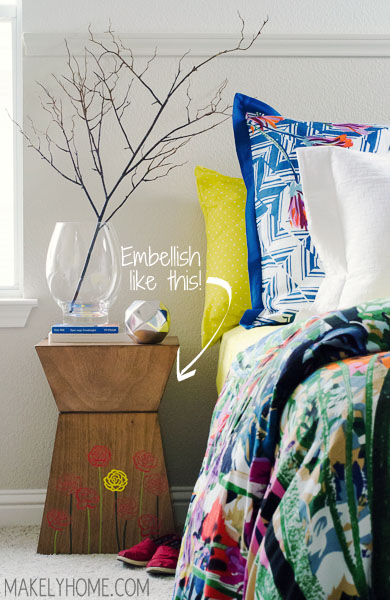
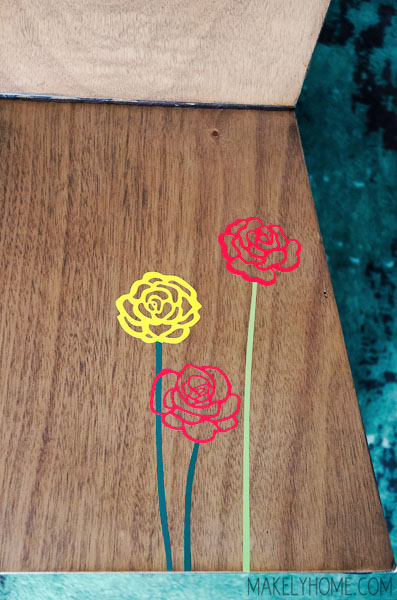
Because Texans are so prideful, there are actually tons of Texas-centric projects all over Blogland and Pinterest. But, since Texans are so dang obvious in their love of our state, I decided to do a project that was a little less obvious. I’m working on putting together Emma’s “Big Girl” room (gah!) and embellished her cute side table – Yellow Rose of Texas style.
Adorable, right? And perfect for everyone – even those of you who aren’t forced to learn Texas folk songs in 7th grade Texas History class (Yes, an entire class. That happens.).
I used my Silhouette Cameo craft cutter to design and cut out the roses – I am really in love with that little machine. If you don’t have a Silhouette or other vinyl cutter, don’t worry! You can order something custom online (try Etsy) or maybe even convince me to cut some out for you if you don’t need it in a super time sensitive fashion (just being honest – it might take me three months).
If you are cutting out your own designs, start the below tutorial at the first step. If you are getting your vinyl elsewhere, you can skip to step 16! Don’t be scared by the length of this tutorial. I wanted it to be really detailed, so it took me longer to put together this post than it did to actually make the project.
How to Embellish Furniture Using Vinyl Designs
1. Begin by measuring your piece of furniture so that you know the size of the surface you want to embellish. I was using this table I purchased at Target, and the part I wanted to embellish is 9 inches across the top and 13 inches across the bottom.
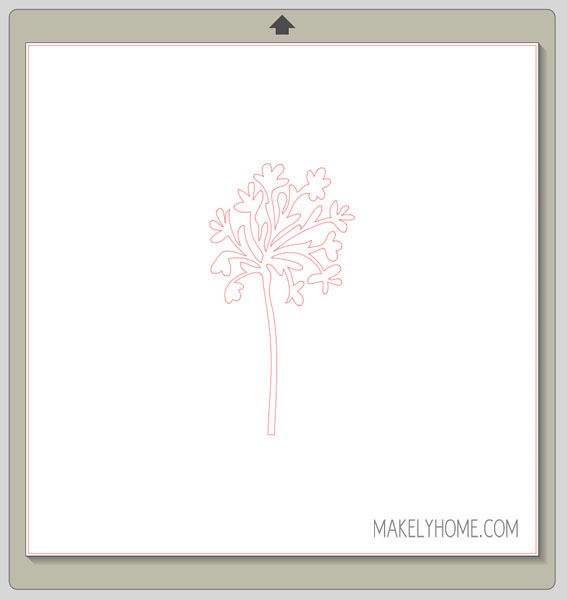
2. Go into the Silhouette Online Store and download the shapes you’d like to work with. I wanted a few different styles of filigree rose designs and a floral stem. So, I chose these four rose shapes – 1 2 3 4 – and a plant stem.
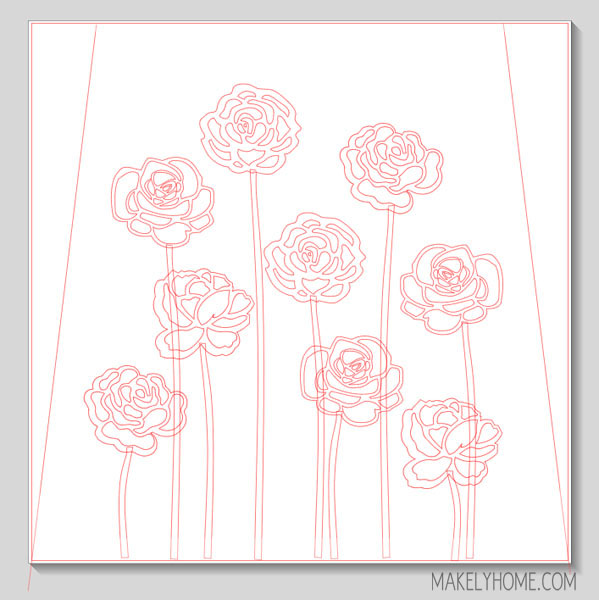
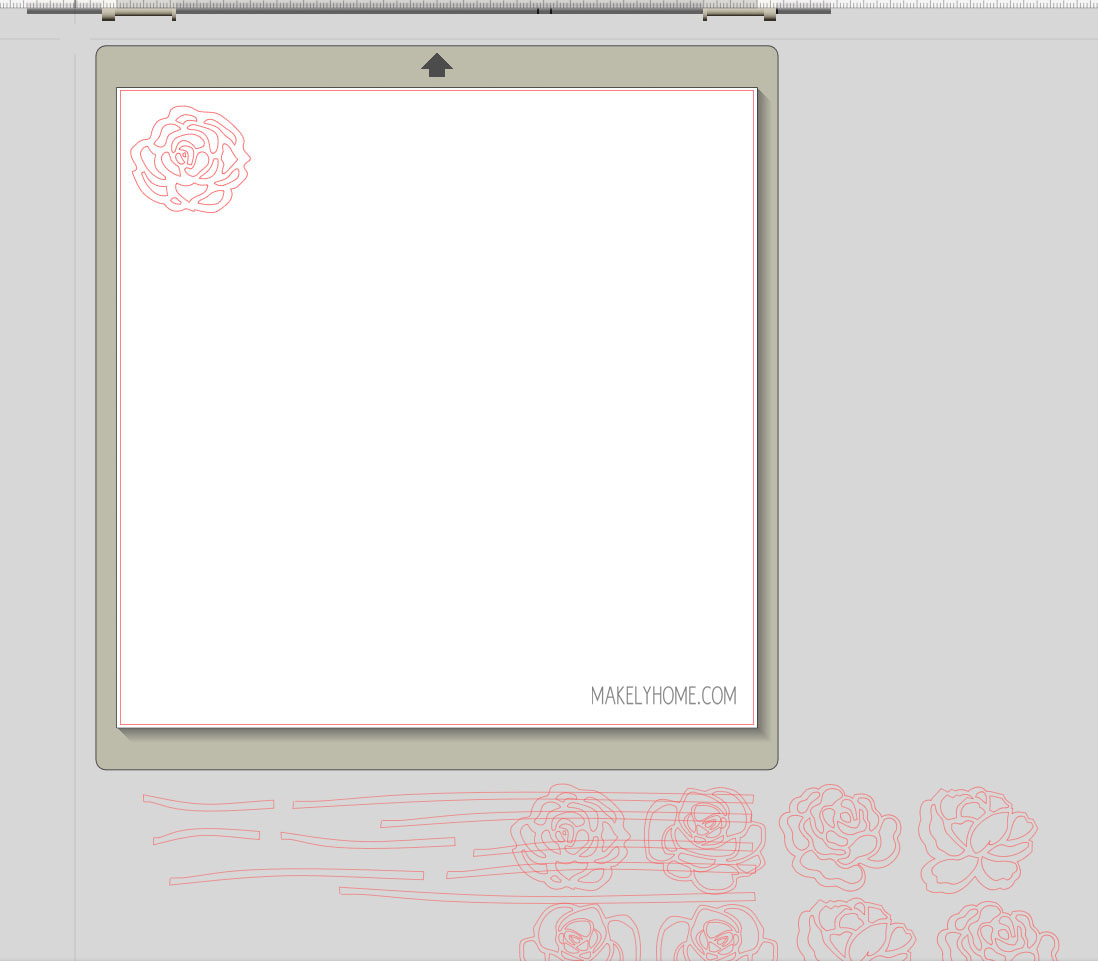
3. In my Silhouette Studio software program, I sized a project to be 12 by 12 and then drew a diagonal line on either side so that it would be about 9 inches at the top and 12 inches (the largest I could make it) on the bottom.
I then placed some roses on the project in the general places that I’d want them to be on my side table.

4. Next, I started a new project and added my plant stem design to it.
5. Using the knife tool, I cut the top of the plant from its stem so that I’d have two pieces.
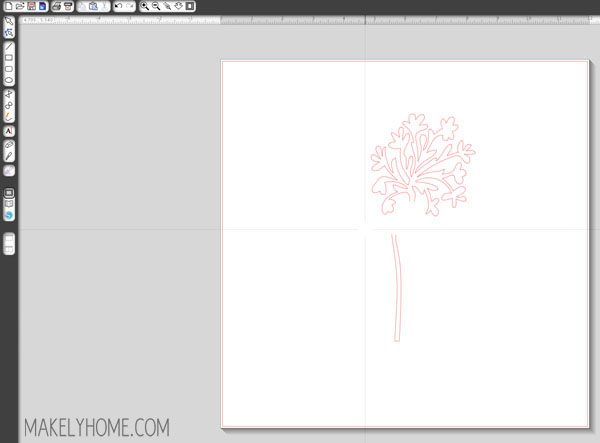
6. I selected the top part of the plant that I had separated from the stem and deleted it.
7. Next, I used the line tool to draw a line at the top of the stem, completing the shape.
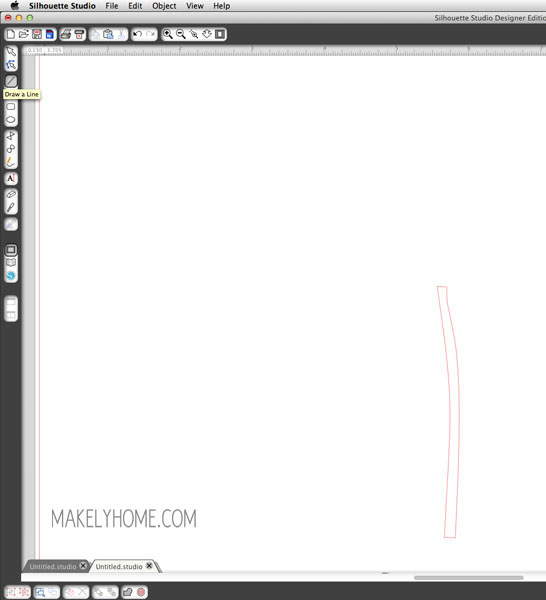
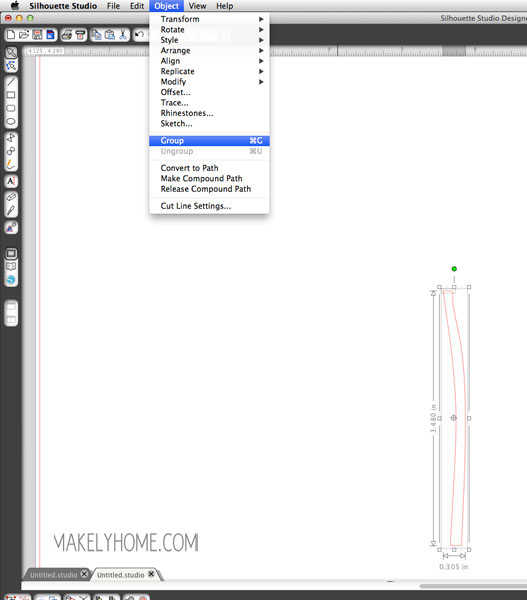
8. I selected both sections of the stem – the top line and the stem shape – and grouped them together as one shape.
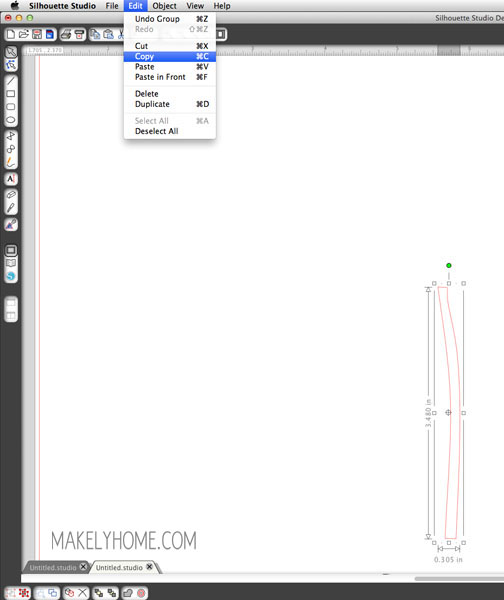
9. I then copied and pasted my new shape into the other project.
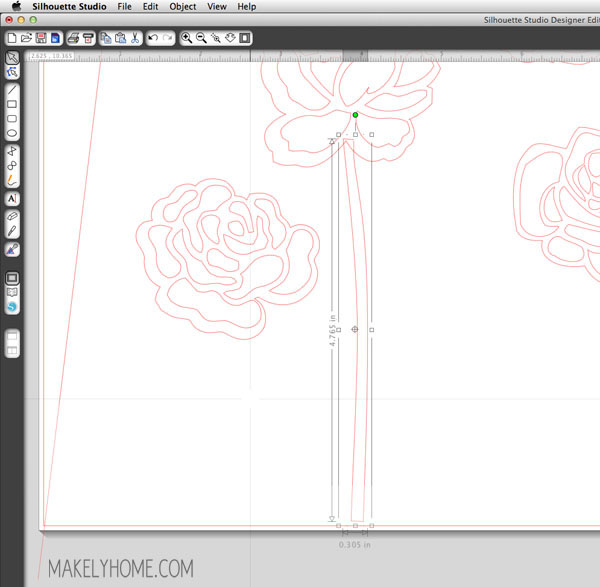
I lined up the stem so that it would slightly overlap a rose blossom, and I stretched the stem down to the bottom line of the project.
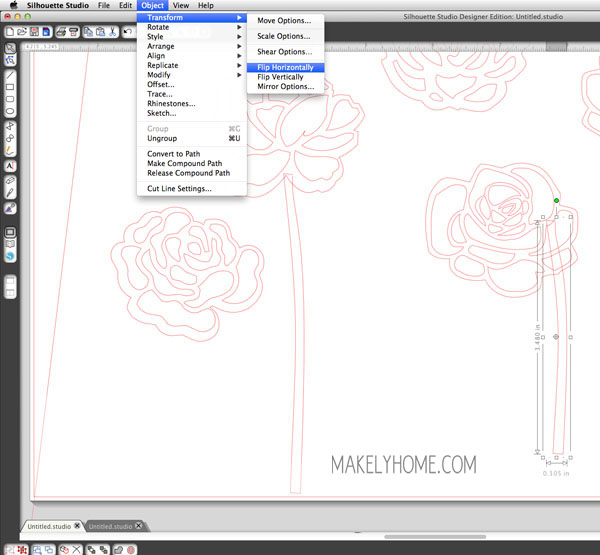
10. I pasted the stem on the other roses as well, overlapping them and stretching to the bottom. On a few, I used a horizontal flip so that every stem wouldn’t look exactly the same.
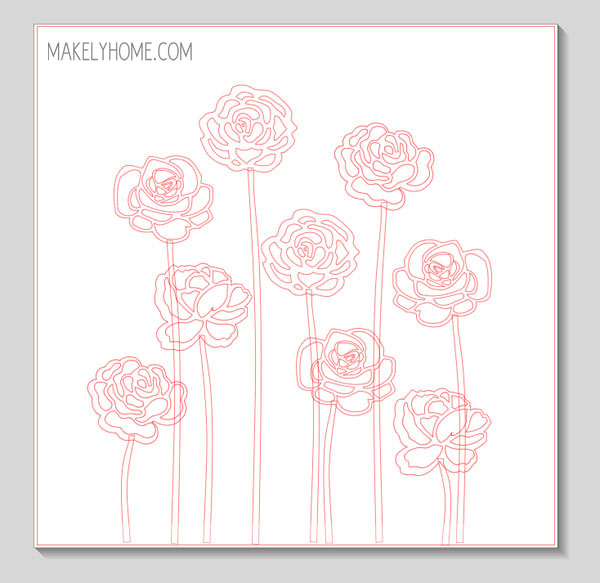
11. When all of the stems were added, the project looked like this.
12. Because I was just using the red diagonal lines for layout guides, I removed them from the project. Otherwise, my Silhouette would cut them. I took a screenshot of this design so I would know the exact layout I wanted for my table once all of the pieces were cut out.
13. I wanted to cut the stems in a few different shades of green, so I moved all of the roses off of the project and moved the stems close together so there would be less waste when I cut out my designs.
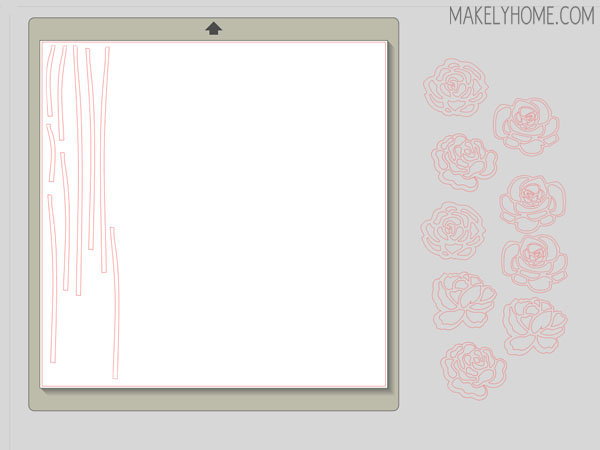
From there, I had my Silhouette cut them all out in an olive green and a kelly green vinyl. I cut all of them from each color because it was quicker than figuring out which stem I wanted to be which color at this point.
14. I did the same thing for the rose blossoms, removing the stems and moving all but one of the roses back to the project. I cut those out of red vinyl.
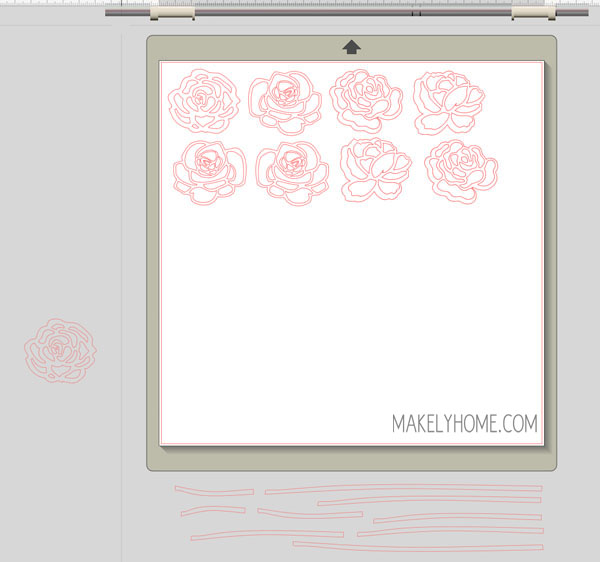
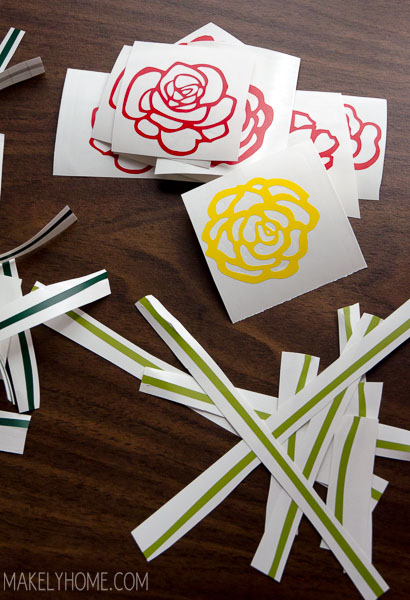
15. Then, it was the last rose’s turn, and I cut it out of yellow vinyl.
16. With all of my vinyl pieces cut out out, I cut them into separate pieces and removed all of the vinyl from the negative spaces (i.e. the areas that weren’t part of my design).
17. Then, I put my roses and stems on the transfer paper. With the transfer paper sticky side up, I placed a rose on the paper and used a straight edge to rub the backing. Once I peeled up the backing, the rose was on the transfer paper with its sticky side up. I then applied the correct size stem to the rose (by looking at the screenshot I took of the final project), overlapping that stem slightly on top of the rose.
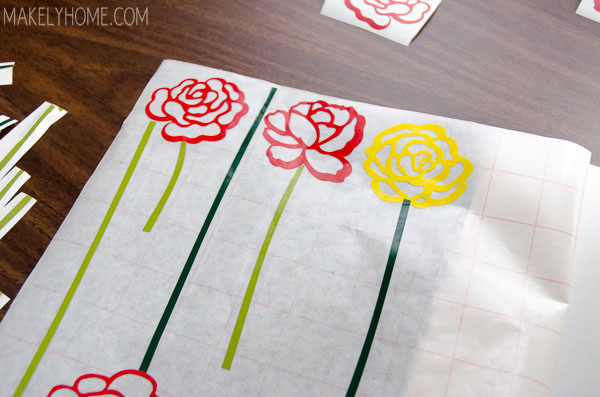
18. I used an X-Acto knife to carefully cut away the part of the stem that overlapped so that it would meet up with the rose but not add bulk in that area.I just followed the outside line of the vinyl rose.
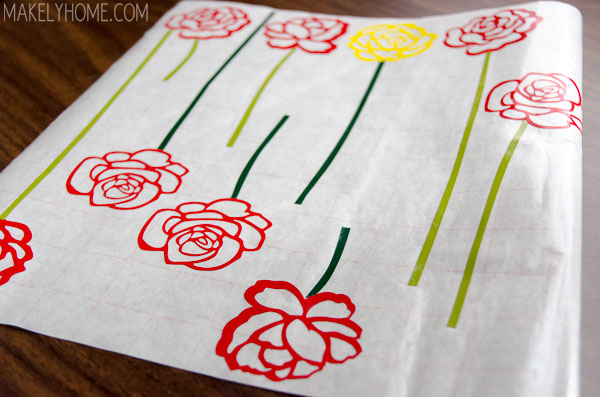
19. After all of the roses were assembled on the transfer paper, I cut them into individual strips so I could apply them to my side table.
To apply, I stuck each rose transfer onto the table and rubbed with a straight edge until the transfer paper released the vinyl design.
I allowed some of the roses to overlap each other. I was planning on going back with my X-Acto knife and removing the overlapped areas, but I ended up loving the look so I left it alone.
20. Referring back to my project screenshot for placement, I applied all of the roses to my table.
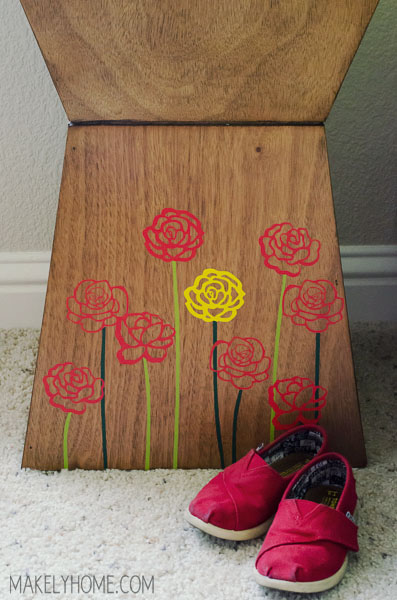
And there you have it – a Yellow Rose of Texas inspired side table. Pretty tame for a Texan, huh?

Now, I’m off to finish working on Emma’s bed I found on Craigslist. I can’t wait to see it all put together!
Make sure you head over to Kim’s blog – Sand and Sisal – for the next stop on the Show Your State Pride tour!

Thanks for visiting! Y’all come back now, ya hear?
I’m obsessed with wall vinyl and my Silhouette. What a cute project!
I absolutely love your table, it’s awesome!! Whoever thought of using vinyl stickers in home decorating is a genius! (I wish it had been me!)
P.S. Everytime I hear Yellow Rose of Texas it reminds me of my high school driver’s ed teacher who’d sing it to me everyday when I walked through the classroom door because I had blond hair even though we were in Missouri. Ha, ha!
What a cute idea love it!
I LOVE this!!