The day after Thanksgiving, we pulled the boxes of Christmas decorations out of the attic and started sorting. I always seem to acquire more each Christmas, so a few more get weeded out each year.
My kids were immediately drawn to a set of singing snowmen that my Grandma had sent to me years ago – back before I had kids and right after I got married. I always thought they were kind of hokey, but I never wanted to part with them. We replaced their batteries and Zack and Emma sang and danced with the snowmen for nearly half an hour. They were having such a great time that Tom recorded a little video of them. It was one of those happy moments that you just live for as a family.
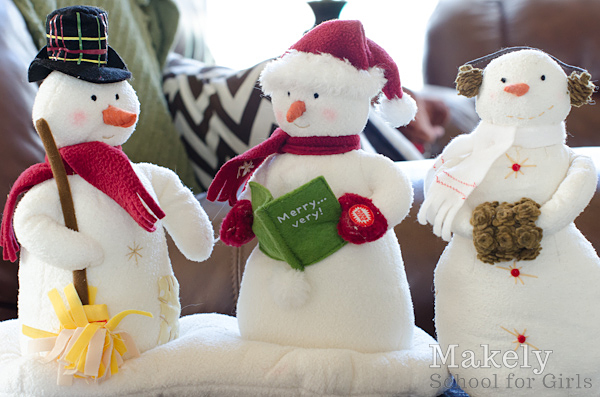
About 30 minutes later, our phone rang. It was my Granddaddy, and he was calling me with the news that my Grandma had passed away about 45 minutes previous. She had been sick for a few months and I was honestly expecting the call, but the timing was a shock. At the exact moment that my Grandma took her last breath, her great grandchildren were enjoying an old gift from her. I will forever cherish those hokey little snowmen, as they make me feel like a piece of her is still with us.
I had plans to replicate my own holiday version of the Starburst Wreath featured in Home Depot’s Fall Style Guide for my front door. I tried to get it completed before I had to leave town for my grandmother’s funeral, but it was a miserable failure (I tried to spray paint wood shims in the wind – don’t ask). So, while I was out of town, I decided to use the components of that wreath – a mirror and wood shims – to create a snowman door hanging instead. It certainly isn’t sophisticated, but my kids love it and it reminds me of my grandmother.
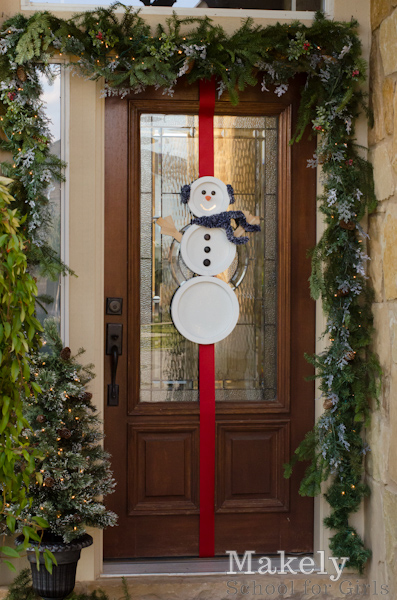
To make the snowman, I spray painted white the frames of three of the mirrors that come in the Martha Stewart Seneca mirror set from Home Depot. I used the 5-inch, 7-inch and 9-inch sizes. Then, I sprayed the frames and the mirrors with fake snow (the kind you can spray on windows and such) and let them dry over night.
Once they were dry, I hot glued them to a few shims. I also took one of the hangers off the back of one of the mirrors and glued it to the top of the shim. I used lots of hot glue to make sure that it all stayed together. Here’s what that looked like:
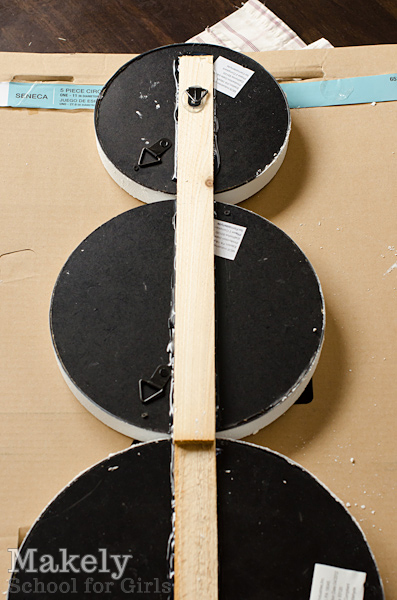
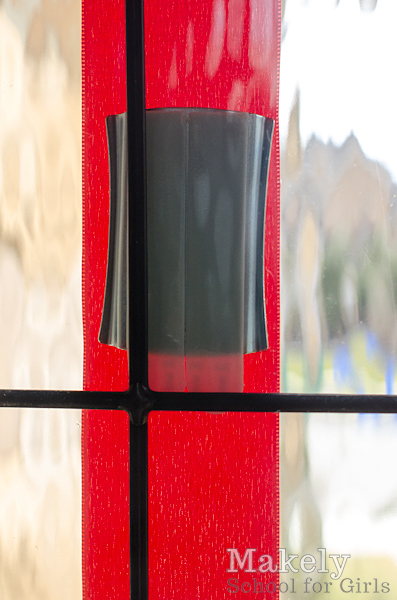
While the glue dried, I hung a Command picture hanging nail on my front door. I ran a wide red ribbon down the full length of my door, and cut a little hole where the nail came through. That way, the hanger is hidden from view.
Here’s a view from the front:

And a view from the back through the glass:
I broke a few wood shims into pieces and glued them together to make the snowman’s arms. His eyes are made from buttons, and his nose is a piece of orange felt that I rolled up and hot glued together. I used a black and white chenille pipe cleaner to make his scarf and ear muffs. His smile was made from scraping the fake snow away to reveal the mirror underneath – I love the way that looks!

When Zack got home from school and Emma woke up from her nap, I showed them our new snowman. They jumped up and down and Zack screamed, “This is the best day ever!” Success!

Next week, I’ll post a tutorial for my cheap and easy, non-wimpy garland. Stay tuned!
Home Depot can be found:
- Online at www.homedepot.com;
- On Facebook at www.facebook.com/homedepot;
- On Twitter at twitter.com/homedepot.
The Home Depot partnered with bloggers such as me for their Fall Style Guide Blog Network. As part of this program, I received compensation for my time. They did not tell me what to purchase or what to say about any product mentioned in these posts. The Home Depot believes that consumers and bloggers are free to form their own opinions and share them in their own words. The Home Depot’s policies align with WOMMA Ethics Code, FTC guidelines and social media engagement recommendations.