Makely

Let's Make Life Awesome

  • Home
  • Decorating/DIY
    • Create Your Decor
    • Decorate Your Home
    • Paint Your Walls
    • Transform Your Furniture
  • Healthy Living
    • Essential Oils
    • Family Wellness
    • Household Care
  • Project Gallery
  • Contact
You are visiting: Home » Decorating/DIY

Updating My Kitchen Table with Glidden Diamond + 5 Gallon Paint Giveaway

by Lindsay Ballard on August 12, 2016 108 Comments

After eight years of kids coloring on, gluing on, and banging into our kitchen table, Tom and I finally came to the realization that something needed to be done. As much as we didn’t want to refinish it, we know that it had to happen.

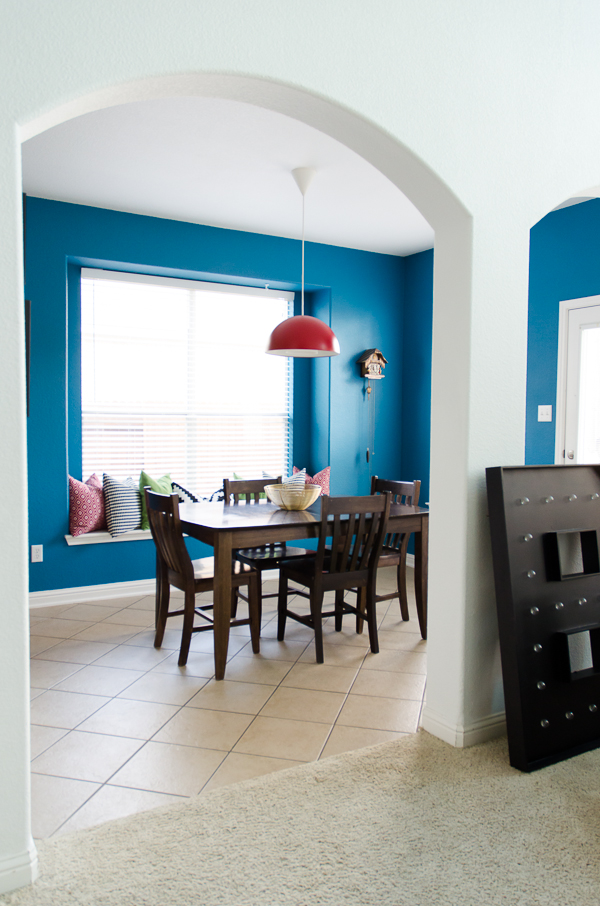
It didn’t look too bad from a distance…

Updating a Builder's Beige Kitchen with FrogTape
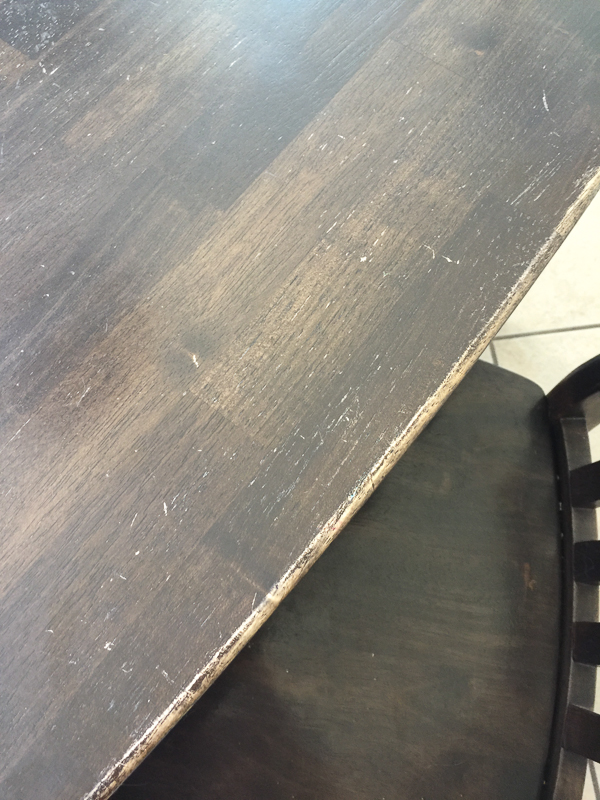
But up close, it had definitely seen better days.

Using Glidden's new Diamond paint on furniture
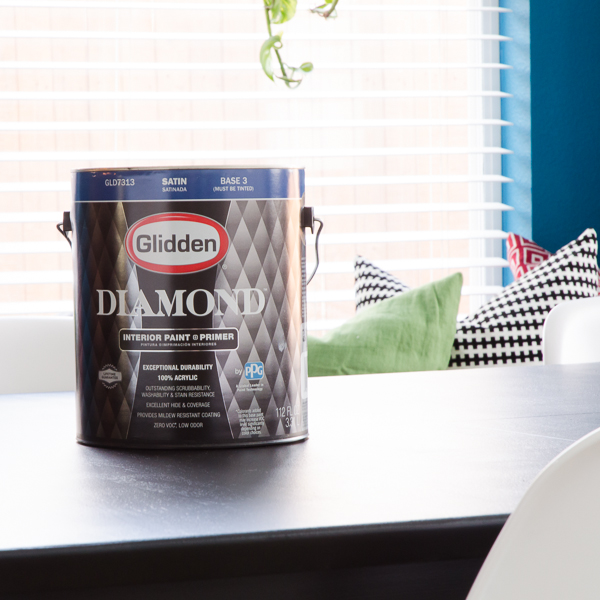
We considered stripping and restaining it, but I’m really having a black furniture moment right now.  So, I decided to use Glidden’s new Diamond™ paint on it.  I ran into our area’s Glidden rep at Home Depot not too long ago, and he was so excited to tell me all about the new formula and the extensive testing it went through.  It’s supposed to be great on durability and scrubability, so I figured that it would work wonderfully on a piece of furniture that receives a lot of use.

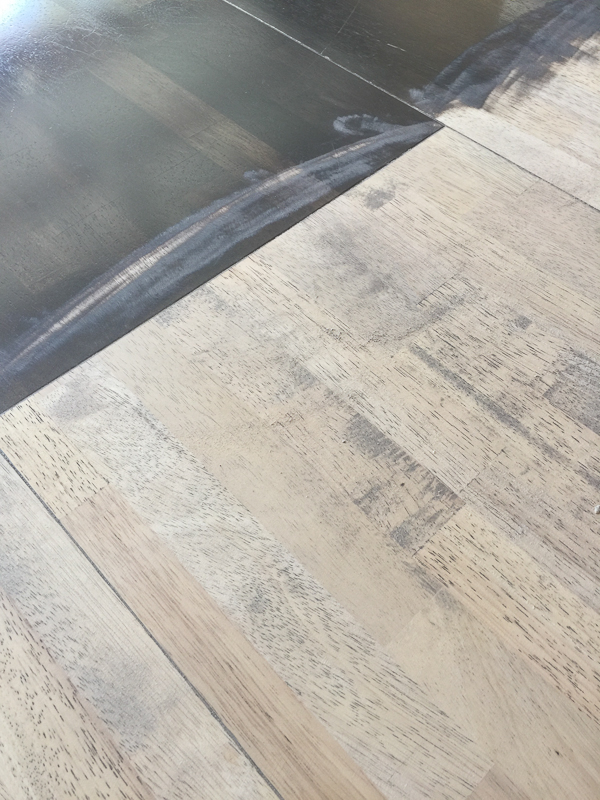
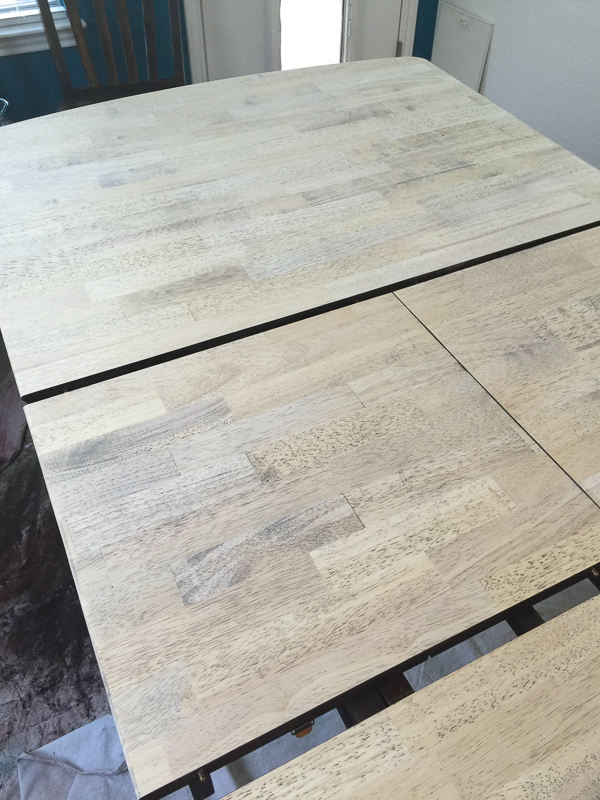
Tom and I hauled the table out to our garage and started sanding off the original finish and evening out all of the scratches and dings.  We started with a belt sander and 150-grit sandpaper.  This is what it looked like after sanding half of the table down.

Using Glidden's new Diamond paint on furniture
After we were finished with the 150-grit pass, we put 220-grit sandpaper on a finish sander to smooth it out.  The result was super smooth.

This table has a leaf that flips underneath it, so I separated the sections before painting.  I also used a tack cloth to wipe off all of the sanding dust so that my paint finish would remain smooth.

Using Glidden's new Diamond paint on furniture
Glidden Diamond™ is a paint + primer formula, so I decided not to use a stand alone primer.  I was worried that the paint might soak into the wood, but this is what it looked like after one coat of paint.  Outstanding!  I used a mohair roller, and the application was very smooth.

Using Glidden's new Diamond paint on furniture
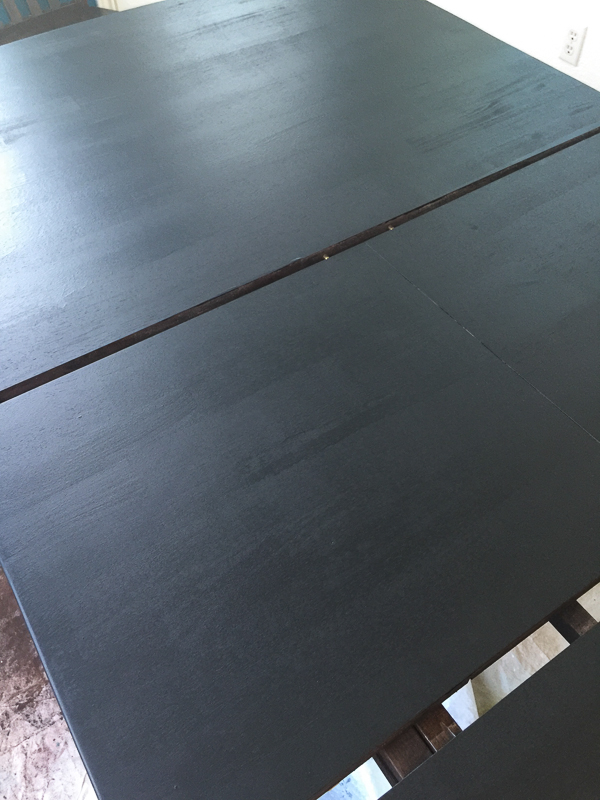
I gave it 2 more coats of paint (3 total) thinking that it would have extra durability.  Let’s be honest – I don’t know if that’s how it works or not, but I figure I’d rather paint more coats now than have to go through this process again down the road.

I don’t really have any pictures of the painting process, since I try to work quickly to maintain a wet edge with no roller marks.  However, I did get a picture to show you how I let the paint lay.  Here is a picture of one of the legs right after I rolled it.  I try to use a really light hand and don’t worry about smoothing it all out.  You can see at the top where the paint itself doesn’t look smooth.

Using Glidden's new Diamond paint on furniture
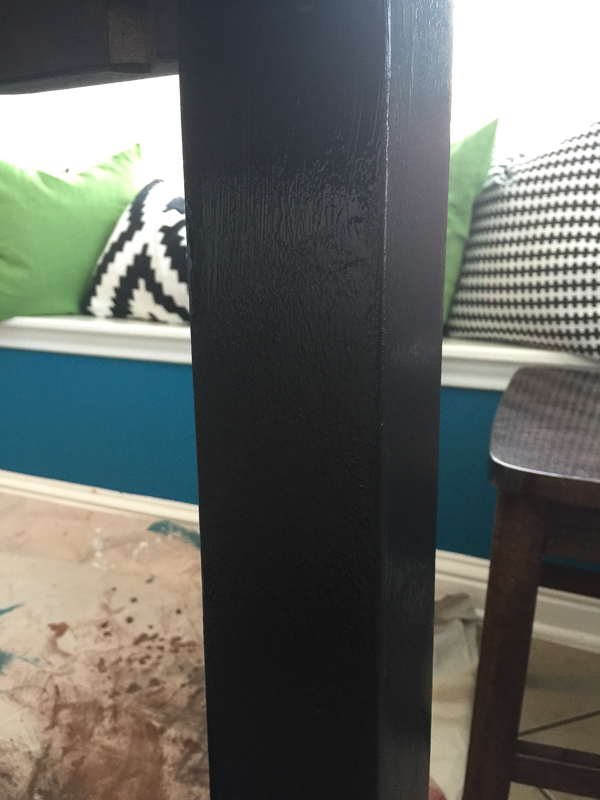
A good quality paint will level (i.e. smooth out and lay flat), and Glidden Diamond met that challenge.  Here’s the same leg after it was dry.

Using Glidden's new Diamond paint on furniture
Because it is 103432098349 degrees outside right now, I painted the entire table in my kitchen.  Glidden Diamond™ is no VOC and low odor, but I would say that there is actually no odor.  Tom walked into the house from work and couldn’t even tell that I had been painting.  There’s virtually no odor – I honestly stuck my face in the paint can and couldn’t smell the paint.

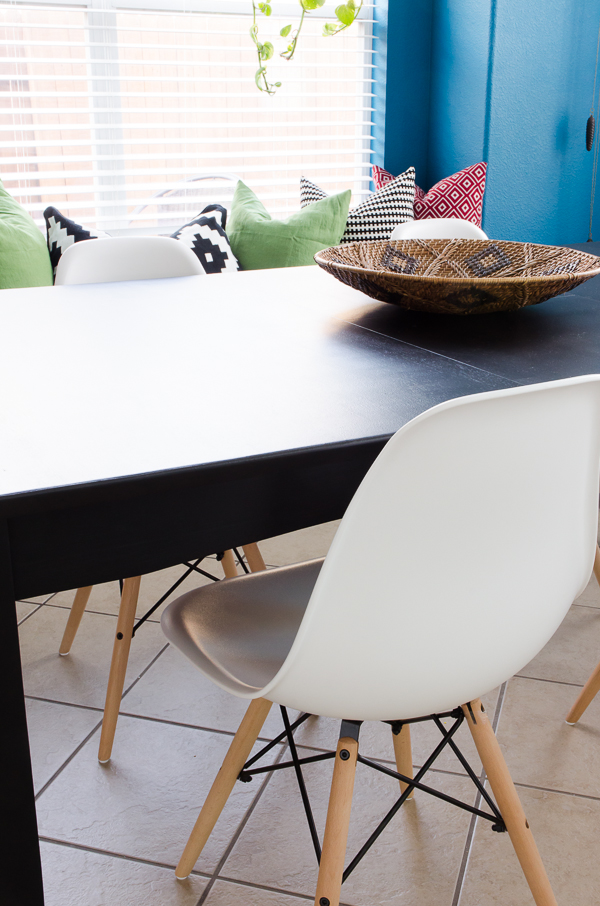
It’s too soon for me to talk about how wear this paint will wear on our kitchen table, but I am very optimistic about it.  Even just two days after painting it, I can put plates and bowls on it without them sticking.  That’s a good sign to me, because that rarely happens so soon after I paint a piece of furniture.

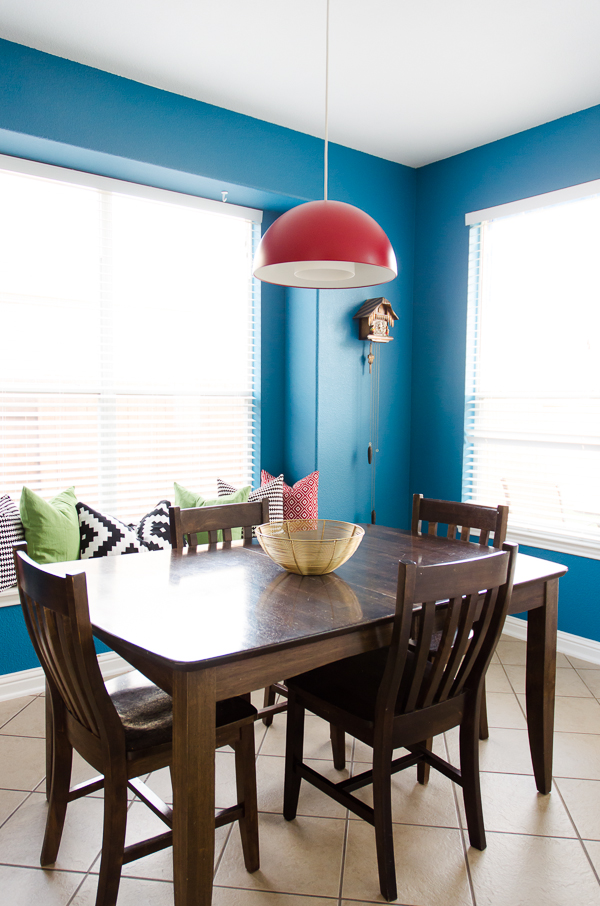
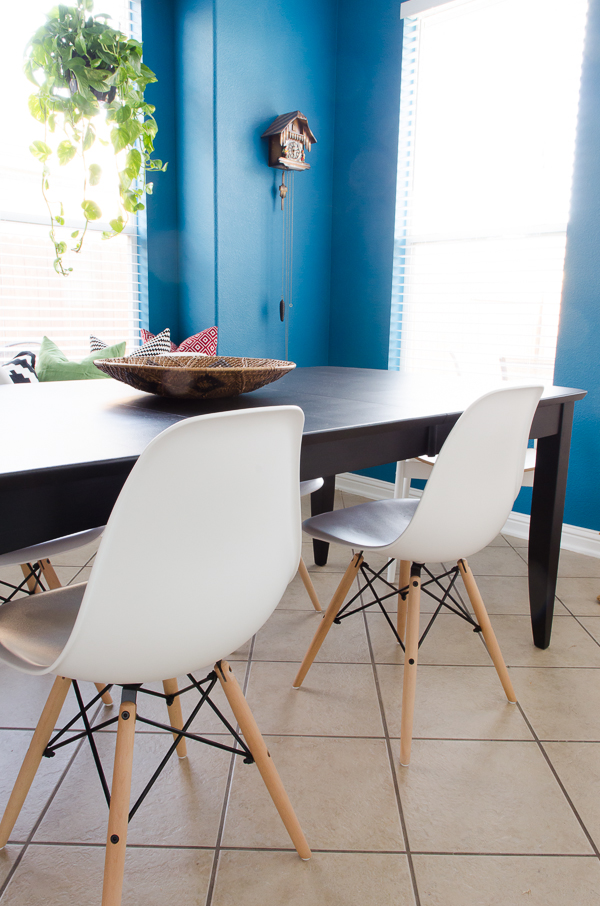
I’m really happy with the way my table looks now, and the transformation was really inexpensive (other than the chairs I bought, but I have been coveting these for years).

Using Glidden's new Diamond paint on furniture


Using Glidden's new Diamond paint on furniture

Using Glidden's new Diamond paint on furniture

Obviously, Glidden Diamond™ will perform exceptionally well on your walls.  Just think what it could mean in high traffic and kid areas.  Durable and scrubable?  Yes, please!
Using Glidden's new Diamond paint on furniture

Want to try it out yourself?  Glidden is giving away 5 gallons of Glidden Diamond™ to one lucky winner!  To enter, simply fill out the Rafflecopter form below (you’ll need to switch over to my blog if you are reading this post via email) to be entered.  This sweepstakes is open to U.S. residents, 18 and older.

a Rafflecopter giveaway
Good luck!

As a MyColortopia Team member, this post is sponsored by Glidden.  All reviews and opinions are my own.

Updating my Builder’s Beige Kitchen with FrogTape

by Lindsay Ballard on July 8, 2016 22 Comments

This is a sponsored post written by me on behalf of FrogTape®. All opinions are 100% mine.

Guys!  One of the very last builder’s beige rooms in my home is gone.  I feel like there should be trumpets sounding and confetti flying.  Are you celebrating like us?

The kitchen has been the bane of my existence since we repainted our common open spaces in Lindsay White.  At the time, we didn’t paint the kitchen, because I wasn’t exactly sure what direction I wanted to take it.  I had dreams of turquoise cabinets and an amazing backsplash, but those dreams required a lot of time, money and effort – none of which I had.

When I offered to host my sister’s baby shower at my house this summer, I knew that now was the time to get the kitchen under control.  Luckily, the folks at FrogTape® brand painter’s tape must be on my same wave length, because I got an email asking if I could review their painters tape for a project.  Boy, Howdy!  Of course, I said yes!

We started by priming and painting the kitchen ceiling in Lindsay White.  And by we, I mean Tom.  I’m recovering from a leg fracture (hello, roller derby), and I didn’t want to try to stand on my toes to reach the ceiling with the roller.  I did go ahead and start taping off the windows and wall trim while he was working, though, so we would be ready to paint the walls when the ceiling was dry.

Updating a Builder's Beige Kitchen with FrogTape
I used two different types of Frog Tape.  For the vast majority of our project, I used the green Multi-Surface type.  It tears easily, so it was no big deal to tape a lot of trim quickly.  When the ceiling was dry, we used the yellow Delicate Surfaces tape since it was freshly painted.

Updating a Builder's Beige Kitchen with FrogTape

When we were ready to paint the walls, I painted right over the tape.

Updating a Builder's Beige Kitchen with FrogTape

After two coats of paint (Peacock Blue), I peeled the tape off at a 45-degree angle.  It gave me a nice line with no paint bleed. FrogTape is the only painting tape treated with painted PaintBlock Technology, which means it reactions with the water in latex paint and instantly gels to form a barrier against paint bleed.  I hate when I have to go back and touch up lines with an artist paint brush, so this was great!

I wish I would have done a better job taping so that all of the old beige was covered, but you’ll never see this spot after I hang our window blinds up.  It’s way more noticeable in the close up photos.

Updating a Builder's Beige Kitchen with FrogTape

This is a bold color, right?  Well, no worries.  I only used it in 2 of the walls in my kitchen/breakfast room.  The rest is Lindsay White.  I also used this Peacock Blue in my Mary Blair Feature Wall and in the Playroom, both of which open to the kitchen.  I need to figure out how to take a big panoramic shot of that for you guys to see.

In the meantime, here are some shots of the freshly painted breakfast area.  I still have a few more decorating touches to add – like some sort of valence on the windows – but it is a huge change for us as is!

Updating a Builder's Beige Kitchen with FrogTape

Updating a Builder's Beige Kitchen with FrogTape

We used the yellow FrogTape for Delicate Surfaces tape on this transition from blue to white.  Perfection!

Updating a Builder's Beige Kitchen with FrogTape

I finally hung my cuckoo clock back up on the wall.  It works, but it drives me crazy in the middle of the night so I’m leaving it unwound.

Updating a Builder's Beige Kitchen with FrogTape

Updating a Builder's Beige Kitchen with FrogTape

If you have a room that you are working on painting, give FrogTape a try.  We were very happy with the results it helped us achieve!

Updating a Builder's Beige Kitchen with FrogTape
Looking for some fun paint ideas?  Check out the FrogTape® painting inspiration Pinterest page.

Visit Sponsors Site

Next Page »
  • Email
  • Facebook
  • Instagram
  • Pinterest
  • Twitter

About Makely

Lindsay Ballard is a former college mascot turned political geek turned roller derby playing, DIY fanatic.

Lindsay chronicles her projects, design ideas, and lifestyle tips here at Makely, where she shares tutorials and inspiration. Her DIY designs are bold and graphic, while her spirit is fun and full of color.

Lindsay lives outside of Austin, Texas with her husband (Tom), children (Zack and Emma), and dogs (Duke and Jill). She plays roller derby for the Rockin' City Rollergirls out of Round Rock, Texas.


Archives

Categories

PRIVACY POLICY
Copyright © 2009-2019 Makely School for Girls | All Rights Reserved | Posts may contain advertising content or affiliate links