Makely

Let's Make Life Awesome

  • Home
  • Decorating/DIY
    • Create Your Decor
    • Decorate Your Home
    • Paint Your Walls
    • Transform Your Furniture
  • Healthy Living
    • Essential Oils
    • Family Wellness
    • Household Care
  • Project Gallery
  • Contact
You are visiting: Home » Archives for Lindsay Ballard » Page 171

Exploring my Odd Love of Vintage Dog Figurines

by Lindsay Ballard on July 3, 2012 1,381 Comments

My entire extended family are huge dog lovers.  My dad’s side of the family treats their little dogs like they are tiny humans; my mother’s side treats theirs the same way.  Growing up, we always had a dog in our home.  Now that I’m a grown up (which is still being debated), I actually have two.

I don’t necessarily consider myself a “dog lover.”  My two boys are barky, jumpy, and will steal food out of your hand in 1 second flat.  They are a big pain when they are not asleep, but I love them nonetheless.  However, you might not know that I wasn’t a smitten kitten for dogs if you walked into any of the rooms in my home that I’ve decorated since I came into my own decorating style.

In just about every room, I have incorporated some sort of dog figurine.  No, I don’t have a lighted curio cabinet filled with a ceramic dog collection.  But, there is one in my bedroom.  One in my living room.  One in the uncompleted playroom.  Without knowing it, putting a dog in the room has become an odd little signature of mine.  It’s a quirk that I fully embrace.

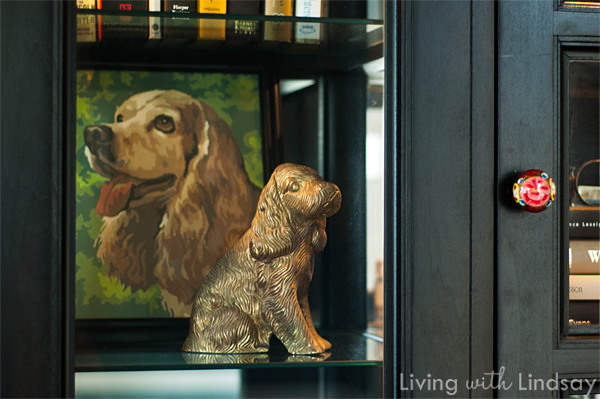
One of my favorites is this brass cocker spaniel figurine that I picked up in a local antique store.  He sits among the books in my china cabinet, along with his “brother,” a vintage Paint By Number of another cocker (the first in the dog-themed PBN collection that I hope to grow).  My very first dog was a blonde Coker Spaniel – she was my parents’ first baby long before I came into the world.
I often keep my eyes peeled for other interesting dogs to add to future rooms that I’m decorating, so I thought I’d share with you the four key types of vintage dog figurines that I search for.

How to Shop for Vintage Dog Statuettes

1.  Vintage Cast Iron Door Stop – Using a dog figurine as a door stop has been popular since the Victorian Era.  They are normally black cast iron (although some have been painted) and thus quite heavy.  Because of the popularity of this type of dog figurene, they often cost over $100.  I’m always on the lookout for one that’s priced lower than that, but I haven’t been successful yet.
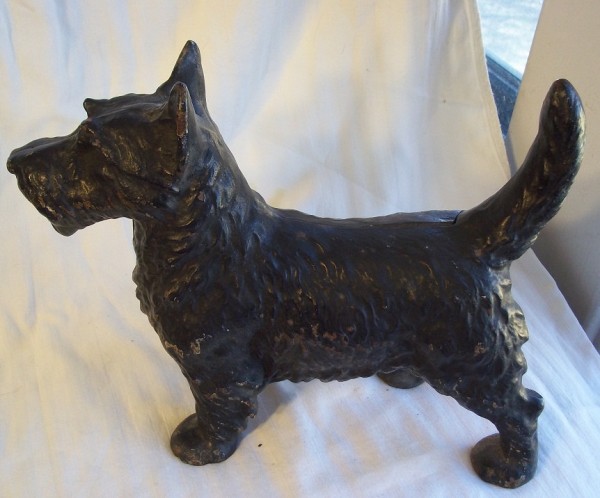
Vintage Cast Iron Scottie, listed by VintageBeth on Etsy

2.  Brass – I love the look of tarnished brass, and dog figurines are easy to find in that state.  I particularly love when there is a lot of detail carved into the brass, such as on my cocker spaniel or the statuette pictured below.  Depending on the size of the dog, you could pay anywhere from $10 to $75 for one in perfect vintage condition.  I like them to be at least 6 inches tall, but the larger the better as far as I’m concerned.
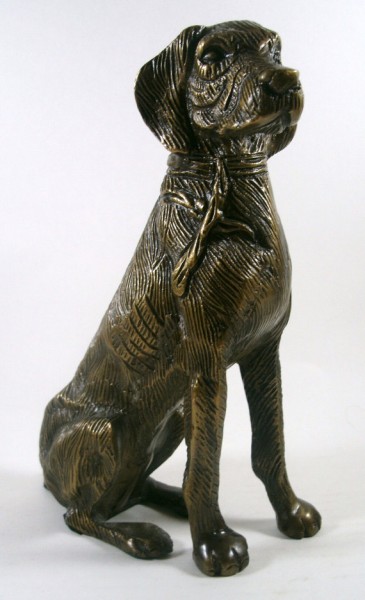
Vintage Brass Dog Statue, listed by RelicTreasures on Etsy.com

3.  Hand painted – When you are looking at the hand painted variety of dog figurines, you have to be very careful.  It’s important that the markings look realistic and that the animal’s features don’t look cartoon-y.  I like to find these animals in a natural pose.  Just like with the brass statuettes, these can run $10 to $100 depending upon size.  I prefer these to be large – generally about a foot long.  The one pictured below is a nice example.
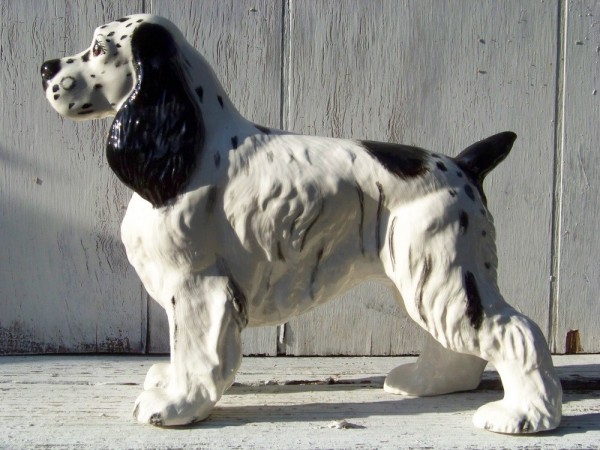
Hand Painted Vintage Springer Spaniel, listed by WildWildWest1 on Etsy.com

4.  Paintable – There is a whole world of dog figurines out there that can only be saved by a can of spray paint.  I know you’ve seen them in thrift shops and at garage sales.  A brightly colored high gloss or lacquer can do wonders.  I generally look for smooth, ceramic versions for paint.  You can pick these up for cheap at second hand sales, or you can buy one already repainted on Etsy (such as the sky blue guy below).
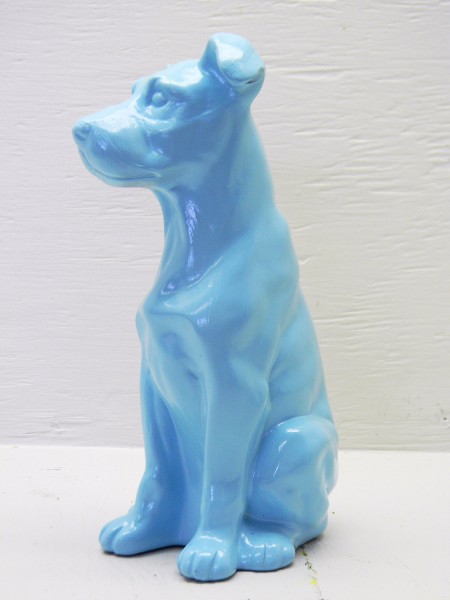
Upcycled Ceramic Lab in Sky Blue, listed by ThreeTangerines on Etsy.com

Don’t be afraid to embrace something like this as part of a signature style.  It helps to create a home that is uniquely yours, and gives you a little secret that ties each room together.  Keep them large in size and the collection minimal. You don’t want to go overboard like a crazy cat lady!

Do  you have something that you add to each room as your signature, whether you realize you d0 it or not?
DIY Window Screen Covered Furniture

by Lindsay Ballard on July 2, 2012 7,098 Comments

My garage is a refuge to homeless furniture.  Whenever “new” old pieces come into my life, they wait their turn in the garage until I am ready to work on them.  Sometimes I’m just waiting on time, but often I’m waiting on inspiration.

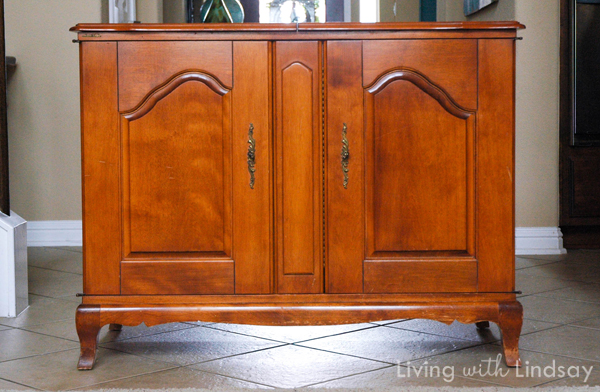
A friend of mine bought this vintage Acousti-Craft stereo cabinet for $15 at an estate sale.  Sadly (for her), it was too large to fit into the space where she wanted to put it.  She asked if I wanted it, and since I never turn down furniture projects, I was happy to welcome it into my garage.

It took up residence there for about 9 months until inspiration struck.  I knew that I wanted to do something different with it, so when I came up with the idea to use window screen on a piece of furniture, I decided to try it out on this record cabinet.

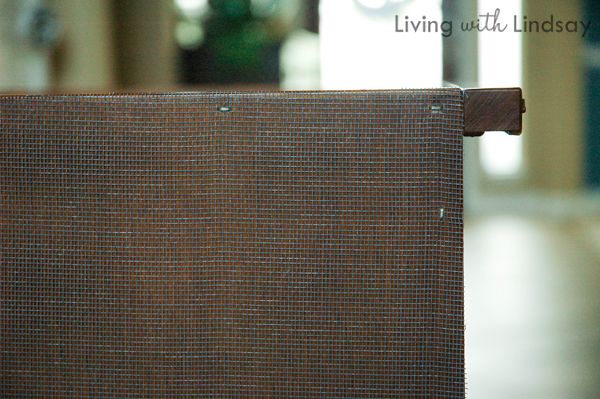
I bought a roll of window/insect screen from Home Depot to use on this project.  It was about $5 for a big roll, so I figured it was worth a shot on a free piece of furniture.  I chose a fiberglass screen because it was soft, and I hoped it wouldn’t be too brittle once I painted it.

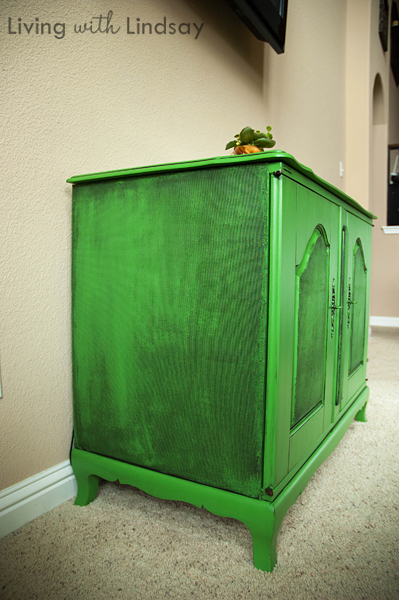
I decided to screen the sides of the cabinet and the inset panels on the front doors.  I used my pneumatic stapler to attach the screen to the cabinet (pulling it tight before each staple), and used an X-Acto knife to trim the overhang around the edges.

I knew that I was going to give the cabinet a grungy feel, so I was happy to leave the staples in full view.  If I wanted to give it a different look, I may have added wooden trim over the staples or used a different fastening system.

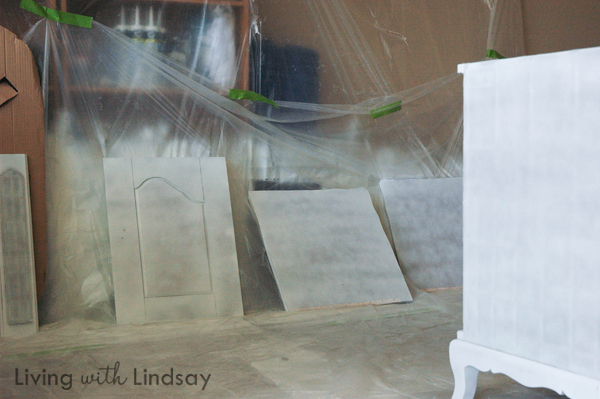
I took the cabinet apart and spray primed it with Zinsser Cover Stain Primer in my garage.  I did a really horrible job, but it was good enough.  I didn’t sand before I primed, but I lightly sanded everything but the screened areas after the primer was dry.

I tried to spray paint the color coats on the piece out of laziness, but the finish was AWFUL.  It was blotchy in places and shiny in others.  I ended up lightly sanding it (again) and just painted it with satin latex paint and a brush.

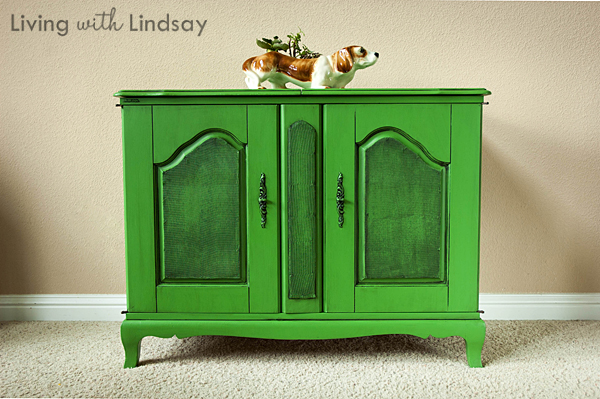
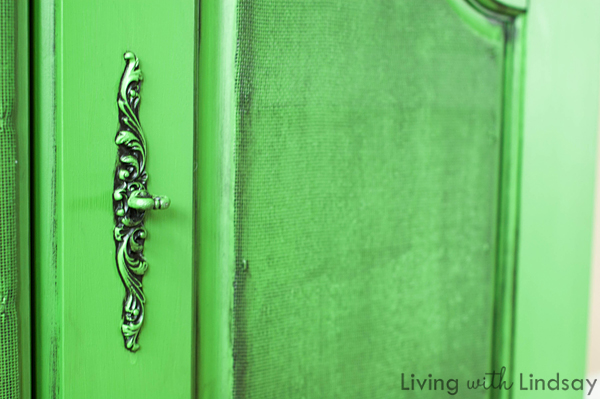
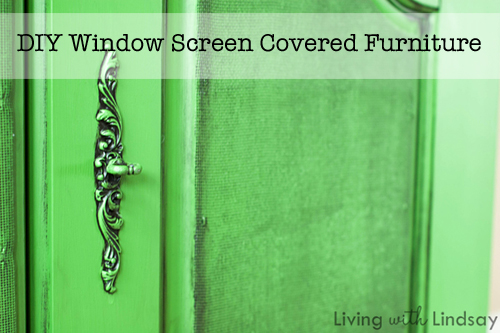
When the paint was dry, I glazed it using my favorite technique.  On the screened areas, I over removed the glaze in some parts (by wiping the glaze with a lot of pressure) and under removed the glaze in others.  The end result was nothing short of awesomesauce.

GAH!  Right?  Here are some other detailed shots of my new favorite furniture transformation technique.

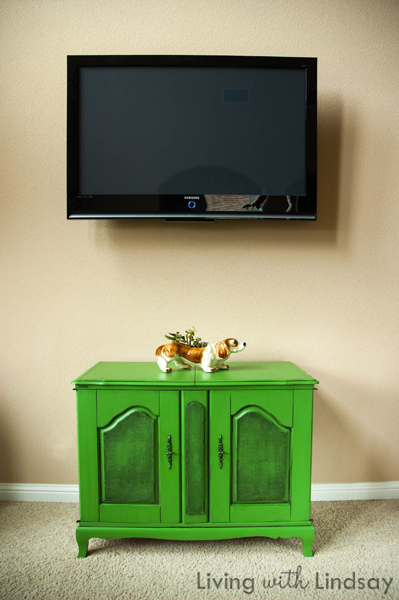
For now, it sits underneath the TV in our living room.  All of the ugly cable/Roku/Wii/DVD boxes are contained within.  It works out perfectly, because there is no back to the cabinet (so the original stereo components wouldn’t get overheated).  When we watch TV, we just have to open one of the doors for the remotes to work with our components and then they are hidden the rest of the time.

It’s not necessarily going to live right there forever since the living room will get Lindsay-fied next year, but I like being able to enjoy it every day for now.

What do you think about my window screen covered furniture invention?  I think it’s pretty cool myself!  The texture gives it a really different vibe.

Welcome inside the house, little homeless vintage stereo cabinet.


« Previous Page
Next Page »
  • Email
  • Facebook
  • Instagram
  • Pinterest
  • Twitter

About Makely

Lindsay Ballard is a former college mascot turned political geek turned roller derby playing, DIY fanatic.

Lindsay chronicles her projects, design ideas, and lifestyle tips here at Makely, where she shares tutorials and inspiration. Her DIY designs are bold and graphic, while her spirit is fun and full of color.


Archives

Categories

PRIVACY POLICY
Copyright © 2009-2019 Makely School for Girls | All Rights Reserved | Posts may contain advertising content or affiliate links