Makely

Let's Make Life Awesome

  • Home
  • Decorating/DIY
    • Create Your Decor
    • Decorate Your Home
    • Paint Your Walls
    • Transform Your Furniture
  • Healthy Living
    • Essential Oils
    • Family Wellness
    • Household Care
  • Project Gallery
  • Contact
You are visiting: Home » Archives for Lindsay Ballard » Page 237

Shining a Light on a New Obsession

by Lindsay Ballard on August 15, 2011 69 Comments

I have a fascination with interesting light fixtures.  Perhaps it’s because most of the ones in my home are just standard builder’s grade uglies, but when I see a neat looking fixture, I begin obsessing over it.

Case in point: When Rhoda and I were “shopping” for accessories for the Shaw/HGTV Design Challenge, we decided that we needed a really fun chandelier to hang over the dining table.  The in-house designer who was helping us said, “What about a cardboard chandelier?”  The look on my face must have been really strange, because she said, “No, really.  It’s super cool.”
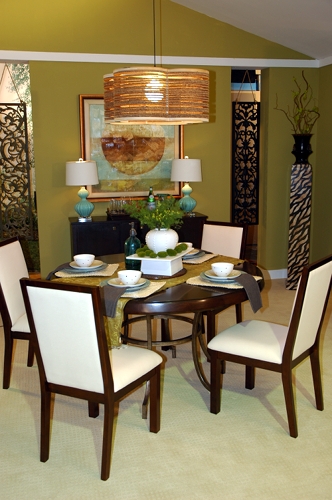
Um, yeah it is!  Once I had my hands on this chandy, I tried to figure out a way to fit it into my suitcase.  I talked pretty much non-stop about it for a day and a half (and I’m sure everyone else who was within earshot was ready to shove it down my throat).
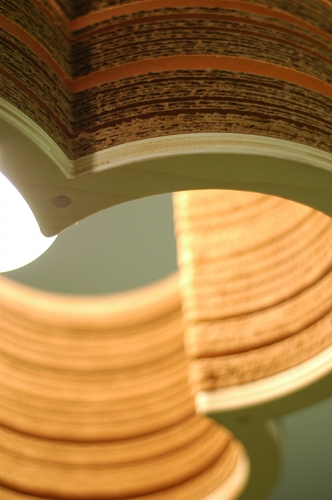
Made of plywood and layers upon layers of corrugated cardboard, this chandelier was like nothing I’d ever seen.  I made the determination that I HAD to have this chandelier to hang in my own home.  It is just too amazing to forget.

When I got home, I tracked down the designer.  The genius behind this and many other modern, eco-friendly accessories is Joe Manus of Shiner International.  Everything they use in their products were at one time destined for the landfill.  An interesting light fixture AND its good for the environment?  Yes, please!

Other than the Cardboard Clover Hanging Light (which retails for under $200), Shiner offers an array of products ranging from lighting to furniture.  Here are some runner-ups to my one true love:
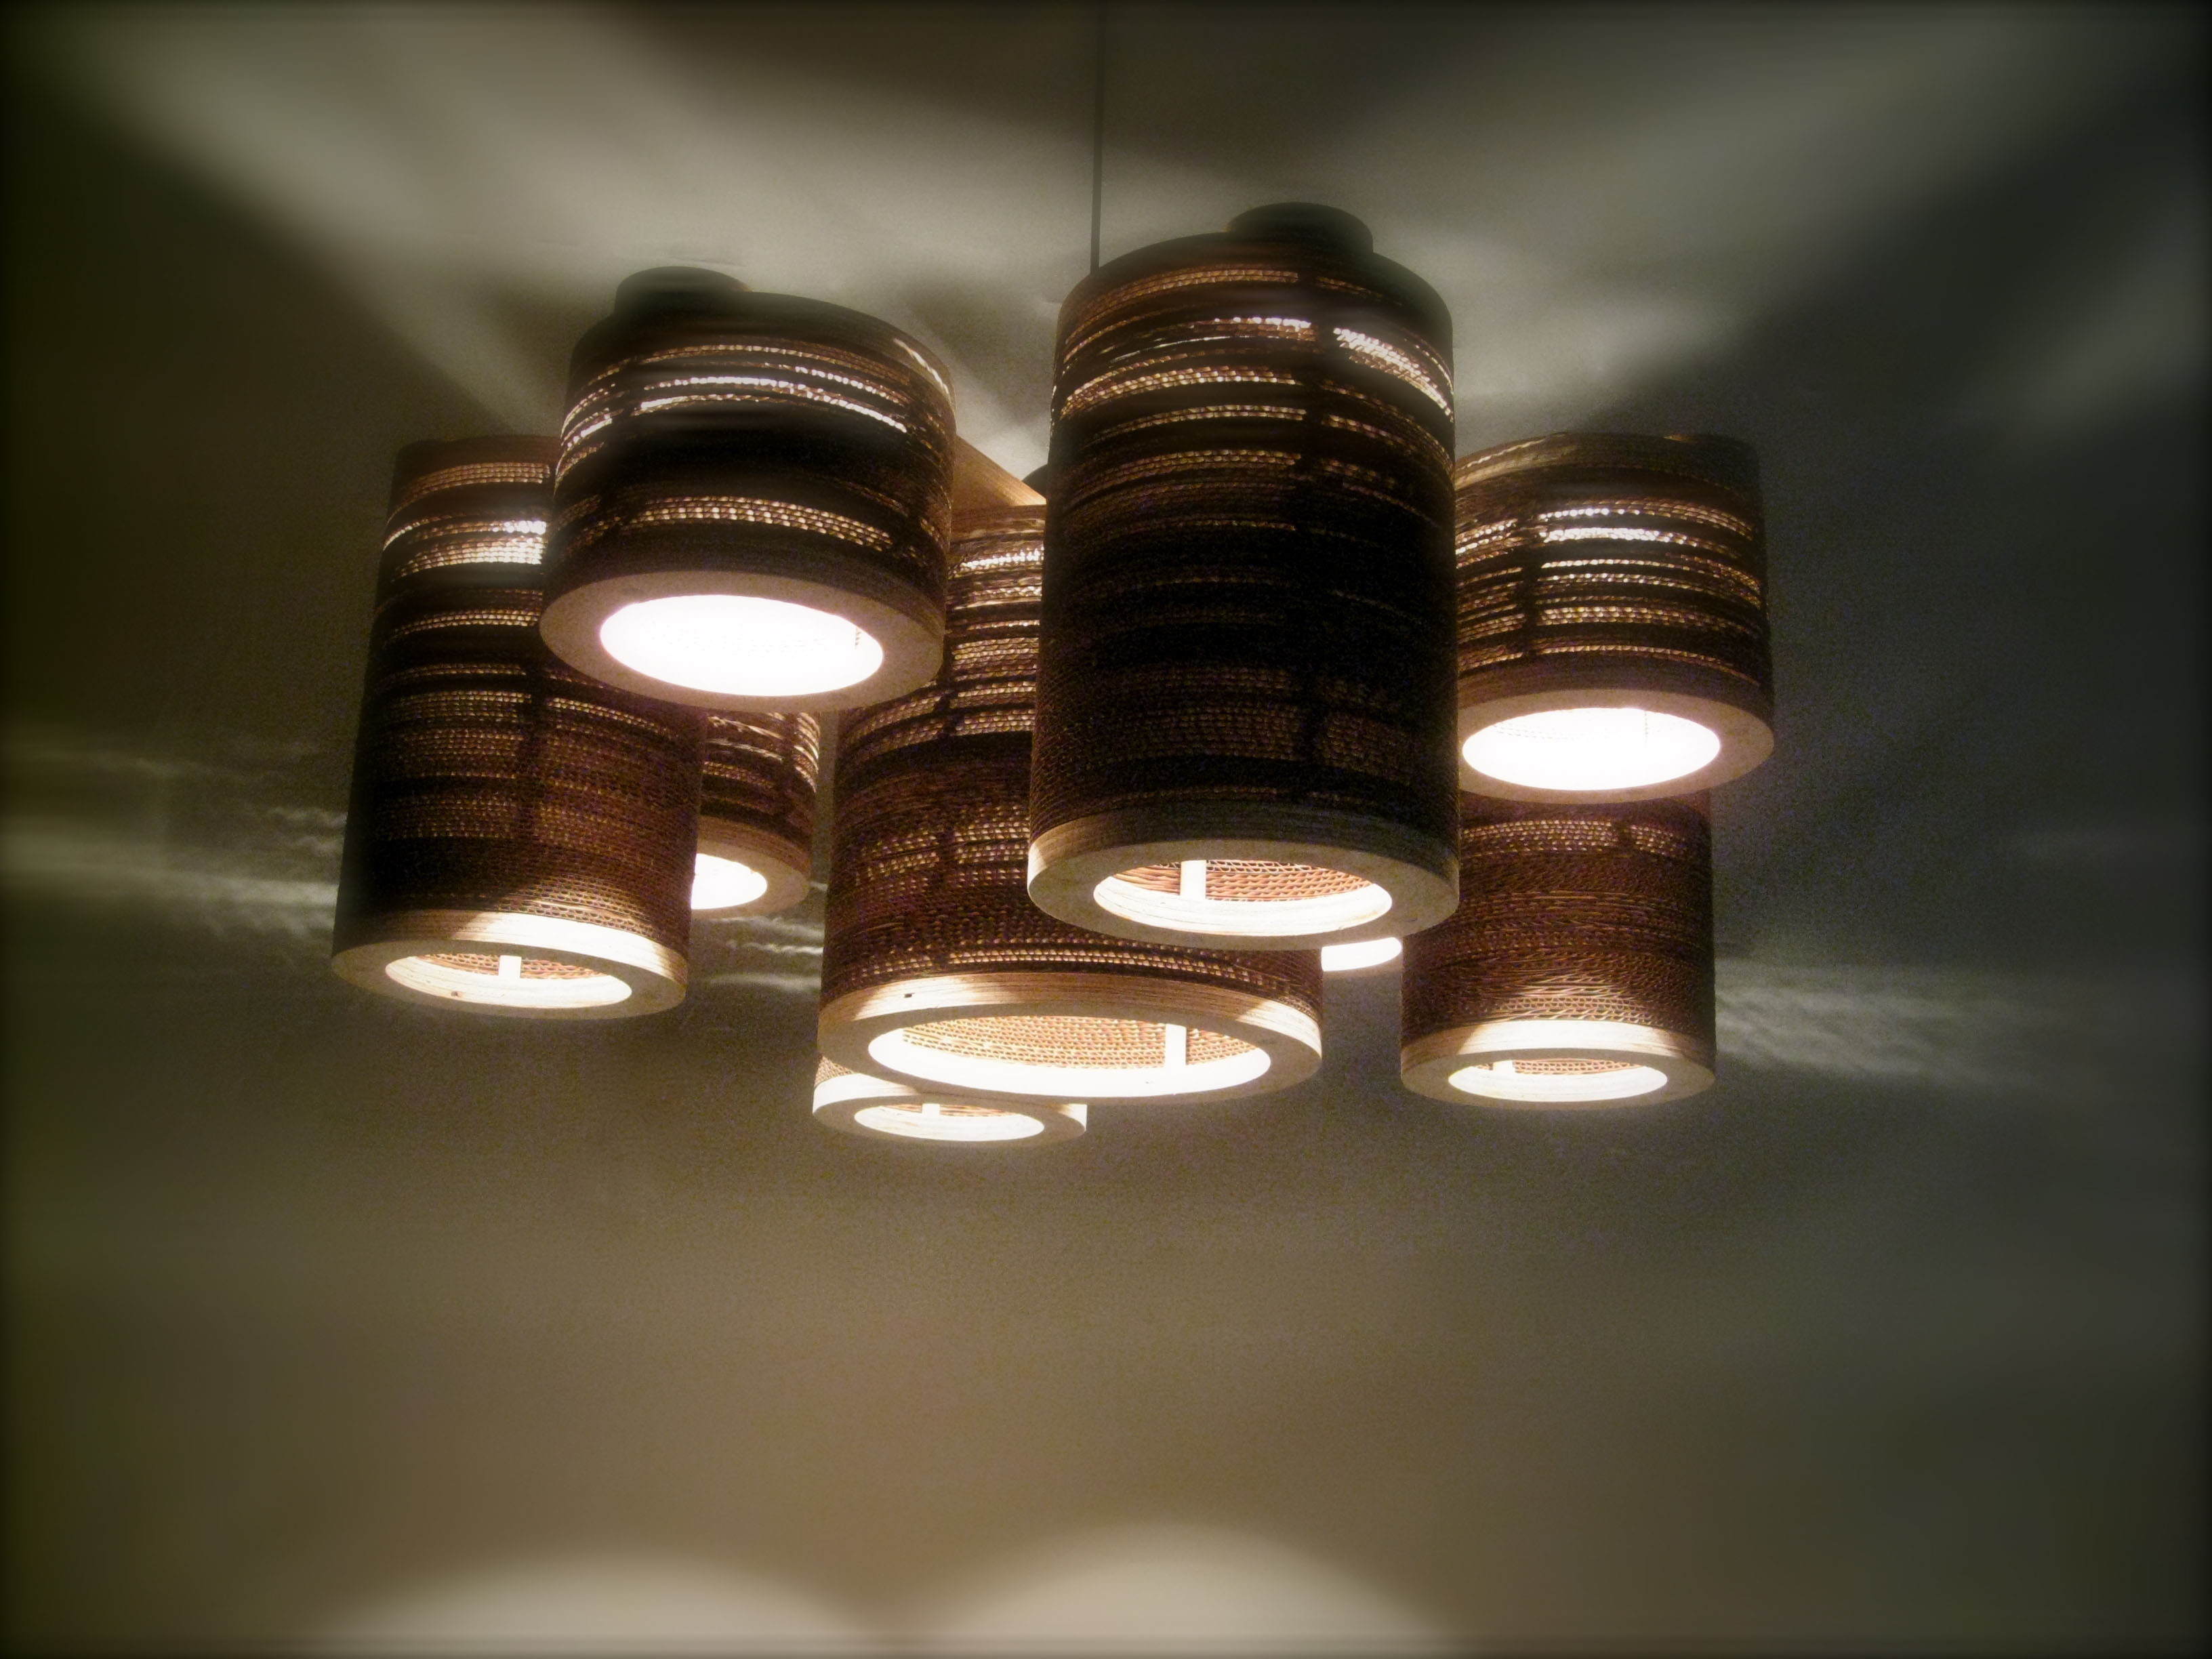
Revolver Chandelier

Mood Rocking Bed

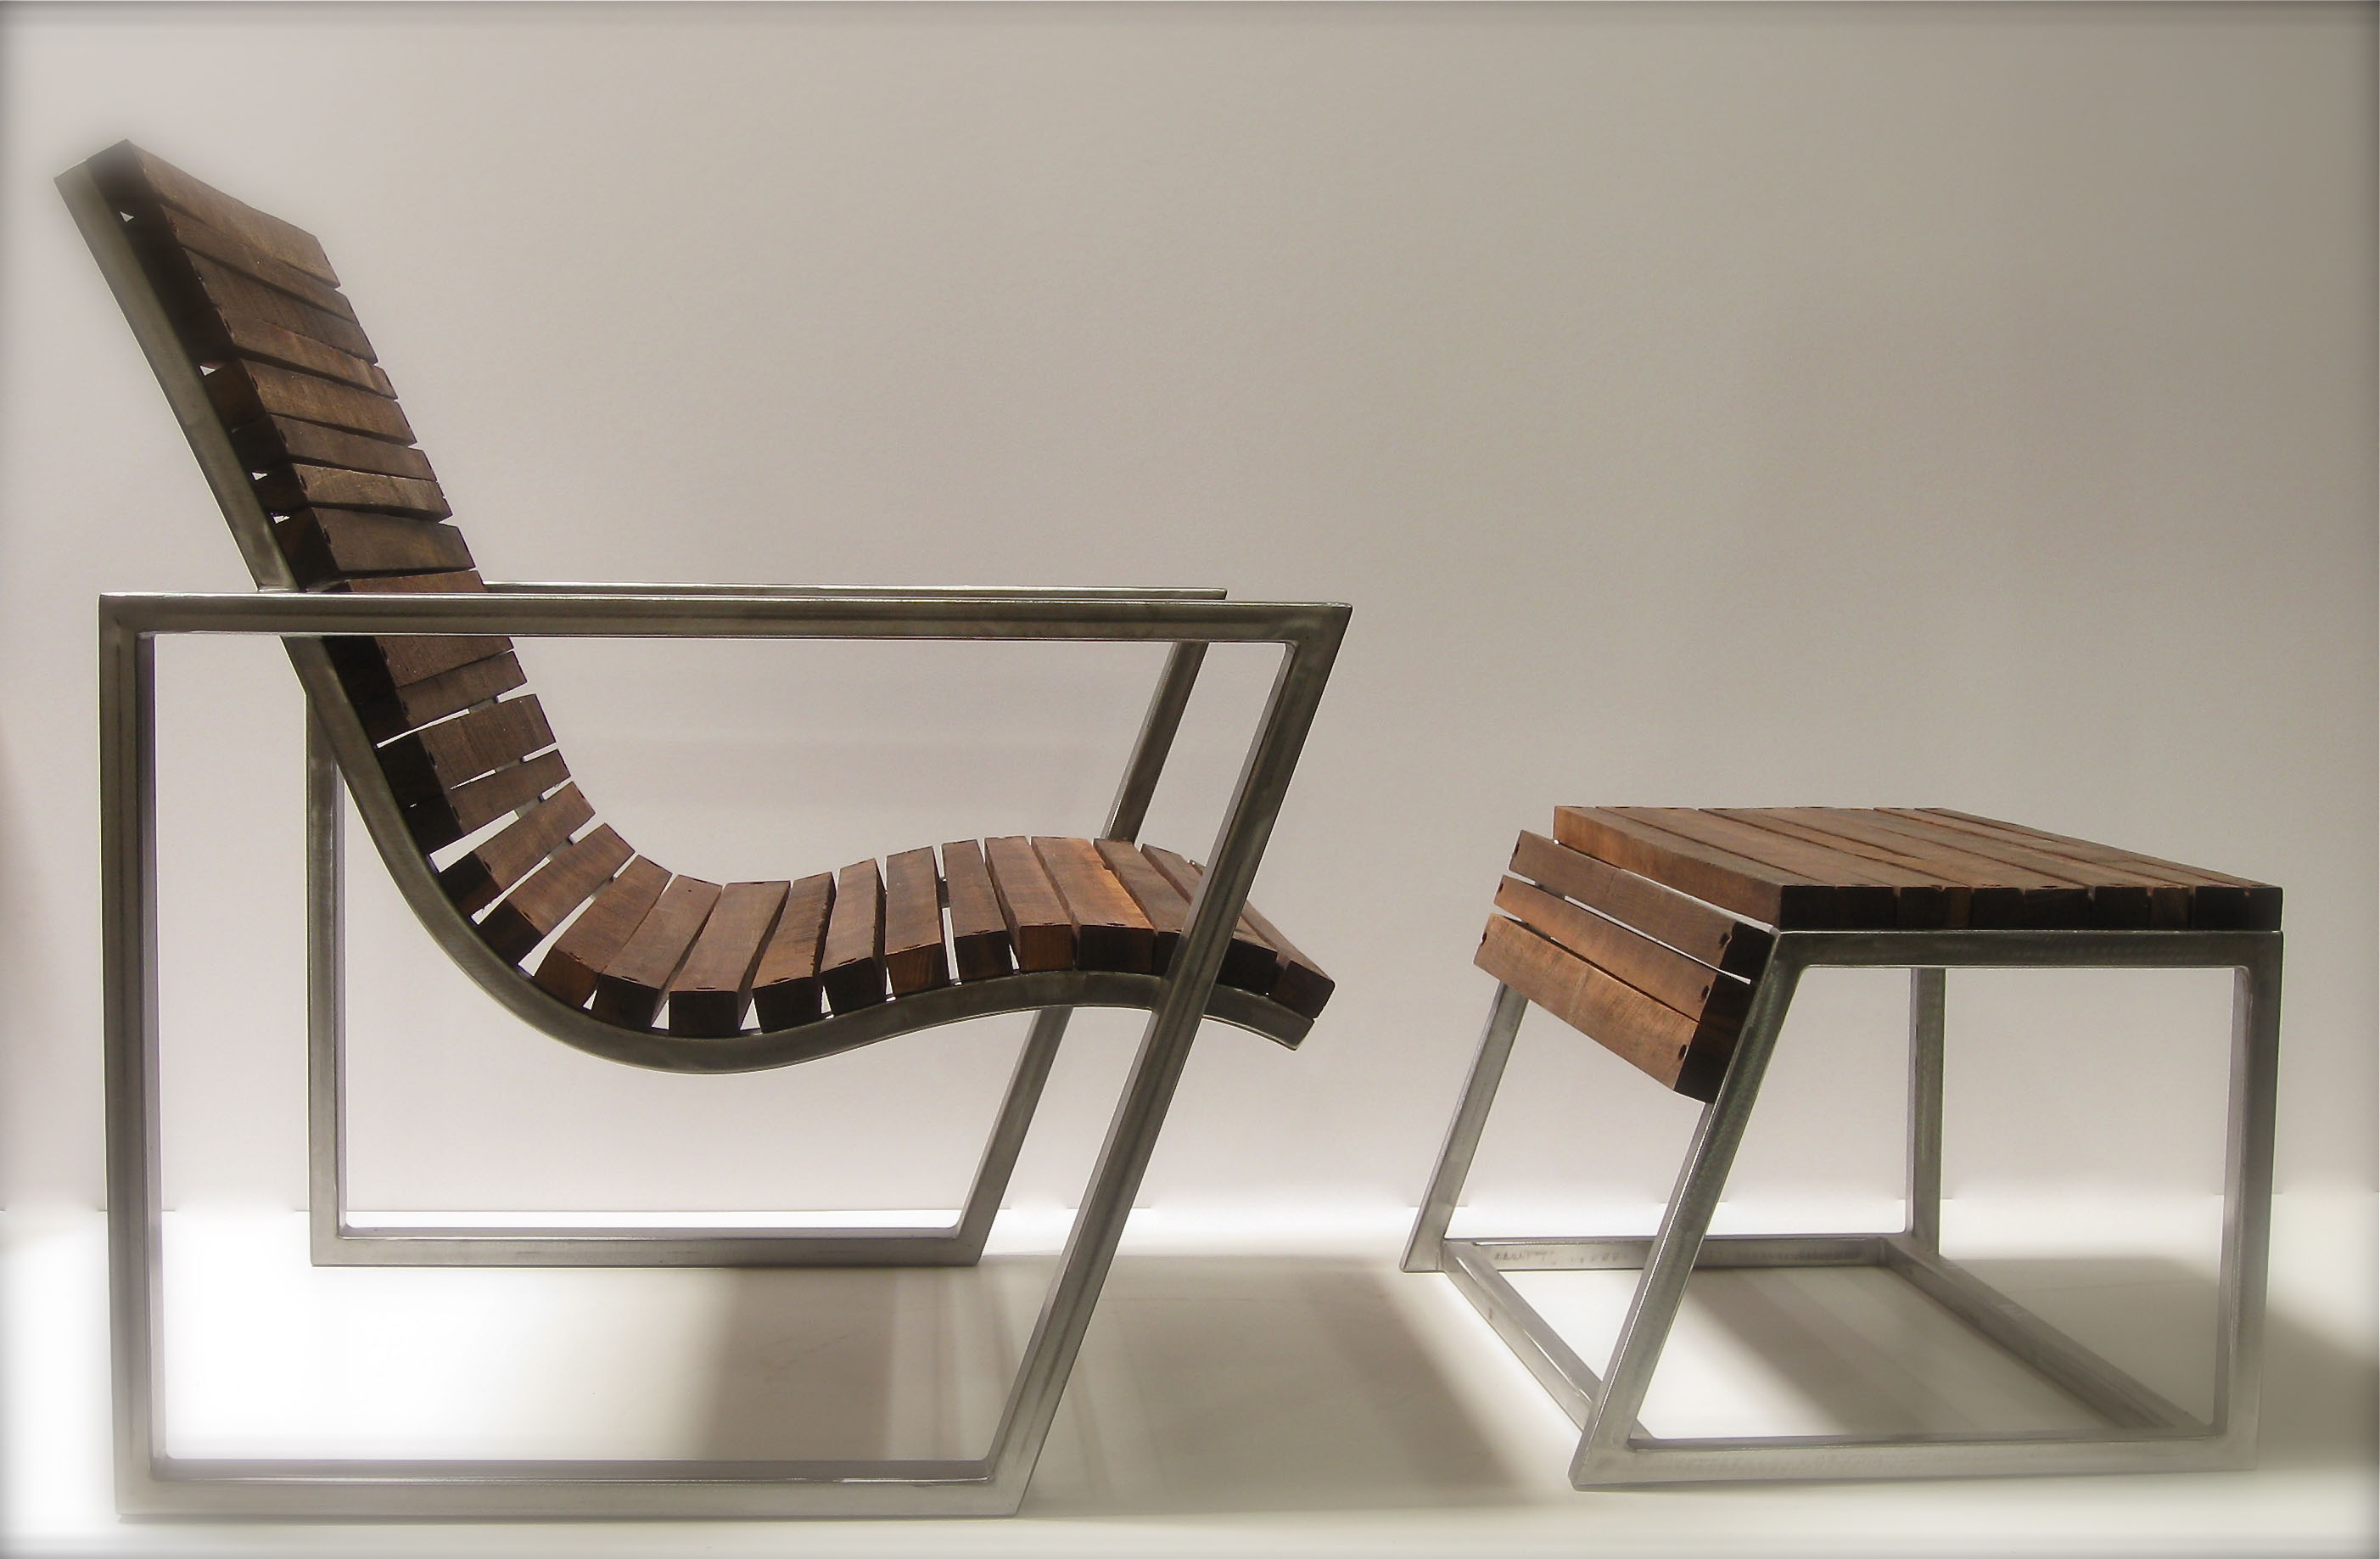
Friend Chair and Ottoman

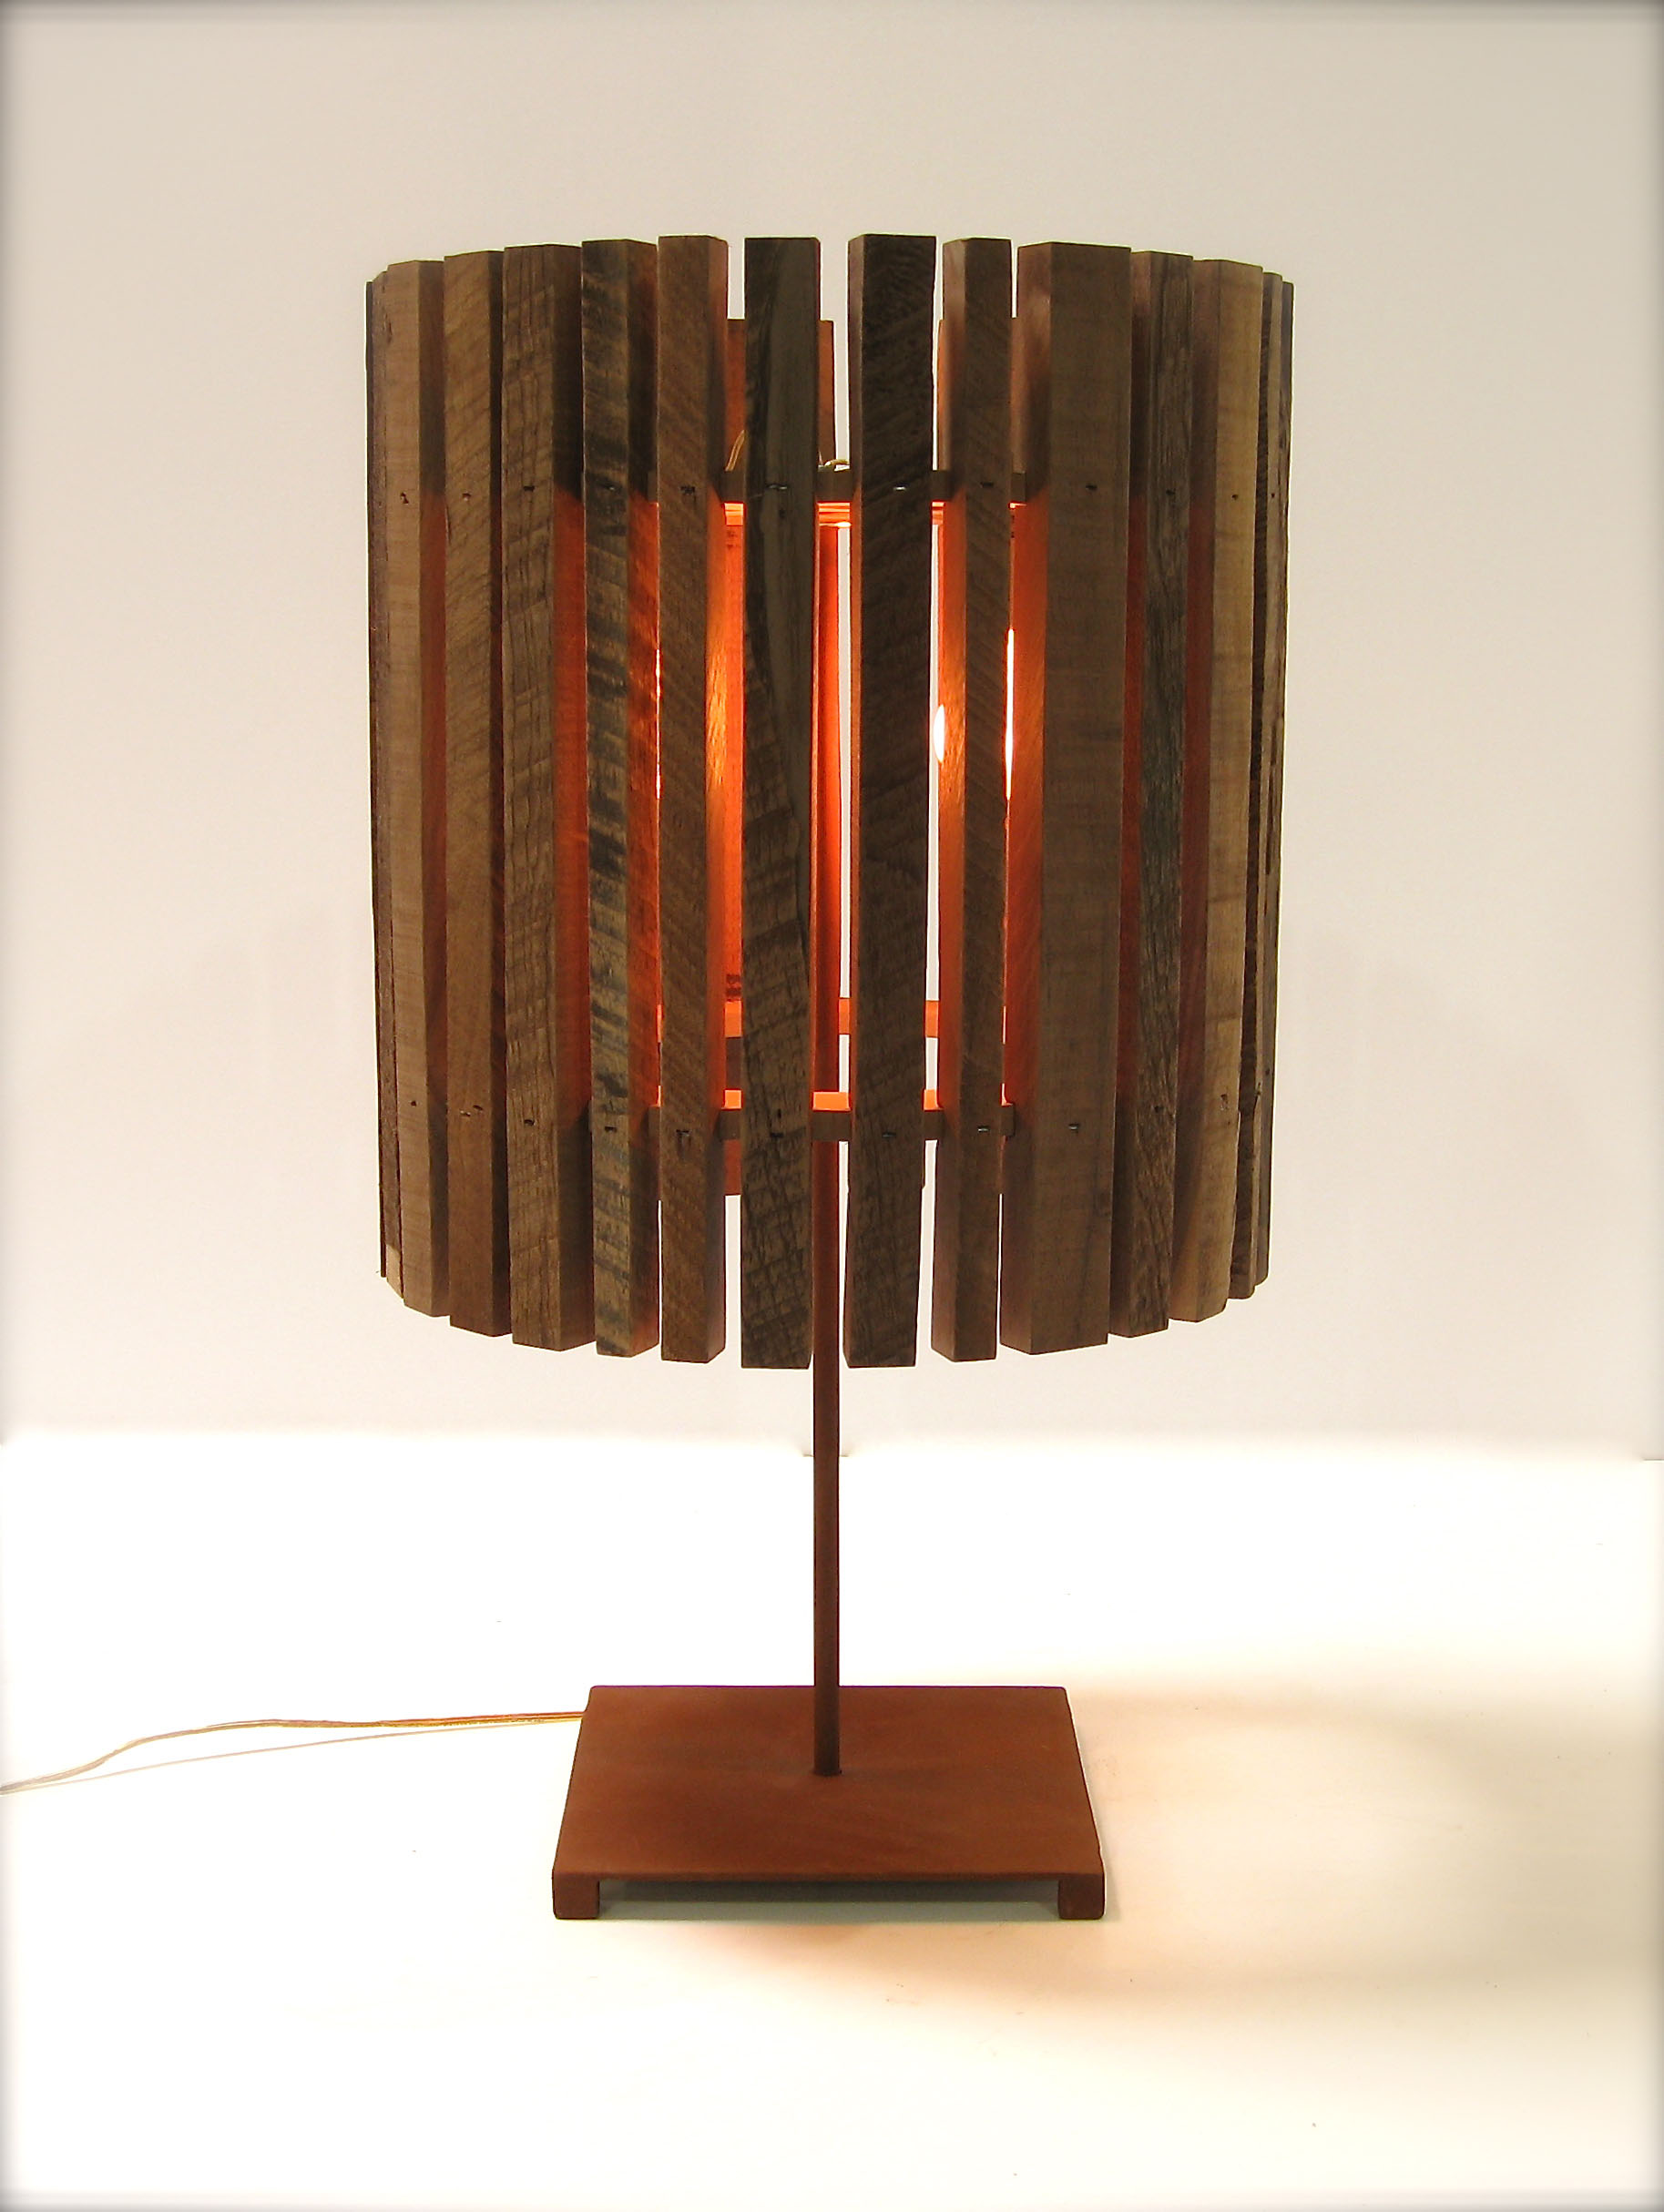
Drop Desk Lamp

I absolutely love stumbling upon fun products like this, and I just had to pass these along.  Shiner sells their products direct or you can contact them to find a retailer.  One day (hopefully soon), that chandelier will hang over MY dining table instead of in the fake room we designed in North Carolina.

Could you see any of the Shiner products fitting into your home or style?

P.S. Have you entered the Shaw Floors/HGTV Home Area Rug giveaway?  Tomorrow is the last day to enter, so be sure to throw your name in the hat!
Everything You Ever Wanted to Know about Sandpaper

by Lindsay Ballard on August 11, 2011 1,701 Comments

Okay, so maybe not everything. If you are a master carpenter, you should probably just move on to the next topic in your Google Reader. However, if you are just an average DIY guy or gal like me, perhaps I can help.

Sanding is one of the DIY tasks that I really despise, but it is absolutely necessary.  To make the job move a little quicker, I taught myself a few things about the process and materials so that I could sand more effectively.

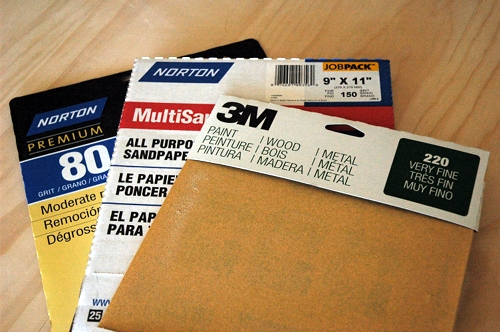
Sandpaper Grits and When to Use Each One

As you’ve seen in your local home improvement centers, sandpaper comes in a vast array of grits. The larger the abrasive material that’s glued to the sandpaper, the more coarse the paper and the lower the grit.

Generally, I have found that there are four ranges that I use when working on wood projects:

  • 80/100 – Coarse – Use these grits when you are removing a previous finish from a project (like sanding off paint) or if you are working with wood straight from the lumberyard or home improvement center;
  • 120/150 – Fine – Use these grits for sanding bare wood in preparation of finishing;
  • 180/220 – Very Fine – Use these grits for sanding bare wood right before finishing;
  • 240 – Ultra Fine – Use this grit in between poly and other clear finish coats.

There are also “microgrits” – those that go above 240.  They are used for polishing metals and for sanding wood when you need a super-de-duper glass smooth finish.  I think they go up as high as 3000.

You may wonder why the descriptions for “Fine” and “Very Fine” are essentially the same.   That is because you need to take a step down approach with sandpaper. If you start with a “Coarse” paper, you should then use the “Fine” and “Very Fine” before you get to “Ultra Fine.”  Skipping a range will make it difficult to get to the smooth finish you desire, as it will take you much longer to get down to that finish.

When the sandpaper you are using no longer feels rough to the touch, it’s time to use a new sheet.  Don’t skimp on sandpaper and try to use it until it rips.  Your project will sand much quicker if you change out the sandpaper often.

Sanding Tools

Other than sandpaper, there are a few tools that you will need.  At the very least, you need a sanding mask and safety glasses.  You really don’t want the sanding dust (the leftover grit and wood debris) to get in your lungs and eyes.  PLEASE wear a mask and glasses.

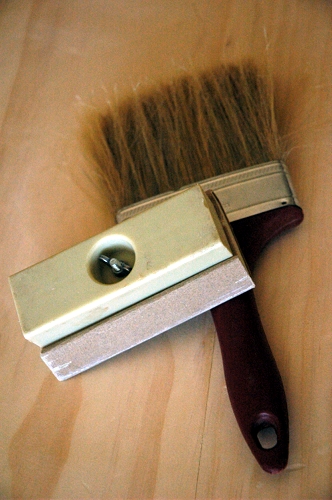
The next level of items you will need are a sanding block and an old paint brush.  Instead of buying the sanding sponges that come in different grits, I recommend buying a plastic block that you can fit to your own sandpaper.  You can buy one package of flat sandpaper instead of a bunch of different sanding sponges.  In my experience, the flat sandpaper lasts longer than the sanding sponges anyway.  The old paint brush is used to brush the sanding dust off of your project.

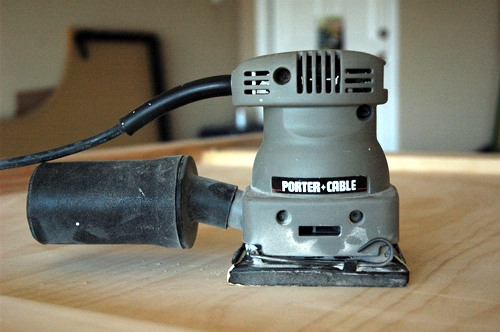
The third thing I’d recommend is a finish sander.  This tool is easy to use and makes sanding go faster than just sanding by hand.  They are inexpensive (mine was under $40 at Lowe’s) and they use a 1/4 sheet of the flat sandpaper that you already use.  If you can only afford to buy one sander, get one like this.  When sanding, you’ll want to move the sander in different patterns (figure 8s, circles, etc) instead of just going back and forth since it doesn’t make a random orbit.

If you are super fancy and want to buy two sanders, you’ll also want to get a belt sander.  The reason why you don’t want to ONLY have a belt sander is that it requires sanding belts.  You generally won’t be able to find sanding belts finer than 180 at your local home improvement center, so you won’t be able to use the belt sander for any sort of finish sanding.  You can find finer sanding belts online, but you would really have to plan ahead for your projects (and hope that you order enough that you don’t run out).

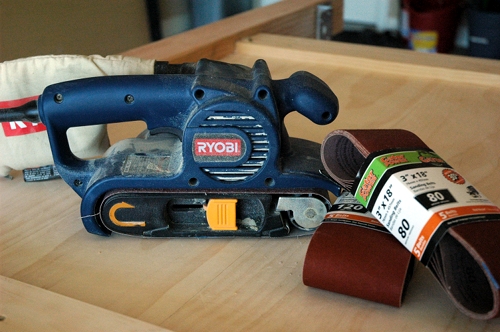
This baby has a lot of power and will require two hands to hold it.  However, you will be able to sand your project so much quicker than using just a finish sander.  Honestly.  You will be blown away at how quickly it goes with a belt sander.  We have this Ryobi model from Home Depot, and it cost about $50.

There are several other types of big boy (or big girl) sanders that cost more, but I’ve never felt the need to have any of those.

What else do you want to know about sanding?  Let me know and I’ll try to answer!

P.S. Have big plans to improve your home this summer?  From now until August 14, visit TheBagsterProject.com to enter Waste Management’s The Bagster ® Summer Home Improvement Project Sweepstakes for a chance to win $10,000 to put towards your home improvement project.

NO PURCHASE OR USE OF BAGSTER NECESSARY. Void where prohibited. Open to legal residents of the 50 U.S., D.C. or Canada (except Quebec) who are, as of Entry, 21 years of age or older. Promotion starts at 12:00:01 AM (ET) on 6/20/11 and ends at 11:59:59 PM (ET) on 8/14/11. Click here for Official Rules. Sponsor: WM Bagco, LLC.

« Previous Page
Next Page »
  • Email
  • Facebook
  • Instagram
  • Pinterest
  • Twitter

About Makely

Lindsay Ballard is a former college mascot turned political geek turned roller derby playing, DIY fanatic.

Lindsay chronicles her projects, design ideas, and lifestyle tips here at Makely, where she shares tutorials and inspiration. Her DIY designs are bold and graphic, while her spirit is fun and full of color.


Archives

Categories

PRIVACY POLICY
Copyright © 2009-2019 Makely School for Girls | All Rights Reserved | Posts may contain advertising content or affiliate links