Painting textured walls can be a challenge. Every time we paint, we think that we have the walls perfectly covered, until a few days later when we find tiny little dots that we missed due to the “knock down” texture. It’s become such a routine with our painting that touching up a few days later is one of our expected steps.
So, you can imagine how nervous my husband was when I told him that we were going to paint huge zig zag stripes on two of our master bedroom walls. Textured walls can be a bear to paint when you need lines with perfectly crisp edges, and Mr. Perfectionist wanted it to be 100% perfect. Perfect, perfect, perfect. Marsha, Marsha, Marsha.
Luckily for him, he has perfected (heh) his crisp line painting technique over years of my crazy decorating schemes. He agreed to let me photograph the process so that I could help you create the most perfect lines ever.
1. Paint your entire wall the base color. If you don’t know which color should be your base, always go with the lightest. In our room, our stripes are dark gray and white, so we painted the walls white as the base color.
2. Tape off your stripes with the blue Scotch 3M Delicate Surfaces with EdgeLock painters tape. No, the company did not ask me to say that, nor did they give me anything for saying that, but it is our tried and true tape. You can pick it up anywhere that sells interior paint. We generally just buy the 1″ width. We’ve used the more expensive green tape before, but I’m going to tell you right now that we do not think it is worth the extra expense when you use this method (and it certainly doesn’t work on textured walls without using this method).
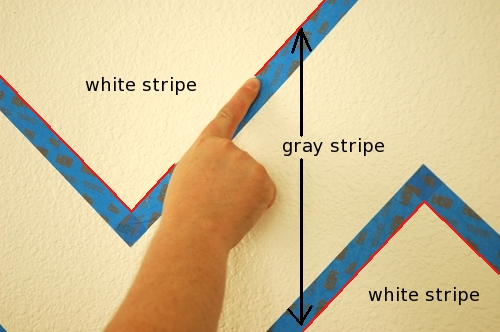
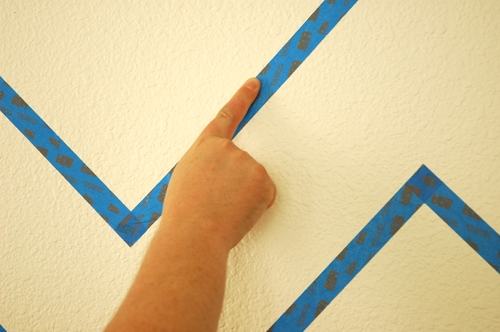
3. With your finger, press down on the inner edges of the tape on the stripe that will be your secondary color (gray) to make sure that it adheres to the lower portions of the texture. When I say inner edges, I mean the edges that will come in direct contact with the alternate paint color. In my example, you’d press down on the areas highlighted in red.
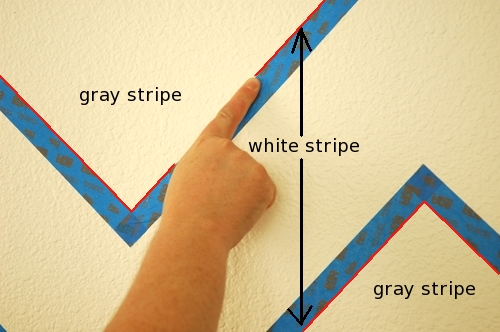
Don’t just use a straight edge, credit card, brayer, or the like to try to do this. It needs to be your finger so that you can reach down in the lower texture.
4. Using a foam brush, dab your base color into the area of your tape you just pressed down. What you are doing is letting a little bit of paint seep under the tape. Once it dries, it seals the line, so that your secondary color won’t run underneath and ruin your line.
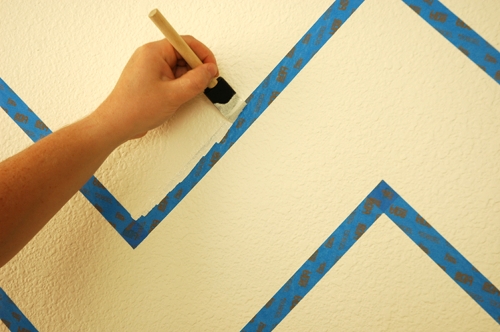
5. After you dab the paint, run the brush back over your dabs to smooth the paint. You don’t want it to dry all lumpy.
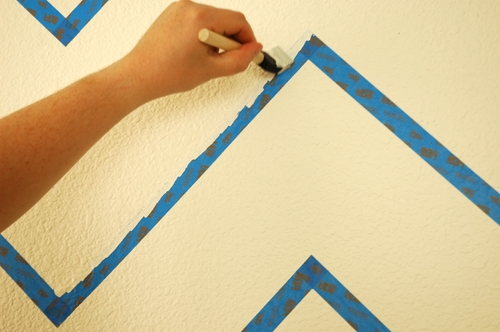
6. Paint the edges of each stripe in the way described above and allow the paint to dry completely.
7. Using your secondary color, paint your stripes inside the tape lines and carefully remove the tape before the paint dries.
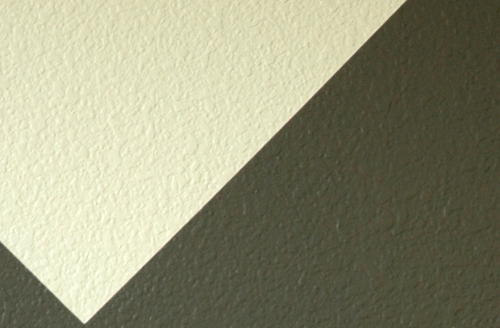
Clear as mud? It is a much simpler process than it seems.
For our chevron stripes with the silver accent line, we painted the walls as if there were only going to be white and gray chevrons, as detailed above. Then, we retaped underneath each gray stripe and followed the above technique to add the silver line. In that case, we dabbed the gray paint on the top tape line and white tape on the bottom tape line.

The process will the the same for any type of stripe you attempt – vertical, horizontal or zig zag. In fact, this is a great way to tackle any wall where you need a perfectly, crisp line.
Do you have any painting stripes tips to add? Let us know in the comments!