Makely

Let's Make Life Awesome

  • Home
  • Decorating/DIY
    • Create Your Decor
    • Decorate Your Home
    • Paint Your Walls
    • Transform Your Furniture
  • Healthy Living
    • Essential Oils
    • Family Wellness
    • Household Care
  • Project Gallery
  • Contact
You are visiting: Home » Decorating/DIY » Create Your Decor » Page 113

How to Cut Glass

by Lindsay Ballard on March 22, 2010 2,437 Comments

Have you ever broken a piece of glass in a picture frame?  Or picked up a great frame at a garage sale that was missing the glass?

That has certainly happened to me plenty.  I used to think that the only way to replace the glass was to buy it at a home improvement store or craft store.  But then, it only comes in certain standard sizes, and we all know that picture frame glass is rarely a standard size – it’s always seems to be just a wee bit smaller than it should be if it’s even close to standard.

Let me show you a simple way to cut glass to any size you want.  All you do is measure, draw a straight line, and snap.  It’s really that easy!

How to Cut Glass

1.  Measure the inside of your picture frame so that you know the exact size to cut the glass.

2.  Lay down a thick towel (I use a beach towel) to protect your workspace.  Your towel won’t be damaged, but it’s best to protect your surface from glass knicks.

3.  Wipe off a larger piece of glass with a soft cloth (I used a left over piece of glass I had removed from a frame for another project).  Do not use Windex, but you may use water if you need to.  Measure out the height you need with a tape measure or ruler on one side of the glass.  Draw a straight line using a felt-tiped pen or dry erase marker.  I always mark my lines 1/8″ smaller than I want the final cut to be due to the way my glass cutter is set up (see Step 4).

4.  I bought my glass cutting tool at Hobby Lobby, but they should be available at any craft or home improvement store.  It has an angled head on one end with a small rotating cutter disc on top of the head.

When you line the head up with your straight edge (like you would do if you were cutting a straight line with any sort of blade), the disc is about 1/8″ away from the straight edge.  That’s why I mark my measurements 1/8″ smaller than I want my final cut to end up.  Does that makes sense?

5.  Armed with my work gloves and eye protection, I line up my straight edge against my marked line and use the glass cutter to make a straight line down the glass.  You don’t want to push too hard – only hard enough that there is a hairline cut in the glass (see the white line in the picture below).  Don’t worry, the cut doesn’t go all the way through the glass.
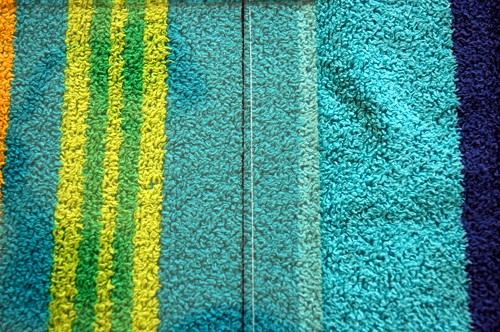
It’s very important that you DO NOT take your glass cutter off of the glass while you are making the cut.  If you do, it will cause the glass to break unevenly.  The cut should go entirely from one end of the glass to the other.

6.  Once your hairline cut is made, all you have to do is snap the glass at the cut.  To do this, simply hold the glass on each side of the cut and then snap it AWAY from you.  You will be impressed with your straight line!

Note: It is MUCH easier to snap the glass where the piece coming off is at least an inch or so wide.  If you are trying to just trim off a tiny piece of glass, you are going to need a lot of force to get that piece to snap off.

7.  Repeat the process for the glass width you need for your picture frame.
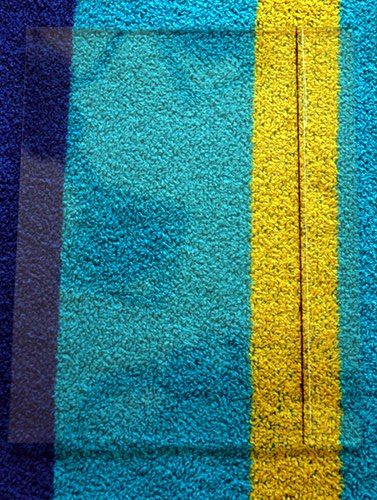
8.  You’re done!  Add it to your picture frame and you are good to go.

Any questions? Have you tried this process before?  Let me know in the comments.
Easter Round-Up

by Lindsay Ballard on March 18, 2010 1,834 Comments

Ahhhh….the birds are singing, the sun is shining, and my blog feed is finally working.  That must mean that Spring is definitely here.

In honor of my favorite season of all (which, ironically, will only last 2.2 seconds before the 100+ degree summer hits in Texas), I thought it would be fun to do a little round-up of some of my favorite Easter and Spring themed projects and products.  There’s something here that everyone will enjoy!

Projects:

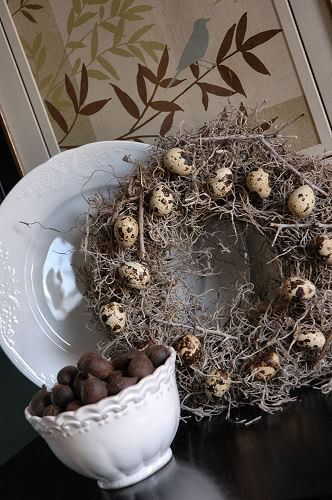
I put together this Quail Egg Wreath last year, and I love it.  I display it year around – displaying eggs during the Winter doesn’t scare me one little bit.

I love Lisa’s paper mache eggs.  Could she possibly be any more talented?  Impossible!

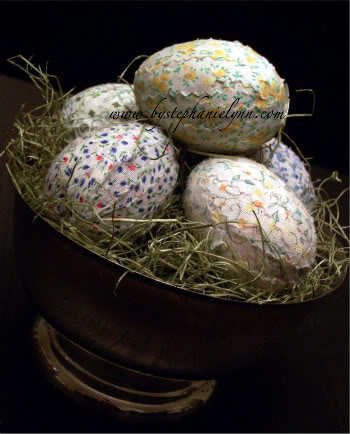
You could make Stephanie’s Fabric Wrapped Eggs to match any decor to use all Spring and Summer long.

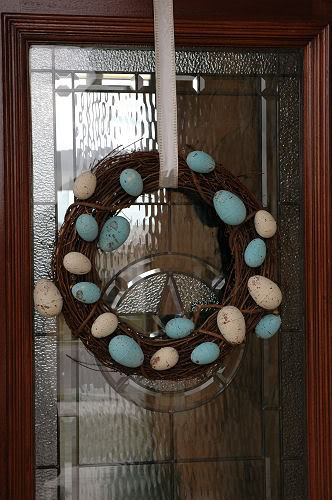
I made this Faux Mottled Egg Wreath last year, and it’s sitting in my closet waiting to be hung on my front door again this year.  That sounds like a project for today, doesn’t it?

As always, Kimba delights with this fun Moss Easter basket.

Amy has a few cute Simple Easter Paper Crafts over at Living Locurto.

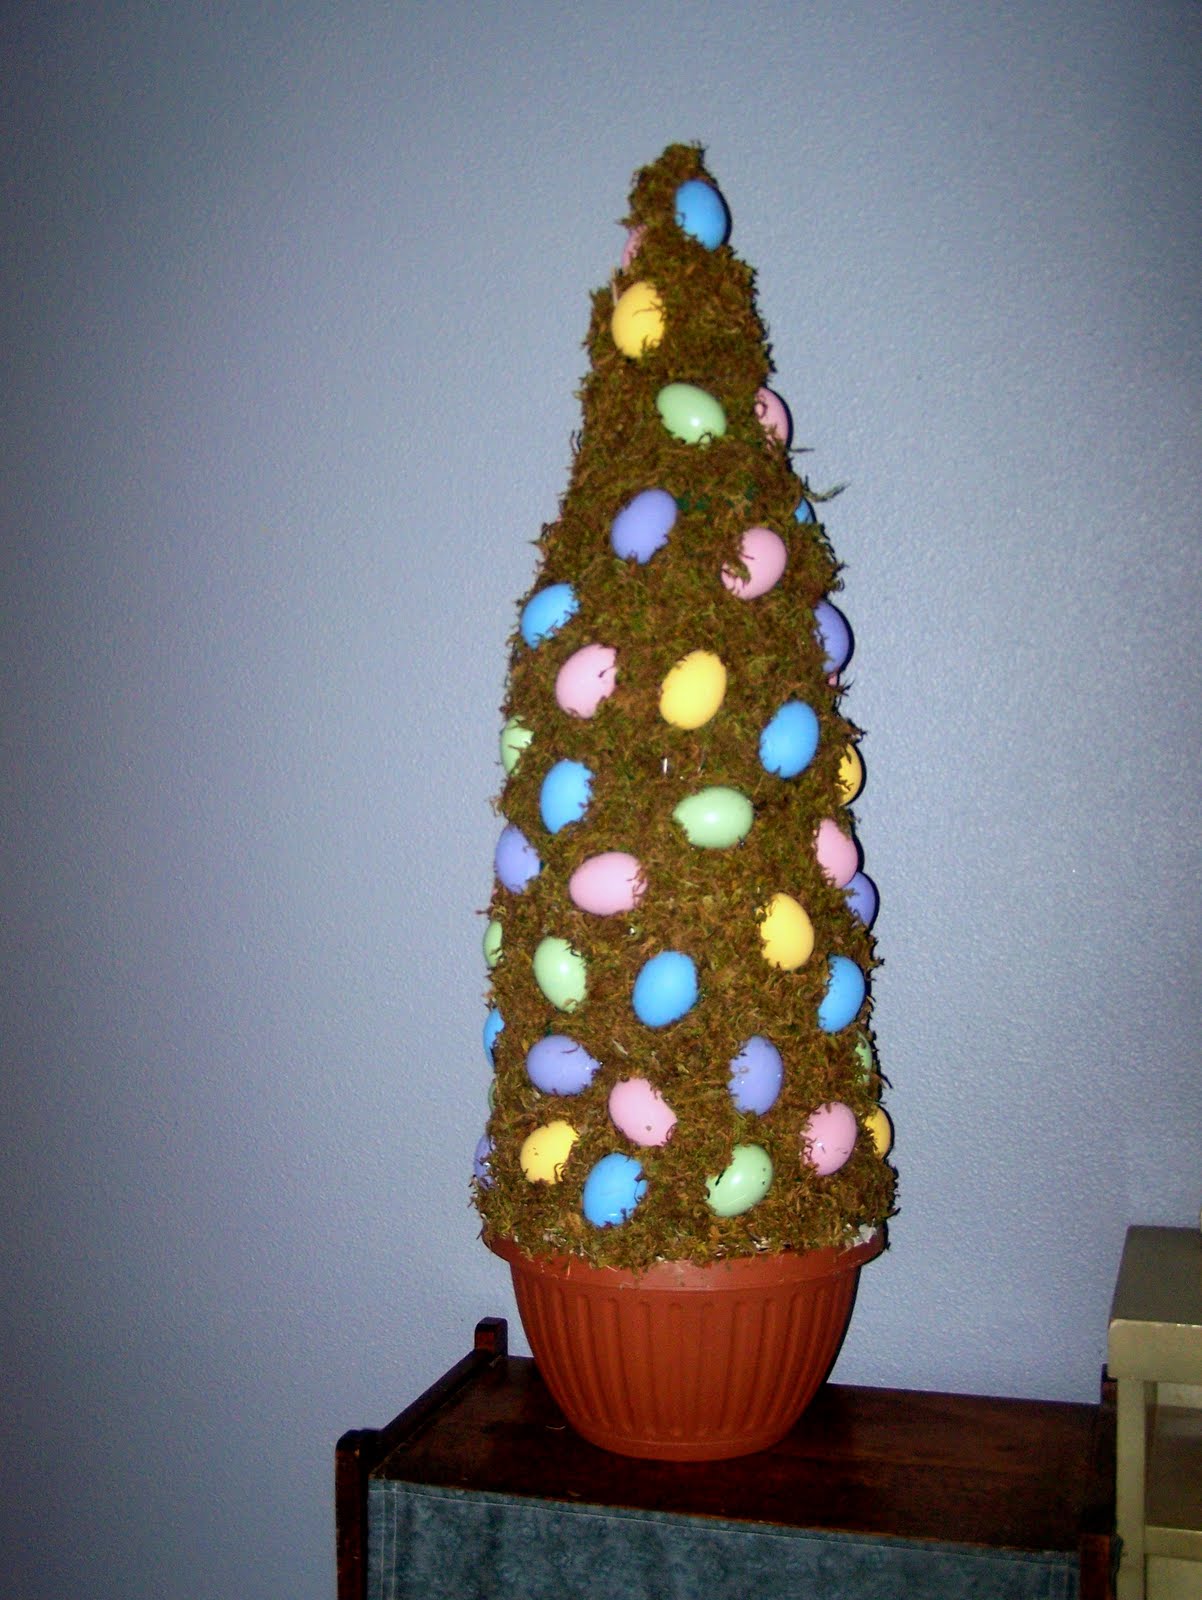
Who doesn’t love a good Pottery Barn Knock-Off?  Here, Kelly makes a PB-inspired Easter Egg Topiary Tree.

Products:

Feeling like you don’t have time to put together some Easter crafts and decor in time for Peter Cottontail’s arrival?  No problem!  Here are a few cute things you can purchase and have others do all of the hard work.

Gina’s Blue Bird Tea Towels are super cute (and very popular!).

The Blue Egg Wreath over at Inglenook Decor makes me want to click “Add to Cart” right now.  In fact, I think I may do just that.

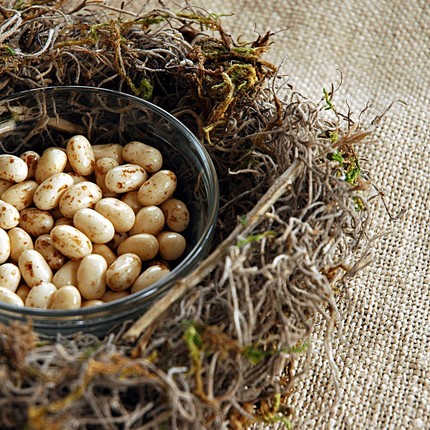
This Bird’s Nest Candy Dish is one of my favorite products in the Lindsay at Home Etsy store.  If you are lucky, you could win the $50 gift certificate I’m giving away over at the Nesting Place and you could grab this and a few other items.

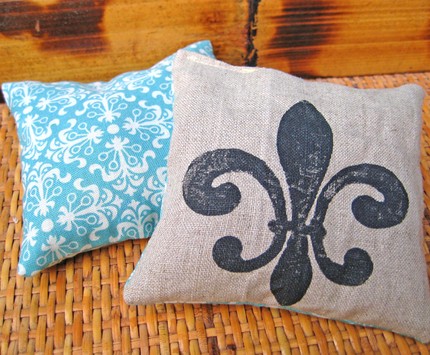
Kim’s Lavender Sachets would make any Easter basket smell yummy.

Jamie has some sweet tassels, including this fun Baby Blue and Brown Bird Tassel.

Becki’s sweet Believe necklace would be a perfect Easter gift.

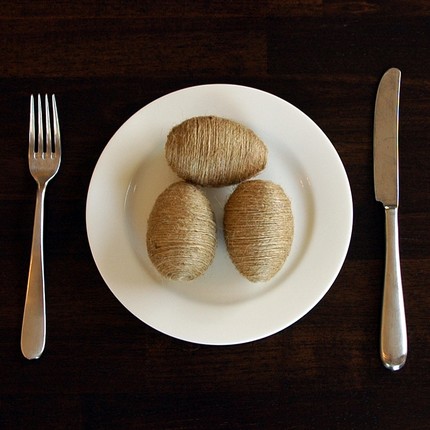
My Jute Eggs look good enough to eat, don’t they?  As one of my local friends said, “Yum, Fiber!”

********************

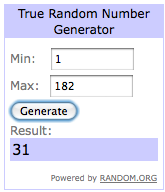
Now that my blog feed is working, I get to announce the lucky winner of the WordyBird Vinyl giveaway!  Congrats to Melissa Long who was lucky commenter number 31!

********************

Don’t forget that the Living With Lindsay $5 Challenge is coming up on March 25th!  Do you have your Dollar Store projects ready (or at least planned)?  If not, why don’t you see if you can kill two birds with one stone and also enter your project in the Dollar Store Crafts themed-challenge?  This time, the theme is placemats.

« Previous Page
Next Page »
  • Email
  • Facebook
  • Instagram
  • Pinterest
  • Twitter

About Makely

Lindsay Ballard is a former college mascot turned political geek turned roller derby playing, DIY fanatic.

Lindsay chronicles her projects, design ideas, and lifestyle tips here at Makely, where she shares tutorials and inspiration. Her DIY designs are bold and graphic, while her spirit is fun and full of color.


Archives

Categories

PRIVACY POLICY
Copyright © 2009-2019 Makely School for Girls | All Rights Reserved | Posts may contain advertising content or affiliate links