Makely

Let's Make Life Awesome

  • Home
  • Decorating/DIY
    • Create Your Decor
    • Decorate Your Home
    • Paint Your Walls
    • Transform Your Furniture
  • Healthy Living
    • Essential Oils
    • Family Wellness
    • Household Care
  • Project Gallery
  • Contact
You are visiting: Home » Decorating/DIY » Page 143

A Penny for Your Thoughts

by Lindsay Ballard on June 6, 2012 1,435 Comments

Last week, my husband was reading Reddit and came across an interesting DIY project idea.  We had just had a huge discussion about the future of our flooring at the hands of one of our dogs, and he jokingly suggested that we could just create flooring made of pennies.
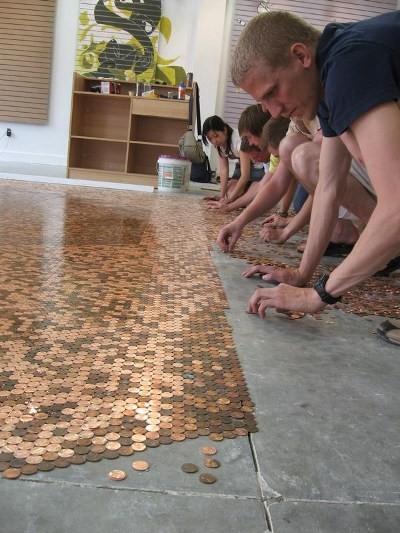
Floor at Revolver in Indianapolis

I seriously laughed out loud at the thought…but, I was a little intrigued.  I recalled that I had actually seen a wall covered in pennies in a restaurant.  I couldn’t remember where (perhaps Washington, DC?), so I started searching for images of it.  Lo and behold, there are TONS of creative people out there using pennies for unique decor.

Now, before anyone freaks out, it is not illegal to alter coins if you are not trying to pass them off as being worth more than they really are.  That’s what my fake law degree tells me…and also the Secret Service website.  If you choose to put together a coin project and are worried that the Secret Service is going to bust through your door, you should either a) consult a non-fake attorney or b) not do it.  Okay, stepping off my soap box.

Like I was saying, I came across a treasure trove of great DIY projects featuring tarnished pennies.  I loved them so much that I started a Pinterest board featuring them.  I’ll continue to add to that board as I run across more projects, but I wanted to show you a few today.
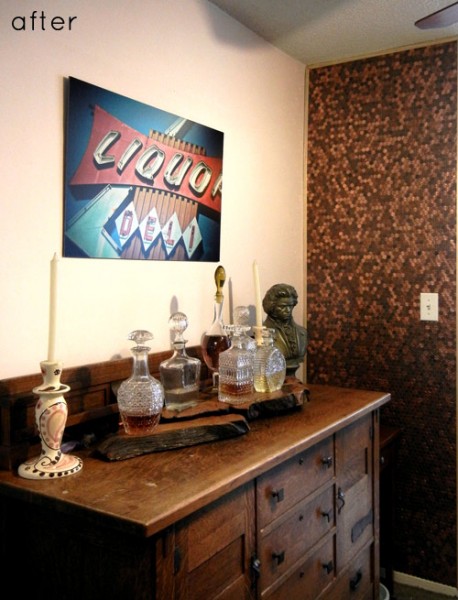
Lizzie at The Hip Soiree covered a wall in pennies – in a rental property!  She hung a piece of plywood so that they wouldn’t damage the landlord’s wall.  She used Elmer’s Glue and about $50 worth of pennies.  The result is gorgeous, and it looks fantastic with the vignette  she put together.
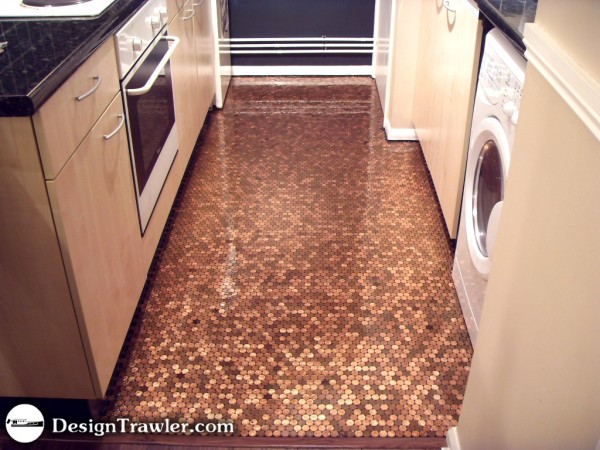
I found this beautiful penny floor on the “modern day mancave” site Design Trawler.  He used 7,500 pennies for this installation and completed the transformation in one weekend.  Me thinks he’s a way faster worker than I am.  From what I can tell, he just painted his kitchen tile black and started gluing.  I think the shimmer is beautiful – and I love the risk taken in a bachelor’s flat.

Ashley at Domestic Imperfection painted her old laminate bar countertop black and glued pennies on it with Gorilla Glue.  The bar was top coated with Epoxy for a smooth finish.  She learned a lot of do’s and don’ts along the way, so be sure to check out her post if you are considering a large scale penny project.
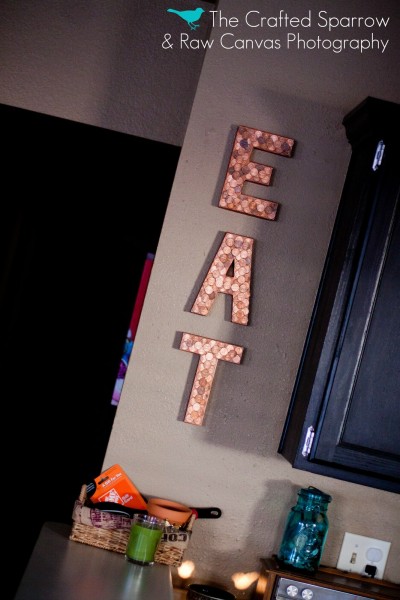
If you don’t have enough change in your coin purse to cover a floor or wall in pennies, you can try something similar to what Rebecca did over at The Crafted Sparrow.  She covered paper mache letters in pennies for a friend’s housewarming gift.  So unique!  This brings in the sparkle of a penny installation without the huge commitment.
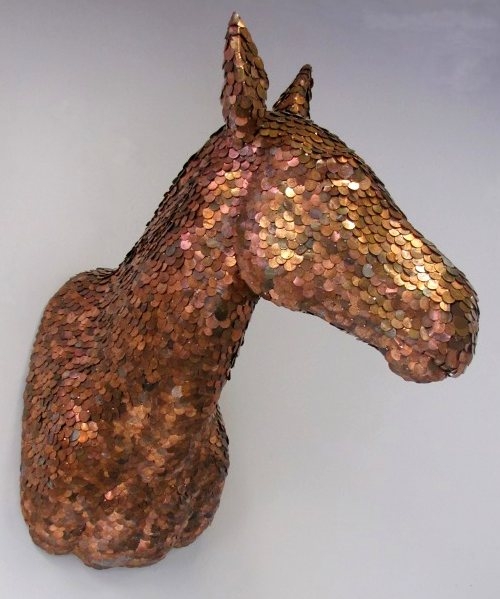
This isn’t a DIY project, but I found it too special not to share.  Rachel Denny is an artist who is best known for her “Domestic Trophies” work – faux deer heads covered in cable knit sweaters.  She created this penny covered horse head, entitled War Horse, this year, and it is an amazing piece.  I’m sad for me/happy for her that it’s been sold, but I’m pretty sure I wouldn’t have been able to afford it anyway.

I don’t think I’m brave enough to go for a penny covered floor.  Maybe I will follow Lizzie’s lead and cover a piece of plywood.  I don’t know exactly where I’d put it, though…although you guys know I can always figure out a way to work something into a room if I want to badly enough!

What are your thoughts on these installations?  A penny for your thoughts?

Elvis has Entered the Building

by Lindsay Ballard on June 4, 2012 1,881 Comments

Early last month, my family and I spent a lazy Sunday afternoon at a festival in a nearby little town. The kids rode ponies, we ate some good food, and we watched the Weiner Dog races. Yes, seriously. Right before we left, an Elvis impersonator took the stage, and we danced and sang along with him in the shade. It was so much fun.

While I was there, I became so inspired by this Elvis. He wasn’t the hunky Jail House Rock Elvis. Instead, he was the fat, sweaty, jumpsuit-wearing Elvis. I wanted him to live somewhere in my house. Yes, seriously.

That next week, Emma and I headed down to our local Habitat for Humanity ReStore to find some reclaimed wood flooring that I could nail together into some sort of canvas. There was no wood flooring (there is usually tons, so someone must have cleaned them out), but I did come across a 6 foot by 3 foot piece of old, blue house siding for $2. Sold!  I’m sure was a sight to see me shove this into my little SUV, but we somehow managed to get it home.  It was twice as long as I needed, but I’m always happy to have the extra length, just in case.

I’m not a huge Elvis Pressley fan, but my parents were born and raised in Memphis.  One of the best memories I have of my grandmother was when she took me to see Graceland one summer.  Elvis now holds a special place in my heart, because his image reminds me of my beloved Gay, who left us about 15 years ago.

I searched online for the best photo of Elvis to use for my project, and I kept coming back to this one taken of him during a concert in Hawaii.  I liked his pose in the photo and I really love the lei.

I am so weird, right?

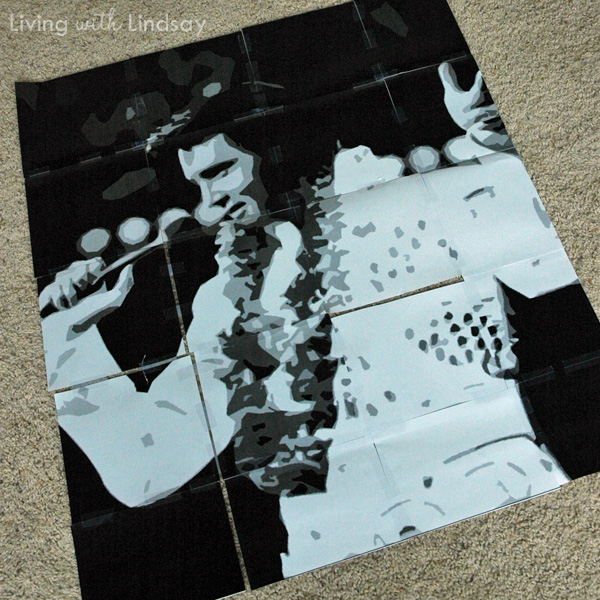
Anyway, I altered the image a bit in Photoshop and set it to print across multiple pages.  I taped them all together, so my little template looked like this.

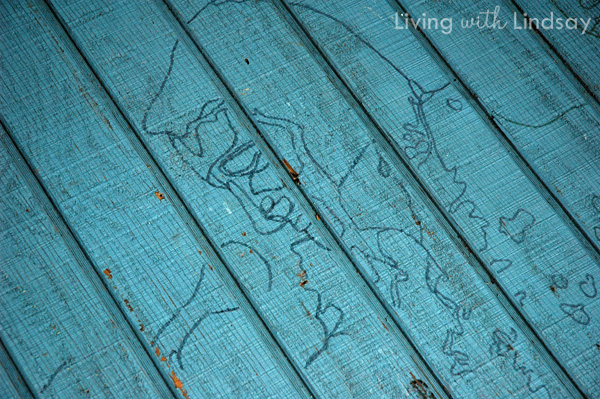
I put some carbon paper between my print outs and my old siding, and I started tracing the outline.  I wanted to give the project a real pop art feel, so I thought I would do all of the shading in really geometric sections.

Turns out, that idea was a huge FAIL.  It was scary.  Really, really scary.  There was nothing I could do to salvage it.

I’m glad I had that extra length on my siding!

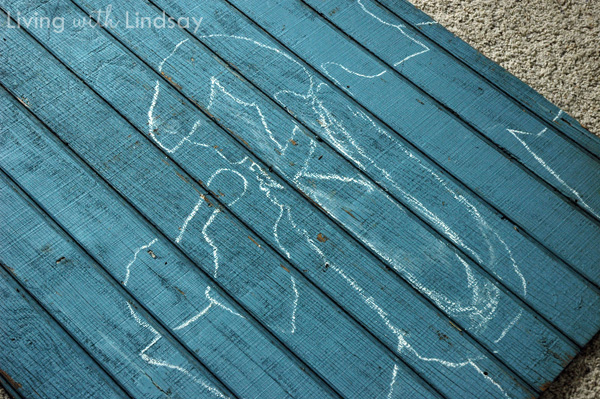
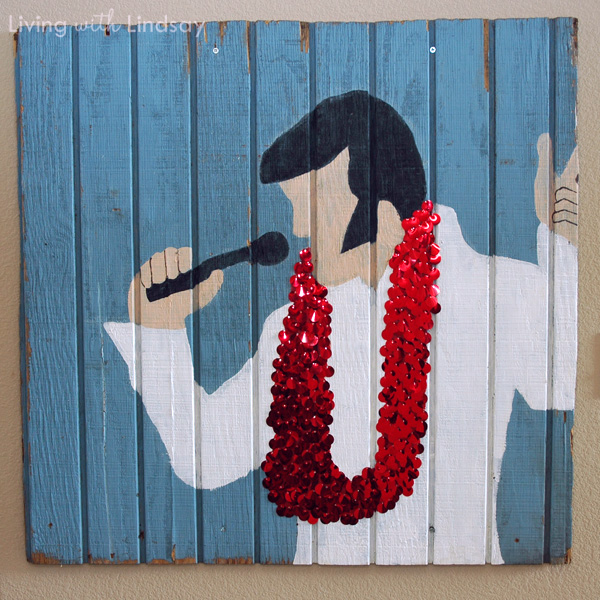
I cut out Elvis’s silhouette and traced it with chalk onto the other end of the siding.  I had plenty of room, and it immediately looked a lot better.  It wasn’t the original idea I was going for, but this one was going to be fun, too.  I filled in the inside details by hand.  (Looking for a template?  I now have one here!)

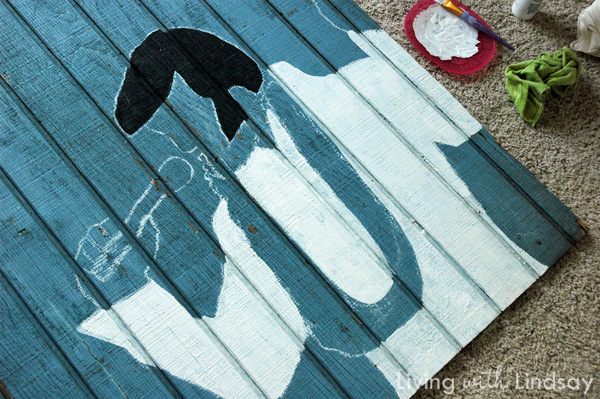
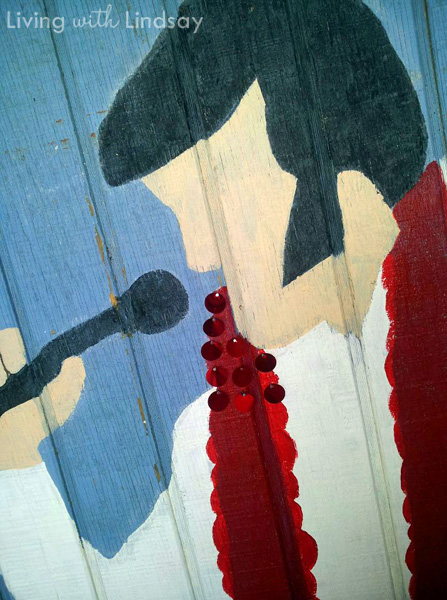
Using cheap bottles of craft paint that I already had on hand, I started painting in the details.  Once the paint was dry, I was able to wipe off the chalk with a wet cloth.  I am completely unable to draw faces, so I decided he would be faceless.  We can pretend that it’s some artistic statement, but it’s really just that I’m an untalented artist.

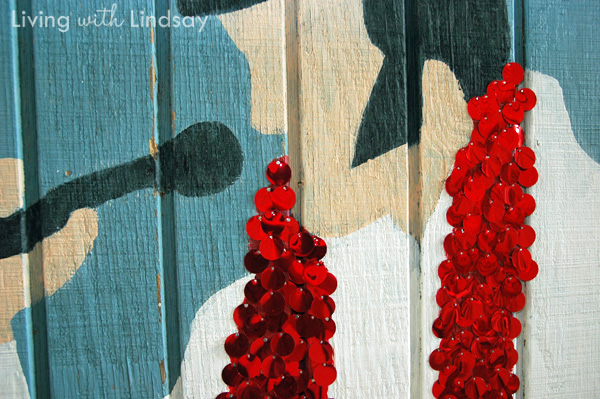
In a last minute decision that screamed over-the-top-but-I’m-going-to-do-it-anyway, I decided to sequin his lei.  I bought two packages of the big pailette sequins from Hobby Lobby and started nailing them onto the lei with small wire nails.

I nailed and nailed and layered and nailed the sequins.  It took me a few days to get it covered, because every time I started working on it, Emma would yell, “No more bang, Mama!”  Eventually I got them all put on.  The result is quite shimmery, and I love it so.


Tom cut the “fail” portion off of the siding and together we “distressed” the cut edge with a hammer, a crowbar and dirt.  We screwed the artwork directly into the studs behind our drywall.  For under $10, I have a new giant piece of custom artwork.

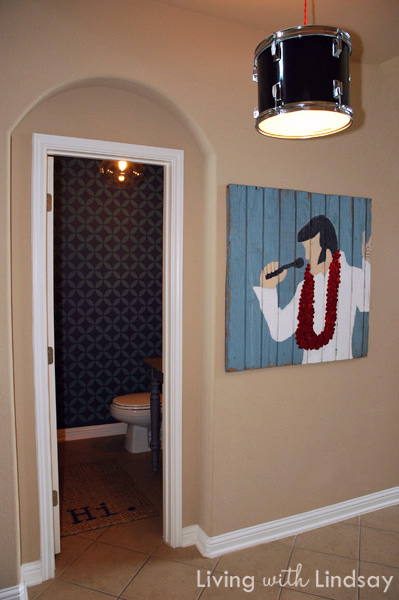
Elvis now lives on the wall under my drum light and next to my crazy bathroom.  He’s right at home here, don’t you think?

Eventually, this builder’s beige blech blah wall will become a vibrant color.  The wall is not on my “rooms to do” list of 2012, so Elvis will have to give it some character until I can get to it.  I think I might want to put something to serve as a console table underneath him, but I’m not quite sure.  I need to live with him for a while before I make that decision.

Have you ever been inspired by something as crazy as jumpsuit Elvis?  Did you see that inspiration through?

« Previous Page
Next Page »
  • Email
  • Facebook
  • Instagram
  • Pinterest
  • Twitter

About Makely

Lindsay Ballard is a former college mascot turned political geek turned roller derby playing, DIY fanatic.

Lindsay chronicles her projects, design ideas, and lifestyle tips here at Makely, where she shares tutorials and inspiration. Her DIY designs are bold and graphic, while her spirit is fun and full of color.


Archives

Categories

PRIVACY POLICY
Copyright © 2009-2019 Makely School for Girls | All Rights Reserved | Posts may contain advertising content or affiliate links