Last summer, we chatted about the fact that most of us need ceiling fans in our bedrooms, regardless of the fact that we rarely see them in the bedrooms featured in our favorite magazines. I presented you with my ceiling fan dilemma – a dark bladed fan on my newly white ceiling – and you guys offered all sorts of solutions, from replacing the fan with a white one to painting the blades.
So in July, I began my search for the “perfect” ceiling fan for the bedroom. I didn’t find it until December, and it was on back order. I was honestly getting ready to cancel the order and find another fan (this one was a great style and an even better price), when lo and behold I recently received an email saying it had been shipped. Hooray!
The fan arrived last week, and I spent some of Sunday replacing the old fan with the new fan. It is an easy task once you know what to do, so I thought I would put together a picture-heavy tutorial for you in case you want to tackle the project yourself. I’m going to split the tutorial into two parts: 1) Removing the old fan and 2) Installing the new fan. Please remember that every ceiling fan is built a little bit differently, so refer to your fan’s instruction manual, if needed.
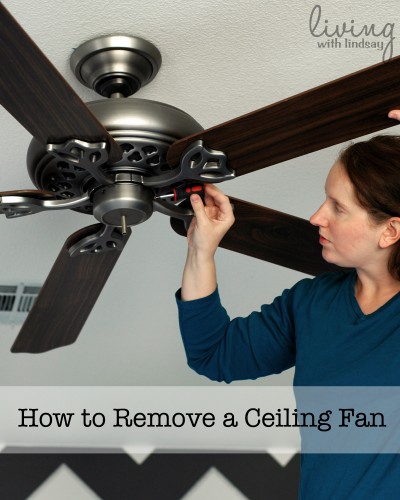
How to Remove a Ceiling Fan
1. Turn off the electricity to the fan at your breaker box. You will likely find your box in your garage, a closet or your utility room. All you need to do is flip the breaker (the switch) that powers your fan. If you don’t know which is the right breaker, turn the fan on and flip breakers on and off until the fan stops spinning.
2. Begin by unscrewing the finial (mine’s a ball) on the bottom of your light kit or cover plate if you don’t have a light kit. Mine had a little decorative shroud over a threaded rod; yours may be a little different.
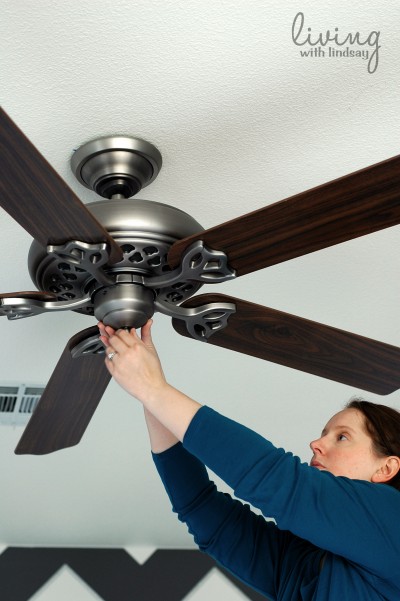
3. With a screwdriver, unscrew the three screws around the sides of the base below the fan blades.
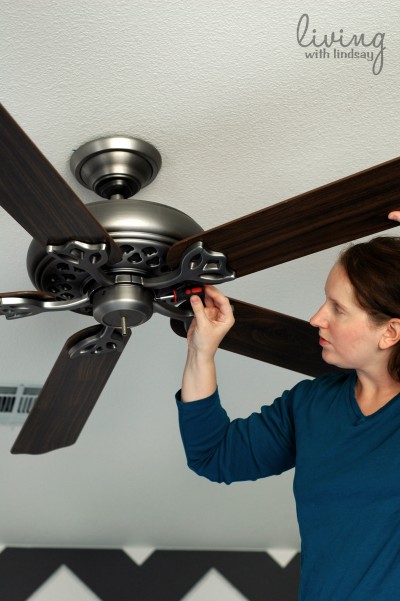
4. With the three screws removed, you can now remove the light kit electrical portion from the fan. The shroud will slip off and you will need to disconnect the wires from the light kit to the fan. Mine were crimped wires that plugged into each other. Yours may have wire nuts that will need to be twisted off.

5. With the light kit/light kit cover removed, you will see another set of three screws that need to be addressed. One screw needs to be completely removed and the other two just need to be loosened.
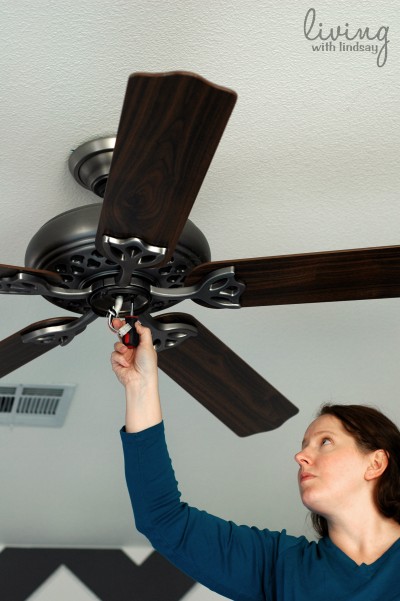
You will be able to tell by looking which two only need to be loosened, because you will simply just twist the component to remove it from the screws.
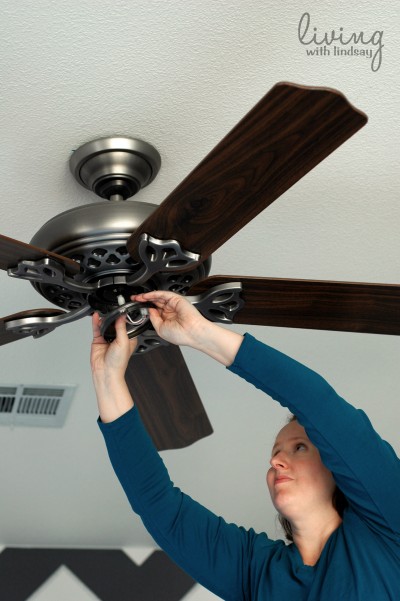
6. Next, you will remove the fan blades. There are two screws that attach each blade arm to the fan base. Remove them in a star pattern to keep your fan as balanced as possible.
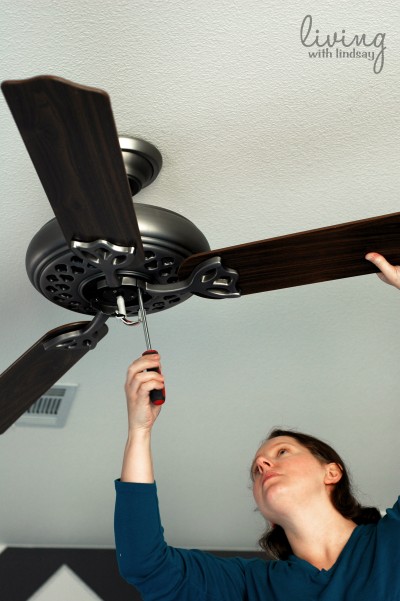
7. Now that the blades are removed, you can reach the ring on the fan that touches the ceiling. It hides some more screws you need to remove, so take it off by twisting and pulling down.
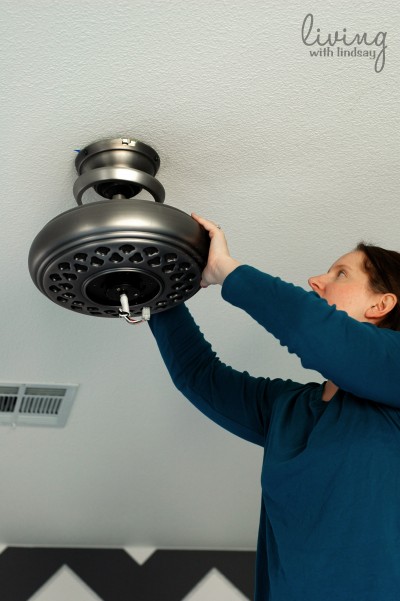
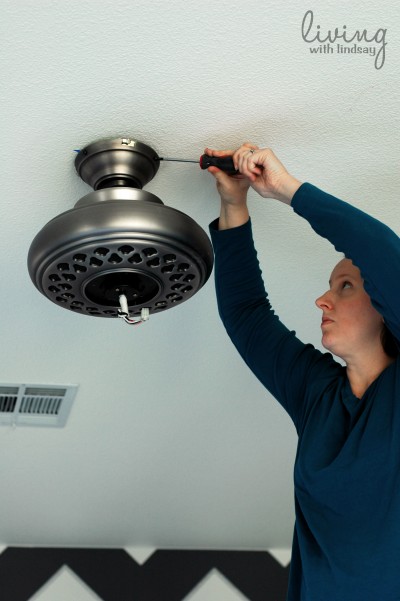
8. There will be three screws near the top of the fan that connect it to the plate or bracket that holds it on the ceiling. Carefully unscrew those screws.
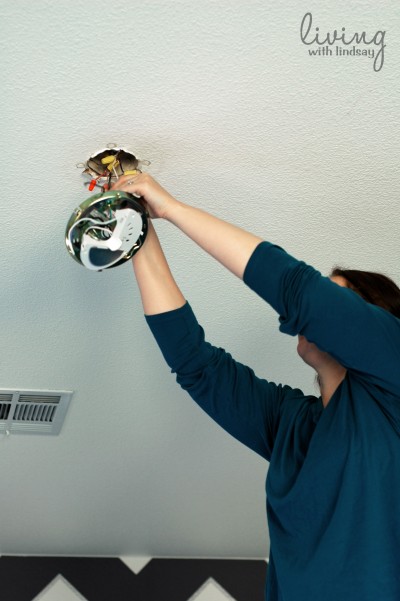
9. Now that those screws are removed, you can twist and pull the fan base off of the ceiling. Before you can put it down, you will need to disconnect the wires between the ceiling and the fan. As you can see, mine were attached with wire nuts that twist off.
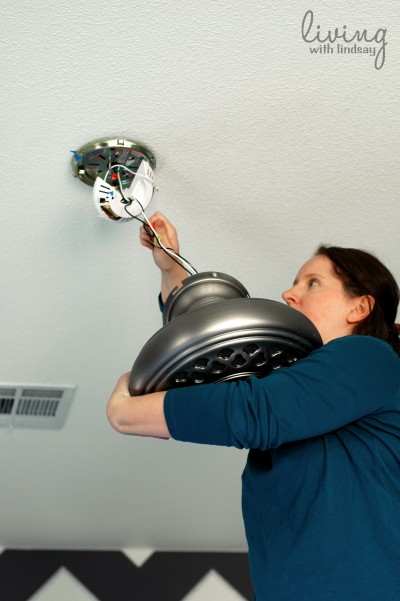
This particular fan has a very heavy motor, so this is definitely my least favorite part of the removal! Not all fans are this heavy.
10. The plate and remote control receiver (if your fan has one) will be left on the ceiling. There are two screws that attach it to the ceiling box, so remove those two screws. Pull off the plate and remove it from the wires.
11. You will be left with a hole in your ceiling with exposed wiring. If you aren’t going to immediately install a new fan or light source, go ahead and cap off each of the wires with a wire nut. You can see in this photo that I have one more wire nut that I need to place on the white wire.
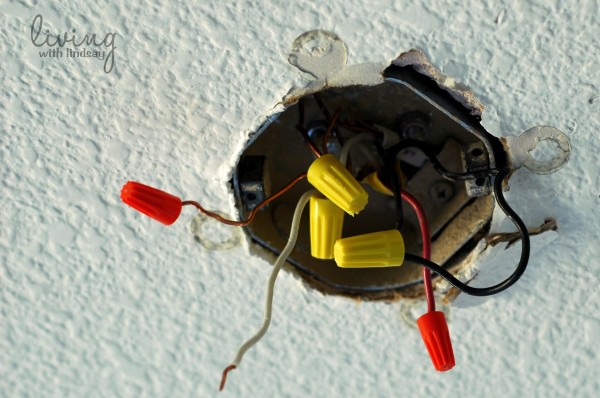
Why are the wire nuts different colors? They are simply color-coded that way by size. The blue nuts are tiny (not pictured), the orange nuts are small, the yellow nuts are medium, and the red nuts (not pictured) are large. You choose a wire nut based upon wire gauges and how many wires you are twisting together.
Congratulations! You just removed your ceiling fan! In Part II, I will show you how to install your new fan and show off the fan that I waited all of those months to receive.
Have you ever removed a ceiling fan yourself? Or, does it seem like something that makes you nervous?