In a few short weeks, the new toy madness is going to descend upon my house. By about 3pm on Christmas Day, I’m going to have had it up to HERE with the toys all over the floor. I fear that it’s going to be even worse now that we have two kids. I’m already having a fit just thinking about it!
Try as I may to purge unused toys throughout the year, we will still end up with more than we need…which means we have many more than I know what to do with. In an effort to get myself thinking about updating our toy storage options after the holidays, I put together a list of creative solutions that I have run across.
Ten Creative Toy Storage Solutions
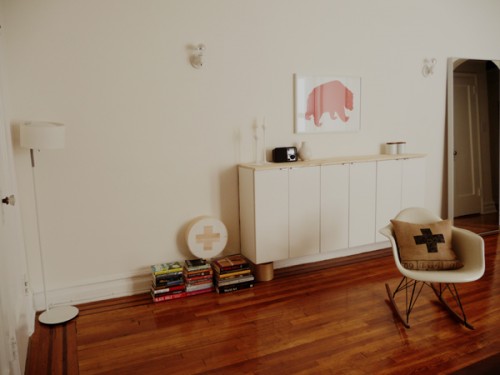
1. Build a “Fauxdenza” – Anna at Door Sixteen used pre-made wall cabinets topped with a thick pine board to create a faux credenza in her living area. It looks like a custom piece of furniture and provides tons of closed storage.
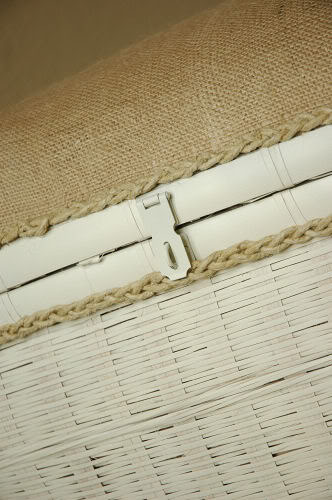
2. Update a covered thrift store basket – Several years ago, I updated a thrift store basket with burlap, spray paint and braided twine. It’s been used and abused, but it blends with my living room and my kids still pull books out of it to read every day.
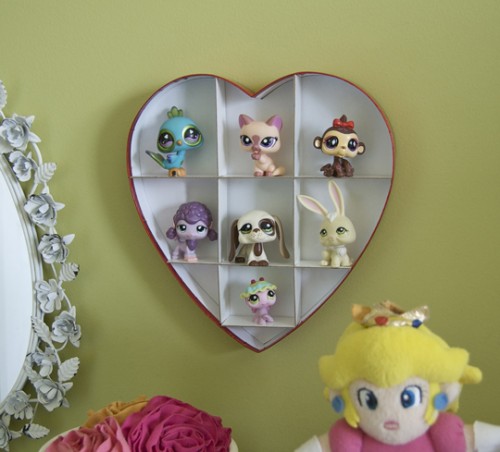
3. Upcycle an old candy box – Now this is creative! Katie at OhDeeDoh upcycled a candy box into a shadow box for her daughter’s collection of plastic toys. She used an old shirt box for the shelves.
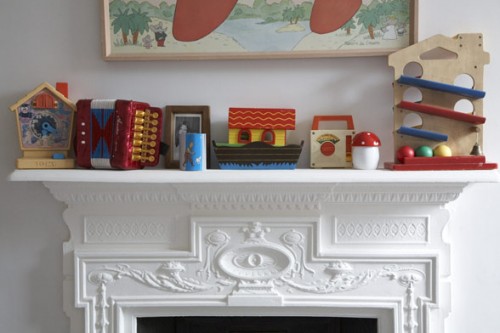
4. Incorporate toys into your decor – I love how these homeowners, featured by Kirsten at Simply Grove, tackled the toy storage dilemma head on. Why not decorate your mantel with some brightly colored toys?
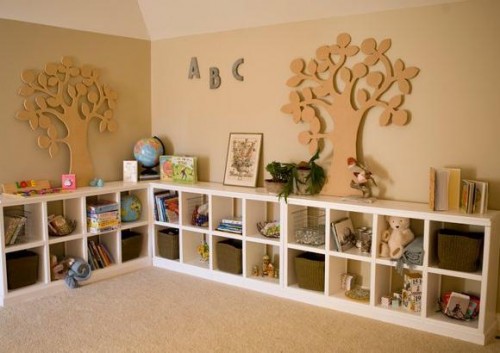
5. Build a simple storage cube console – This project looks great and is very simple to put together. See Anna-White.com for instructions. You can leave the cubbies open or add baskets and bins. I’m considering building this console on a smaller scale for our playroom.
6. Hang seldom used toys with fishing line – Jackie at OhDeeDoh explains how she hangs her son’s large toys from the ceiling with fishing line. This is not an ideal choice for favorite toys, but for those big cherished toys that don’t see a lot of play time, this is a great option. Growing up, my husband actually had his huge remote control planes hung in his room in a similar fashion.

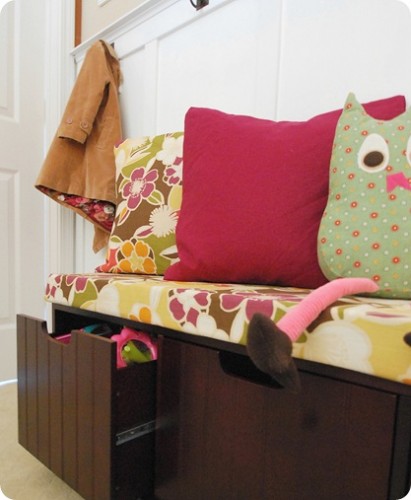
7. Dress up a common storage bench – Kate at Centsational Girl styled this storage bench with pillows and a custom seat cover. It now serves as seating and a great place to hide toys.
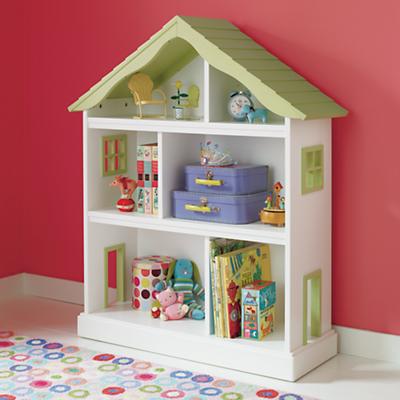
8. Turn a dollhouse into storage – Either use an old dollhouse or find a dollhouse bookcase specifically created for this purpose. Check CraigsList or yard sales for used dollhouses. Or, if you have money to blow, buy this one from Land of Nod for $300 (yikes!).
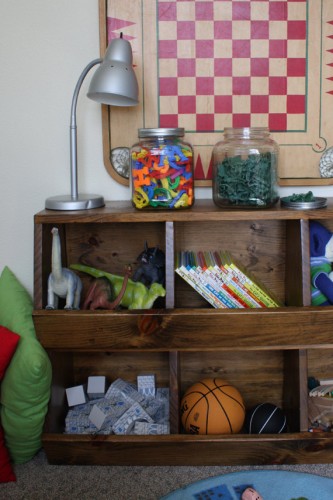
9. Use or build chicken coop style storage bins – Chicken coop storage is all the rage, and it’s a great solution for toys. Although the storage is essentially open, the lip on the bottom of each cubby keeps the toys contained. Buy pre-made coops or build them yourself using plans purchased online.
10. Hang wire trash bins – Open baskets hung on a wall get the toys off the floor, yet allow your kids to see where everything is stored. Put lesser used toys higher than those the kids play with on a daily basis. When they are ready to play with a particular bin, say the musical instruments, just take it off the wall and they can dump it on the floor. I recommend hanging the baskets on screws correctly anchored into your wall. Via Dcoracao (in Portuguese).

What creative solutions for toy storage have you found? Do any of the above examples give you any ideas? Do you feel the panic of too many toys setting in like I do?
Photo credits: Door Sixteen, Living With Lindsay, Katie Steuernagle, ShootFactory, Ana White, Jackie Boucher, Centsational Girl, Land of Nod, IronTimber, and Alessandra Amaral.