
Makely

Let's Make Life Awesome

  • Home
  • Decorating/DIY
    • Create Your Decor
    • Decorate Your Home
    • Paint Your Walls
    • Transform Your Furniture
  • Healthy Living
    • Essential Oils
    • Family Wellness
    • Household Care
  • Project Gallery
  • Contact
You are visiting: Home » Decorating/DIY » Page 183

How to Fit a King Pillowcase on a Standard Pillow

by Lindsay Ballard on July 27, 2011 11,770 Comments

Here's a quick way to fit your standard sized pillow into a king pillowcase. It makes your bed look so much neater! via MakelyHome.com

I have a love/hate relationship with our king sized bed.  I love the extra space so I don’t feel crowded by the dogs and kids when they occasionally climb into bed with us, but I hate the king sized pillows that are made for a mattress that size.  I find them too large, and I much prefer two standard pillows to one king pillow.  Aren’t you glad you are finding out so much interesting information about me?

The problem with standard pillows on a king sized bed are the pillowcases.  A king sheet set normally comes with two king cases (although I’m starting to see some that come with 4 standard pillowcases – woohoo!), and they are far to large and droopy.  I can’t stand this look.
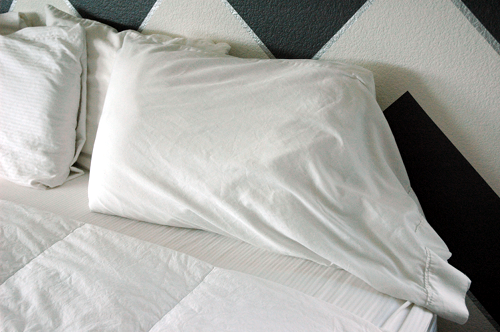
Short of buying extra standard pillowcases, which I have been known to do, I developed my own way to fit standard pillows inside of king pillowcases.  It keeps the pillow from shifting in the pillowcase, and makes it look crisp and tailored on the bed.  I’m sure everyone else in the world already knows how to do this, but I was so proud of myself for figuring this out a few years ago.

How to Fit a King Pillowcase on a Standard Pillow

1.  Put the pillow inside of the pillowcase, and lay it on your bed with the open end facing you.
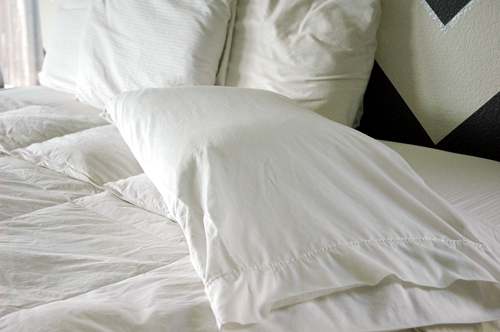
2.  With your thumb and index finger, pinch the pillowcase right above the end of the pillow itself.

3.  Using both hands, tuck the loose portion on the top of the pillow inside the pillowcase.
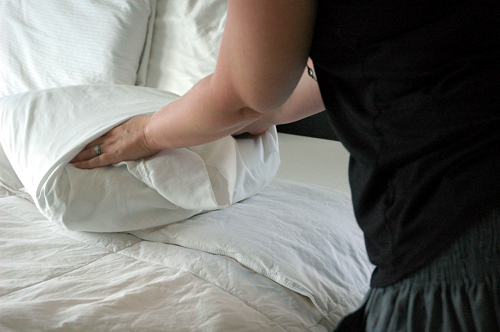
If I were to remove my hands at that point, it would look like this:
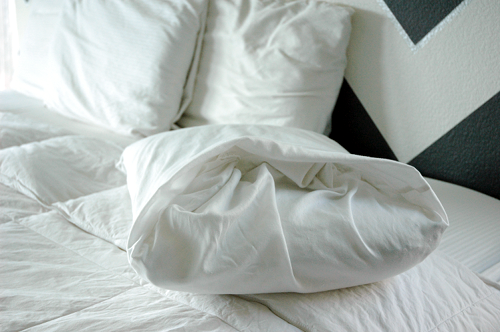
4.  From the inside of the case, smooth it out by running your hands from the center and out to the edges.  It should look like a little envelope when you are finished.
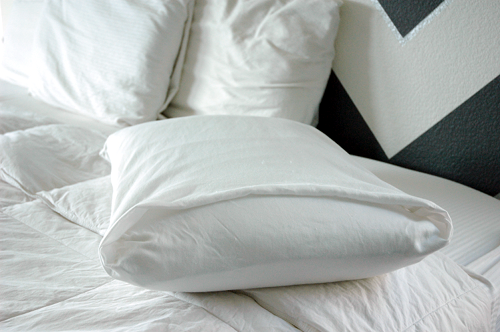
The whole process takes about 5 seconds, and it leaves you with a nice, crisp lines on your pillows.
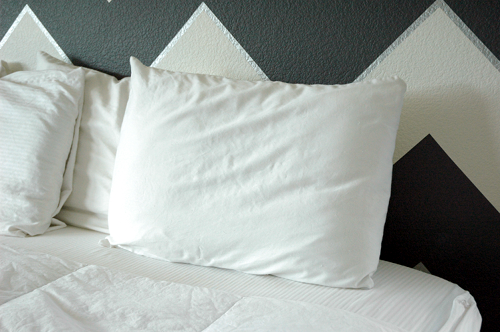
Once they are behind my other decorative pillows, I think they look so great.  No more droopy pillowcases!
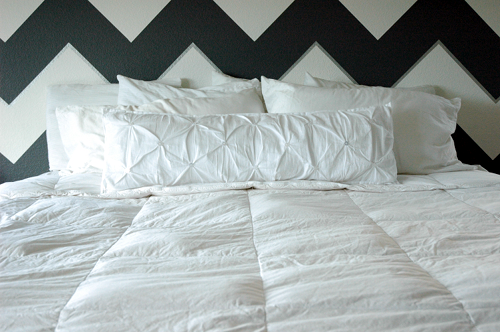
Oh, wait.  That bed is really missing something – like a head board and some color.  Oh, no!  That doesn’t look great, Lindsay.  Distract them!  Quick!

Whew!  I think it worked.  Much better, don’t you think?

What are your thoughts on droopy pillowcases?
The Light Bulb{s} Over My Head

by Lindsay Ballard on July 25, 2011 1,413 Comments

Back in the spring, I joined a few other gals in a fun trip to Round Top, Texas during antiquing weekend.  I think we had more laughs than buys, but we enjoyed ourselves and are already planning our Fall trip.

I took my camera to the show, because I planned on doing a post about all the cool things we saw.  When I got home, I realized I had taken exactly one photo the entire day.  I guess I was too busy looking for great finds and forgot to document my trip.  Oops!  Bad blogger!

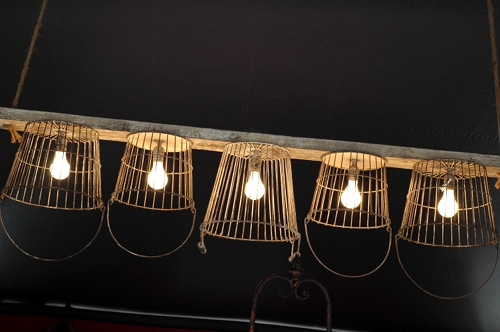
Anyway, I think that my one picture is pretty cool.  I’ve been holding it close to my vest for all that time, but I finally admitted to myself that I’d unlikely get around to reproducing it and thought you might like to give it a go yourself.

Isn’t that fun?  I think it would look so cool over a farmhouse table in a breakfast room or even over a sofa if you have a modern/reclaimed vibe going on in your living room.

This is a light fixture made using a reclaimed board.  The vendor who had this fixture in her tent said that she had ordered it from a catalog, so I’m not really sure where it came from – this one wasn’t for sale.  The manufacturer or artist drilled holes on the bottom of 5 vintage-looking wire baskets and glued them to the board.  They then drilled matching holes in the board and ran a light socket (like this) and bulb through it.  If you or someone you know is familiar with wiring, you could wire sockets in serial.  Two more holes were drilled on the ends of the board and two lengths of rope were strung through those holes and knotted on the bottom.  On the top of the board, run the cord(s) up one of the lengths of rope, hang the rope to the ceiling, and hardwire the lighting fixture to your ceiling. You’d have to play around with that to really hide those cords if you have 5 of them – maybe wrap them in rope?

Do you have any other ideas about how to bring this project to light?

« Previous Page
Next Page »
  • Email
  • Facebook
  • Instagram
  • Pinterest
  • Twitter

About Makely

Lindsay Ballard is a former college mascot turned political geek turned roller derby playing, DIY fanatic.

Lindsay chronicles her projects, design ideas, and lifestyle tips here at Makely, where she shares tutorials and inspiration. Her DIY designs are bold and graphic, while her spirit is fun and full of color.


Archives

Categories

PRIVACY POLICY
Copyright © 2009-2019 Makely School for Girls | All Rights Reserved | Posts may contain advertising content or affiliate links