Makely

Let's Make Life Awesome

  • Home
  • Decorating/DIY
    • Create Your Decor
    • Decorate Your Home
    • Paint Your Walls
    • Transform Your Furniture
  • Healthy Living
    • Essential Oils
    • Family Wellness
    • Household Care
  • Project Gallery
  • Contact
You are visiting: Home » Decorating/DIY » Page 198

Mastering the Master Bedroom {the Inspiration}

by Lindsay Ballard on March 29, 2011 670 Comments

My master bedroom is a gorgeous space with a huge bay window, but I close the door whenever we have company over.  Why?  Perhaps it’s the bare box springs with no bedskirt on the bed.  Or the curtains that no longer hang right because the dog has basically pulled them down (he likes to sleep behind them).  Maybe it’s the mismatched furniture or just the lack of decorating all together.

At any rate, it’s time to be a big girl and quit hiding my bedroom in shame.  This spring, my husband and I are working into finally turning “our” space, the only space without plastic toys and Lightening McQueen DVDs, into a space that we love.  We have a series of projects to complete, and they run the gambit from painting, to restoring, to construction.  I plan to detail them all here, step-by-step, so that you can follow along – unless they totally fail, and then I’ll just pretend they didn’t happen.

At the beginning of any major room redesign, you have to start with your inspiration.  My inspiration began with a pattern.


Perhaps chevrons are passe and completely overdone in design magazines and on blogs.  You know what?  Who cares.  I don’t live in a magazine and my bedroom is completely unlikely to ever grace the pages of one.  We may end up opting for another bold pattern instead of a chevron, but this sort of geometry plays heavily into my plans.  And because my husband is an engineering nerd with a penchant for over thinking everything, it’s likely going to be heavy on time, too.

Then, there’s this pot holder.  Have you ever been inspired by something so odd?
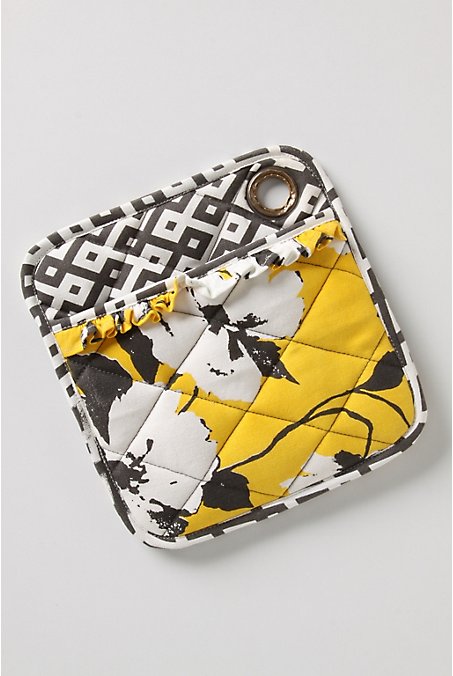
I spotted it at Anthropologie (of course, I did), and fell in love with the colors.  I was searching for a bold color that looked great with dark gray and white.  Yellow was the first thing that popped into mind, but I thought maybe another color would look better.  Still I was drawn to the yellow.  Then, Rhoda convinced me that it was a color combo that’s been en vogue for many years and not to worry about it – again, who cares what’s too trendy and overdone?  Thanks, Rhoda!

I brought the potholder home and worked on my color palate for the room.  This is what I came up with:
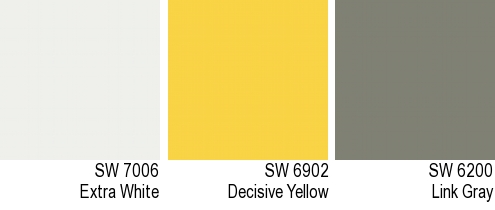
And so it begins.  It’s definitely not my usual color choices – no brown, no blue.  I’m ready for a change, though, and I’m very excited to get started!  Of course, this change may well embolden me to redecorate the whole house, but that sounds like a fun challenge!

What about you?  Are you looking for a bold change or do you like subtle changes in your home?  Do you find inspiration in really odd things, like pot holders?
 

Risking It

by Lindsay Ballard on March 21, 2011 1,405 Comments

In general, I don’t really consider myself much of a risk taker.  I still cut up grapes and hot dogs for my 5 year old son.  There’s no way on Earth you could ever get me on a motorcycle.  I freaked out when I saw my neighbor standing on the very tip top of her ladder to hang lights on her home a few Christmas seasons ago.

However, in decorating, it’s okay to take risks.  Sometimes, I’m okay taking that risk – such as Zack’s brightly colored, crazy mural-ed bedroom.  Other times, I shrink back for fear of it not working out – like the giant turquoise chevron pattern I wanted to paint in my master bedroom that I know will never happen.

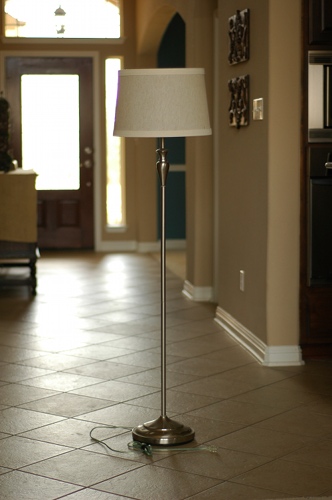
When my friend and idol, the Nester, showed off her fur covered ottoman and challenged her readers to pick a risky project, I immediately knew I was game.  Or rather, this lamp was game.

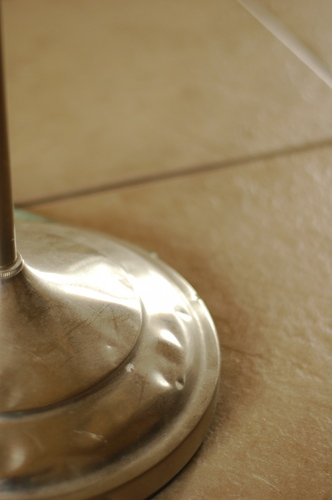
I’ve had this lamp for over 10 years.  I’ve had it longer than I’ve known my husband.  When I told him I was going to transform it, he said, “I was wondering how long we were going to be stuck with that thing.”  Well, hmpfh!  It’s not that bad.

The lamp itself works just fine.  It’s just scrawny.  And beat up.

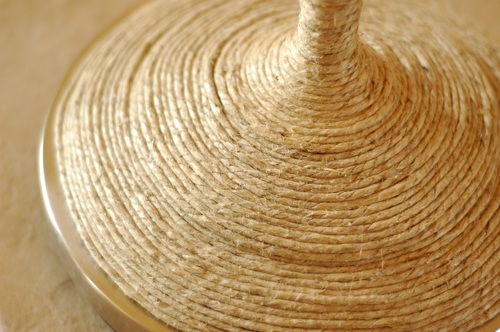
So, with my glue gun and a ball of thick hemp twine in hand, I started wrapping it.  And wrapping.  And wrapping.  And wrapping.  I figured if I ruined it, I could just buy another lamp since I hated this one as it was.

I decked it out from head to toe, from top to bottom.  It didn’t take very long at all, and there’s no right or wrong way to do this.

Just glue and wrap.  Glue and wrap.  And then, keep on gluing and wrapping.

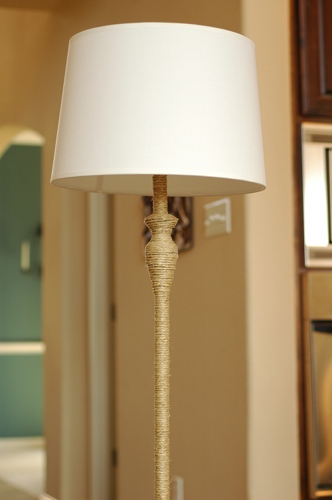
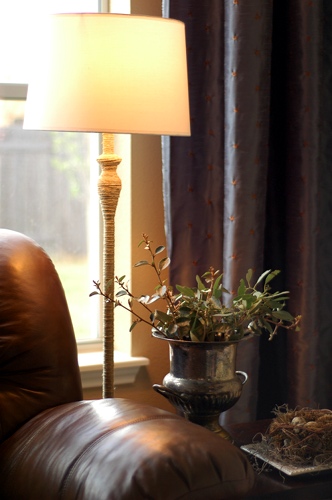
In the end, I have a new found love of this lamp.  The twine fattened up it’s skinny shape and really highlights the round design just below the shade.

Although I know it wasn’t a huge risk, it was a risk worth taking.

When’s the last time you took a decorating risk?  How did it turn out?

P.S. I’m linking up to the Nester’s National Take a Risk Day party.  Head over there and see how other folks took a risk.

« Previous Page
Next Page »
  • Email
  • Facebook
  • Instagram
  • Pinterest
  • Twitter

About Makely

Lindsay Ballard is a former college mascot turned political geek turned roller derby playing, DIY fanatic.

Lindsay chronicles her projects, design ideas, and lifestyle tips here at Makely, where she shares tutorials and inspiration. Her DIY designs are bold and graphic, while her spirit is fun and full of color.


Archives

Categories

PRIVACY POLICY
Copyright © 2009-2019 Makely School for Girls | All Rights Reserved | Posts may contain advertising content or affiliate links