Makely

Let's Make Life Awesome

  • Home
  • Decorating/DIY
    • Create Your Decor
    • Decorate Your Home
    • Paint Your Walls
    • Transform Your Furniture
  • Healthy Living
    • Essential Oils
    • Family Wellness
    • Household Care
  • Project Gallery
  • Contact
You are visiting: Home » Project Gallery » Page 49

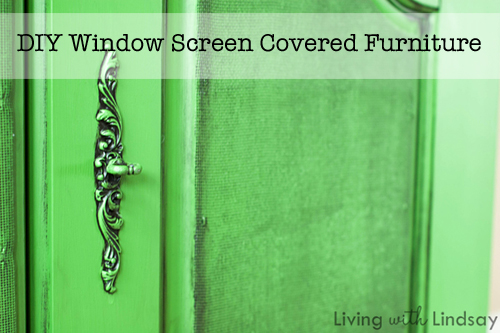
DIY Window Screen Covered Furniture

by Lindsay Ballard on July 2, 2012 6,739 Comments

My garage is a refuge to homeless furniture.  Whenever “new” old pieces come into my life, they wait their turn in the garage until I am ready to work on them.  Sometimes I’m just waiting on time, but often I’m waiting on inspiration.

A friend of mine bought this vintage Acousti-Craft stereo cabinet for $15 at an estate sale.  Sadly (for her), it was too large to fit into the space where she wanted to put it.  She asked if I wanted it, and since I never turn down furniture projects, I was happy to welcome it into my garage.
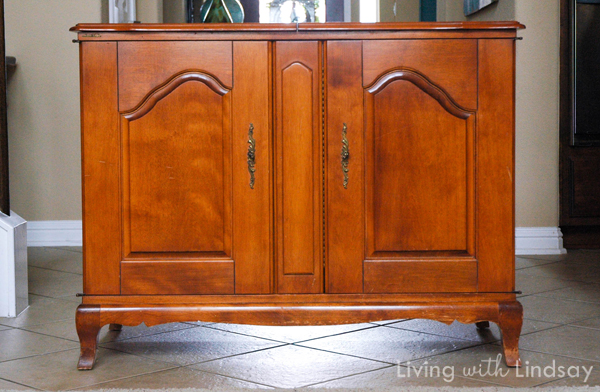
It took up residence there for about 9 months until inspiration struck.  I knew that I wanted to do something different with it, so when I came up with the idea to use window screen on a piece of furniture, I decided to try it out on this record cabinet.

I bought a roll of window/insect screen from Home Depot to use on this project.  It was about $5 for a big roll, so I figured it was worth a shot on a free piece of furniture.  I chose a fiberglass screen because it was soft, and I hoped it wouldn’t be too brittle once I painted it.

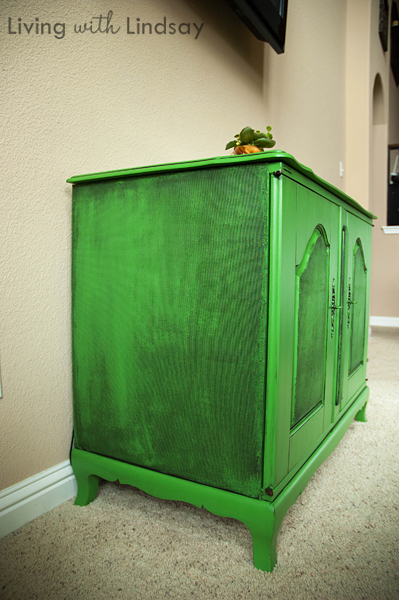
I decided to screen the sides of the cabinet and the inset panels on the front doors.  I used my pneumatic stapler to attach the screen to the cabinet (pulling it tight before each staple), and used an X-Acto knife to trim the overhang around the edges.
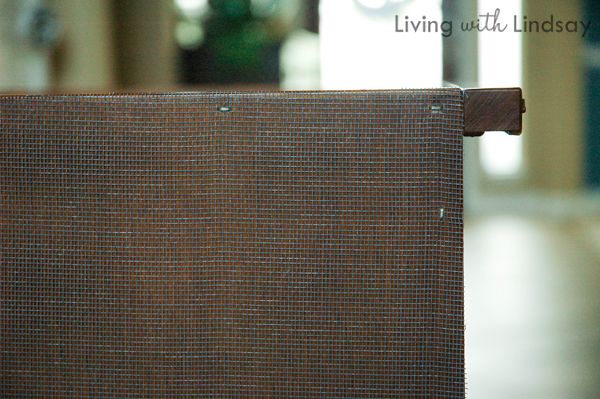
I knew that I was going to give the cabinet a grungy feel, so I was happy to leave the staples in full view.  If I wanted to give it a different look, I may have added wooden trim over the staples or used a different fastening system.

I took the cabinet apart and spray primed it with Zinsser Cover Stain Primer in my garage.  I did a really horrible job, but it was good enough.  I didn’t sand before I primed, but I lightly sanded everything but the screened areas after the primer was dry.
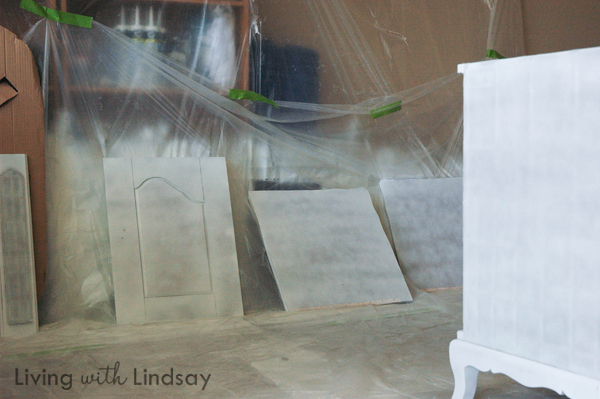
I tried to spray paint the color coats on the piece out of laziness, but the finish was AWFUL.  It was blotchy in places and shiny in others.  I ended up lightly sanding it (again) and just painted it with satin latex paint and a brush.

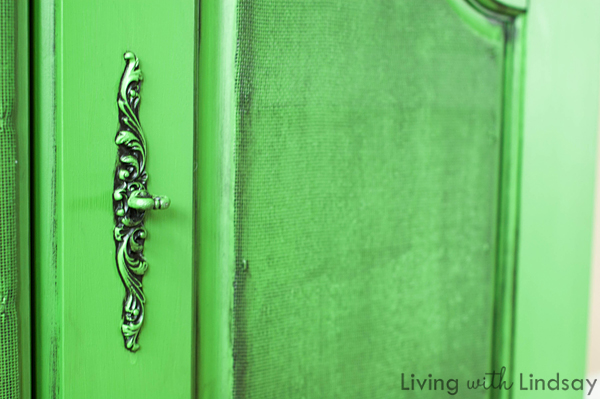
When the paint was dry, I glazed it using my favorite technique.  On the screened areas, I over removed the glaze in some parts (by wiping the glaze with a lot of pressure) and under removed the glaze in others.  The end result was nothing short of awesomesauce.
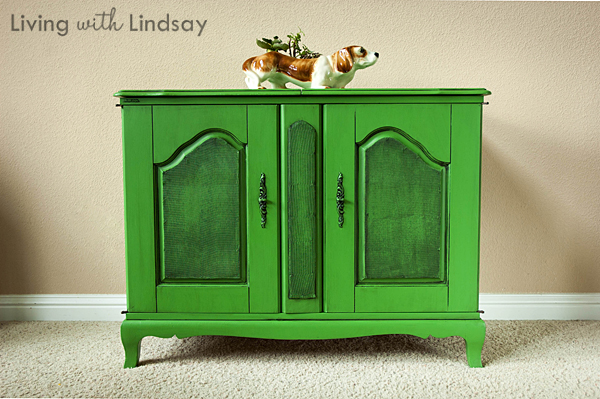
GAH!  Right?  Here are some other detailed shots of my new favorite furniture transformation technique.
For now, it sits underneath the TV in our living room.  All of the ugly cable/Roku/Wii/DVD boxes are contained within.  It works out perfectly, because there is no back to the cabinet (so the original stereo components wouldn’t get overheated).  When we watch TV, we just have to open one of the doors for the remotes to work with our components and then they are hidden the rest of the time.
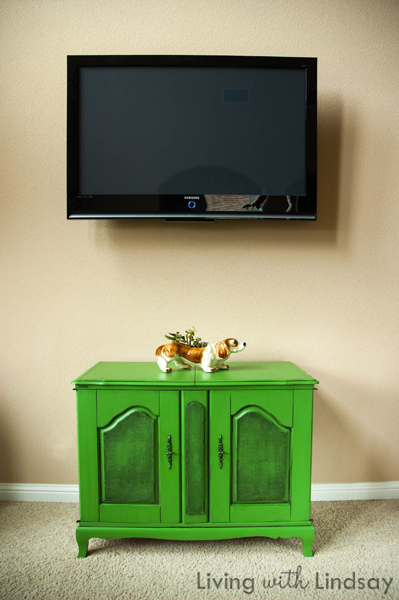
It’s not necessarily going to live right there forever since the living room will get Lindsay-fied next year, but I like being able to enjoy it every day for now.

What do you think about my window screen covered furniture invention?  I think it’s pretty cool myself!  The texture gives it a really different vibe.

Welcome inside the house, little homeless vintage stereo cabinet.
 

How to Make an Outdoor Rug From a Canvas Drop Cloth

by Lindsay Ballard on June 28, 2012 2,101 Comments

If you have been reading my blog with any regularity, it’s safe to say that you know that I like to paint stuff.  I particularly love painting things a) in bright colors and b) that aren’t “supposed” to be painted.

A few months ago, I took it a step further by painting something that is actually supposed to keep other things from being painted.

Confused yet?  Yeah, me, too.

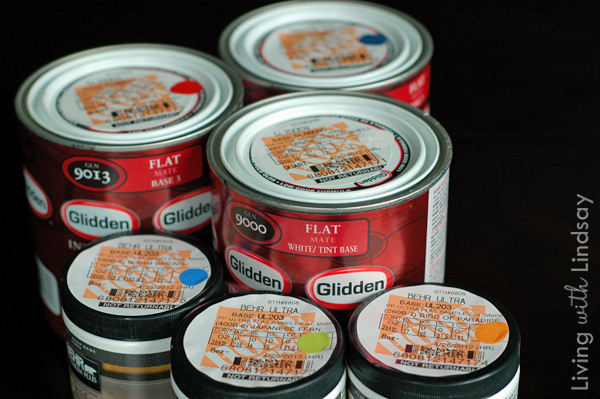
Anyway, my friends at my favorite store in the world – Home Depot – sent me a box of paint brushes, drop cloths, painters tape and stencils and asked if I would create an outdoor rug out of a canvas drop cloth.  You know I couldn’t say no to that challenge!  They sent me a few color palettes to choose from and a gift card to pick up some paint at my local store.

Is it any surprise that I chose the brightest of the sample palette choices?  It shouldn’t be!

I honestly had my doubts that a canvas drop cloth would make a good faux outdoor rug, but I always trust that my friends at Home Depot won’t steer me wrong.  I washed and dried the drop cloth to help remove the folds and wrinkles and laid it out flat over another drop cloth in my entry way.  Using a foam roller, I primed it with a basic Kilz latex primer and let it dry over night.

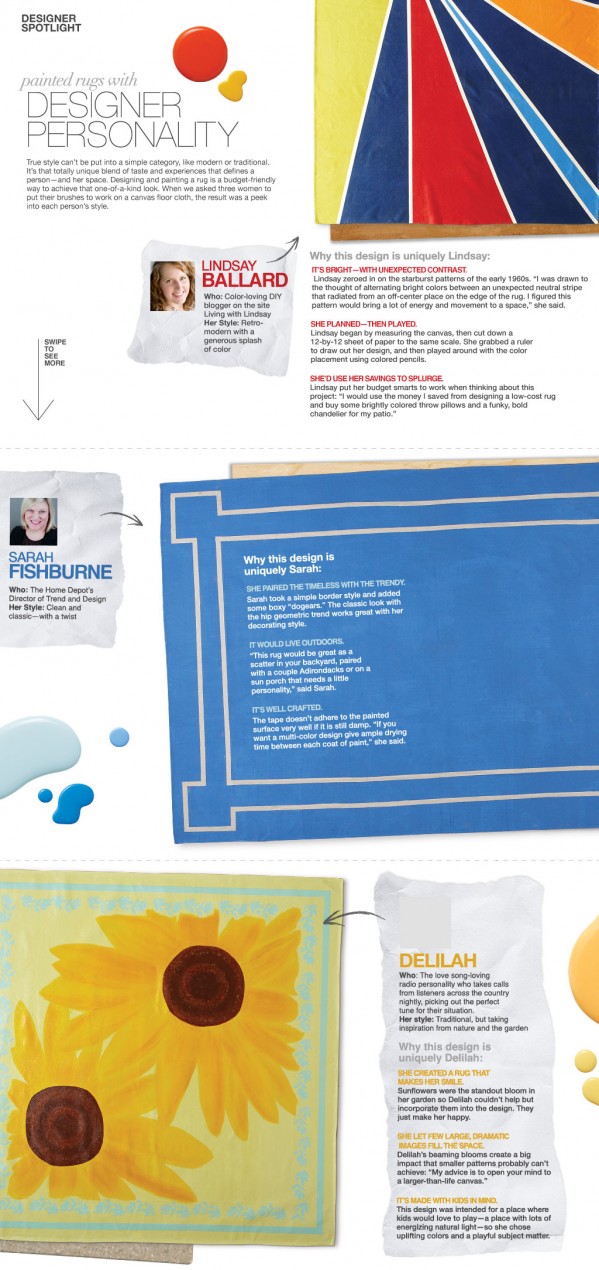
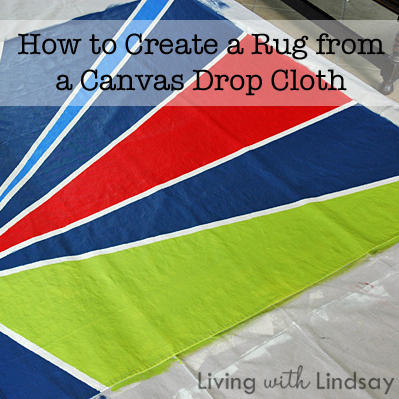
I decided to give the rug a pattern with a starburst effect, but I wanted to give it a modern twist.  I sketched out my design on a sheet of paper, and then I painted the entire rug my base color, Oyster Shell by Glidden.  It’s a soft off-white.

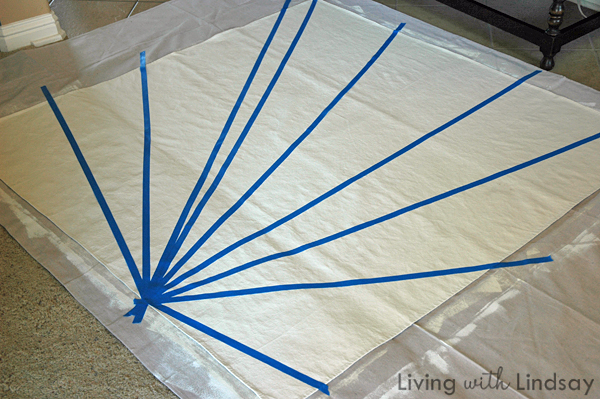
Using my sketch as a guide, I used 1-inch width painters tape to lay out some lines on the canvas.  Like a starburst, I wanted them to all radiate from the same point.  I decided to make that point 2/3 of the way down the drop cloth.  I didn’t measure the distance between the lines, because I wanted some sections to be thin and others to be quite wide.  I took special care to press the tape down really well to avoid any paint bleeding underneath the lines.

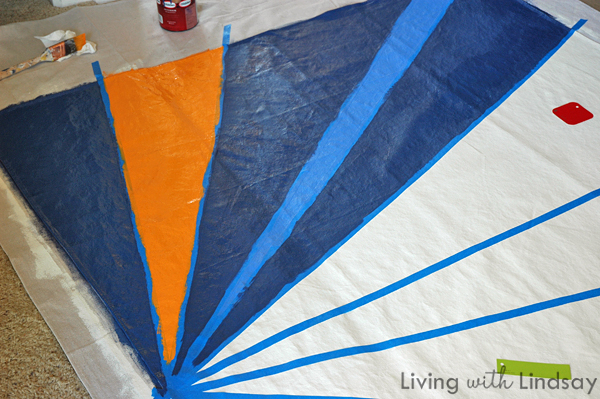
Then, I painted each section at a time using a good quality paint brush.  I started at the top left corner of the cloth, and just painted section by section.

I gave each section two coats of paint.  I found that the dark colors (like the navy) covered pretty well with one coat, but the really bright colors (like the orange, green and red) needed two coats for the colors to be fully saturated.  There were a few spots that the paint did bled underneath my tape, so I went back with a small artist sized paint brush and touched up those spots.

I let the paint dry for a full 24 hours, and then I applied two coats of Rustoleum’s Ultimate Polyurethane using a good quality paint brush.  That will give it enough protection that it could easily be used in an outdoor space.  I let that poly dry for about 48 hours and then boxed up my ‘rug’ and sent it to Home Depot’s professional photographer.

Now, I will be featured in Home Depot’s free Style Guide app for the iPad.  How cool is that?  Even more fun is that I’m “above the swipe.”  I feel like I’m “above the fold” in the New York Times.

Each season, Home Depot releases a new version of the Style Guide both via the app and online.  It’s filled with decor ideas, DIY tips and tricks, and lots of other cool stuff.  The summer version of the Style Guide comes out any day now, so if you have an iPad, head over to the App Store and download it so you will be ready when “my” version comes out.

I loved the way the canvas drop cloth turned out.  In fact, I’m planning to do another one to hang on the giant, empty wall above my staircase.  I think that it will be a cheap and easy way to create a piece of custom artwork that is quite large in scale.  I need to figure out another cool pattern, though.

How about you?  Would you what colors would you paint your custom drop cloth floor (or wall!) covering?

« Previous Page
Next Page »
  • Email
  • Facebook
  • Instagram
  • Pinterest
  • Twitter

About Makely

Lindsay Ballard is a former college mascot turned political geek turned roller derby playing, DIY fanatic.

Lindsay chronicles her projects, design ideas, and lifestyle tips here at Makely, where she shares tutorials and inspiration. Her DIY designs are bold and graphic, while her spirit is fun and full of color.


Archives

Categories

PRIVACY POLICY
Copyright © 2009-2019 Makely School for Girls | All Rights Reserved | Posts may contain advertising content or affiliate links