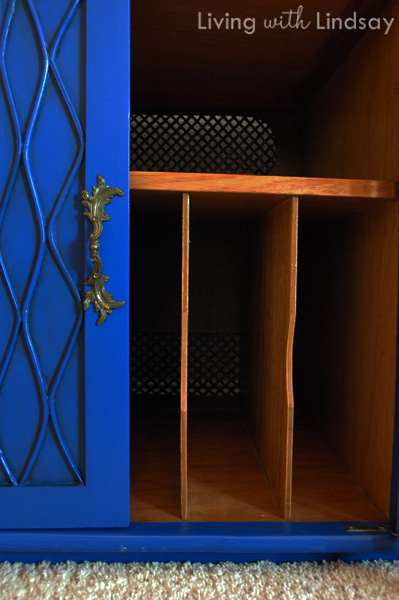
Smart DIYers the label doors and hardware they remove from a project. The labels make it much easier when everything needs to be reassembled. Particularly with vintage furniture, the doors and hardware often fit best in their original positions since the piece has likely settled (or warped) a bit over time.
But, how do you label the doors when you need to paint the front and back of them? Well, if you are like me, you think you are really smart and can just keep them in order. Much like the shell game, though, they somehow seem to get out of order and then you (or maybe just me) are left with a big mess on your hands.
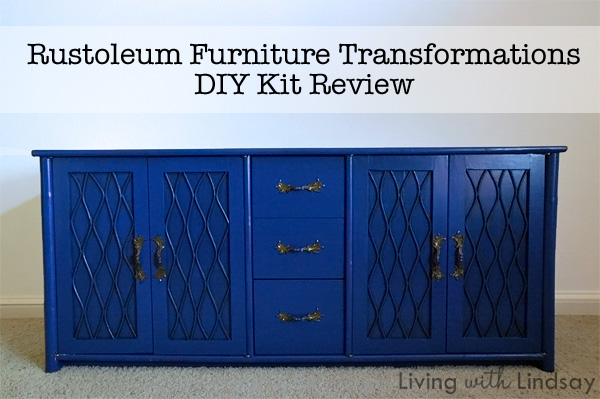
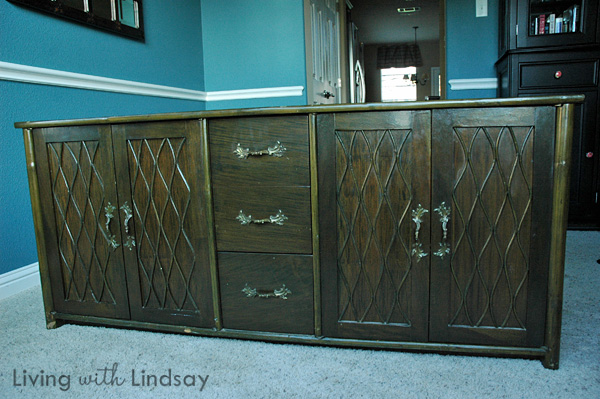
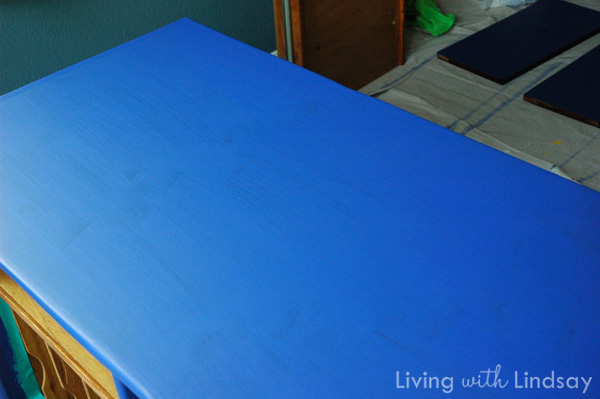
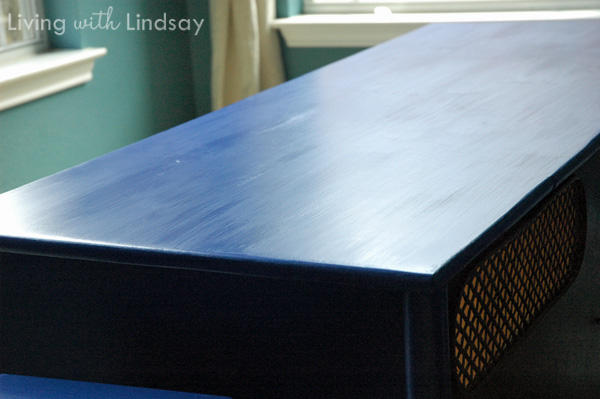
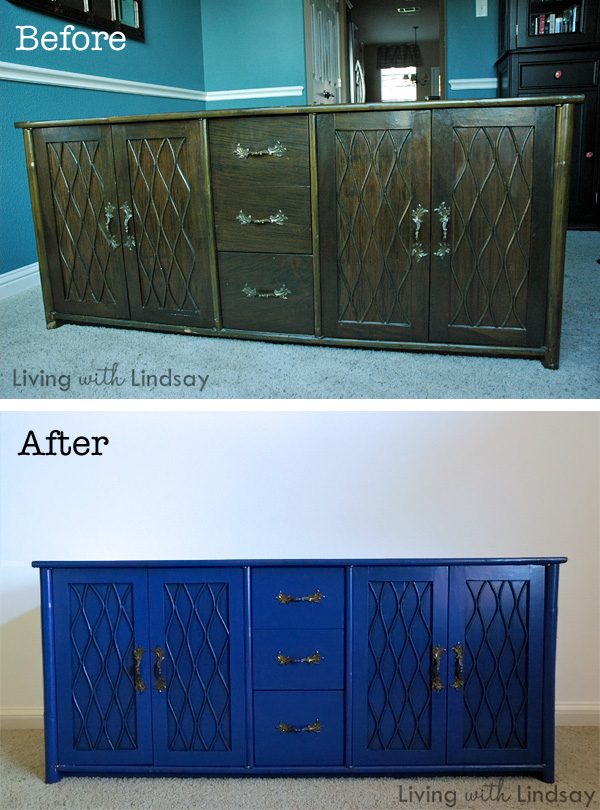
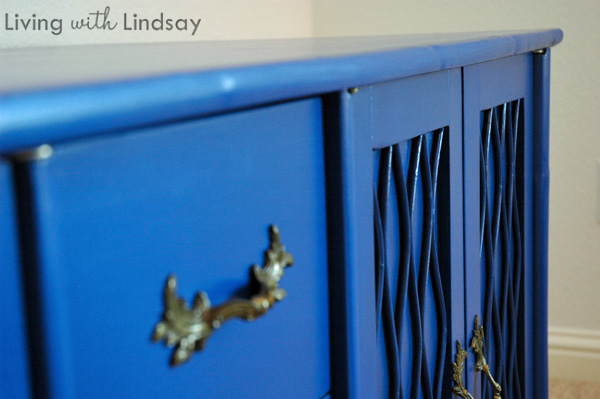
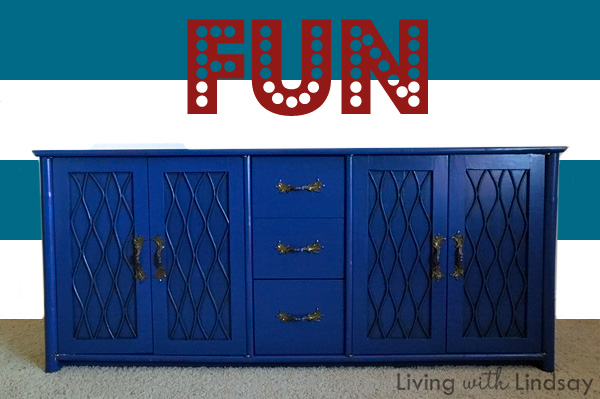
This is exactly what happened when I went to put the doors back on my now bright blue stereo cabinet. I thought I had them in the correct positions, but I didn’t. I moved them around about five times, screwing and unscrewing the hinges (because those had to be just right, too!). By the time I had it all figured out, the screw holes for the hinges were stripped.
I called Tom at work and asked him if we had any super glue. He’s answer (and rightfully so) was, “Um, why?” I told him I needed to just glue the screws into the too big holes. Instead, he suggested that I use toothpicks. Apparently, I could cut a toothpick down and use it to tighten the stripped hole a bit.
Y’all, it worked!
Tom said this was a “well known” fix, but I had never heard of it before. Here’s what to do, in case you run across the stripped screw hole problem, too.
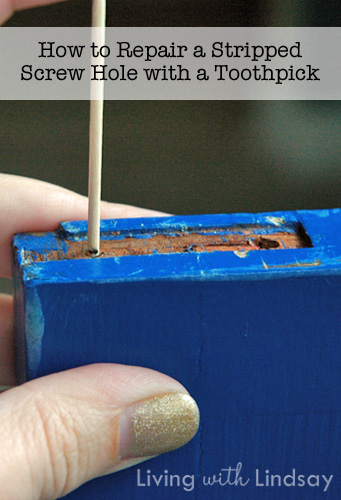
How to Repair a Stripped Screw Hole with a Toothpick
1. Stick and ordinary wooden toothpick into the stripped screw hole. Make a mark on the toothpick with a pen or marker so that you know about where it comes out of the hole. Don’t look at the scraped up paint on the bottom of my door. That’s what happened when I was trying to jam the wrong doors into the wrong places. And the poly drip. Seriously, why are you still looking? I said “don’t look”!!
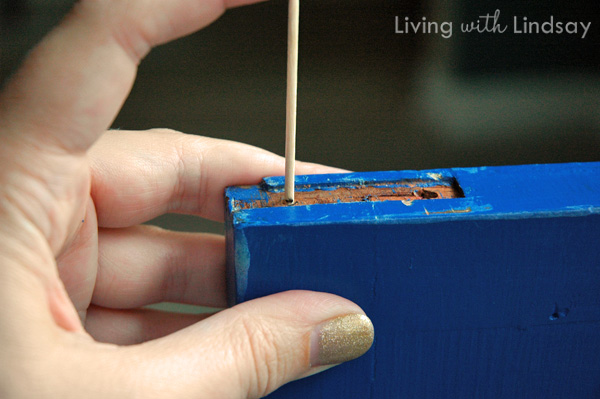
2. Cut the toothpick (I just used scissors) slightly shorter than the mark. You want the toothpick to be down in the hole enough so that the tip of the screw can push down on it.
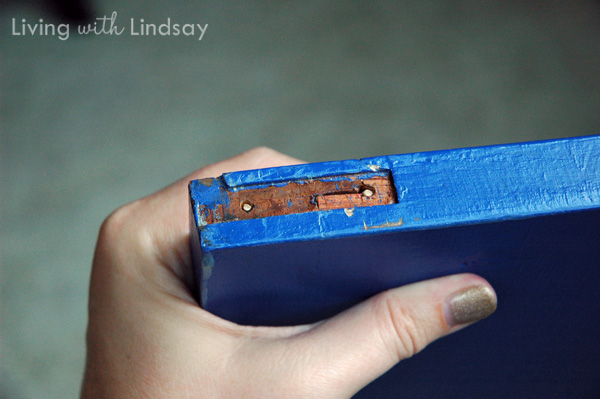
3. Now, you can just screw in your hardware as normal. The screw will push the toothpick down and to the side so that it has something to bite into.
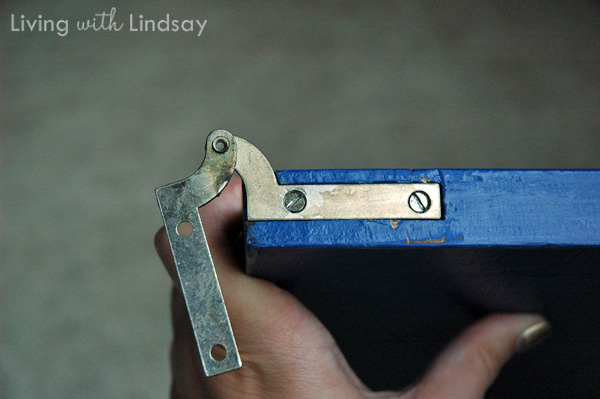
Genius! I couldn’t believe that it was such a quick and easy fix. Much better than super glue. 🙂
Have you ever tried this toothpick fix? If not, file it away in your mental filing cabinet (or on Pinterest) so that you can remember it when the need arises.