Makely

Let's Make Life Awesome

  • Home
  • Decorating/DIY
    • Create Your Decor
    • Decorate Your Home
    • Paint Your Walls
    • Transform Your Furniture
  • Healthy Living
    • Essential Oils
    • Family Wellness
    • Household Care
  • Project Gallery
  • Contact
You are visiting: Home » Project Gallery » Page 66

How to Fit a King Pillowcase on a Standard Pillow

by Lindsay Ballard on July 27, 2011 11,770 Comments

Here's a quick way to fit your standard sized pillow into a king pillowcase. It makes your bed look so much neater! via MakelyHome.com

I have a love/hate relationship with our king sized bed.  I love the extra space so I don’t feel crowded by the dogs and kids when they occasionally climb into bed with us, but I hate the king sized pillows that are made for a mattress that size.  I find them too large, and I much prefer two standard pillows to one king pillow.  Aren’t you glad you are finding out so much interesting information about me?

The problem with standard pillows on a king sized bed are the pillowcases.  A king sheet set normally comes with two king cases (although I’m starting to see some that come with 4 standard pillowcases – woohoo!), and they are far to large and droopy.  I can’t stand this look.
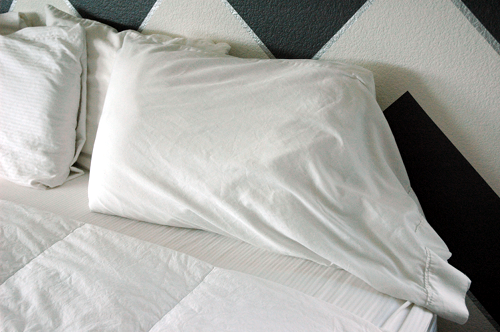
Short of buying extra standard pillowcases, which I have been known to do, I developed my own way to fit standard pillows inside of king pillowcases.  It keeps the pillow from shifting in the pillowcase, and makes it look crisp and tailored on the bed.  I’m sure everyone else in the world already knows how to do this, but I was so proud of myself for figuring this out a few years ago.

How to Fit a King Pillowcase on a Standard Pillow

1.  Put the pillow inside of the pillowcase, and lay it on your bed with the open end facing you.
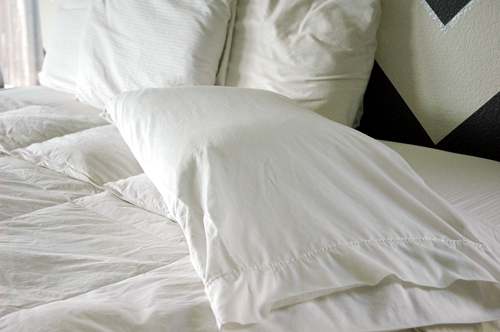
2.  With your thumb and index finger, pinch the pillowcase right above the end of the pillow itself.

3.  Using both hands, tuck the loose portion on the top of the pillow inside the pillowcase.
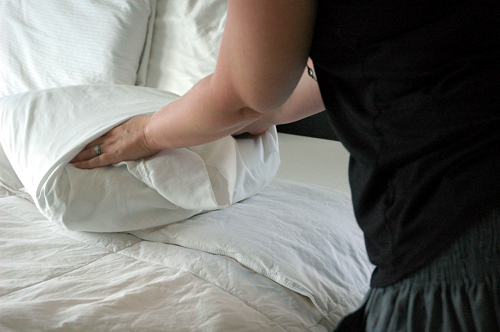
If I were to remove my hands at that point, it would look like this:

4.  From the inside of the case, smooth it out by running your hands from the center and out to the edges.  It should look like a little envelope when you are finished.
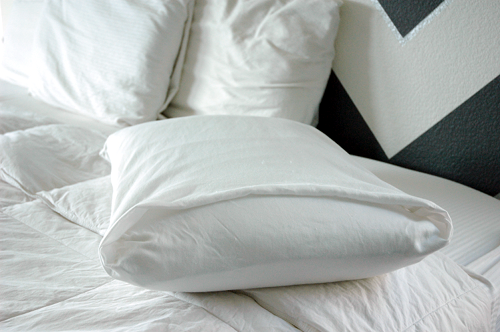
The whole process takes about 5 seconds, and it leaves you with a nice, crisp lines on your pillows.
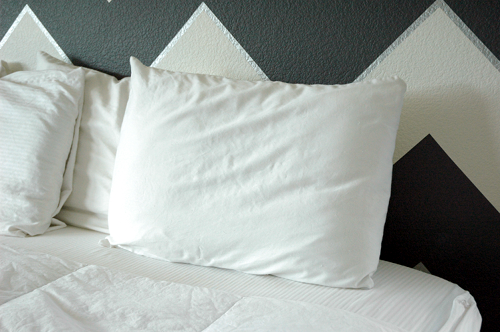
Once they are behind my other decorative pillows, I think they look so great.  No more droopy pillowcases!
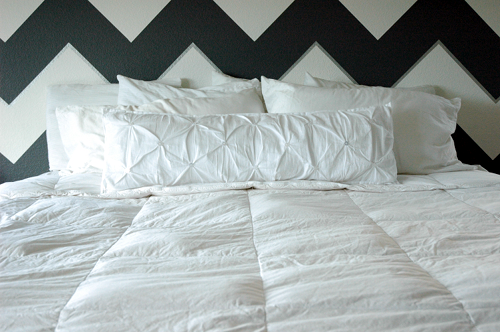
Oh, wait.  That bed is really missing something – like a head board and some color.  Oh, no!  That doesn’t look great, Lindsay.  Distract them!  Quick!

Whew!  I think it worked.  Much better, don’t you think?

What are your thoughts on droopy pillowcases?
How to Paint a Perfect Ceiling Line

by Lindsay Ballard on June 27, 2011 1,684 Comments

You’ve spent several days painting your bedroom to be your dream color.  You meticulously painted around the trim and windows and you are certain that every line is perfect.  Then, you get in bed, look up where the wall meets the white ceiling, and you see the blobs.

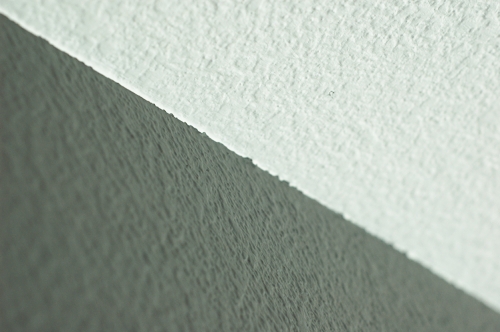
Paint seepage blobs.  Yuck!  Even though you’ve taped, the paint still ran under onto your white ceiling.  Most people just accept this as part of painting, but I’m here to give you a quick and easy solution to this one problem – and it doesn’t even involve paint.

How to Caulk Your White Ceiling to Create a Perfect Line

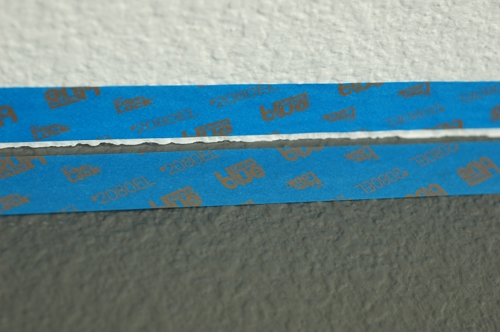
1. After your wall and ceiling paint is dry, apply a line of painter’s tape on the wall about 1/4 inch from the ceiling.  Also, apply a line on the ceiling about 1/4 inch from the wall.  We love the Scotch 3M Delicate Blue painter’s tape.

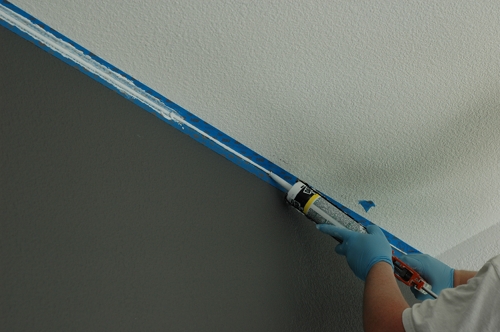
2.  Using a caulking gun, apply a bead of white caulk in a line about 18-24 inches long.  We generally use the white DAP Alex caulk, which can be found anywhere from Home Depot to Amazon.  Just make sure you use white and don’t accidentally pick up clear or almond.

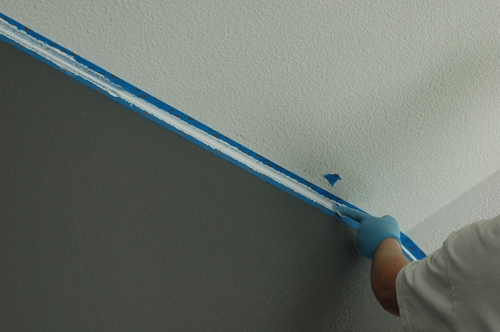
3.  With a gloved finger, drag the bead of caulk down so that it fills in between the tape.  Keep dragging until the caulk is pretty flat.

5.  Repeat this process until your whole room is finished.  You’ll want to work a section at a time so that the caulk doesn’t dry before you get a chance to smooth it out.

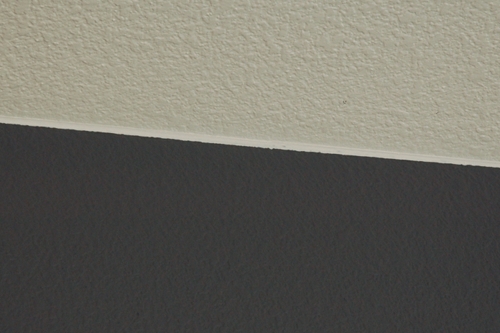
6.  When the room is finished, peel off the tape before the caulk is dry.  You’ll have a perfectly straight line.

In the photos, the caulk line looks brighter than the ceiling, but it really doesn’t look that way in real life.

The next time you paint a room, take 30 extra minutes and try this caulking trick on your ceiling.  I think you’ll be so glad that you did.  Do you think this is a trick that you may try?

« Previous Page
Next Page »
  • Email
  • Facebook
  • Instagram
  • Pinterest
  • Twitter

About Makely

Lindsay Ballard is a former college mascot turned political geek turned roller derby playing, DIY fanatic.

Lindsay chronicles her projects, design ideas, and lifestyle tips here at Makely, where she shares tutorials and inspiration. Her DIY designs are bold and graphic, while her spirit is fun and full of color.


Archives

Categories

PRIVACY POLICY
Copyright © 2009-2019 Makely School for Girls | All Rights Reserved | Posts may contain advertising content or affiliate links