When the holiday catalogs began hitting my mailbox back in October (!), I eagerly poured through them looking for inspiration for my own holiday decor. One of my favorite selections was the Spruce Alphabet Wreath from Ballard Designs.
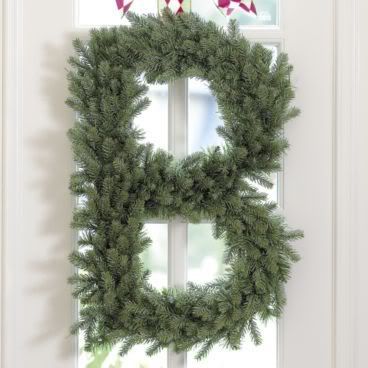
It wasn’t the wreath itself that I loved. In my opinion, it looks too tall and skinny, and I just couldn’t see paying $45 for it. I don’t think there’s enough heft in it to command enough attention for that price. ‘Cause I’m cheap. However, I was drawn to the idea of a letter wreath hung with a thick ribbon (the wreath in the catalog is hung with a yummy chocolate velvet ribbon).
I decided to make my own mini version of the letter wreaths to adorn my breakfast room chairs. In true Lindsay spirit, I found all of the supplies I needed at the Dollar Tree. Have I told you one just opened about a mile from my house? It’s dangerous, people.
What You’ll Need:
- Foam board – 1 sheet
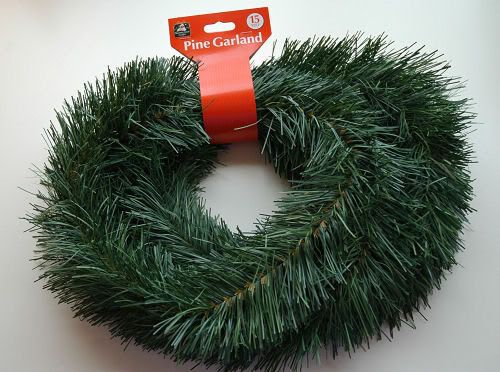
- Wired garlands – I used six total, but the number you need will depend on your letter and the number of wreaths you make. This is the type I purchased:
- Wired ribbon – I used 3 rolls total, but again, it will depend on what you do with this project.
- X-Acto or utility knife
- Wire cutters
- Scissors
- Glue gun and glue sticks (depending on your letter)
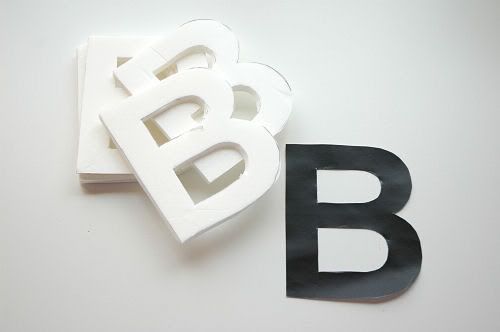
I began by printing out a letter ‘B’ from my computer. I chose a basic sans serif font and made it roughly the size I wanted my finished mini wreaths to be. I traced that letter onto the foam board and cut out the letters with my utility knife. I cut out six letters for my six chairs.
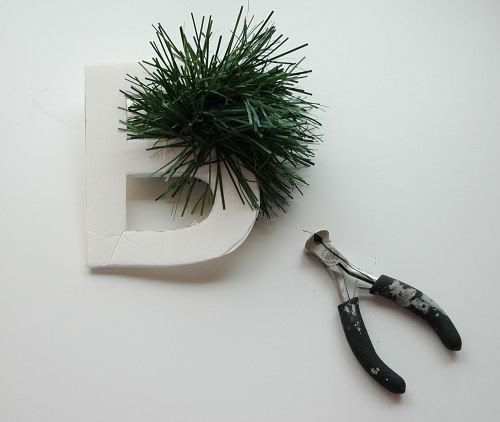
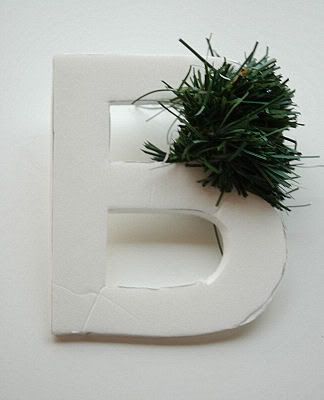
Keep cutting 12 inch sections, wrapping, and hair cutting. I recommend the 12 inch sections, because it’s much easier to work with than trying to wrap the entire 15 feet of garland.
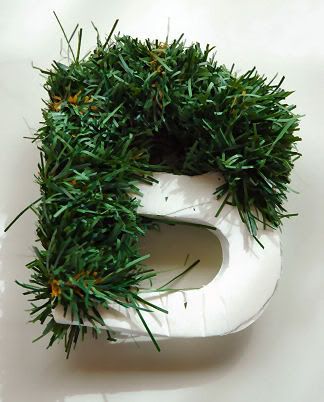
If you break your letter, don’t worry. Just tape it or glue gun it back together. The wired garland will hide the break.
When you finish wrapping your letter, you’ll have a stunning wreath!

Just kidding. You’ll need to trim some more. And trim, and trim, and trim. Cut it as close as possible so that you can see the shape of the letter really well. If you are like me and are using a letter with “holes” in it, be sure you stick your scissors in there and really trim out that hole as best you can.
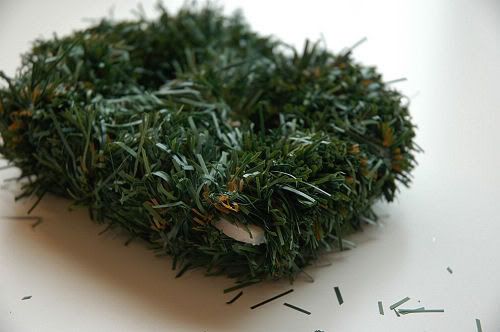
If you find that you have some of the foam peeking through, no worries. Cut a small section of garland (3 or 4 inches) and re-wrap that part of the letter. Don’t forget to trim the new section!
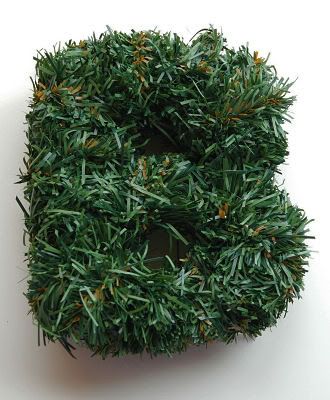
The last step is a simple one. Just thread a length of ribbon through a “hole” on your letter. If your letter has no “holes” and is not one you can hang well, like ‘S’ or ‘C,’ you can attach your ribbon with a glue gun on the back of the letter.
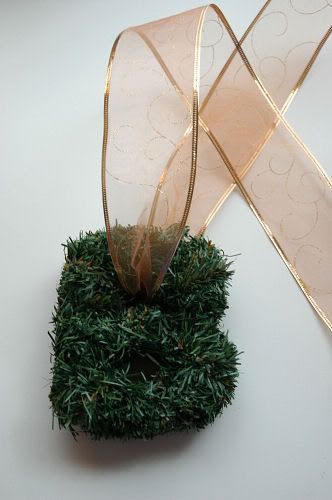
I hung one of my mini wreaths on the back of each of my breakfast room chairs by tying a bow on the top of the chair. I absolutely love the way it looks.
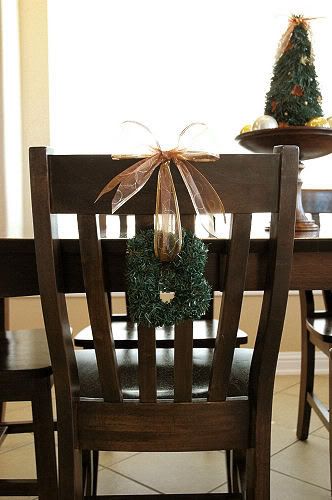

You could hang them just about anywhere – stair railings, lamps, or even on a nail in the wall. It would be pretty easy to make them in a larger version, too.
What do you think? Do you like the Ballard Designs wreath or the Lindsay Ballard Designs wreath better? You’ve been wondering what my ‘B’ monogram stands for, haven’t you?
For even more easy holiday DIYs, hop on over to Centsational Girl. I have a fun tutorial over there today featuring sequins. Sparkle, sparkle, sparkle! Thanks for having me, Kate!