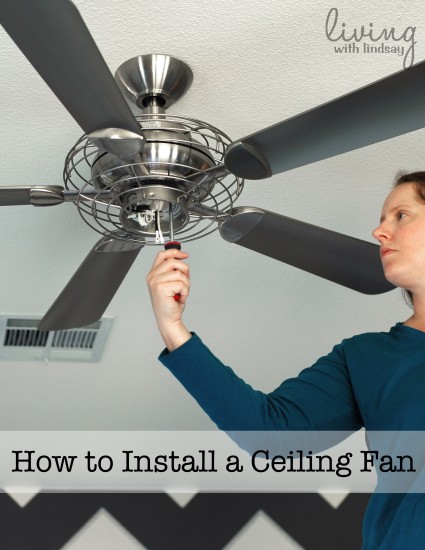
Happy Monday, friends!
Today I’m back with Part II in my series on how to replace a ceiling fan. For the first part of the tutorial (the removal of the existing fan), please see Part I here. We’re now going to talk about how you install your new fan. Please note that this tutorial is for a ceiling that has already been blocked and wired for a fan.
How to Install a Ceiling Fan
1. Turn off the electricity to the fan at your breaker box. You will likely find your box in your garage, a closet or your utility room. All you need to do is flip the breaker (the switch) that powers your fan.
2. Install the ceiling hanger that came with your new fan. There are several different types of these hangers, and some are easier to install than others. You simply screw it into the brace that’s already in your ceiling.

3. Assemble the fan (minus the blades and light kit). Each fan is made up of some of the same parts, including a downrod, canopy and canopy cover. If you need to, refer to the instruction manual to make sure you put together the parts in the correct order.
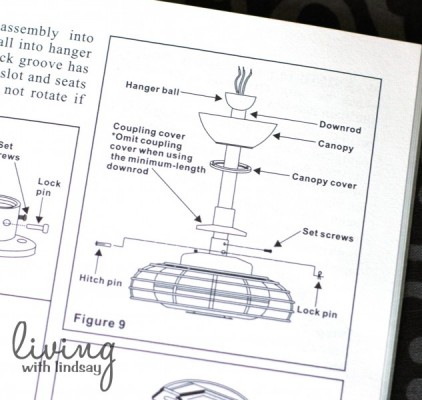
4. With the fan assembled, hang it on the ceiling hanger while letting the wiring hang out. This fan is easy to hang, as there’s a ball at the top of the downrod that just fits into place. The old fan was a bear to install, as you had to hang the heavy thing on a little hook to hold it in place. For your own sanity, I hope that you don’t have one like that.
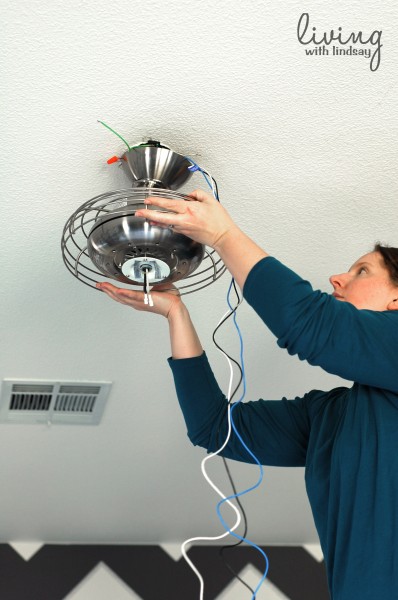
5. Next, you will need to cut the length of the fan’s electrical wires. Use a wire cutter/stripper and cut them so they are about 6ish inches long. Then, you’ll use the stripper to strip about 1/2 of an inch of the end of each wire. Home Depot has a tutorial for stripping wire if you’ve never done so. I was nervous the first time I did it, but it’s very easy with the right tool.
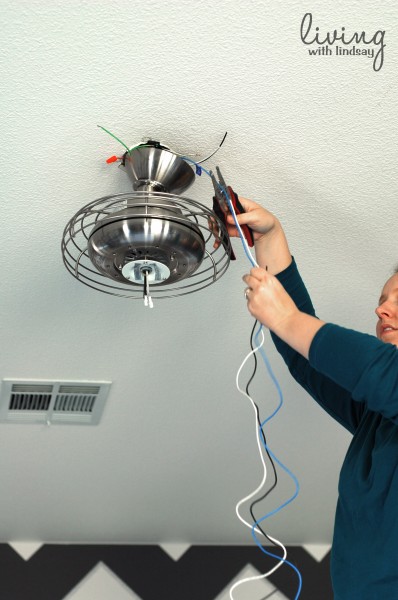
6. Now is the time to wire the fan to the ceiling. You will essentially twist the like colored wires together with a wire nut. However, if you have never wired anything, please read the directions that came with your fan. Once the wires are twisted together in the nut, pull each wire of a pair to make sure they don’t slip out of the nut.
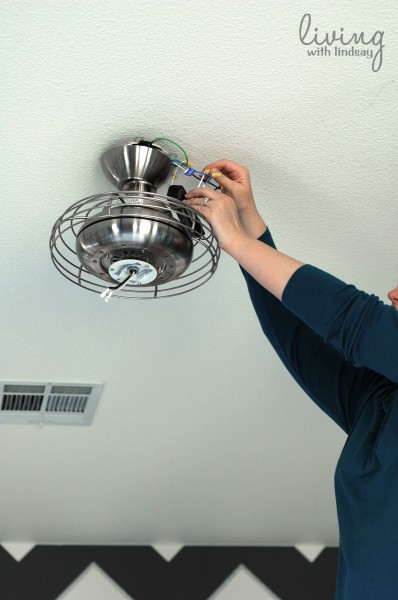
7. Push all of the wires up into the ceiling and place the fan’s canopy on the ceiling. Twist it until it locks into place. Do the same thing with the canopy cover, if your fan has one.
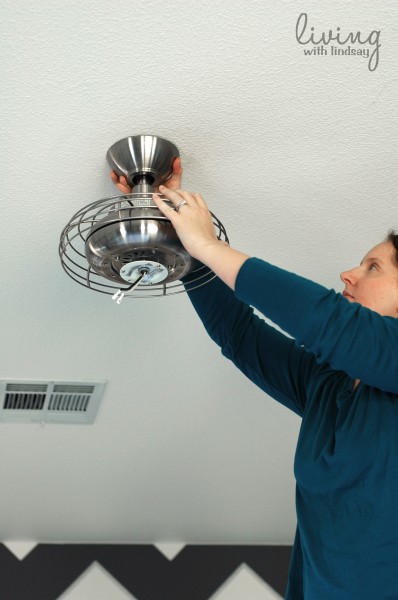
8. Attach the blades to the blade arms and then the blade arms to the fan. In order to better balance the fan (and not knock yourself out with a fan blade), attach them to the fan in a star pattern.
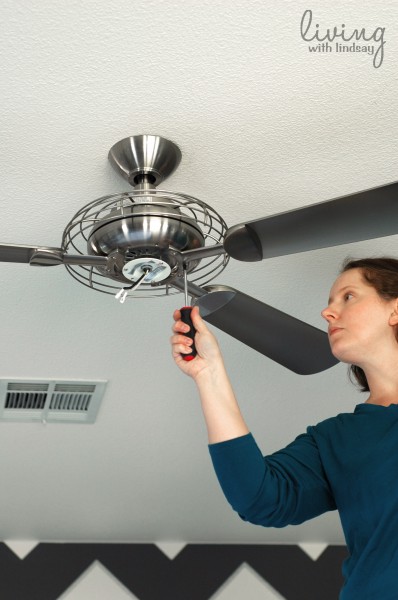
9. Once your blades are installed, you can add the light kit or light kit cover. We decided to attach the light kit on our fan, because it gives off nice light. I simply screwed the light kit “innards” into place and then put the light bulb in the socket.
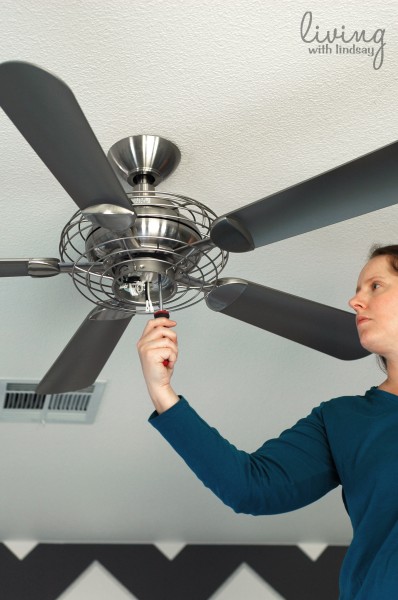
10. All that’s left is to attach the bottom of the fan. Some fans have a finial that goes on the bottom. Because of the style of our new fan, I only had to attach the globe by just twisting it into place.
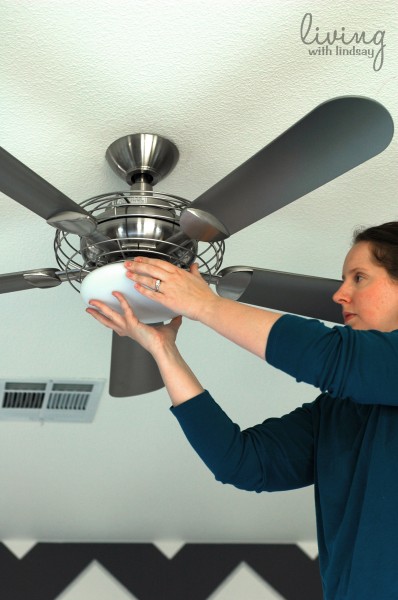
Voila! You have now installed your ceiling fan! Turn your breaker back on and flip the switch on the wall that powers your fan. Hopefully (fingers crossed!), it will be spinning and you can bask in your glory.
I am so pleased to finally have my new fan installed after waiting all of those months for it to arrive. I think it fits the room perfectly.

Do you feel ready to replace a ceiling fan if you want/need to? You can do it!