Makely

Let's Make Life Awesome

  • Home
  • Decorating/DIY
    • Create Your Decor
    • Decorate Your Home
    • Paint Your Walls
    • Transform Your Furniture
  • Healthy Living
    • Essential Oils
    • Family Wellness
    • Household Care
  • Project Gallery
  • Contact

Ghoulishly Good Giveaway: Elmer’s and X-ACTO

by Lindsay Ballard on October 31, 2011 96 Comments

This post is sponsored by Elmers’s.

A few weeks ago, I hosted a Craft & Tell party at my home thrown by Elmer’s and X-ACTO.  I invited friends, readers and local bloggers to join in the fun.  Elmer’s sent me a huge box of just about every craft supply you could think of – glue sticks, glue dots, photo corners, paint pens, X-ACTO knives, circle cutters, self-healing cutting boards, gel pens and so much more.  Each party attendee got to take home a ton of supplies, so you know everyone was excited to attend!
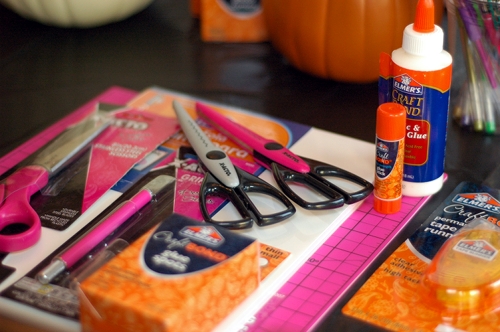
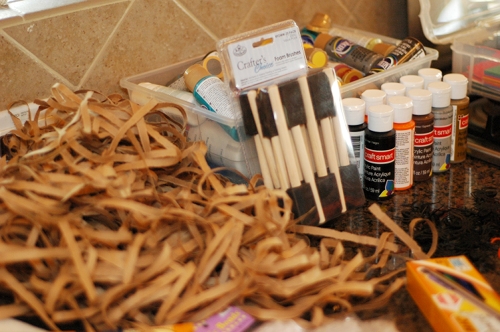
Instead of coming up with one craft for everyone to work on, I decided that it would be fun to have a pumpkin decorating party.  I asked my guests to bring a craft pumpkin to decorate, and I put out a few more craft supplies that I thought they may want to use.
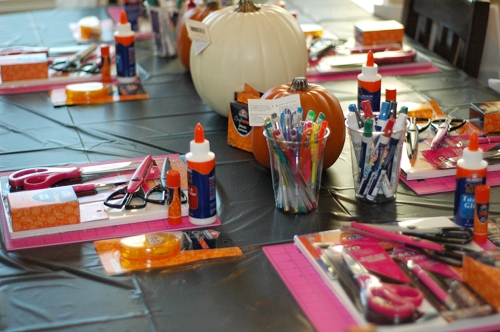
We had such a great time crafting and enjoying some adult time together.  This was the perfect, low-key girls night out.
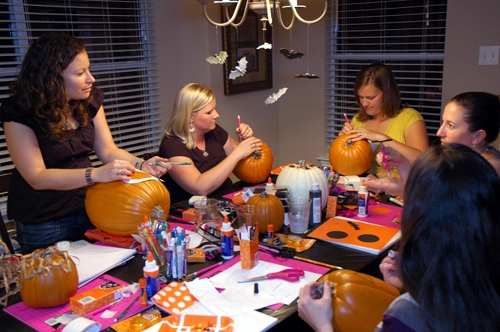

We loved how easy it was to cut through the craft pumpkins with the X-ACTO knives, and I was amazed at how everyone was able to come up with such vastly different ideas using the exact same products.

Kim used pre-cut letters that I had on hand to spell out Harvest Time.  She attached the letters with Elmer’s Glue Dots and then used them as a template to cut out the phrase with her X-ACTO knife.  Kristen used her X-ACTO scissors and circle cutter to create all sorts of cute cute Halloween themes and attached them to her pumpkin with glue dots.  Melissa free-handed her jack-o-lantern face and cut it out with an X-ACTO knife.  She came up with the idea of outlining her cut outs with a Elmer’s Painters Paint Marker, and the rest of us thought she was a genius!

Allison used her paint markers to draw an amazing argyle pattern on her pumpkin, and she cut out Trick-Or-Treat with an X-ACTO knife.  Lindsay (not me, but my friend!) carved a fanged P out of hers, and it looked fabulous.  I covered my pumpkin in strips of curly brown craft paper using my glue dots.

Here’s everyone modeling with their new masterpieces (click Play Again if the slideshow has already cycled through).  Are there any bloggers in the mix that you recognize?

Elmer’s and X-ACTO wanted to make sure that the fun could be spread around to everyone, not just those who live locally.  So, they are providing Craft & Tell prize packs to TWO readers of Living With Lindsay!  Each Craft & Tell prize pack includes:
·         3  X-ACTO Retract-a-Blade knives
·         3  CraftBond Extra Strength Glue Sticks
·         3  CraftBond Tape Runners
·         3 Mini Bi-fold 9×12 Foam Board packs
·         1 Painters Markers pack
·         1 X-ACTO Decorative Edge Scissors pack
·         1 Circle Cutter
·         1 X-ACTO Self-Healing Mat
·         1 Glue Dots pack
·         2 Photo Corners packs (various colors)
·         1 Gel Pens pack
·         1 Tacky Glue bottle

You could have your own mini craft party with your friends!  To enter, simply leave a comment below.  Two winners will be randomly selected from contest entries.  The giveaway is open through Thursday, November 3rd.

Good luck and happy crafting!

Disclosure: Elmer’s supplied me with craft supplies to host a Craft & Tell party with the understanding that I would write about my party.  No money exchanged hands, and there was no encouragement to review the products in a positive fashion.

Giveaway rules: Giveaway open until midnight on 11/3/2011.  No purchase necessary. Odds of winning are based on the number of entries.  One entry per person.  Open to US residents, 18 and older.  Winners will be randomly selected using Random.org and notified by email.  If winner doesn’t respond in one week, another winner may be randomly drawn.
{31 Days to an Eclectic Home} Day 30 – Rehabbing a Tired Chair

by Lindsay Ballard on October 30, 2011 2,056 Comments

Today is Day 30 of a 31 day series on creating and cultivating an eclectic home.  For some crazy reason, I have accepted The Nester’s challenge to write on the same theme every day for the month of October.  This may end up killing me.  Or you.  But, I appreciate you reading and welcome your comments.

Not too long ago, I assigned some homework to you guys.  I wanted you to find a chair to rehab so you could bring some great color into a room in your home.  As far as I’m concerned, a piece of painted furniture is one of the easiest yet most substantial changes you can make when you are aching for some color.

I, too, found a tired chair.  She was thrown in the corner of a little shop here in town, with several other items stacked on top of her.  She needed to be rescued.

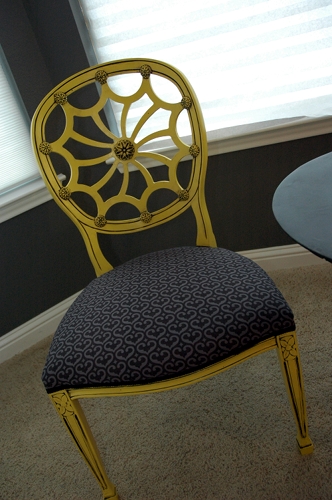
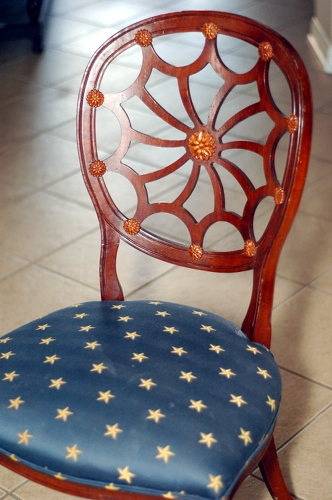
Oh, the poor little chair.  She had so much potential, but she desperately needed a makeover.  Over the course of just a few days, she found a new life and now adds a fun touch to my bedroom.

How to Rehab a Tired Upholstered Seat Chair

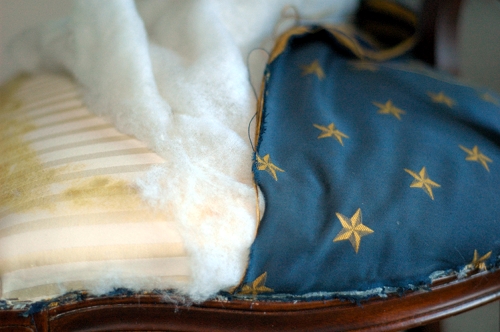
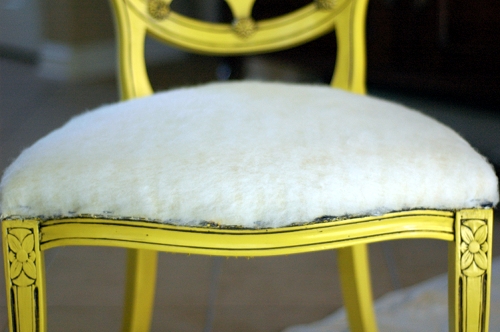
1.  I began by removing the yucky upholestry from the chair.  I didn’t worry about pulling out the upholestry staples.  I just used my scissors and cut off the top layer of fabric and the batting.  This revealed an original layer of fabric (this chair was being made over for at least the 3rd time), and I just left that one in place.

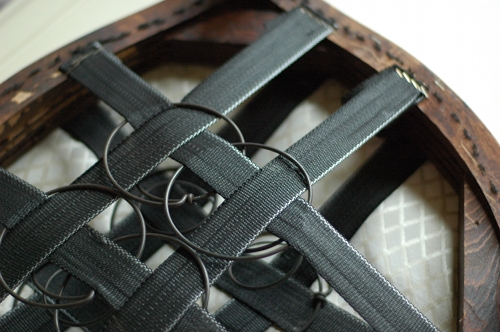
The dust cover on the bottom was also ripped, so I removed it the same way.  If it had been in good shape, I would have just left it alone.

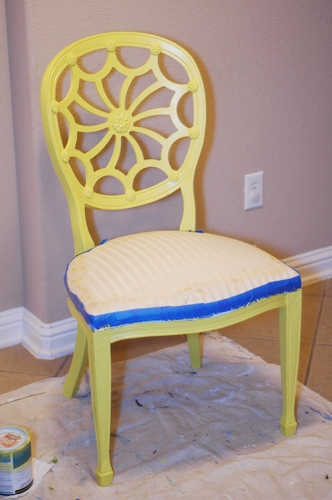
2.  Next, I sanded the wooden frame of the chair to remove the shine and years of grime.  I sanded with a 150 grit and then a 220 grit sandpaper.  I wiped the chair down with a wet cloth between each sandpaper grit and when I was finished.

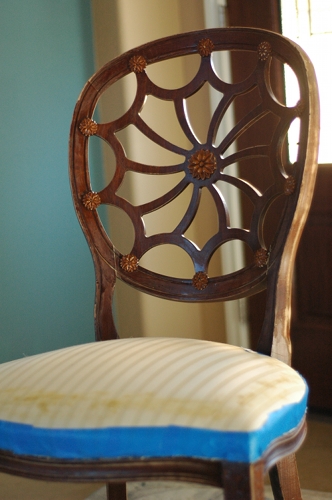
In order to prep the chair for painting, I used ScotchBlue painter’s tape to tape off the fabric around the frame.  This isn’t absolutely necessarily, but I didn’t want to get a lot of paint on the fabric I was leaving on the chair.

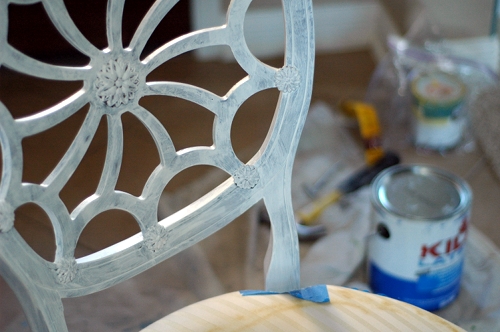
3.  I primed the wooden frame of the chair with Kilz primer and a Purdy paint brush.  I prefer to prime wooden pieces with a brush or roller instead of using a can of spray primer.  It’s a personal preference, but I think the finish is much smoother when done by hand.

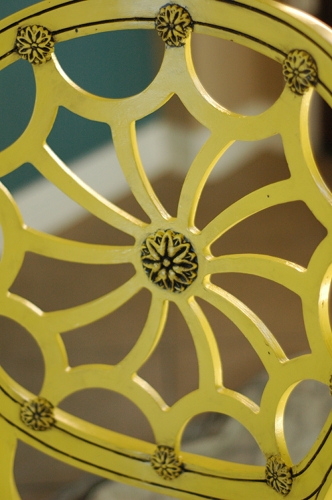
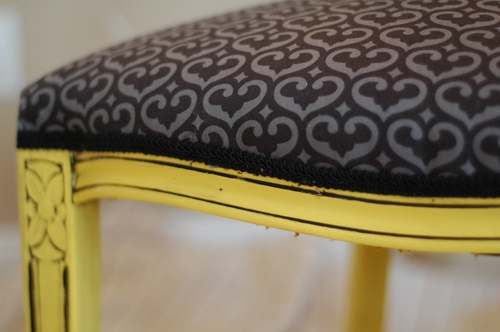
4.  I had some of the yellow paint left over from my dresser rehab, and I used it to paint the chair frame once the primer was dry.  Again, I just used a paintbrush.

5.  I decided that the chair needed a little depth so I {surprise! surprise!} glazed the detailing with my favorite Ralph Lauren glaze tinted to Black Silk.  I used a cheap chip brush (not my Purdys!) and dabbed the glaze into the detailing.  I worked a section at a time dabbing, wiping with a wet cloth, wiping gently with a dry cloth, and wiping only what I wanted removed with another wet cloth.  Once you have the technique down, glazing is quick and easy (although I was really scared the first time I ever attempted it).

When the glaze was dry, I added 2 coats of glossy Minwax Wipe-On poly.

6.  After the poly was dry, I sprayed some spray adhesive onto the original fabric (see why I kept it?) and laid a thin sheet of craft batting on the top.  I stapled it above the frame in a few places.  If you have access to a pneumatic staple gun (one that attaches to an air compressor) you definitely want to use it.  Otherwise, you can use a regular staple gun, but just be prepared to remove about 4/5 of the staples that don’t go in all the way.

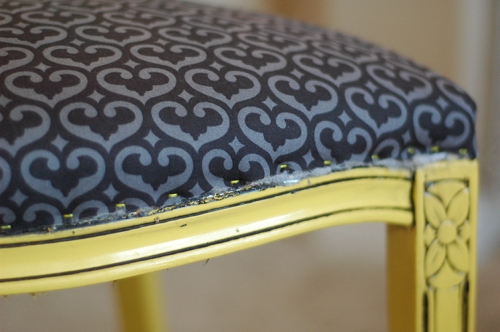
7.  I laid the fabric over the batting, stapled it on one side, pulled it tight, and then stapled it around the frame.  I cut away the excess fabric as I went around each side.  Again, this step is made ridiculously easier with a pneumatic staple gun.

8.  Lastly, I applied a thin bead of hot glue over the staples and attached some gimp trim.  It finishes the look and hides all of those staples.

9.  My local fabric store was out of the type of fabric I like to use for a dust cover, so I haven’t added that yet.  I bought some plain cotton fabric to use, but I really like to use dust cover fabric so I’m going to wait until it’s back in stock.  I will just staple it on the bottom of the chair, folding the raw edges to the inside of the chair.

That tired little chair, once neglected at a an antique/vintage/junk shop, now has a new life in the sunny bay window in my bedroom.

Now, it’s your turn.  I challenge you to paint your chair frame any color other than black or white.  What color will you choose?

« Previous Page
Next Page »
  • Email
  • Facebook
  • Instagram
  • Pinterest
  • Twitter

About Makely

Lindsay Ballard is a former college mascot turned political geek turned roller derby playing, DIY fanatic.

Lindsay chronicles her projects, design ideas, and lifestyle tips here at Makely, where she shares tutorials and inspiration. Her DIY designs are bold and graphic, while her spirit is fun and full of color.


Archives

Categories

PRIVACY POLICY
Copyright © 2009-2019 Makely School for Girls | All Rights Reserved | Posts may contain advertising content or affiliate links