Back in January, I set a goal to add a little more color to our home. I had grown bored of my beige/white/blue routine and longed for a little more whimsy and fun in my decor. At the time, I really thought I’d spray paint a lamp green here and paint a picture frame yellow there. I had no idea that once I got started adding color, I’d soon want to redecorate my entire house. I’m having way too much fun with this!
My latest “this-needs-color-STAT-gah!” victim is the antique sideboard that sits in my entry way, directly across from my zebra shaded, green ruffled dining room. No, no, no – don’t panic! I didn’t paint the sideboard. Its finish is lovely and original, and I want to keep it that way. Instead, I finally got around to using my new Ikea fabric to make a funky, knot-covered, Anthropologie-inspired runner to drape across it.
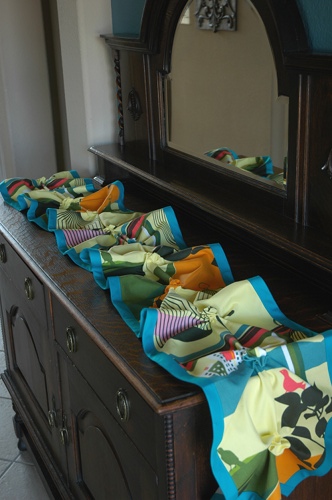
I am really feeling the bold colors and twisty knots that create an interesting shape. Tom, on the other hand, is not. He’s always honest with me about my projects, and this one is not his favorite. When I asked him if it was the design of the runner or the brightly colored fabric that he didn’t like, his answer was, “Yes.” My hope is that once it’s accessorized properly, he will grow to appreciate it. I’m going to attempt to work on a vignette this week, and of course, you will be the first to know when it’s completed.
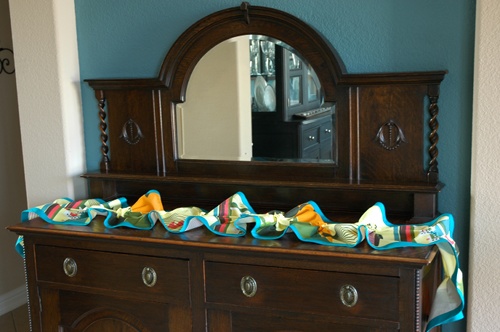
Whether you are on Team Lindsay or Team Tom on this one, I do think there may be a place for this knotting technique somewhere in your home. If you aren’t looking to add such a bold print, try it with white fabric or even burlap. I’ve seen several tutorials using the knots for fabulous knock-off Anthro duvet covers, and the same general technique is applied here.
DIY Knotted Table Runner
You’ll need:
- Length of fabric measuring about 1/3 longer than you want your finished project to be;
- 4″ diameter circle template;
- Pencil;
- Embroidery floss in color matching your fabric;
- Needle;
- Double fold bias tape or quilt binding (optional).
Directions
1. Cut your fabric to the length and width wanted for your runner. Because my runner is for my sideboard, I didn’t want it quite as long as I’d put on a regular dining table. My finished length needed to be about 2 yards long, so I used 3 yards of fabric. Your finished width will be roughly the same size as the piece of fabric you cut.
2. Finish all four edges. You can simply turn under the edges, press and hem (either with a sewing machine or iron-on hemming tape), or you can sew bias tape on the edges. I just used the prepackaged extra wide, double fold quilt binding that you can find in any craft/fabric store.
3. Using a template that’s roughly 4 inches in diameter, trace circles with a pencil on your fabric. I centered each of my circles down my runner and spaced them about 5 or 6 inches apart.
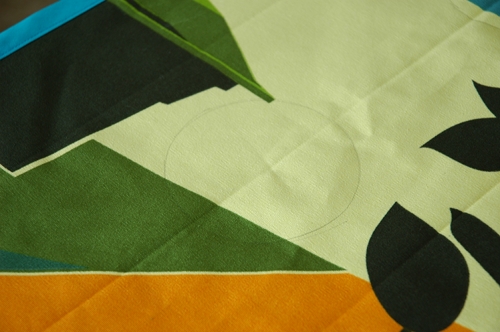
4. With your embroidery floss and needle, sew long stitches around the circle. Don’t cut or tie off the thread at this point.
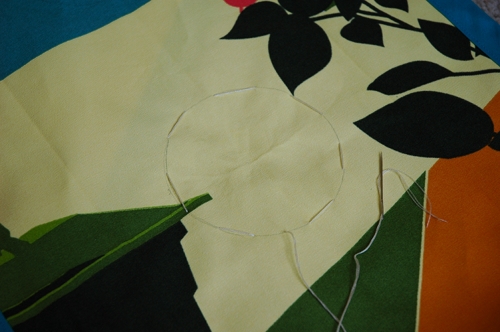
5. Pull the extra length of thread taut so that it gathers your fabric. The tighter your pull, the more it will gather (this is why you want to use embroidery floss – regular thread would break if you pull too hard). Pull up the center of the circle so that it forms a little point.
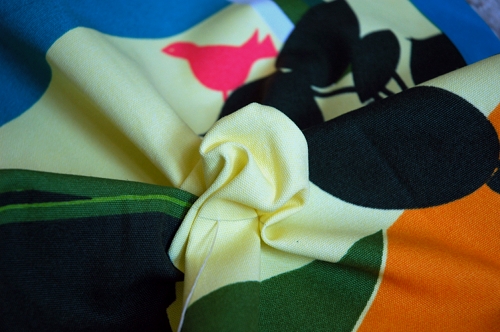
6. Twist the little point and stick it back down inside the gathers with your finger.
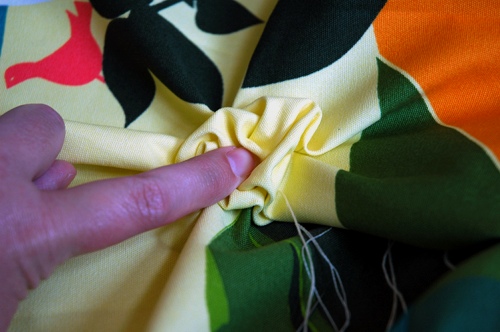
7. With the still threaded needle, run three or four passes through the middle of the knot, securing it into place. Tie off the thread on the under side of the fabric.
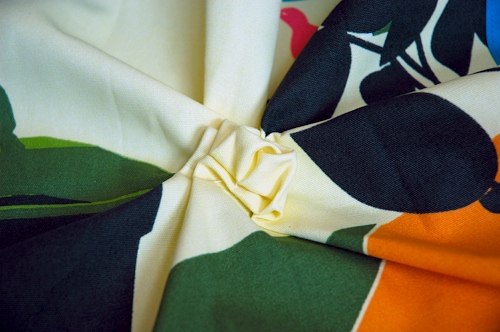
8. Now, just repeat this knotting method for the rest of your circles.
The process seems complicated, but it only takes a few minutes to complete each one. If you are like me, you can add it to the list of things you’ll work on while watching a Bring It On franchise movie marathon on TV. Brrr! It’s cold in here. There must be some Toros in the atmosphere.
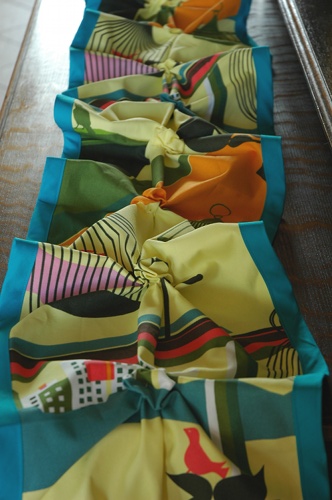
Even though the jury is still out for Tom, I really do like the finished product. It’s different, funky, and incredibly easy to throw together.

What do you think? Is this a fresh take on a boring table runner or is it just flat out weird?
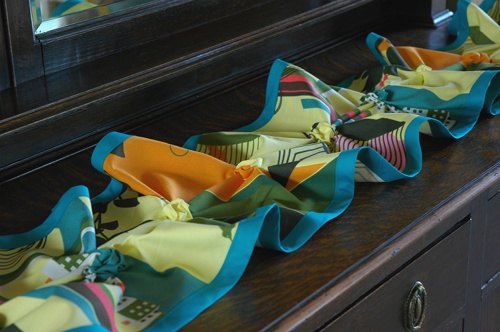
Oh, e, oh, e, oh. Ice. Ice. Ice.
P.S. – If you read my blog outside of a reader, you’ll notice that I’m changing things up a bit and overhauling my blog design. As with most everything, I’m DIYing this bad boy, too. Each time you visit, things may look a little different or maybe even be broken. I decided not to work on it offline, because what’s the fun in that? This way, you’ll be able to see one of my projects done in real time.