I’m not big on New Year’s Resolutions. Sure, I’d like to lose this baby weight and get back into shape again, but making myself a list of things I must do only sets me up to fail. Like I saw someone write on Twitter, “This year, I resolve to not force myself to do things that I know I’m not going to do.”
Instead, I’m going to make a list of fun goals to work towards.
This year, I resolve to:
- Focus on living in the moment like my friend Emily. She seems to enjoy every second of her kiddos instead of being annoyed that they’ve made big messes, like I do. I need a WWED bracelet – “What Would Emily Do?” Maybe she just hides it well, but it’s something I strive to achieve nonetheless.
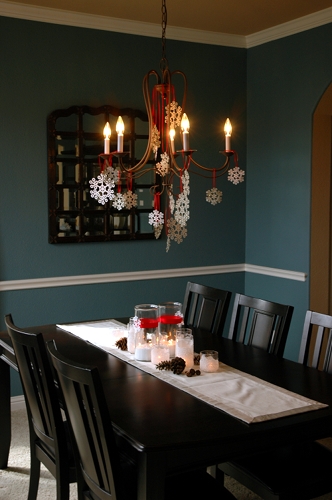
- Add more color to my home. I love blue, and it’s sort of taking over. Ask me what color I want to paint the master bedroom this year. The answer is blue. Our master bath? Blue. Our guest bath? Well, you get the picture. Looking back over sweet Edie‘s photos made me realize that I can add color and not feel like I live in Chuck E. Cheese. Please send some good thoughts to Edie and her family, by the way.
- Finish those projects that have been on my mind for far too long. Remember my DADD? Yep, I still have it. Now that I feel like I’ve finally gotten the swing of having two kids, I can organize my day better to get some of those projects completed.
- Make Emmy wear more silly hats. She loves it and she may as well enjoy being silly while she can. In fact, *I* need to enjoy being sillier while I can, too.
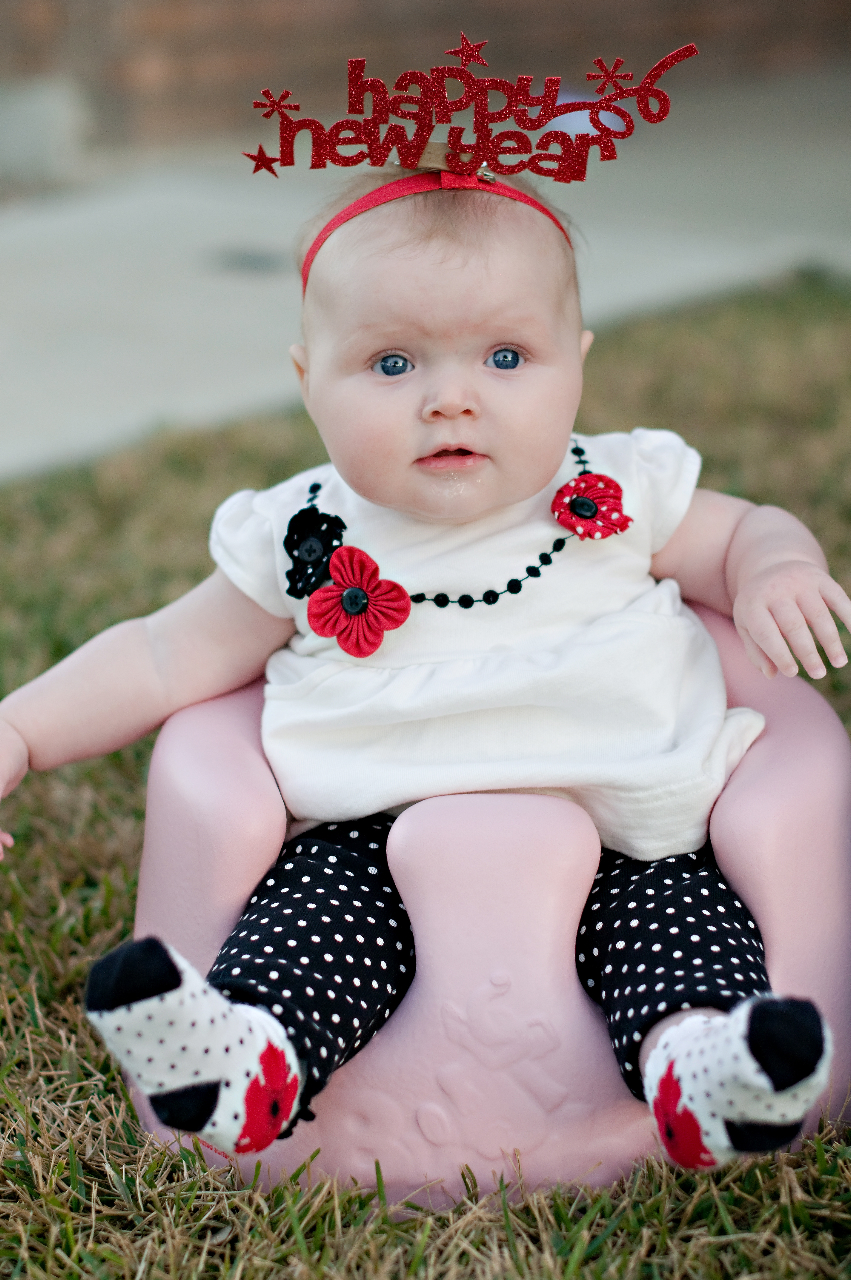
Hat made with my fabulous Silhouette SD (which has quickly become my very favorite tool in the craft room). I simply downloaded the Happy New Year image and the machine cut it out for me. I glittered the cut out, hot glued a barrette on the design, and clipped it to one of her baby headbands. Voila!
- Start giving you guys more tips, even if I’m just blogging about nothing…which I’m sorry to say has really been the case over the past year. At the end of each post, I’m going to offer a home/crafting tip, which may or may not be related to said post, and I’ll be calling it the Tip Jar. If you have a one to two sentence tip you’d like to share, email me at lindsay@makelyhome.com with “Tip Jar” in the subject line. Be sure to give me your first name and blog address if you have one.
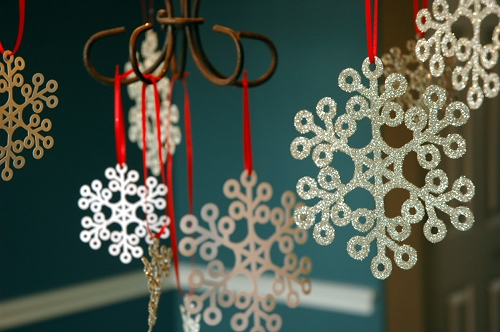
TIP JAR: Spray a clear acrylic sealer (available at craft stores) over cut items you have glittered, like Emmy’s hat or my snowflakes. It works far better than hairspray and will keep you from having glitter in your eyes, on your floor, and in your hair.
Thanks to my better-than-I-could-ever-dream-of friend, Kim, who always humors me by taking pictures of my daughter dressed up in silly outfits. One day, I’ll figure out how to return the favor.