This post is sponsored by MirrorMate.
The master bath in our home is one of those rooms that I haven’t bothered to decorate since we moved in. Yes, it’s been two years. I know that we need to do something what that big, open space, but I haven’t given it any attention.
One of the things I that really wanted to do in there was to dress up our huge builder’s mirrors. My husband and I have split vanities, so that means we actually have two of those ugly things that stare at me every morning.
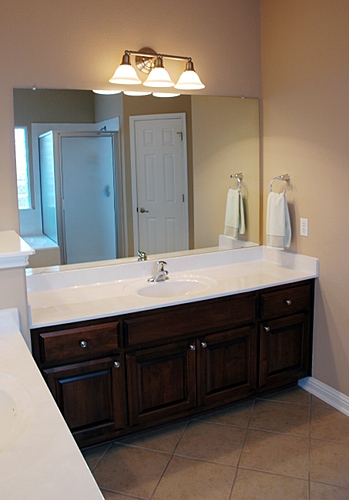
I thought I would apply molding around the edges, like I’ve seen other people do, but I wasn’t 100% sold on the idea. The white molding I envisioned seemed too stark next to our dark cabinetry. I needed a better solution.
As fate would have it, I was recently contacted by an ingenious company called MirrorMate. They sell custom made frames that you can apply to any existing mirror and perform a “20 minute mirror makeover.” MirrorMate offers over 15 different styles of frames, each in a range of colors. They offered to custom make a frame for my bathroom so that I could show you how quickly you can make a huge change.
I believe the email I sent back to them went something like this: “Oh my. I think you have changed my life. I’d never even heard of this product, and I think it’s the most amazing thing I’ve ever seen.” Yeah, I wasn’t kidding.
MirrorMate sent me a few frame samples of my choice so that I could decide which one I wanted for my bathroom. After I selected the Naples in Antique Silver, I took the measurements of my mirror and surrounding areas using their easy to follow instructions and submitted the measurements to MirrorMate. They told me that my frame would arrive at my house in about 2 weeks, so imagine my surprise when the UPS man knocked on my door just 5 days later!
The frame was shipped in four different pieces in a long box. As you can see, each piece was bubble wrapped to ensure it’s protection.
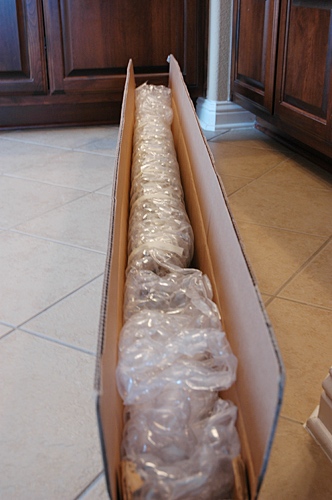
After unwrapping each piece, I found that I had an instruction sheet and the other tools necessary to complete the frame assembly. I was delighted to find out that I needed no tools for the installation other than a screwdriver, which I had to use to easily replace the huge mirror clips the builder installed with the slimmer ones MirrorMate provided (not everyone will have to replace their existing clips).
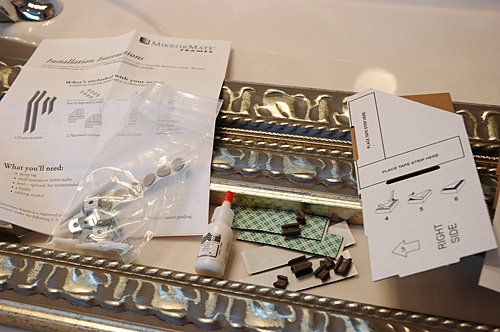
Following the directions, I assembled the frame on the floor using the glue and those little brown connector pieces you see in the above picture. I left it lay flat for an hour so that the glue could dry.
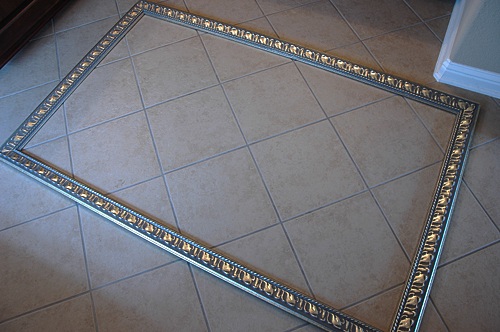
An hour later, it was ready to install. With my husband’s help, I moved the lightweight frame up to my mirror and figured out the proper placement. Once I was satisfied with the placement, I simply peeled off the backing from the sticky pieces on the back of the frame and stuck it to my existing mirror.
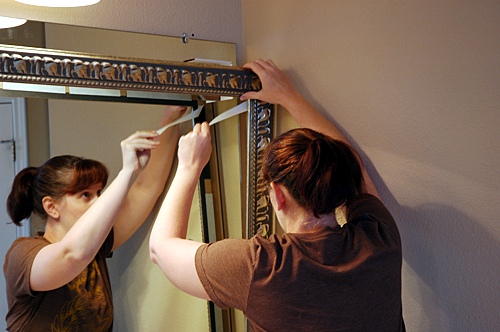
At that point, all I had to do was sit back and enjoy my new MirrorMate frame. The assembly and installation (minus the time waiting for the glue to dry) really did only take 20 minutes! Impressive what you can do in 20 minutes, huh?
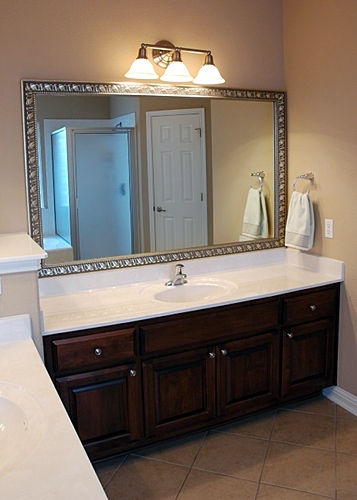
I really can’t begin to explain how much I love this frame. Every time I walk into my bathroom, I feel like I’m at a really pricey hotel or something. The funny thing is that this mirror frame cost less than I would have spent for a night in that same pricey hotel. My mirror frame, which is quite large at 67″ wide and 42″ tall, would have cost me under $200 to purchase. For a custom look, that is incredibly inexpensive!
To make it even more inexpensive, MirrorMate is offering a 15% discount to my readers through December 2010. Yes, you read that right – DECEMBER 2010. Simply use the code HOUSE at checkout. I am definitely ordering a matching frame for my husband’s vanity mirror and will likely get one for the large mirror in our upstairs bathroom as well.
Let’s see that before and after again, just ’cause I like looking at it. 🙂
Before
After
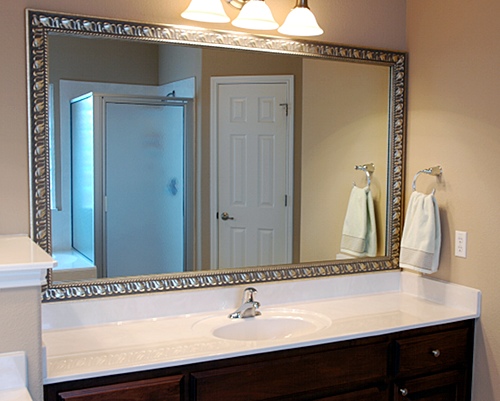
MirrorMate gets two enthusiastic thumbs up from this DIYer. Can you believe those results or what?
Disclosure: MirrorMate provided this mirror frame to me free of charge for the purposes of me reviewing it for my blog. As with any review, I am stating my honest opinion and was not asked to provide a positive review in exchange for the product. I call ’em as I see ’em, folks.