There’s few things I like more than falling in love with something pricey and then figuring out how to replicate it for pennies. When I saw this mirror in a Pottery Barn catalog a few years ago, I knew I could easily beat it’s $300 price and do it in my own style.

Yeah, that’s right. I said three hundred dollars. Surely they were kidding, right?
Fortunately, I’m not kidding when I say I’m going to teach you how to make a Pottery Barn inspired version for about a tenth of that price. I wrote this post about three years ago for another blogger friend to share with her readers. But, being as that I still love this piece that hangs right by my front door (and am so tempted to paint some of the pieces red for a reason I don’t quite understand), I wanted to share this easy mirror with you.
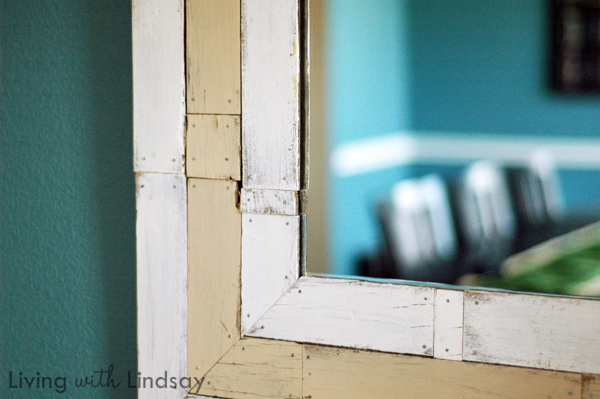
How to Make a Pottery Barn Knock-Off Mirror
1. Start by finding the mirror that’s going to go in the center of your project. You might find one stuck in the back of one of your closets, at a thrift store, or at a garage sale. I actually found mine at Hobby Lobby for around $4. The one I am using is a 12×12 beveled mirror that was sold to use underneath candles, but it is perfect for this purpose.
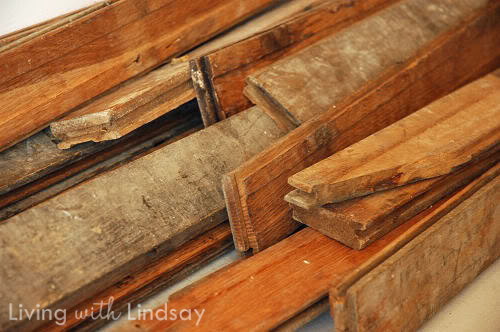
2. Grab some wood to make the frame. You’ll need more wood than you think, so get plenty. Mine came from the ReStore and is actually reclaimed floor boards from someone’s front porch, but used fencing, pallet pieces, or even new wood from the home improvement store that you distress yourself would work. Be sure to also check your free CraigsList section or salvage yards for reclaimed wood. I think I paid about 50 cents a foot for mine.
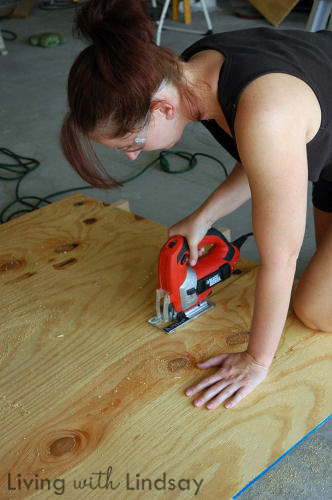
3. You’ll also need a piece of plywood for backing. We had some scrap wood that I cut roughly the size that I thought the finished mirror would end up. I cut it with a jigsaw. If you’ve never used a jigsaw, you should try it. It’s very easy and will expand your DIY possibilities tenfold! Y’all, saws are REALLY easy to use when you play it safe.
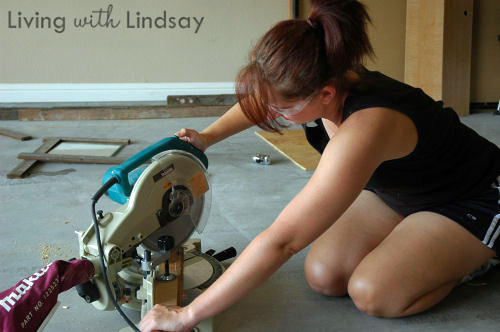
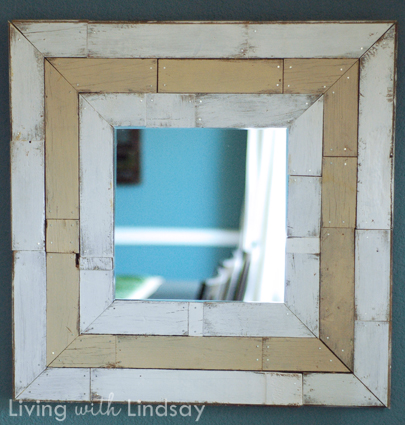
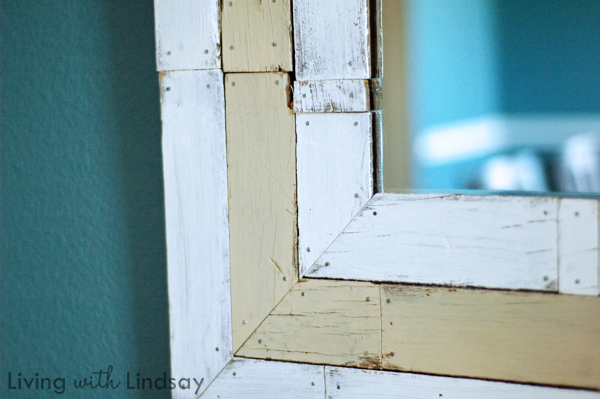
4. Next, cut your reclaimed wood with a miter saw to make the frame’s corners. You definitely don’t have to make miter (angled) cuts; you could just square your corners. I just liked the look of it this way and we have a compound miter saw, so why not? I decided to do three layers of wood around the mirror, so I made 12 corner cuts total. The pieces do not have to be even, and actually, look better when they are uneven.
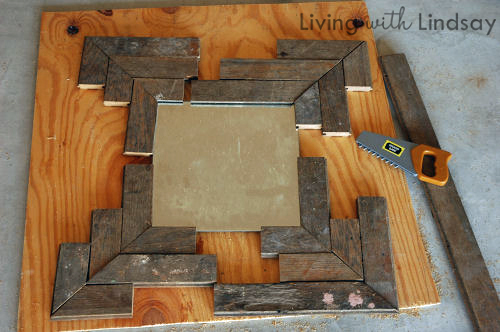
5. Then, cut some more wood to fill in the gaps on the sides. I’ll be honest, I didn’t measure here. I just moved things around like a puzzle and cut a little off here and a little off there until it all fit. It doesn’t have to be perfect and some small gaps are okay.
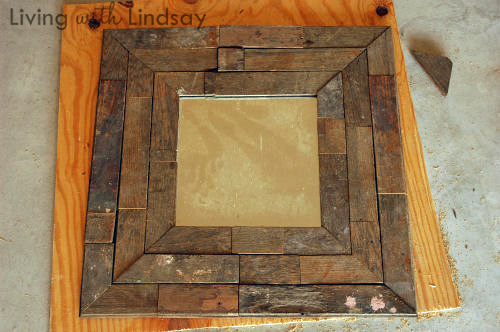
6. Once you get everything where you want it, label the back of each piece. For example, I labeled the outer square 1-1, 1-2, 1-3, etc all the way around. The middle was labeled 2-1, 2-2, and the inner square was 3-1, 3-2, etc.

7. Separate the wood into piles and wipe each piece down with a wet cloth. Then, with very little paint on your brush, brush each piece with one light coat. I chose to paint the outer and inner squares white (the same color as all the trim in our house) and the middle color “Crisp Khaki” (the same color as the builder’s beige in our house). You don’t have to do a great job painting it because you are going for the distressed look anyway.
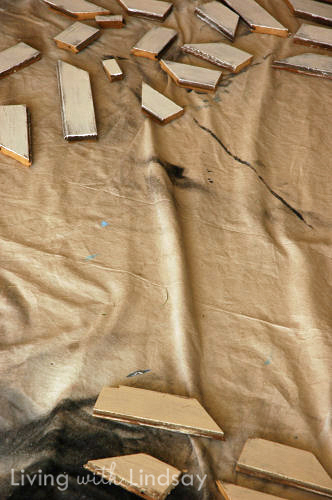
The great thing about this project is that you could do only whites for a beach cottage look; you could stain the wood to match your flooring or your furniture; or you could use the wall paint you already have on hand so that it would match most any room in your house. The sky is the limit with this piece, folks.
8. After the paint dries, you are ready to glue the pieces to the plywood backing. I bought some Liquid Nails at Home Depot and began by gluing the mirror to the center of the plywood. Then, I glued the inner layer of painted wood around the mirror. The Liquid Nails takes a while to set (the tube says 10 minutes, but it was MUCH longer in the Texas heat), so you are able to move the pieces around to get them all lined up exactly how you want them.
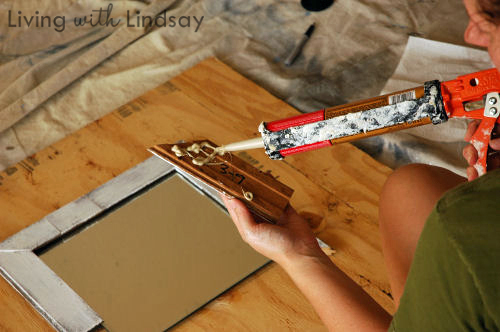
9. Do the same thing with the middle layer. Make sure you apply a lot of the Liquid Nails – the more you use, the better the bond will be.
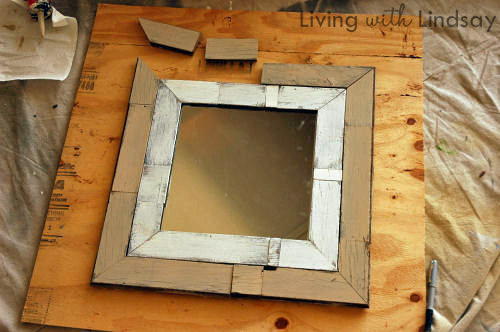
10. Next, grab your jigsaw again and cut the plywood close to the middle layer, allowing only about 1/2 of the width of outer layer. I wanted to be able to glue the outer layer to the plywood but not have the plywood show from the sides of the finished product. Glue down the outer layer and let the whole shebang dry overnight.
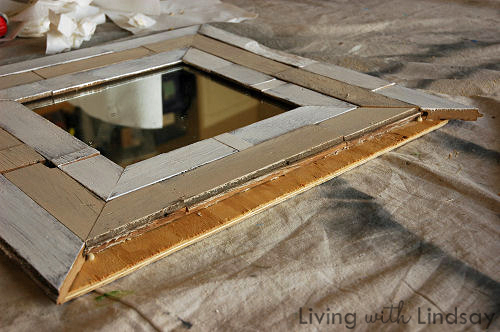
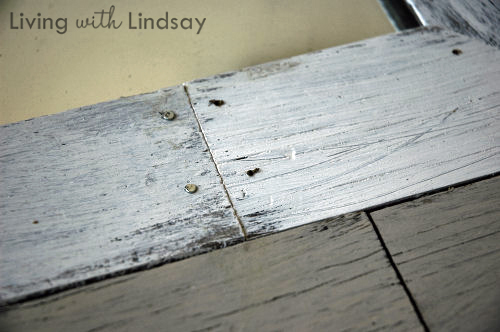
11. Once it’s dry, add the nail detail. I just used small 5/8″ nails. They don’t do anything structurally, but I like the way it looks like the boards are all nailed into place. My wood was so thick that the nails were bending and hard to hammer into place, so I drilled holes with my smallest drill bit and then hammered the nails into the holes. It worked like a charm.
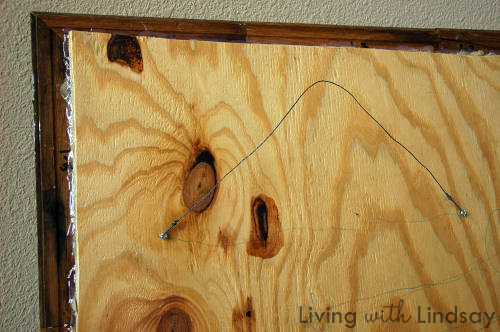
12. Lastly, flip the mirror over and screw two screws into the back. Tie a picture hanging wire around the screws to create a DIY mirror hanger. For good measure, I added a line of hot glue around the area that the frame and plywood met. I’m sure you don’t have to do that, but my glue gun is my best friend and I figured it couldn’t hurt.
That’s it! Your very own Pottery Barn inspired mirror for a tenth of the cost of the real thing. And quite frankly, I like mine even better than the $$$ one!
Do you try to figure out ways to knock off products you see in catalogs or magazines? Do you try to replicate them exactly, or do you prefer to give them your own twist?