Makely

Let's Make Life Awesome

  • Home
  • Decorating/DIY
    • Create Your Decor
    • Decorate Your Home
    • Paint Your Walls
    • Transform Your Furniture
  • Healthy Living
    • Essential Oils
    • Family Wellness
    • Household Care
  • Project Gallery
  • Contact
You are visiting: Home » furniture makeovers » Page 10

DIY Window Screen Covered Furniture

by Lindsay Ballard on July 2, 2012 6,474 Comments

My garage is a refuge to homeless furniture.  Whenever “new” old pieces come into my life, they wait their turn in the garage until I am ready to work on them.  Sometimes I’m just waiting on time, but often I’m waiting on inspiration.

A friend of mine bought this vintage Acousti-Craft stereo cabinet for $15 at an estate sale.  Sadly (for her), it was too large to fit into the space where she wanted to put it.  She asked if I wanted it, and since I never turn down furniture projects, I was happy to welcome it into my garage.
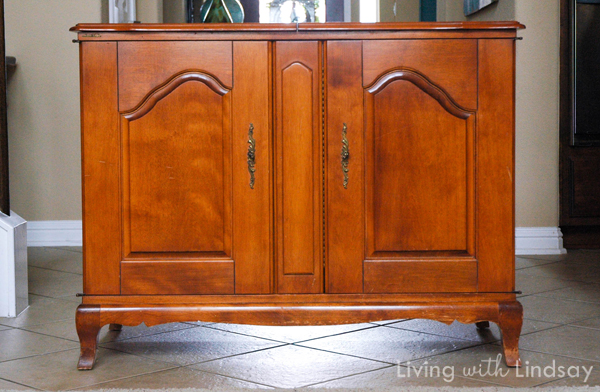
It took up residence there for about 9 months until inspiration struck.  I knew that I wanted to do something different with it, so when I came up with the idea to use window screen on a piece of furniture, I decided to try it out on this record cabinet.

I bought a roll of window/insect screen from Home Depot to use on this project.  It was about $5 for a big roll, so I figured it was worth a shot on a free piece of furniture.  I chose a fiberglass screen because it was soft, and I hoped it wouldn’t be too brittle once I painted it.

I decided to screen the sides of the cabinet and the inset panels on the front doors.  I used my pneumatic stapler to attach the screen to the cabinet (pulling it tight before each staple), and used an X-Acto knife to trim the overhang around the edges.
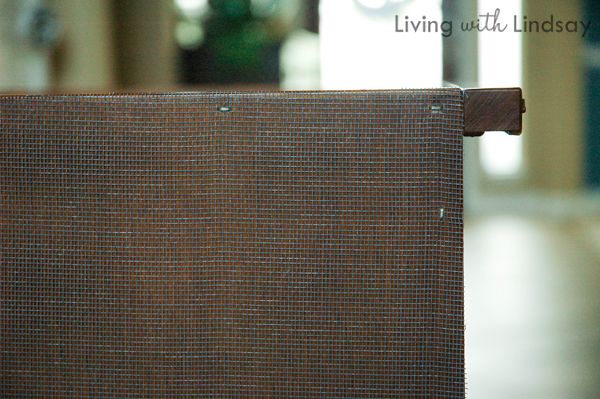
I knew that I was going to give the cabinet a grungy feel, so I was happy to leave the staples in full view.  If I wanted to give it a different look, I may have added wooden trim over the staples or used a different fastening system.

I took the cabinet apart and spray primed it with Zinsser Cover Stain Primer in my garage.  I did a really horrible job, but it was good enough.  I didn’t sand before I primed, but I lightly sanded everything but the screened areas after the primer was dry.
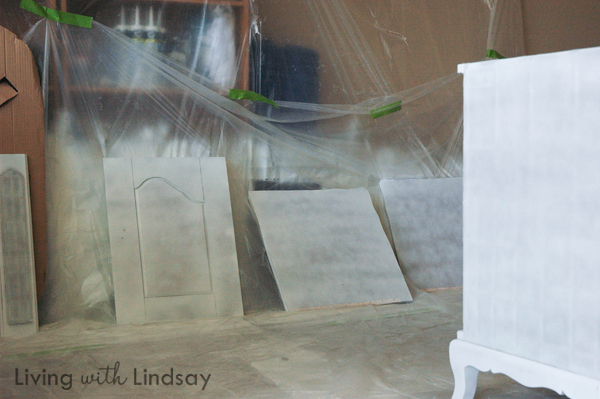
I tried to spray paint the color coats on the piece out of laziness, but the finish was AWFUL.  It was blotchy in places and shiny in others.  I ended up lightly sanding it (again) and just painted it with satin latex paint and a brush.

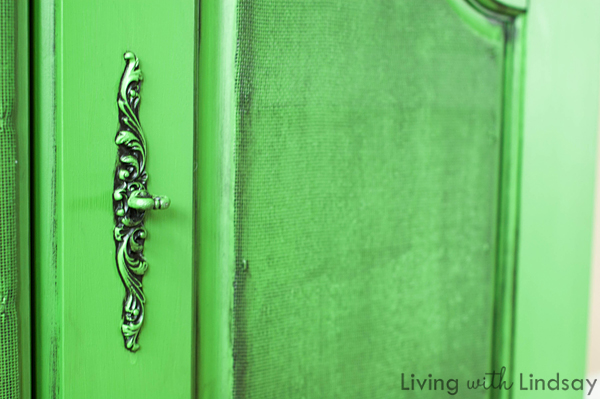
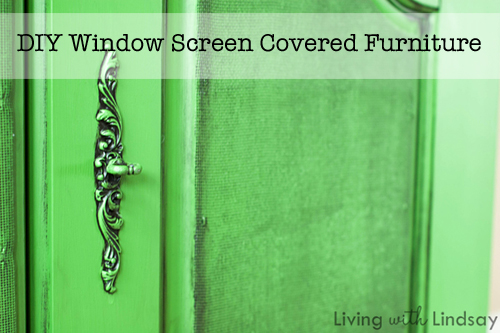
When the paint was dry, I glazed it using my favorite technique.  On the screened areas, I over removed the glaze in some parts (by wiping the glaze with a lot of pressure) and under removed the glaze in others.  The end result was nothing short of awesomesauce.
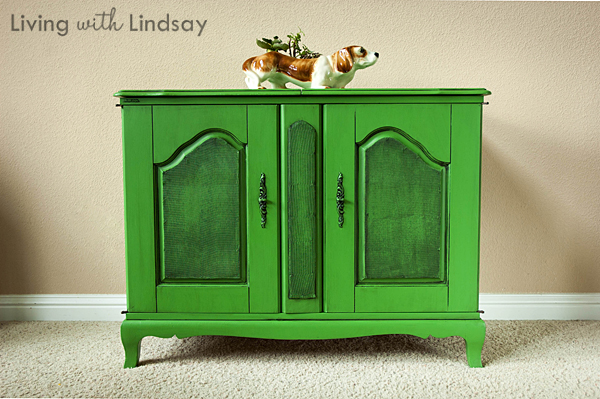
GAH!  Right?  Here are some other detailed shots of my new favorite furniture transformation technique.
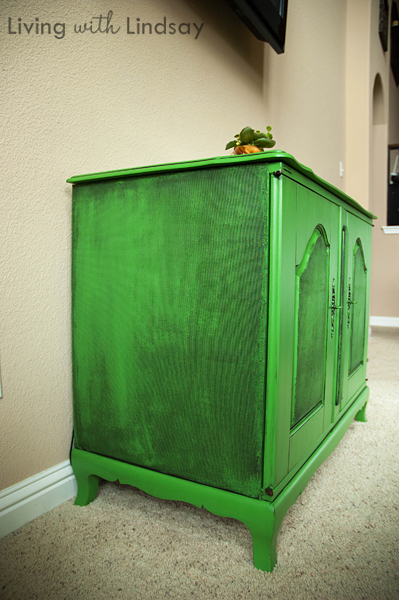
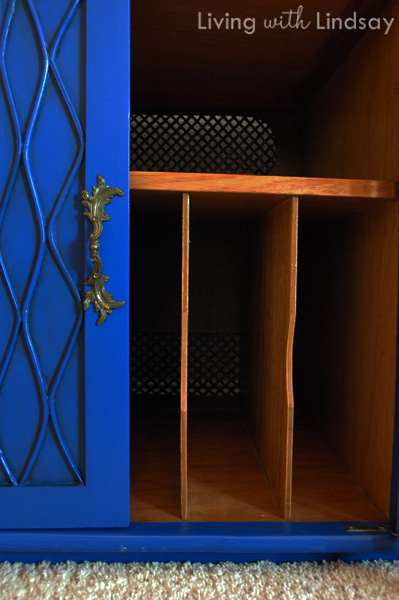
For now, it sits underneath the TV in our living room.  All of the ugly cable/Roku/Wii/DVD boxes are contained within.  It works out perfectly, because there is no back to the cabinet (so the original stereo components wouldn’t get overheated).  When we watch TV, we just have to open one of the doors for the remotes to work with our components and then they are hidden the rest of the time.
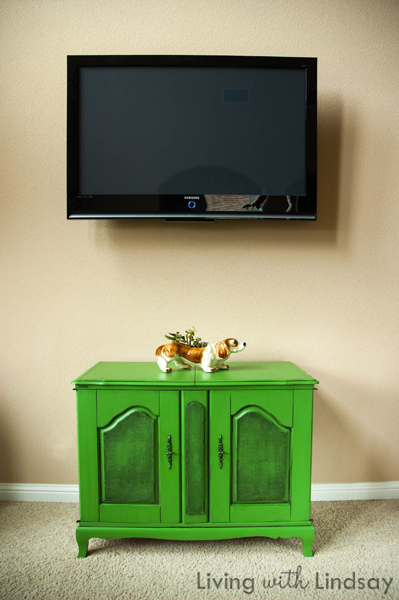
It’s not necessarily going to live right there forever since the living room will get Lindsay-fied next year, but I like being able to enjoy it every day for now.

What do you think about my window screen covered furniture invention?  I think it’s pretty cool myself!  The texture gives it a really different vibe.

Welcome inside the house, little homeless vintage stereo cabinet.
 

Revamping a 1960s Beauty Without Sanding or Priming

by Lindsay Ballard on May 29, 2012 2,005 Comments

This post is sponsored by Rustoleum.

When I received word that Rustoleum had come out with a furniture painting product that required no priming, no stripping, and no sanding of the previous finish, you better believe that I was over the moon.  I spend an extraordinary amount of my free time refinishing furniture, and I was very excited about cutting down on all the time it takes me to remove the finish off of a new/old piece plus priming if I was going to paint.  Last year, I tried the Rustoleum Cabinet Transformations kit that works in much the same way, and when I saw the bright, vivid colors they made available for their furniture kit, I was sold.  Who wouldn’t want to change the color of a piece all while avoiding the hot, messy work that comes with sanding?

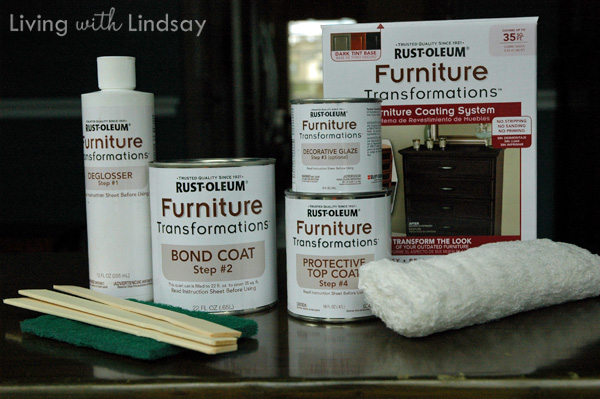
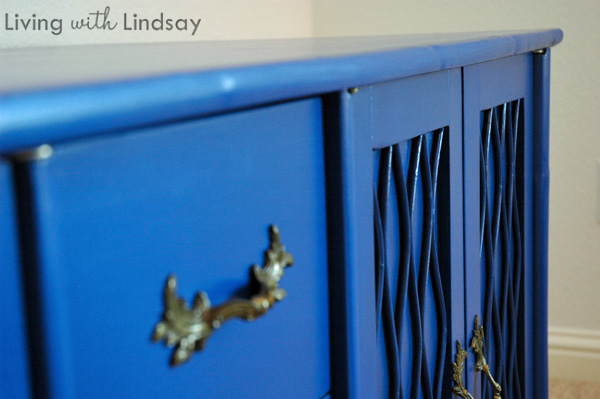
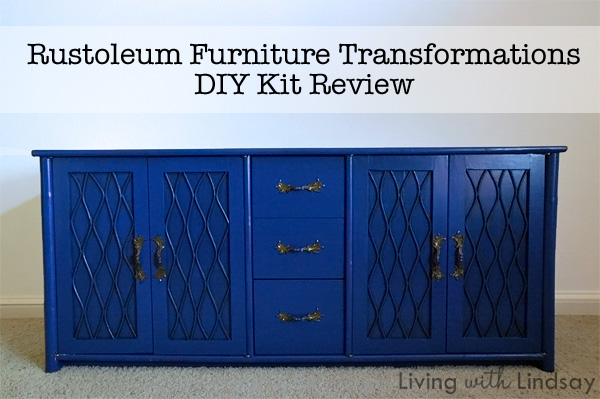
My friends at Rustoleum offered to send me a Furniture Transformations kit, and I jumped at the chance.  I chose Midnight out of the available colors.  If you are into more traditional furniture colors, those are available as well.  But, you know how I had to go for bold and vivid.  The kit arrived at my doorstep pre-tinted from Rustoleum, but normally you’d get it tinted at the paint counter at Home Depot or Lowe’s where you buy the kit.

With the exception of some nitrile or latex gloves and a paint brush, the kit comes with everything you need.  There are essentially four steps: 1) Deglosser, 2) Color Coat, 3) Optional Decorative Glaze and 4) Polyurethene.  Only the Color Coat (or “Bond Coat”) has to be tinted in the store.  The kit covers 35 sq ft, which I found to be just enough for my project.

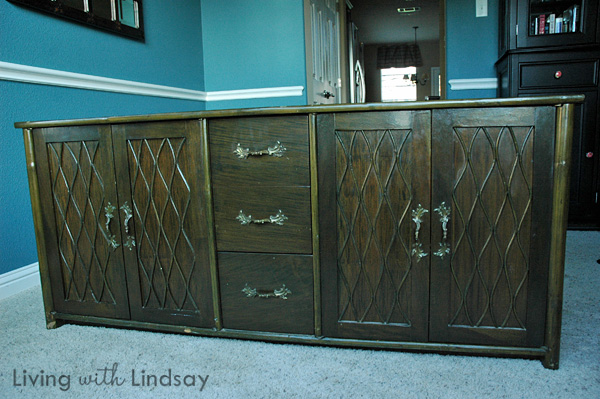
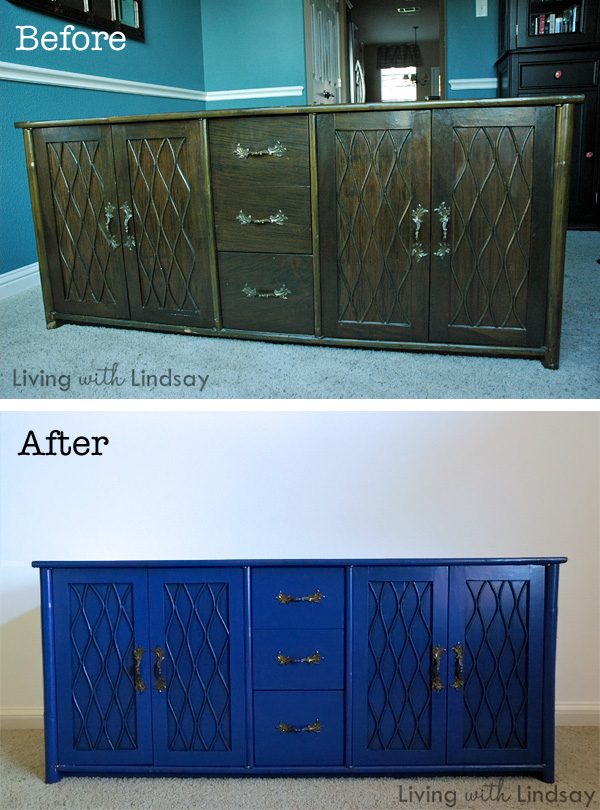
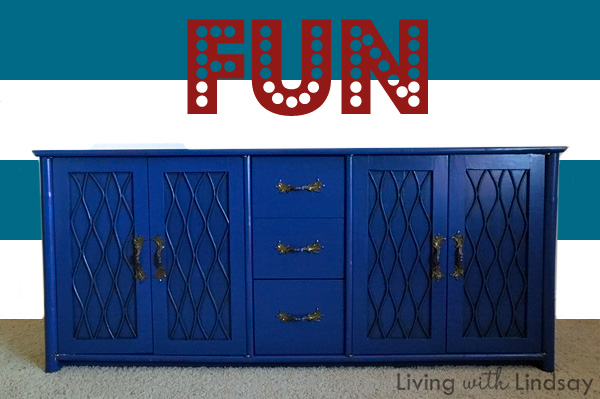
You may remember that I recently purchased a gorgeous early 1960s stereo cabinet from a consignment store.  I wanted to take her from an old, tired stain that had greened over time to a bright, vibrant piece for my kids’ playroom.

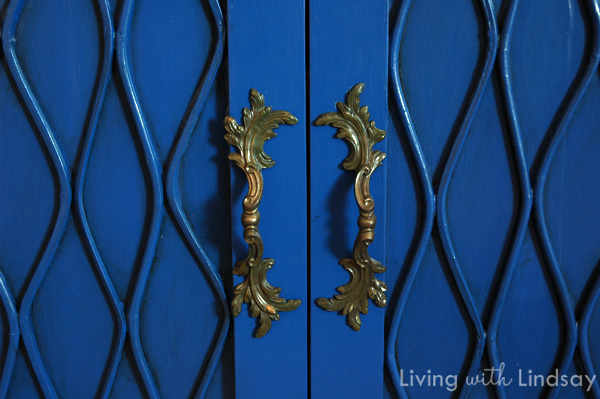
Because I didn’t have to sand, I was able to do the entire transformation indoors, which is a huge plus when you live in Central Texas.  I laid a few dropcloths down in my dining room and set to work.  I removed all of the hardware from the doors and drawers and removed the doors from the hinges.  I gave the hardware a good scrub with Krud Krutter – I wanted to remove any grease and dirt on them, but I still wanted them to maintain their pretty brass tarnish.  I labeled the doors so I would know which one went where when it was time to put it all back together.

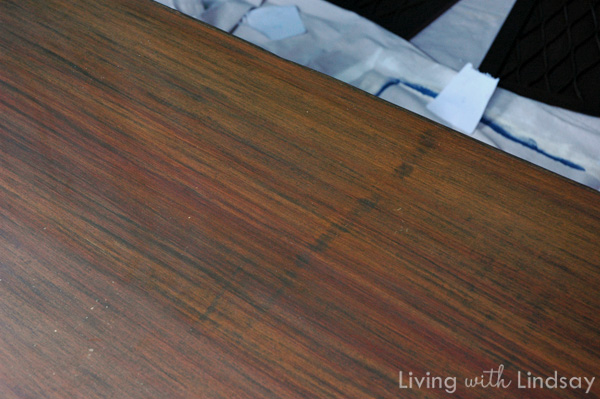
The first step of the kit was to use the deglosser, so I squeezed a generous amount onto the provided scouring pad.  A lightly scrubbed all of the surfaces that I was going to paint, and I was surprised to see that both the shiny original finish and a little bit of the old stain came off.  I wiped it down with a wet cloth and let it dry, per the instructions.

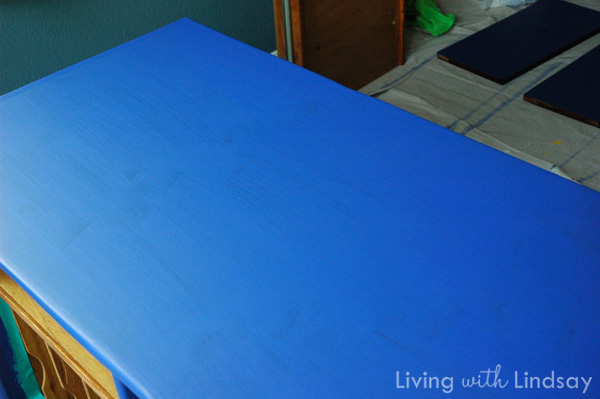
Once that was dry, I used a good quality Purdy brush and applied the Color/Bond Coat.  The instructions call for two coats, and this is what it looked like after the first one.  I’m showing you this so you don’t freak out.

There are definitely visible brush marks and the coverage was uneven.  Most of that disappeared once I applied the second coat.

A note about the Rustoleum Transformation products:  The glaze you can apply on the piece is optional.  However, the Color/Bond Coat is formulated in such a way that there WILL BE SMALL BRUSH STROKES.  That is because the brush strokes give the glaze something to get into.  You can roll or spray your piece ONLY IF you will not be glazing it.

Given my obsession with glaze, you will be surprised to learn that I decided to only glaze the decorative details on the cabinet doors.  I followed the instructions provided, but I fell back into my own tried and true methods – apply with a brush, wipe off with a dry cloth, wipe off with a wet cloth, wipe off with a dry cloth.  It just works better (for me).  I’m not going to lie – it was a HUGE pain to glaze these doors, but it had nothing to do with the product.  There were just so many crevices, but in the end, I’m glad that I did it.  I think it gives the bamboo detailing a lot of dimension.

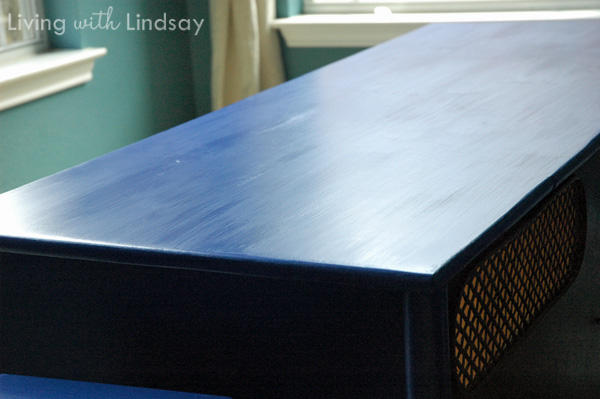
After the glaze was dry, I was able to move on to the polyurethane (or the “Protective Top Coat”).  Unlike most other polys, it is formulated in such a way that it is thick and dries hard enough that you only need to use one coat.  I was excited by the prospect.  But, I was disappointed in the way the poly dried.  Even when I applied more that I thought I should, it dried so quickly that I couldn’t maintain a wet edge and the product became gummy.  Once that happens, it dries streaky like this.  Yuck.

So, I quickly sanded it down with a 220-grit sandpaper and reapplied the poly.  I had the same problem again, even when having more poly on my brush.  I talked to my friends at Rustoleum and asked if I could instead use two coats of my favorite poly (Rustoleum Ultimate Polyurethene in a satin finish).  They said that would be fine.

I’m really not sure what happened with the poly included in the kit.  I was indoors in the air conditioning, so temperature and humidity shouldn’t have been a factor.  I know that I was applying it with the correct amount of product with a good quality brush.  I even tried to roll it, and the poly bubbled very badly.   The last I heard, Rustoleum was looking into whether I received a bad batch of the poly.  I’ve never had any problem with their products before, so it won’t keep me from trying again.

Once the top coat was dry, I was very happy with the kit (other than the poly which I’ll probably end up redoing in the future).  I think the transformation is beautiful, and the fact that I could do it all indoors and in just a few days was a huge win for me.


Even with the problems I had with the polyurethene, would I still recommend it to you?  Absolutely.  If the color you are wanting to use is available in the Furniture Transformations product, then I would say to go for it.  The kit is $35, which is a steal when you consider the cost of sandpaper, primer and paint.  Plus, your time is worth something, too, y’all.  I would not use the included top coat and instead use two coats of the Ultimate Polyurethene.  That runs you about $10 a can.  So, for under $50 and about 3 days, you can have a gorgeous piece of furniture.

I will update you in the coming months on how well it is holding up.  Tom has already dropped a heavy, iron candle holder on top of it, and there’s not a ding to speak of.  He’s lucky.  Ahem.

In the meantime, here’s a little sneak peek of the mood I’m going for in the kids’ playroom.  It’s going to be bright and colorful and have a vintage carnival feel.  This is just a little mock up of the wall where the cabinet is going to go.  I obviously hasn’t accessorized it yet, as accessories in a playroom should be pretty sparse.  The snazzy beaded chandy will go in here, too.

Have you tried the Rustoleum Furniture Transformation (or Cabinet Transformation) product?  Interested to try it?  Questions?  Let me know.  I am looking forward to trying it again myself!

Rustoleum sent me the Furniture Transformations Kit for the purposes of reviewing it on my blog.  All opinions expressed here are my own.

« Previous Page
Next Page »
  • Email
  • Facebook
  • Instagram
  • Pinterest
  • Twitter

About Makely

Lindsay Ballard is a former college mascot turned political geek turned roller derby playing, DIY fanatic.

Lindsay chronicles her projects, design ideas, and lifestyle tips here at Makely, where she shares tutorials and inspiration. Her DIY designs are bold and graphic, while her spirit is fun and full of color.


Archives

Categories

PRIVACY POLICY
Copyright © 2009-2019 Makely School for Girls | All Rights Reserved | Posts may contain advertising content or affiliate links