It seems like every blog post in the last year or so, I’ve said something to the effect of, “It’s been crazy! I’m still here!” Once again, I have the same sentiment. This was a hard school year for us with seemingly unending appointments with doctors and specialists, and we are so glad to be in the “go nowhere and do nothing” days of summer.
While this isn’t a post to hash out everything that’s been going on (I’m sure I’ll talk about it at some point), I do want to offer my apologies of sort for putting Makely on the back burner. As I know you would agree, parents do everything we can possibly do for our kids, and this year that meant only getting to focus on the critical elements of our lives while we kept our heads above water. Now that summer is here, Tom and I have had a collective sigh of relief. And for us, that relief means we can work on all of those projects that we’ve been putting off.
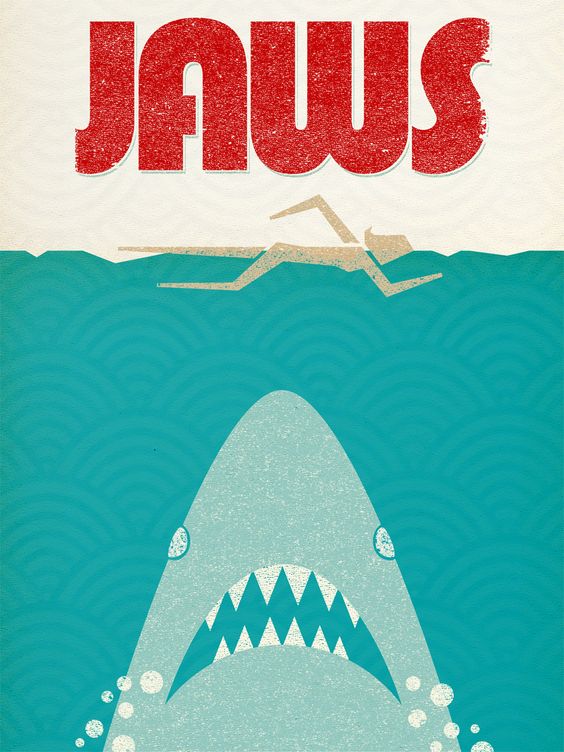
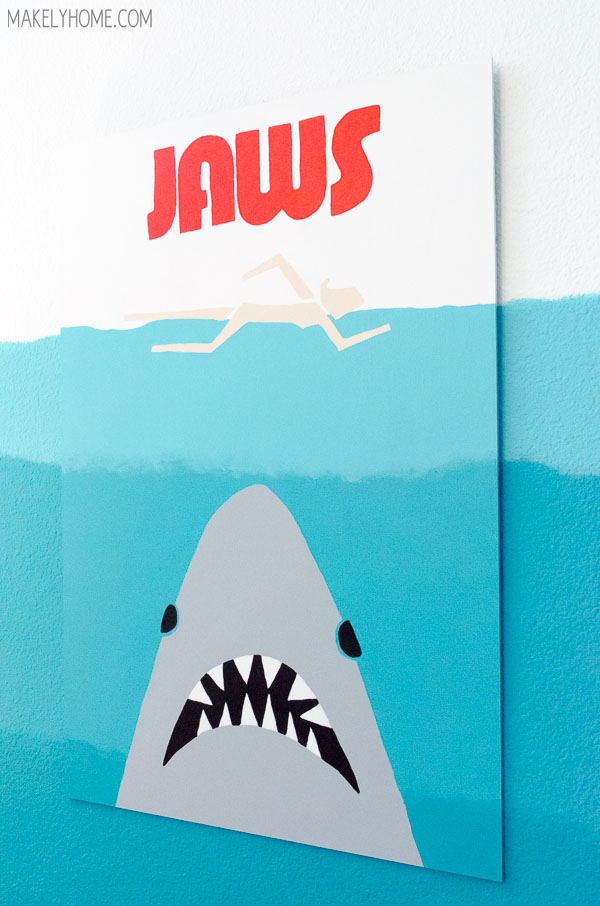
Once such project is finally creating a painted version of the Jaws poster that inspired Zack’s room re-do. I originally found it online, and I knew that I had to incorporate my version of it into a piece of Jaws artwork to hang above his headboard. I can’t explain why I love this so much, but I guess that’s just the thing about art. Zack loves sharks, and I felt like this poster was going to make his room sharky without being “sharky.”
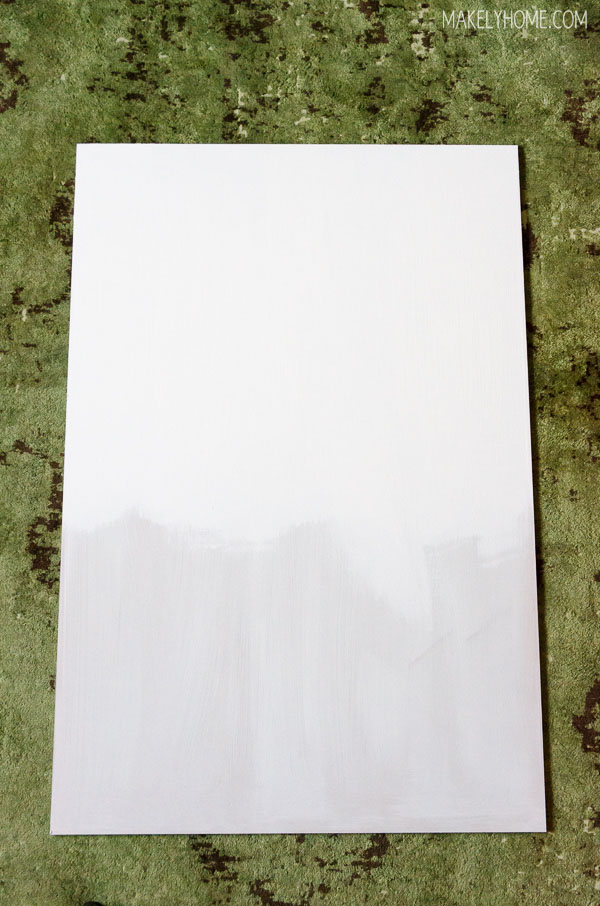
This was such an easy project once I decided to get going on it! I started by picking up a piece of 2′ x 4′ MDF (medium-density fiberboard) at Home Depot. It was taller than I wanted it to be for his wall, so Tom used the table saw to cut about a foot off of the height.
Next, I primed the entire piece with a good quality primer. Even though I was going to use Glidden Complete™ – Stain Blocking Paint + Primer on the piece, I know from working with MDF that it soaks up paint like crazy. The primer was to put a barrier between the MDF and my good quality paint, so that color wouldn’t be effected.
The top part of the piece was going to be Lindsay White (like Zack’s walls), so I went ahead and just painted to top half of the piece in that color.
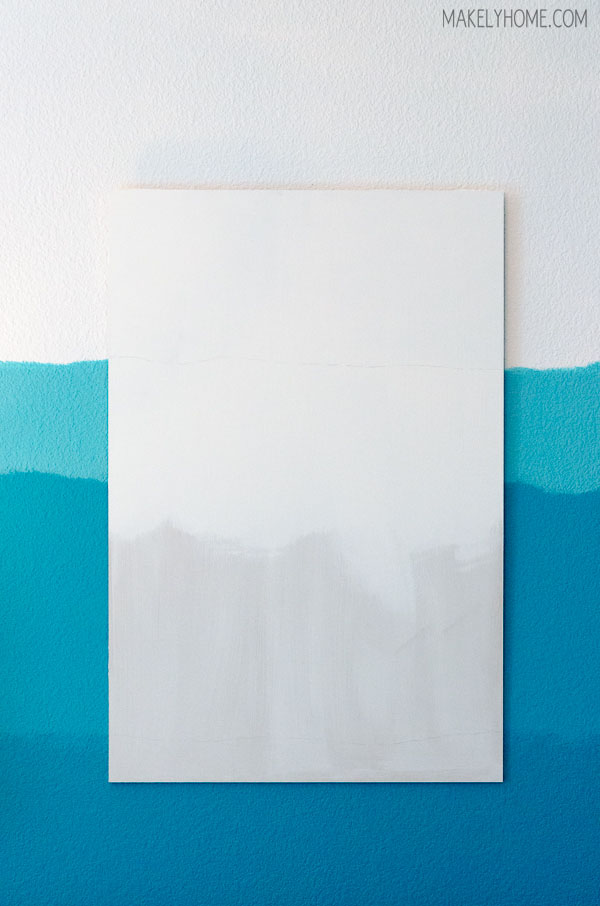
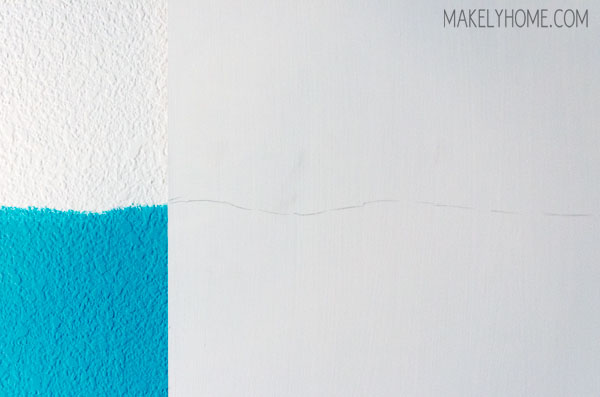
Then, I attached a large picture hanger on the back of the MDF and hung it on his wall. I wanted to make the ocean a modern ombre and match the lines on his wall, so I carefully sketched out the lines where I would need the colors to transition.
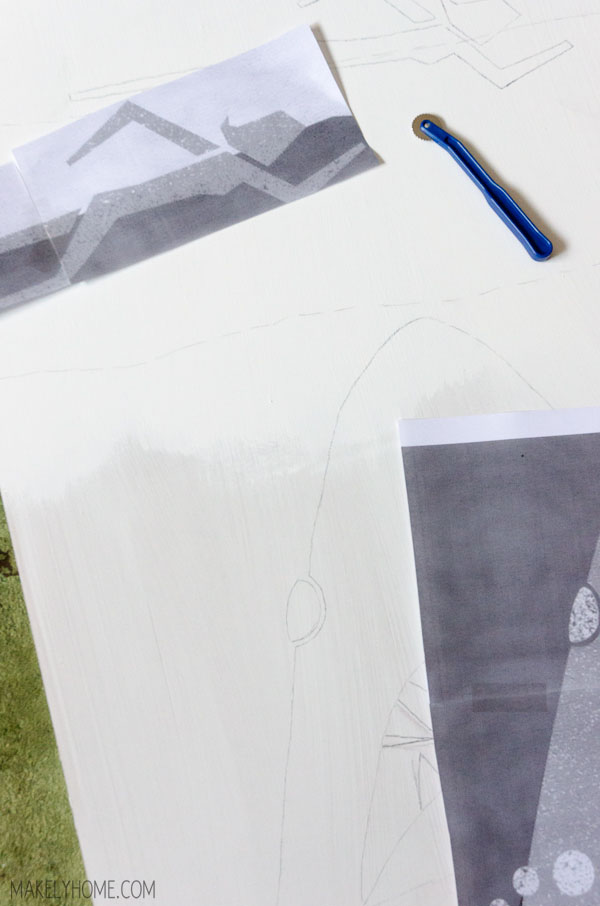
The next part was the most difficult part of the whole project. I resized in Photoshop Elements the Jaws that poster I had found online. Then, I broke it into sections that would fit on a 8″ x 11″ (normal printer paper size) by using my guide lines. I was then able to crop the poster to just one section, print it out, and then Undo the crop (Command + Z on a Mac, Control + Z in Windows) to move on to the next section. The result was the poster printed across many sheets of paper that I taped together to make the sign to trace onto my MDF.
There are many ways you can trace a pattern onto wood or MDF (my favorite is this one), but I used my serrated tracing wheel to draw out the detail lines of the letters, the swimmer, the shark and its mouth. Then, I just filled in those lines with pencil and drew in the other missing details, like his teeth and eyes.
Finally, it was time to paint! I laid plastic sheeting across my kitchen table and broke out my Glidden Complete™ – Stain Blocking Paint + Primer. The first area I painted was the swimmer, and she is painted in Summer Sandcastle. I was working with the piece upside down at this point, so I was able to quickly move on to the Jaws letters, which are painted in Red Geranium. I moved to the other side of the piece and painted the shark in Ascot Blue.
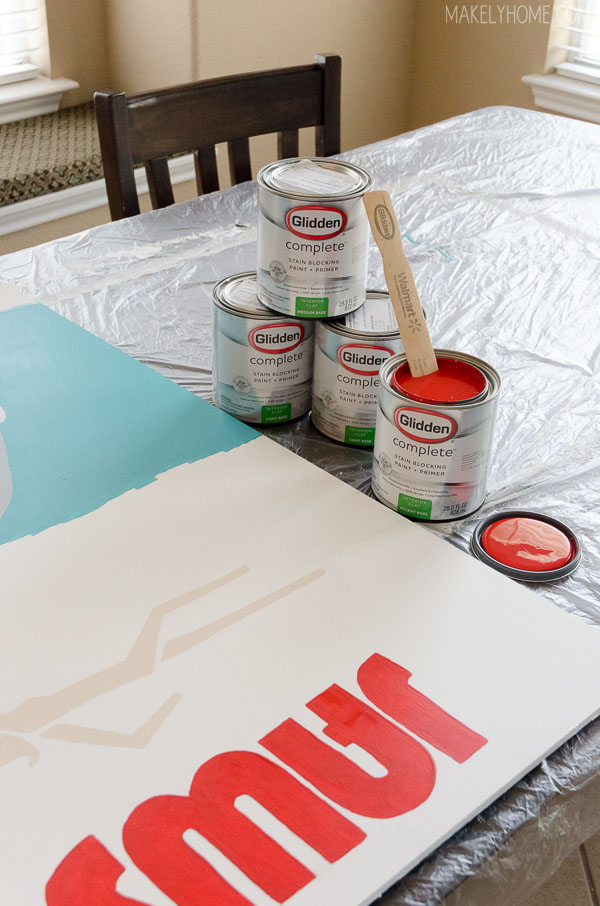
The Glidden Complete™ – Stain Blocking Paint + Primer laid down so nicely! I painted each color with 2 coats (except the Red Geranium – reds always require more coats than normal), and the color was vivid and rich. It covered my pencil marks, which is not always the case for other paints. This will be great paint to use if you have something to hide on your walls or ceiling, such as a water stain or crayon marks.
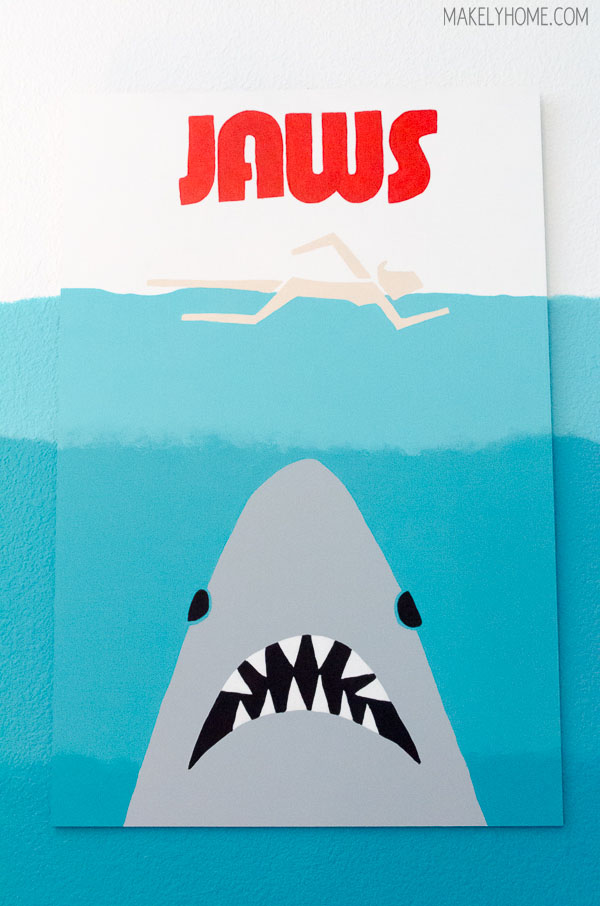
Once the details were finished, I was able to paint the ombre ocean colors. The largest portion of the ocean was Marine Blue, so I painted it first. Then, I mixed the Marine Blue and Lindsay White in equal parts and painted the top part of the ocean. I did the same thing with Marine Blue and Deep Pool for the small bottom part. After that was dry, I used a paper towel to blot on the the mixed paints over the top and bottom lines of the Marine Blue, which blended the areas together to form a nice ombre effect.
After the piece dried, all I had to do was hang it on Zack’s bedroom wall. He quickly declared it “Jaw-some.”
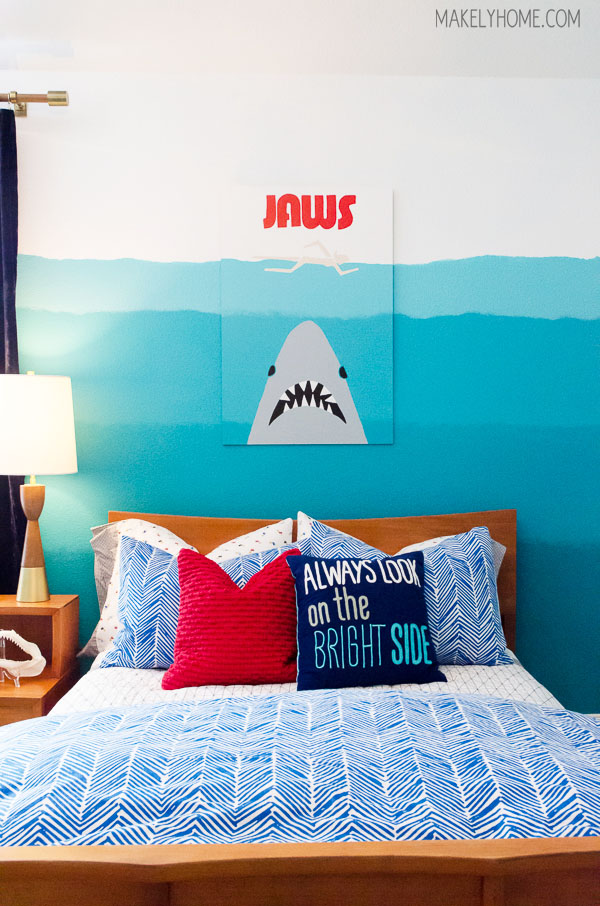
I am thrilled that this last big project for his room is finished. Now I only have to put together a few little details, and I can declare it DONE!
Do you have a project you need to get finished? Glidden is giving away 5 gallons of their great Glidden Complete™ – Stain Blocking Paint + Primer to one lucky winner to get them on their way to declaring it DONE! To enter, simply fill out the Rafflecopter form below (you’ll need to switch over to my blog if you are reading this post via email) to be entered. This sweepstakes is open to U.S. residents, 18 and older.
a Rafflecopter giveaway
As a MyColortopia Team member, this post is sponsored by Glidden. All reviews and opinions are my own.