Have you checked out the prices on custom framing these days? Holy cow! Even with the 50% off coupons that are always running at JoAnn, Hobby Lobby, and Michael’s, it still costs a pretty penny.
Want to know how to get the custom framed look for less? Of course you do!
About a month ago, I won blog a contest over at Songbirdtiff to receive a free 16×20 poster-sized print from UPrinting.com (Thanks, Tiff!). I decided that I wanted a print to hang in my son’s dinosaur-themed playroom.
I searched the Creative Commons licenses on Flickr for a good quality photo I could print. I came across this one in Catchpenny’s photostream and knew it was the one:
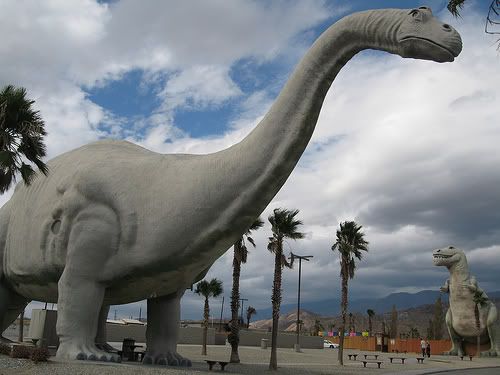
(The Creative Commons license allows artists to copyright their work through methods other than full copyrights. For instance, the photograph above was designated free to share and transmit as long as you give credit to the artist and do not alter, transform, or build upon it. You may read more about Creative Commons here.)
There are many digital photo printing services online, and you can even upload to Walgreens.com and pick them up at a nearby Walgreens location in about an hour. You can’t beat that!
After I received my print from UPrinting.com (I was very impressed with their quality and service), I was ready to frame it for Zack’s playroom. I already had a frame on hand that I wanted to use from a previous poster we had made for his nursery.
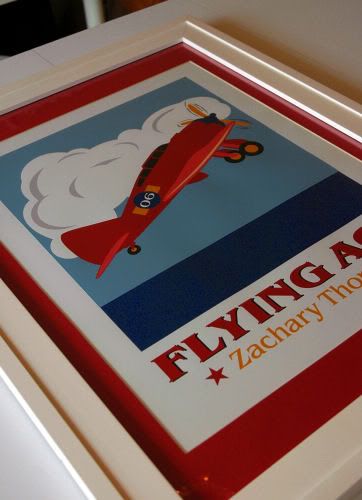
In order for the poster to look custom framed, I wanted to add beveled matting. I purchased a sheet of 32×40 mat board at Hobby Lobby to coordinate with my print. The mat board normally runs $7.99, but HL often puts it on sale for 50% off (so I got that huge sheet for $3.99). I chose a chocolate brown mat for this print, but the mat board comes in a rainbow of colors. I will also have enough left over to frame some smaller prints in the same color.
How to Cut the Beveled Mat:
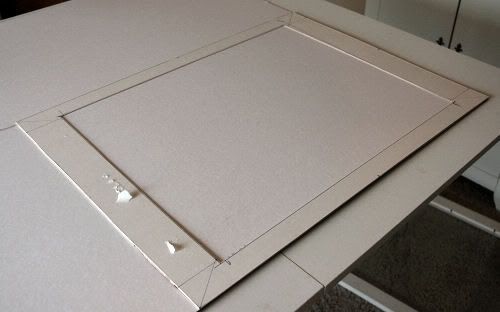
1. Using the mat that was formerly cut for my frame, I traced the size I needed onto the back of my new mat board. If I didn’t have an old mat for this frame, I would have used the backing cardboard or the glass as a template.
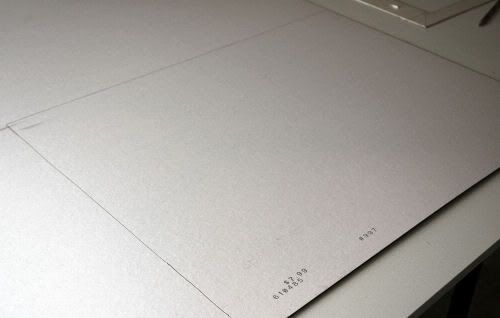
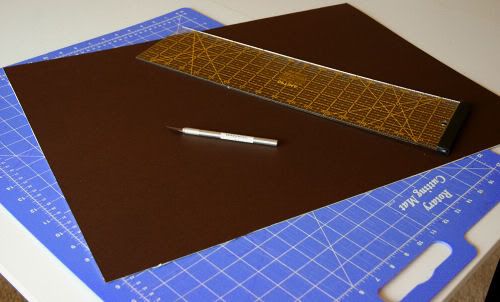
2. I cut out the piece of mat board using an X-ACTO knife and a straight edge.
3. Next, I worked out the dimensions of how large an opening I needed to cut in the mat for the poster. I like to cut the opening about half an inch smaller than my print. In this case, my poster is 16×20 and I wanted to my opening to be 15.5×19.5. Then, I worked out what the margin should be on each side, making sure my opening would be centered. I drew out a rough sketch with the measurements listed on the back of my mat, because I’m one of those people who needs to “see” what I’m doing.
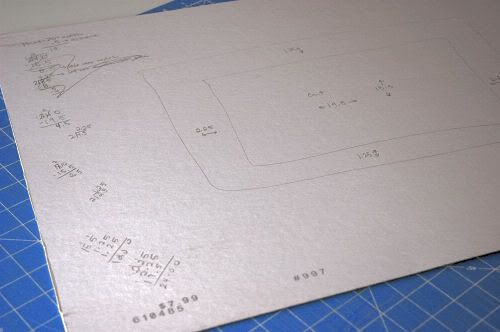
4. I drew out the opening on the back of the mat, making sure the lines intersected.
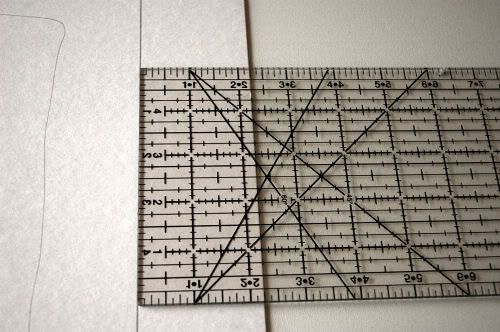
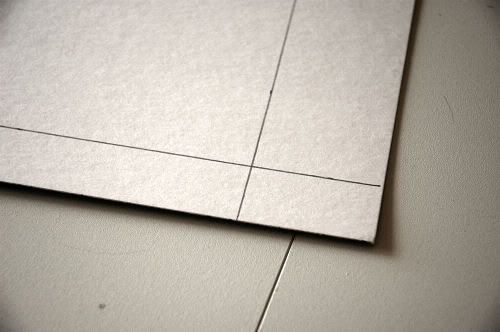
5. To get the professional beveled look, you will need a mat cutter. A mat cutter is basically a blade that cuts a 45-degree angle, instead of a 90-degree angle like an X-ACTO knife. We have long had a DIY Mat Cutting Kit that we bought for $35 (at half off) from Hobby Lobby about 5 years ago. The kit has a straight edge that the mat cutter hooks on to. We have used the kit a ton (we matted and framed dozens of family wedding photos to display at our wedding), so we didn’t mind spending the $35.
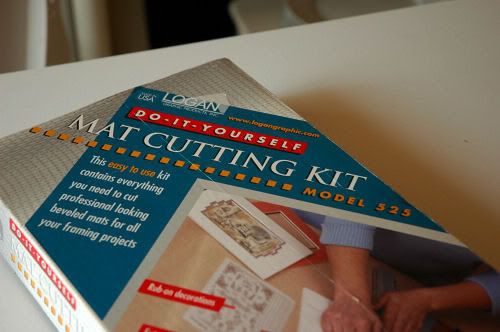
If I had to do it over again, I would have just purchased the stand alone mat cutter and used it with my own straight edge. Stand alone mat cutters can be purchased for under $20 at full price. I even found this one on Ebay for $12.95 (with free shipping), which is a steal.
6. The mat cutter will have a little mark on it so you can line it up with the lines you drew on the back of your mat. That way, you will be able to line up the blade so that the corners will be nice and neat.
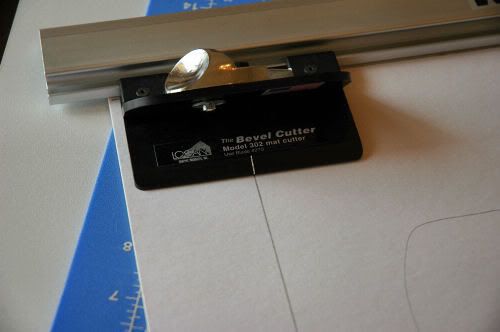
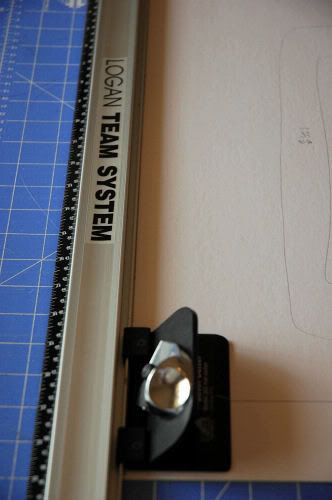
7. Okay, this is when you do as I say, not as I do. Do you see how I have the mat cutter lined up facing the inside of the mat? Yeah, that’s wrong. You want to do it the other way (mat cutter facing the outside of the mat) or else your bevel will be cut the wrong way. To cut the mat, you simply push down the thumb lever and slide the mat cutter up the line while applying pressure. Stop when the mark on the mat cutter reaches the next line. Your mat cutter will come with directions if what you just read makes absolutely no sense at all.
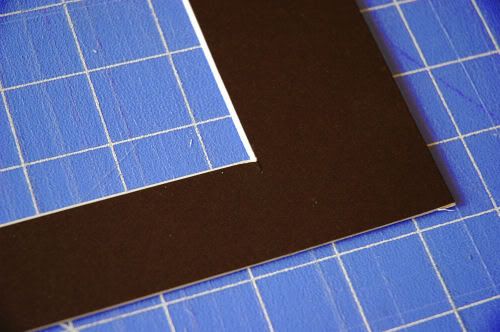
I had to re-cut mine about five times since I cut the bevel the wrong way and had to correct it, but it ended up coming out pretty good. Who is it that says that it doesn’t have to be perfect to be beautiful?
8. I taped the top of the poster to the mat and added it to my frame.
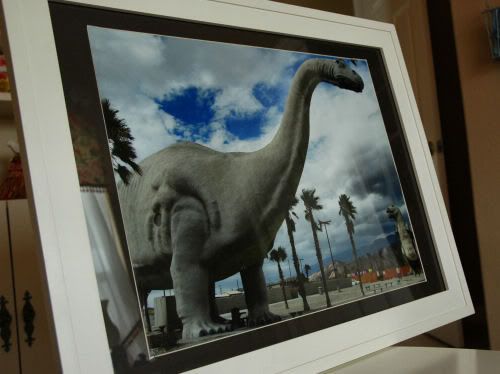
Ta Da! I have a custom matted print for much cheaper than I could have gotten at one of the framing stores. This is also a great way to frame your children’s artwork or those college diplomas that have been sitting in a closet for years.
Now, you can just laugh to yourself every time you see one of those “Save 50% off Custom Framing” coupons in the store circulars. You know how to do it for much cheaper than that!