I can’t tell you how many times I’ve Googled the following search terms:
“Painting laminate furniture”
“How do I paint laminate?”
“Can I paint laminate?”
“Why won’t someone tell me how to paint this piece of laminate furniture?????”
You know what those searches returned? Nothing. Nada. Zilch. I couldn’t find a single tutorial out there to tell me how to paint laminate furniture.
Well, fine. I’ll just figure it out by myself and share it with my blog readers. ::sticks out tongue at Google::
Let me be the first to tell you this: With the right preparations, you CAN paint laminate furniture and it WILL look good. You just need to follow the following steps:
1. I started with a light wood laminate armoire from my son’s playroom. The piece is very heavy and solid, so it’s a nice piece of furniture despite it being covered in laminate.
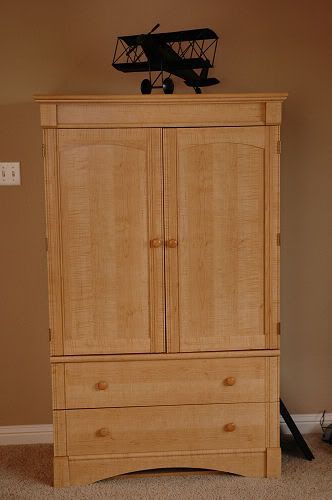
2. If your laminate piece is one that can be easily taken apart, go ahead and do that. DH offered to take apart the armoire for me to paint, and it made it much easier in the long run since the piece was so big and heavy. There was no way that DH and I could have gotten it from the upstairs playroom down to the garage by ourselves. If you can’t take your piece apart, at least try to remove any doors, drawers and shelves.
3. With a 220 grit sandpaper, sand every square inch that you will be painting. The sanding will be much easier if you use a palm sander (they are about $30 at home improvement stores if you don’t have one). You will need to hand sand any areas you can’t reach with the sander.
Sand until you start to see little white flecks on the furniture and the shine of the laminate is removed. Be careful not to sand down to the plywood or other pressed wood that is underneath the laminate.
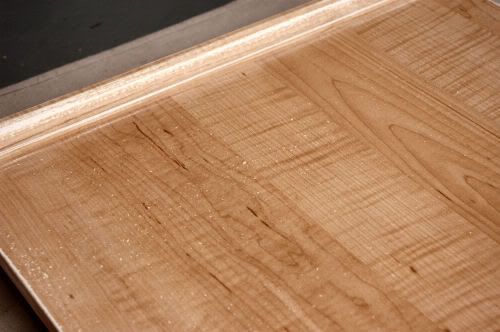
4. Next, take a tack cloth and wipe down the pieces you sanded. You’ll want to make sure you remove all of the sanding dust so that it won’t ruin your paint job. I like to wipe down each piece right before I prime it so that I don’t run the risk of additional particles getting on the pieces before I paint.
5. Now it’s time to prime your pieces. There may be other brands of primer that will work, but I specifically recommend the Zinsser Bulls Eye 1-2-3 primer for this job. It is formulated for all types of projects, including laminate. I picked up a quart of this at Lowe’s for about $9.

Prime each piece with a foam brush. I used a foam roller to paint the large pieces and then used a 2-inch foam brush to paint the edges and hard to reach areas. I gave each piece one coat of primer.
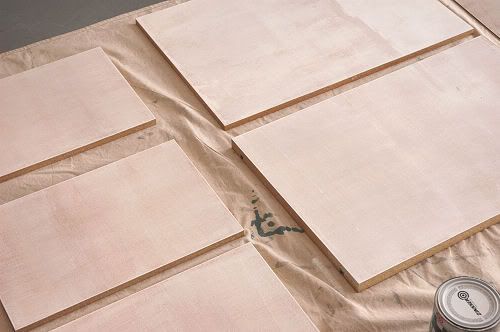
I primed one of my pieces after just sanding half of it, just so you can see how important the sanding step is in this process. Here, the left side was sanded and the right side wasn’t. The difference in the way the primer laid down is truly remarkable.
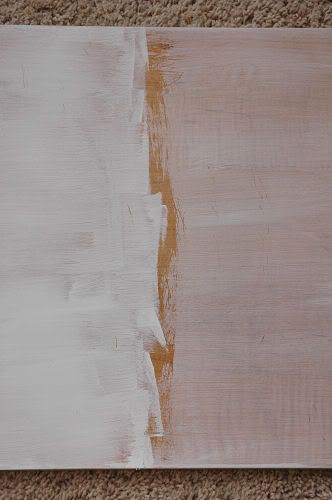
You will need to let your primed pieces completely dry and cure before you move to the next step. Zinsser recommends 7 days; other brands may recommend a different length of time. Your pieces will be dry to the touch within a few hours, but they will not be scratch resistant until the primer is fully hardened. I cannot stress this enough. Don’t rush it and try to paint over the primer before it is cured, as your pieces will scratch easily. If you wait the recommended amount of time, your paint job won’t scratch easily.
6. Now comes the fun part – the paint! Using a foam roller and foam brush, I painted two coats of paint on my pieces, allowing each to dry overnight before I applied the second coat. I chose an interior eggshell sheen for my paint, which is in between flat and semi-gloss. I paid careful attention to catch any drips, but those I missed I removed with a single-edged razor once dry and repainted.
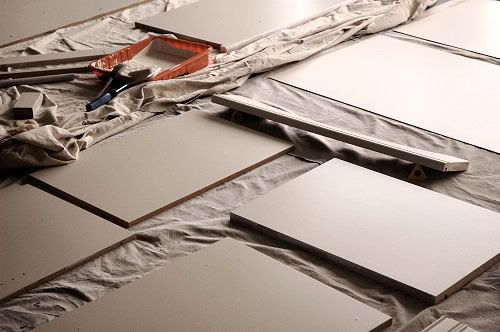
7. Once the paint dried overnight, we reassembled the piece and touched up any areas that I missed or that got scratched during the reassembly process. We definitely scratched up the interior of the piece when we were putting the shelving back in since they are a very tight fit.
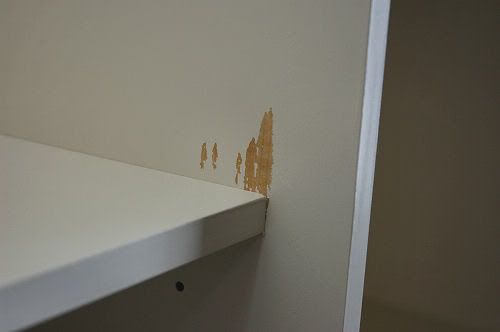
With a small foam brush, I simply touched up those scratched places with a few coats of paint and you can’t even tell they were scratched.
8. If your piece is one that is going to get a lot of wear and tear, I’d recommend applying a polyurethane coat. Minwax makes a wipe-on version you can apply with a sponge, so I think that one would be easy to apply. I will likely go back and apply the polyurethane coat to my piece when I have time in a few weeks.
9. Now it’s time to sit back and enjoy your “new” piece of furniture!
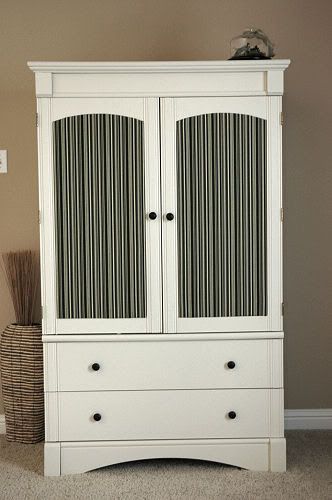
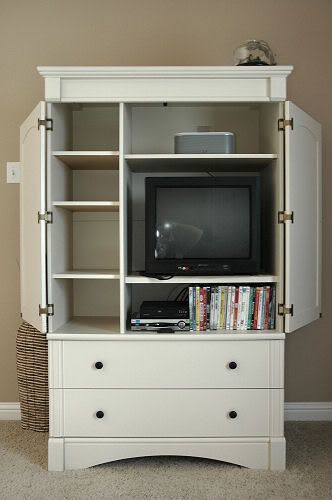
Pretty easy, huh? It just takes some patience and time, but the results would be well worth it. I’d love to know how these steps work for you (and let me know if you have any questions)! Or, are you still scared to paint your laminate furniture?
Update on 12/8/11 – Since writing this post, many advances have been made in laminate painting. Although my method still works wonderfully, there is a new product on the market called Rustoleum Cabinet Transformations. I have tested the product and think very highly of it. Although it is made with kitchen cabinets in mind, it can be applied to laminate furniture with really great results. If the thought of allowing primer to cure for the full 7 days scares you, head to Home Depot or Lowe’s and see if they have the Rustoleum product in stock.