This is a sponsored post written by me on behalf of FrogTape®. All opinions are 100% mine.
Guys! One of the very last builder’s beige rooms in my home is gone. I feel like there should be trumpets sounding and confetti flying. Are you celebrating like us?
The kitchen has been the bane of my existence since we repainted our common open spaces in Lindsay White. At the time, we didn’t paint the kitchen, because I wasn’t exactly sure what direction I wanted to take it. I had dreams of turquoise cabinets and an amazing backsplash, but those dreams required a lot of time, money and effort – none of which I had.
When I offered to host my sister’s baby shower at my house this summer, I knew that now was the time to get the kitchen under control. Luckily, the folks at FrogTape® brand painter’s tape must be on my same wave length, because I got an email asking if I could review their painters tape for a project. Boy, Howdy! Of course, I said yes!
We started by priming and painting the kitchen ceiling in Lindsay White. And by we, I mean Tom. I’m recovering from a leg fracture (hello, roller derby), and I didn’t want to try to stand on my toes to reach the ceiling with the roller. I did go ahead and start taping off the windows and wall trim while he was working, though, so we would be ready to paint the walls when the ceiling was dry.
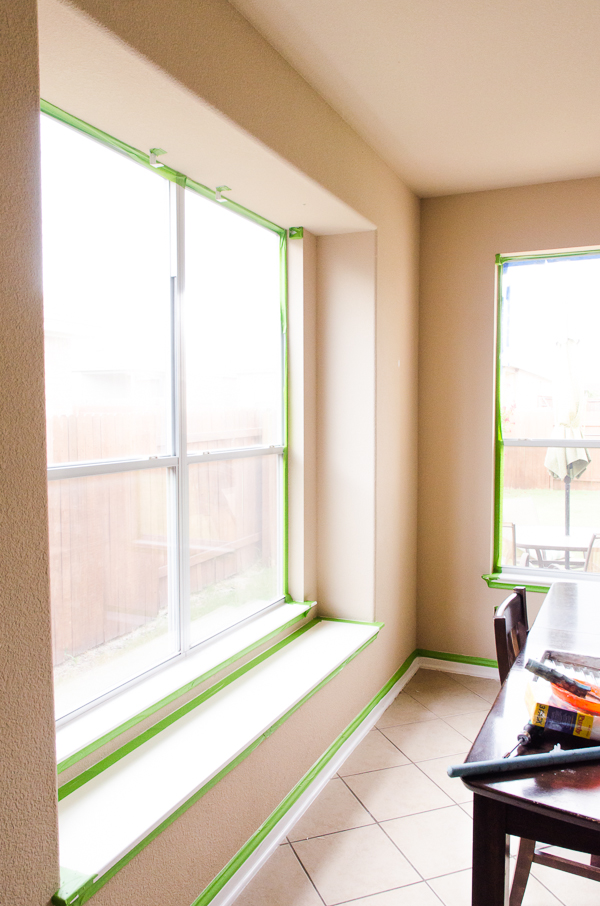
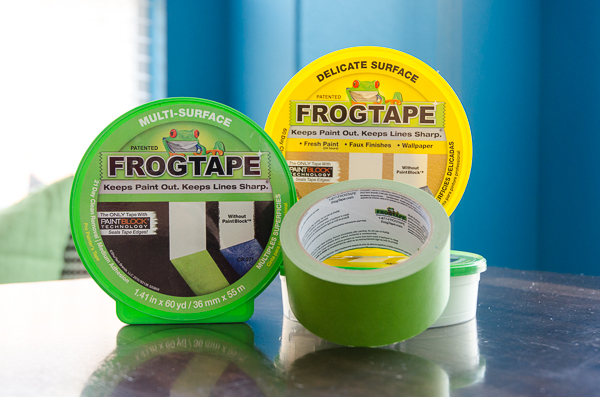
I used two different types of Frog Tape. For the vast majority of our project, I used the green Multi-Surface type. It tears easily, so it was no big deal to tape a lot of trim quickly. When the ceiling was dry, we used the yellow Delicate Surfaces tape since it was freshly painted.
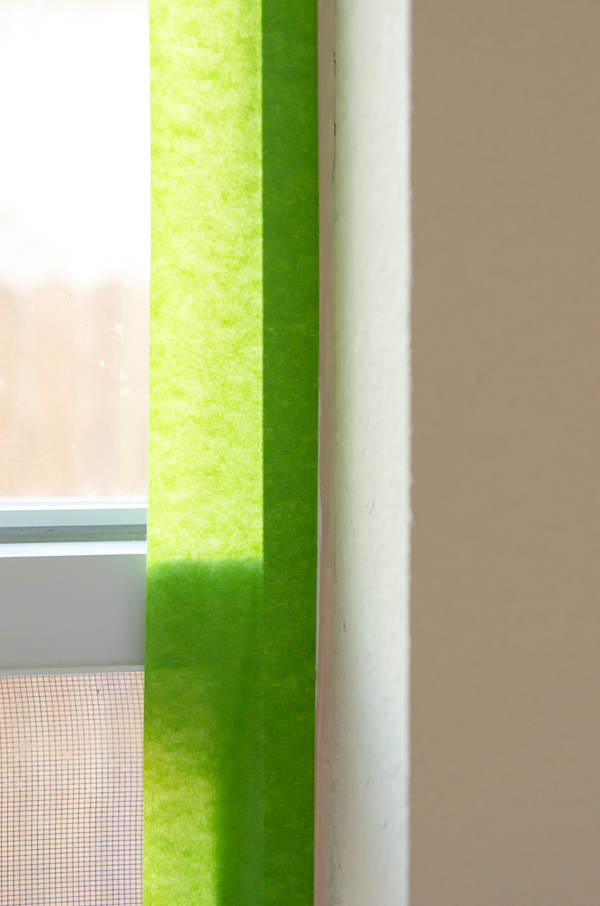
When we were ready to paint the walls, I painted right over the tape.
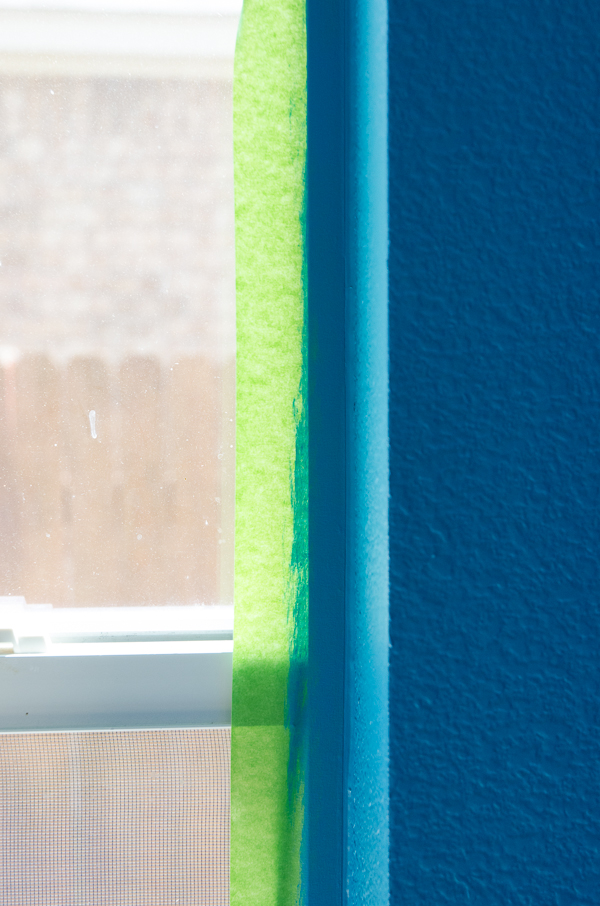
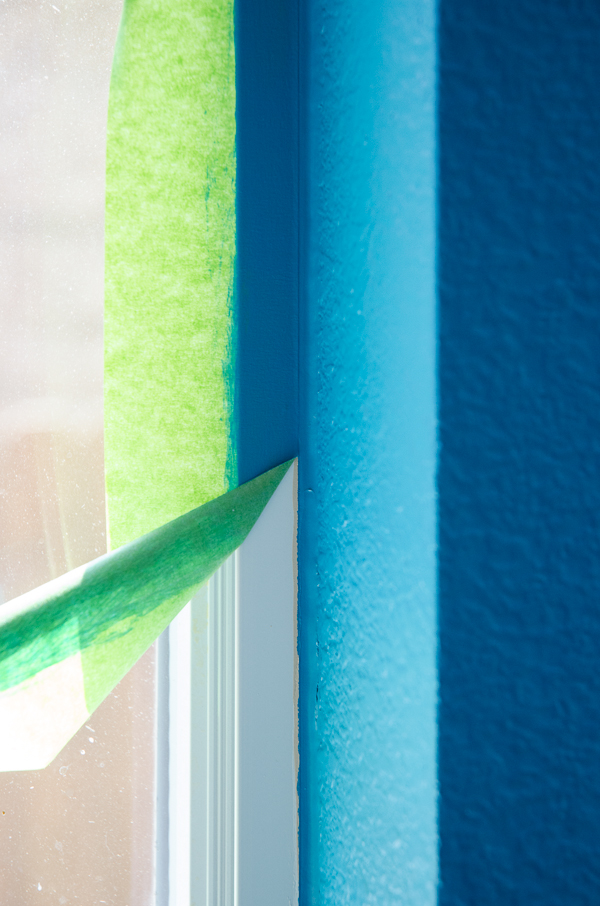
After two coats of paint (Peacock Blue), I peeled the tape off at a 45-degree angle. It gave me a nice line with no paint bleed. FrogTape is the only painting tape treated with painted PaintBlock Technology, which means it reactions with the water in latex paint and instantly gels to form a barrier against paint bleed. I hate when I have to go back and touch up lines with an artist paint brush, so this was great!
I wish I would have done a better job taping so that all of the old beige was covered, but you’ll never see this spot after I hang our window blinds up. It’s way more noticeable in the close up photos.
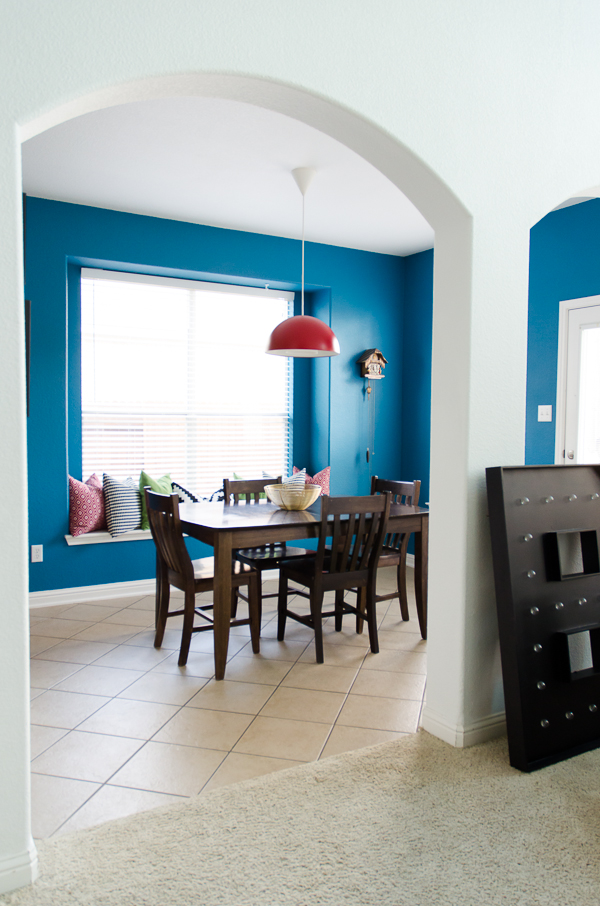
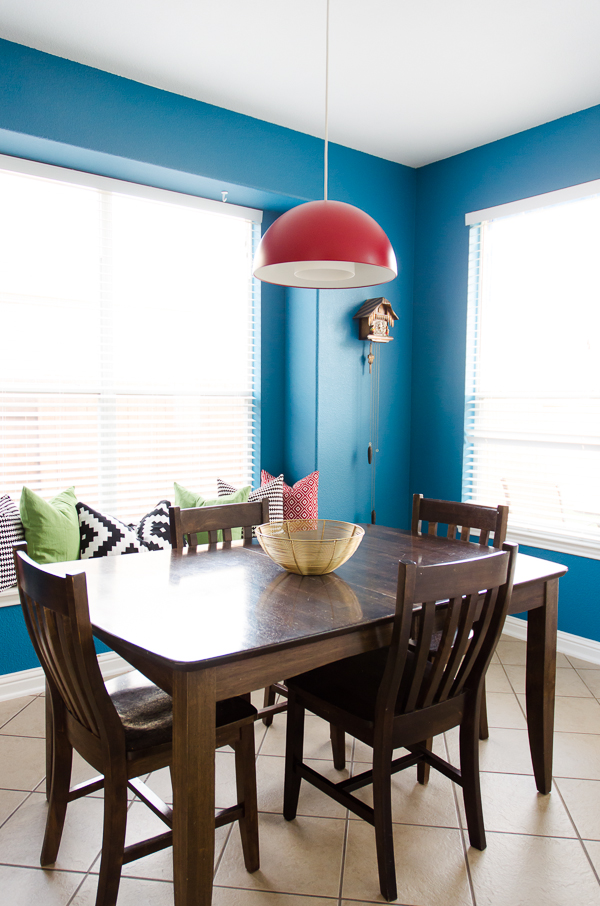
This is a bold color, right? Well, no worries. I only used it in 2 of the walls in my kitchen/breakfast room. The rest is Lindsay White. I also used this Peacock Blue in my Mary Blair Feature Wall and in the Playroom, both of which open to the kitchen. I need to figure out how to take a big panoramic shot of that for you guys to see.
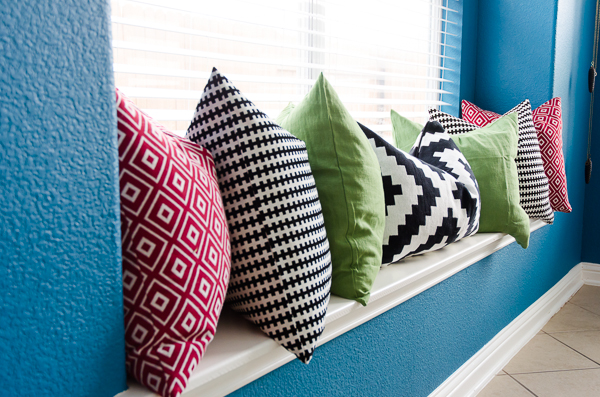
In the meantime, here are some shots of the freshly painted breakfast area. I still have a few more decorating touches to add – like some sort of valence on the windows – but it is a huge change for us as is!
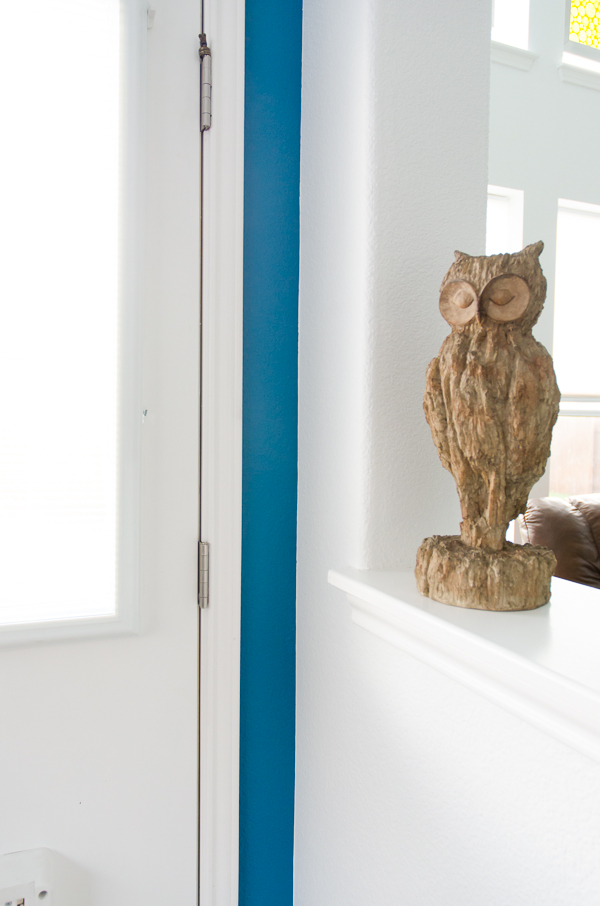
We used the yellow FrogTape for Delicate Surfaces tape on this transition from blue to white. Perfection!
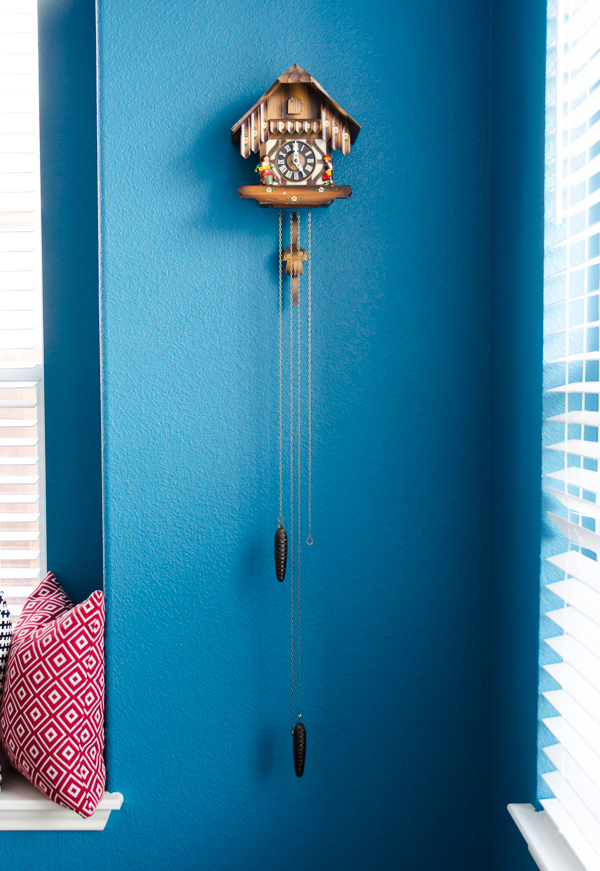
I finally hung my cuckoo clock back up on the wall. It works, but it drives me crazy in the middle of the night so I’m leaving it unwound.
If you have a room that you are working on painting, give FrogTape a try. We were very happy with the results it helped us achieve!
Looking for some fun paint ideas? Check out the FrogTape® painting inspiration Pinterest page.
Hi Lindsay.
So happy to have post from you again! My sister plays roller derby here in Germany and she has sported quite some bruises in the past but luckily no broken bones yet. All the best for your recovery!
I read somewhere, that it is advised to go over the tape with a wet cloth to activate the barrier before painting, have you ever tried that?
And: do you have a specific reason for choosing to paint the inside of the window casing blue and not switch to white? I always feel it makes the window look bigger when that area is painted white…
Greetings from Germany!
Jenn(ifer)
Hi Jenn(ifer)-
I have gone over the tape with a wet cloth before. Honestly, it didn’t make a big enough difference for me to do it again. lol The barrier is activated by the wet paint anyway, so it saves me a step.
I’ve never considered painting inside the window casing white! I bet it would open the window up some. That’s a great idea!
All the best to your sister! Some of the bruises can hurt as much as a fracture!
Lindsay
It wasn’t 100% slavery (the proportion of slaveowners among the southern population wasn’t much), but the idea that slavery wasn’t a major factor I don’t ge;It’.m not saying the intentions of the north were any better. The whole thing was basically disagreement on the economics of it, not human rights.
It was beautiful the shape that worked with this blue is a very nice hue
I love it, I’m making changes in my son’s room and nothing better than seeing good ideas. Thanks.
The blue bench warms the sea in the summer months, the color of the air, the blue walls and the products excite people. I am a fan of houses decorated with blue colors and tones. Congratulations on a very nice work.
This window was wonderful! And the shade of beautiful blue I loved everything
Nice post. Thanks for sharing this post.
Nice post. Thanks for sharing this post. This window was wonderful!
You chose such a gorgeous blue shade! It’s amazing how transformative and striking it is! Congratulations on a great job!
Nice post. Thanks for sharing this post, very good
Amazing Technic.
I’ll try to do it
Great tips.
Thanks!!!
Sharing in 3..2..1
Great post
I loved the colors you used.
Great photo!!!
Beautiful photo.
Nice good job!!!
Congratulations nice job!
Como Fazer o Cachorro Parar de Latir
Nice post. Thanks for sharing this post, very good
Ahh…painting job is the worst, for me. In my first time a lot of mess:))