Makely

Let's Make Life Awesome

  • Home
  • Decorating/DIY
    • Create Your Decor
    • Decorate Your Home
    • Paint Your Walls
    • Transform Your Furniture
  • Healthy Living
    • Essential Oils
    • Family Wellness
    • Household Care
  • Project Gallery
  • Contact
You are visiting: Home » Decorating/DIY » Create Your Decor » Page 101

A Garden Fit for a Fairy

by Lindsay Ballard on April 26, 2011 18 Comments

About a month ago, I sent my mother-in-law a link to a sweet little project I found online.  She had recently retired and loves to garden, so I thought it would be something fun for her to work on.
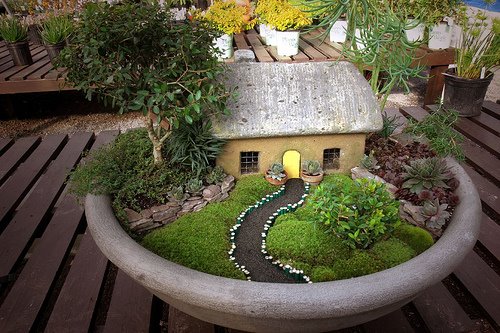
via Studio G

I have apparently been living under a rock, because I had no idea that these lovely little Fairy Gardens were actually a “thing.” Once I began looking into it more, I found all sorts of darling new worlds.
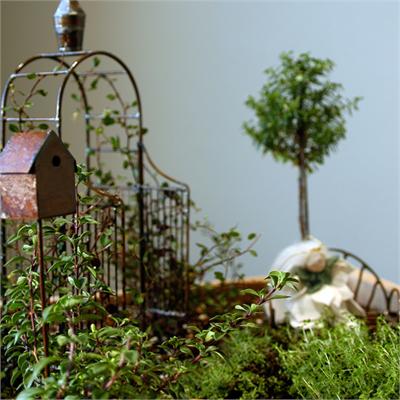
Imagine Childhood

Sure, those of you Fairy Garden connoisseurs can go ahead and laugh at me, but I bet I’m not alone in not knowing about these lovely little container gardens.  You can plant them in containers indoors or outdoors.
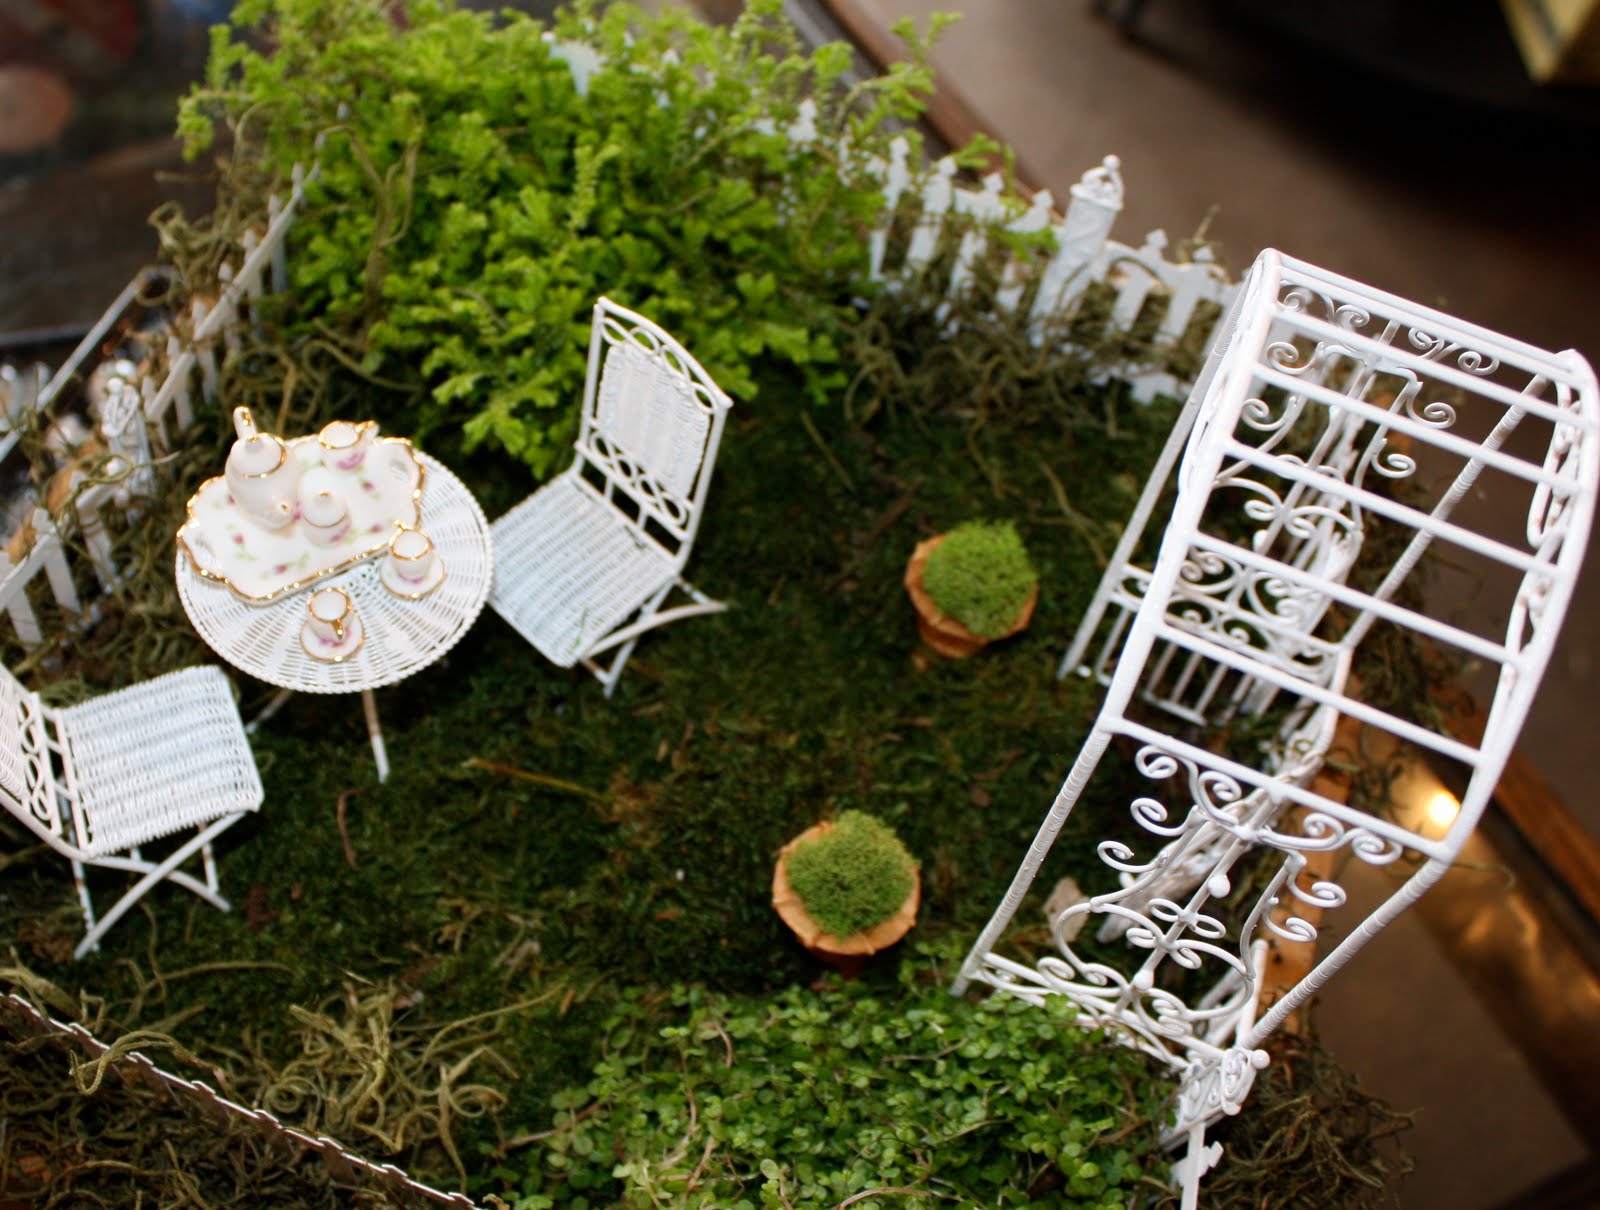
The Pure Gardener

There are all sorts of online shops (and local gardening shops, depending upon where you live) that sell little garden gates, houses, animals, and fairies to populate your new world.  There’s a great tutorial here.
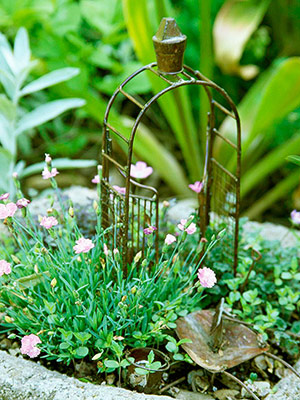
via Royalty Girl

So, back to my mother-in-law…She and my father-in-law came in town over Easter weekend to visit with the family.  She told me before they arrived that she had some things to bring for a little project to work on with 5 year-old Zack.  After a visit to our favorite local gardening store for a container, some herbs, and moss, this is what they created:
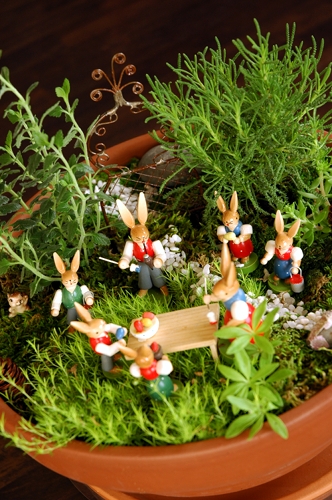
Isn’t that so cute?  I put it on our kitchen table so we would see it every day.  I pulled up some online fairy garden shops to show Zack, and he’s already picked out some new items he wants to add to our next one.

What about you?  Have you ever made a fairy garden?  Want to try?

********************

Congrats to Katie at Runaway October!  She’s the lucky winner of the Forma Living giveaway.

Thanks so much to Michelle at Forma Living!
The {UPDATED} $7 Burlap Table Runner

by Lindsay Ballard on April 10, 2011 1,985 Comments

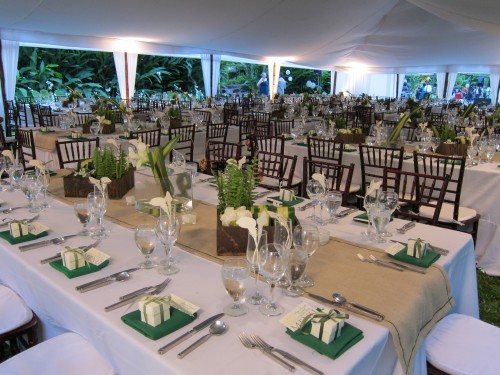
One of the most popular posts I’ve ever written for this blog is the tutorial for my $7 burlap table runner.  And for good reason, if I do say so myself.  It’s cheap, it’s easy, and it fits a wide range of decorating styles.  It’s even perfect for wedding decor, as sweet reader Camille proves:


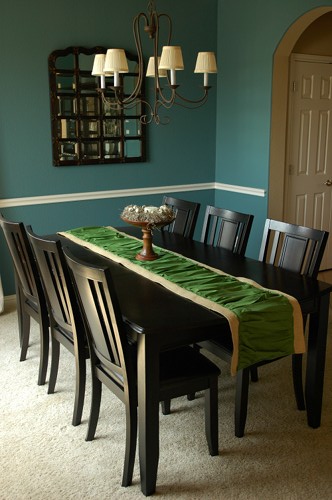
A year and a half later, my table runner is in need of an update.  The sun had bleached portions and I may or may not have accidentally splattered some paint on it.  So, I spent $7 more dollars, and my runner became the $14 Modern Ruffled Table Runner.


You totally love it, right?  Me too!  It’s incredibly easy to put together – if you can sew a straight line, or even a not-so-straight line, you can create this table runner.

Modern Ruffled Table Runner

1.  If you haven’t already, follow the instructions to create the original burlap table runner.  You will use this as the base.

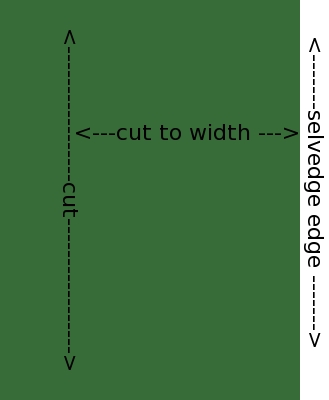
2.  Buy some fabric that’s about two and a half times the length of your runner.  Your measurements will be different, but my runner was about 80 inches long, so I needed a length of fabric that was about 5 yards long.  I bought 3 yards of cheap quilting cotton ($3.99 “Symphony Broadcloth” at JoAnn’s, made cheaper by a 40% off coupon)  and sewed two lengths of it together. You want to cut the length WITH the selvedge edge, not against.  This ensures your ruffles will be nice and full.


3.  You want the finished width of the new piece to be about 2 1/2 inches shorter on each side than the width of the burlap runner.  Again, your measurements will be different, but my runner is 18 inches wide so I wanted my finished width of the new piece to be 13 inches wide.  Add a 1 inch seam allowance on each side, which makes what I call my “cut to width” 15 inches wide.

Oh, gosh.  I’m not even making sense.  Refer to the diagram above again and see if you can make heads or tails of it.

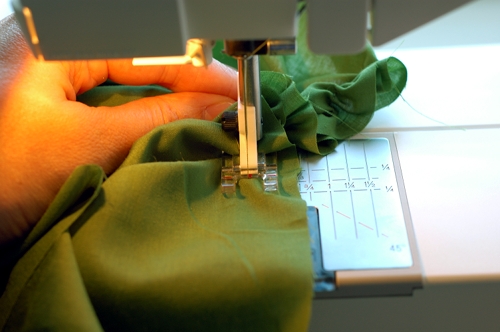
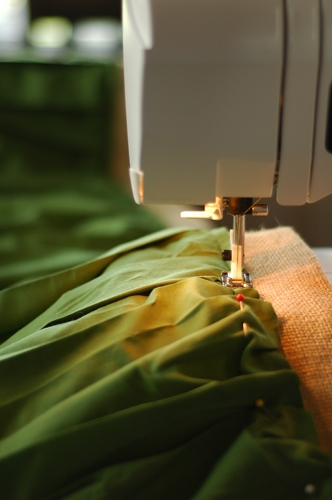
4. Set up your sewing machine to stitch a long basting stitch with a lo0se-ish thread tension (mine was set to a 4).  At about 5/8 of an inch from the long edges of your fabric, run your basting stitch, catching the fabric behind the foot so that it gathers.  Hold it for as long as you can, and then let go and hold the next length.  Do this for both of the long edges, and leave long thread tails (about 6 inches long) hanging off both ends on each side.  You’ll leave the basting stitches in for this project, so you may want to choose a thread color that matches the fabric.


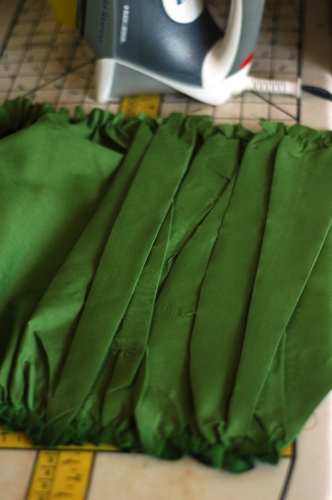
5.  Head to your ironing board and press your new ruffles so they become folds.  I’m sure this kind of ruffle has a fancy name, but I’m going to just call them modern ruffles.  You don’t want them to look uniform, so it’s perfectly fine (and even preferred) to have creases and the folds going in different directions.


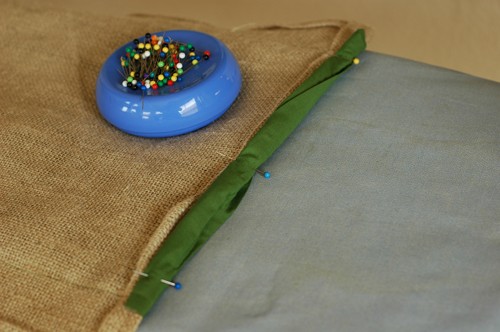
6.  Lay out your burlap runner and place your new runner on top of it.  Pull the fabric down the basting stitches (using the 6 inch tails if you need to) so that the new fabric is a few inches longer than the burlap.  DON’T pull the basting stitches out.


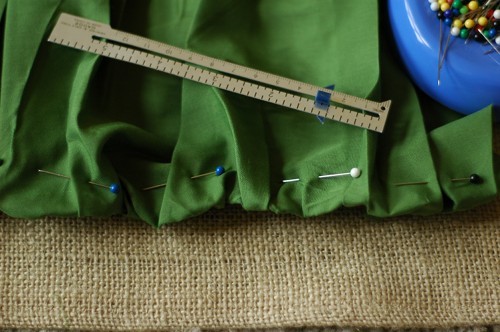
7.  Turn the basted edges under 1 inch and pin into place.  I used a lot of pins to make sure that I got it all turned under and no ruffled poofs where hanging out.  Because you placed your basting stitch at 5/8 inch, it will be hidden when you make you turn the edges under.


8.  Go back to your ironing board and press the new fold on the edges that you turned under.  I left the pins in place – just don’t iron over them if they have plastic heads.

9.  Lay your new piece of fabric back out on the burlap and pin it into place.  I pinned it down on both long edges and a few times down the middle.  Stitch it down about 1/4 of an inch from the edge of the new fabric.  However, since the edge of your fabric is now folded gathers, your edge won’t be completely straight and even.  Your stitch will even make the fabric pinch and fold.  I’m sure that professional seamstresses will hyperventilate over that, but it’s totally fine (and again, preferred) for this project.


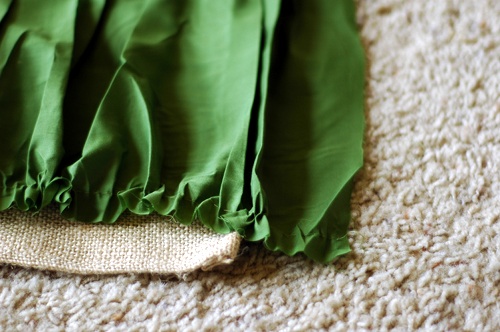
10.  Visit your ironing board again and turn under the parts of your fabric that you let overhang the ends of the burlap.  If it’s more than about an inch or so, you may want to trim it.  Just turn it under the burlap, pin it, press it, and then stitch it in place.


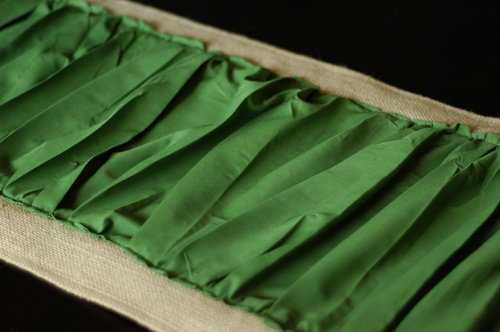
Now you’ve got yourself a nice set of modern ruffles on a great burlap table runner.  I absolutely love the look of this updated version and wonder how I lived with the Plain Jane version for so long.


I also really love the green against the blue walls (Smoked Topaz by Glidden) in my dining room.  This green perfectly matches my new Ikea fabric that I’m going to use in this part of the house, so it’s not as random as it may seem.


What do you think?  Will you update your burlap runner with the modern ruffles?  Did you never get around to making the original runner and are now inspired to do so?  Do tell!

********************

I am really excited to announce the winner of the Rusted Chain giveaway!  We have TWO winners who will each receive a $25 gift certificate to Beki’s wonderful shop.


Congrats to Melinda B and MoniCue for being the randomly selected winners!  I will get in touch with your shortly about your prize.

************

The winners of the AboutOne giveaway will be announced by the fabulous folks at AboutOne.  The winners will be contacted directly by the company.

« Previous Page
Next Page »
  • Email
  • Facebook
  • Instagram
  • Pinterest
  • Twitter

About Makely

Lindsay Ballard is a former college mascot turned political geek turned roller derby playing, DIY fanatic.

Lindsay chronicles her projects, design ideas, and lifestyle tips here at Makely, where she shares tutorials and inspiration. Her DIY designs are bold and graphic, while her spirit is fun and full of color.


Archives

Categories

PRIVACY POLICY
Copyright © 2009-2019 Makely School for Girls | All Rights Reserved | Posts may contain advertising content or affiliate links