Makely

Let's Make Life Awesome

  • Home
  • Decorating/DIY
    • Create Your Decor
    • Decorate Your Home
    • Paint Your Walls
    • Transform Your Furniture
  • Healthy Living
    • Essential Oils
    • Family Wellness
    • Household Care
  • Project Gallery
  • Contact
You are visiting: Home » Decorating/DIY » Create Your Decor » Page 80

Is Foam Hot Glue Really Worth the Cost?

by Lindsay Ballard on September 7, 2012 1,800 Comments

The last few days, I’ve been working on some new Fall-ish themed decor projects to share with you.  I found myself in the styrofoam section of Michael’s last week, and saw a package of glue sticks made specifically for styrofoam projects.
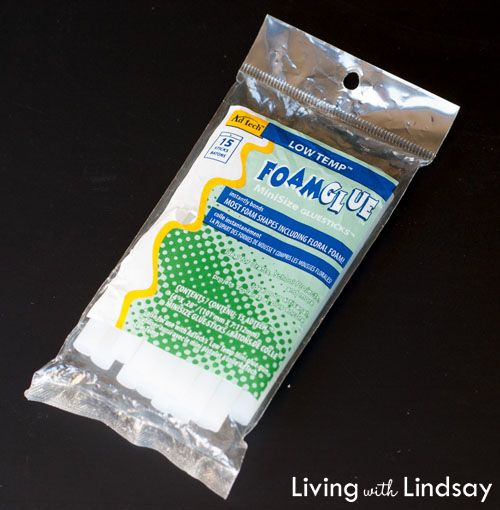
I don’t really do “crafts” very often, so perhaps this FoamGlue has been around for ages.  I have no idea.  But, I figured I would buy a package and do a little head-to-head test between it and ordinary low melt hot glue gun sticks.  At around $5 for a package of 15 sticks (as opposed to about half that for the same size package of low melt sticks), this FoamGlue was going to have to really perform for me to recommend it.

I cut a few pieces of styrofoam that I had left over from a package that was shipped to me.  The cuts were relatively straight and the pieces were relatively the same size.  I say that for you science geeks like me.

I started with the regular low melt hot glue.  I shot this photo right after I applied the glue to a piece of foam.  You can see that there are bubbles inside the glue, which is because the glue dries faster than the bubbles can escape (I think. Other science geeks can correct me on that.).  I know that high temperature hot glue melts styrofoam pretty quickly, but the low melt glue didn’t seem to cause those problems.
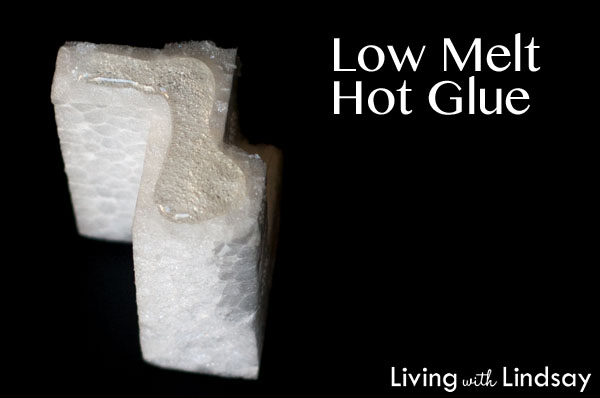
After I glued that piece to it’s mate, I moved on to the FoamGlue hot glue.  Here is my shot of that.
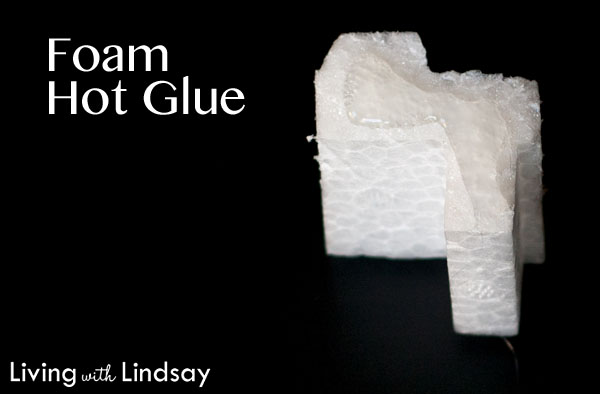
You will notice that the foam hot glue looks quite different than the low melt glue.  It is much clearer in appearance and there are no bubbles at all.  Why?  Well, I have no idea.  I’m going to guess that it’s because the FoamGlue melts at a lower temperature than low melt glue, so it’s not as thick.  That guess is a shot in the dark, though.

So, how did the two glues perform?  Honestly, about the same.  I felt like the FoamGlue’s bond was tighter than the bond from the low melt glue, but it wasn’t so different that I thought the foam hot glue was life changing.  The gap in the low melt sample in the photo below is because I think I stuck the wrong ends together and the cut didn’t completely match up.
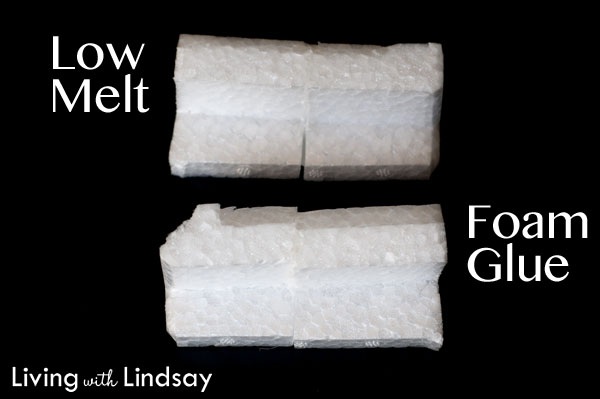
Is FoamGlue worth the extra cost?  No, I don’t think so.  I think you should save your money for something more worthwhile.

Have you used foam hot glue before?  Tell us about your experience!
How to Make a Charmed Wreath

by Lindsay Ballard on September 4, 2012 1,124 Comments

I have such a love/hate relationship with wreaths.  When they are full and fluffy and make a statement, I love them.  When they are wimpy and skinny and just a bunch of “stuff,” I hate them.  I am really, really deep, y’all.

I get easily bored with only having a wreath on my front door, so I started to explore some options for hanging them on interior doors, too.  There’s no reason why I should only have one awesome wreath in my home at a time.  Interior wreaths can be a bit tricky, but I happened to come up with an idea that I think could really work in everyone’s home.  I call them “Charmed Wreaths.”

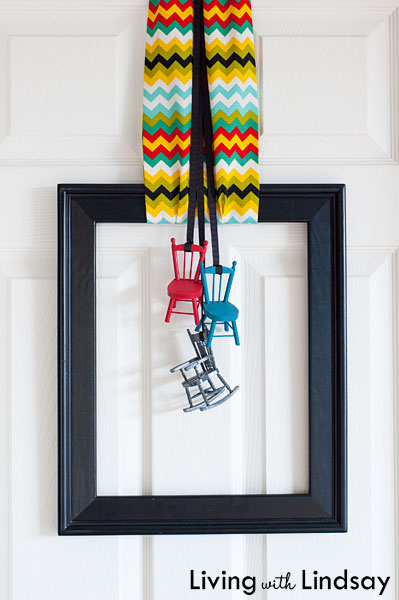
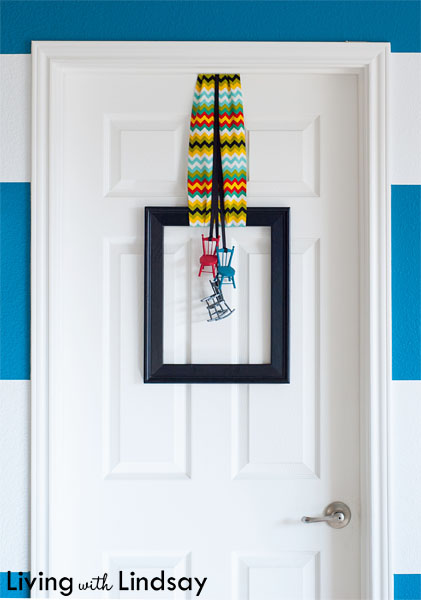
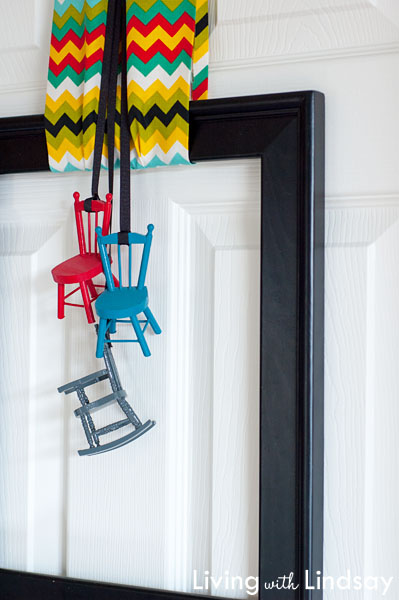
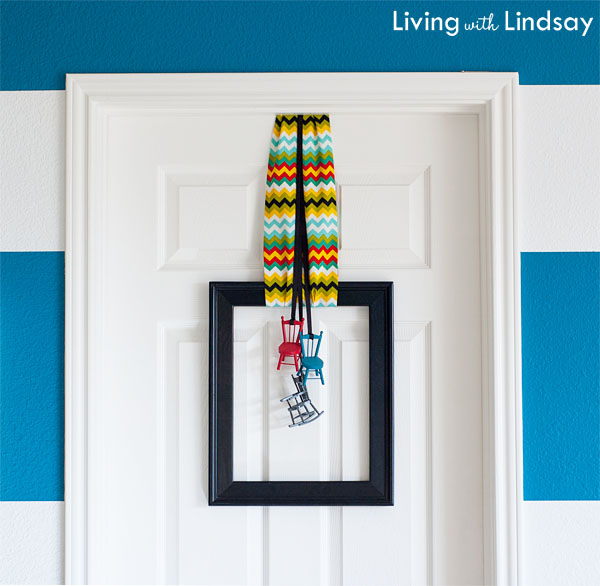
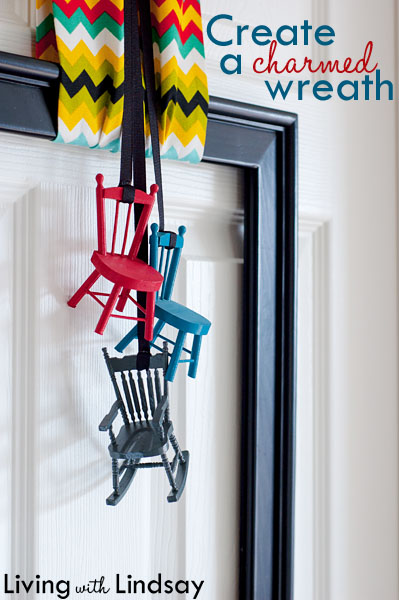
My inspiration for the charmed wreath was to create one that was unexpected and tells a little story about you.  This wreath, made from a length of fabric, some strips of ribbon, an unused picture frame and some spray painted dollhouse chairs hints, to my obsessive love of painted furniture.

Just like a traditional charm bracelet carries charms that remind you of important things in your life, a charm wreath displays those types of important things, too.  You could add “charms” of pretty much anything you can think of – ballet shoes, heirloom silver cups, old spools of thread – anything small is fair game.

To hang this particular wreath, I looped a length of fabric around the frame like I hang wreaths with ribbon on my front door.  I folded it to form a few pleats, and nailed it to the top of my office door with finishing nails.  I hot glued the thin black ribbon around the little chairs, and I nailed them to the top of the door, too.  After the paint on the chairs dried, the whole thing took me about five minutes to put together.  Obviously, you could use a more traditional grapevine wreath, but I thought that a frame would be more fun with these particular colors.

I did stick a few glue dots on the bottom corners of my frame to better attach it to the door.  Otherwise, it was banging every time I opened and closed my office door.

I think this is such a fun and easy way to display some {more} personality in my home.  My office door is right off of the playroom, so I think it really lends itself to the playfulness I’m trying to bring to that room’s decor.

I think I’d like to add one with Lego on Zack’s door and maybe one with little dolls on Emma’s.  Or maybe Hot Wheels and Ponies.  Or maybe Star Wars and Minnie Mouse.  I could even do a combination of everything they liked.  The good thing is that it would take me only a few minutes to change it up.

What do you think about my idea for “charmed wreaths”?  What would you put on your wreath?


« Previous Page
Next Page »
  • Email
  • Facebook
  • Instagram
  • Pinterest
  • Twitter

About Makely

Lindsay Ballard is a former college mascot turned political geek turned roller derby playing, DIY fanatic.

Lindsay chronicles her projects, design ideas, and lifestyle tips here at Makely, where she shares tutorials and inspiration. Her DIY designs are bold and graphic, while her spirit is fun and full of color.


Archives

Categories

PRIVACY POLICY
Copyright © 2009-2019 Makely School for Girls | All Rights Reserved | Posts may contain advertising content or affiliate links