If you have been reading my blog with any regularity, it’s safe to say that you know that I like to paint stuff. I particularly love painting things a) in bright colors and b) that aren’t “supposed” to be painted.
A few months ago, I took it a step further by painting something that is actually supposed to keep other things from being painted.
Confused yet? Yeah, me, too.
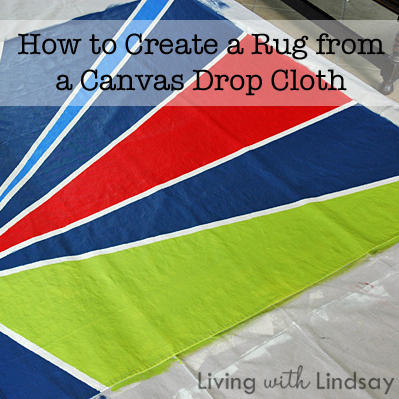
Anyway, my friends at my favorite store in the world – Home Depot – sent me a box of paint brushes, drop cloths, painters tape and stencils and asked if I would create an outdoor rug out of a canvas drop cloth. You know I couldn’t say no to that challenge! They sent me a few color palettes to choose from and a gift card to pick up some paint at my local store.
Is it any surprise that I chose the brightest of the sample palette choices? It shouldn’t be!
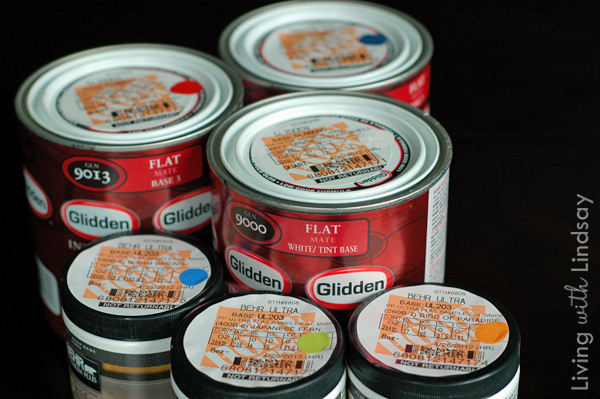
I honestly had my doubts that a canvas drop cloth would make a good faux outdoor rug, but I always trust that my friends at Home Depot won’t steer me wrong. I washed and dried the drop cloth to help remove the folds and wrinkles and laid it out flat over another drop cloth in my entry way. Using a foam roller, I primed it with a basic Kilz latex primer and let it dry over night.
I decided to give the rug a pattern with a starburst effect, but I wanted to give it a modern twist. I sketched out my design on a sheet of paper, and then I painted the entire rug my base color, Oyster Shell by Glidden. It’s a soft off-white.
Using my sketch as a guide, I used 1-inch width painters tape to lay out some lines on the canvas. Like a starburst, I wanted them to all radiate from the same point. I decided to make that point 2/3 of the way down the drop cloth. I didn’t measure the distance between the lines, because I wanted some sections to be thin and others to be quite wide. I took special care to press the tape down really well to avoid any paint bleeding underneath the lines.
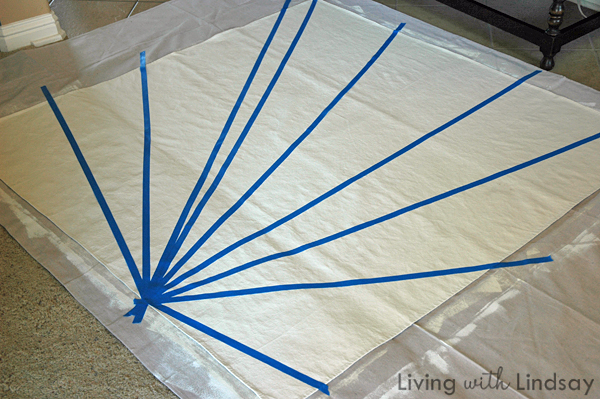
Then, I painted each section at a time using a good quality paint brush. I started at the top left corner of the cloth, and just painted section by section.
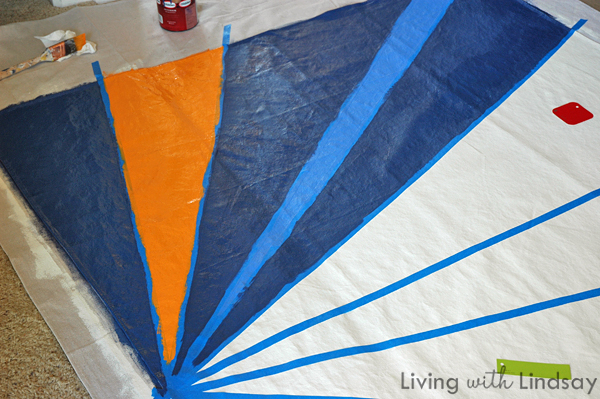
I gave each section two coats of paint. I found that the dark colors (like the navy) covered pretty well with one coat, but the really bright colors (like the orange, green and red) needed two coats for the colors to be fully saturated. There were a few spots that the paint did bled underneath my tape, so I went back with a small artist sized paint brush and touched up those spots.

I let the paint dry for a full 24 hours, and then I applied two coats of Rustoleum’s Ultimate Polyurethane using a good quality paint brush. That will give it enough protection that it could easily be used in an outdoor space. I let that poly dry for about 48 hours and then boxed up my ‘rug’ and sent it to Home Depot’s professional photographer.
Now, I will be featured in Home Depot’s free Style Guide app for the iPad. How cool is that? Even more fun is that I’m “above the swipe.” I feel like I’m “above the fold” in the New York Times.
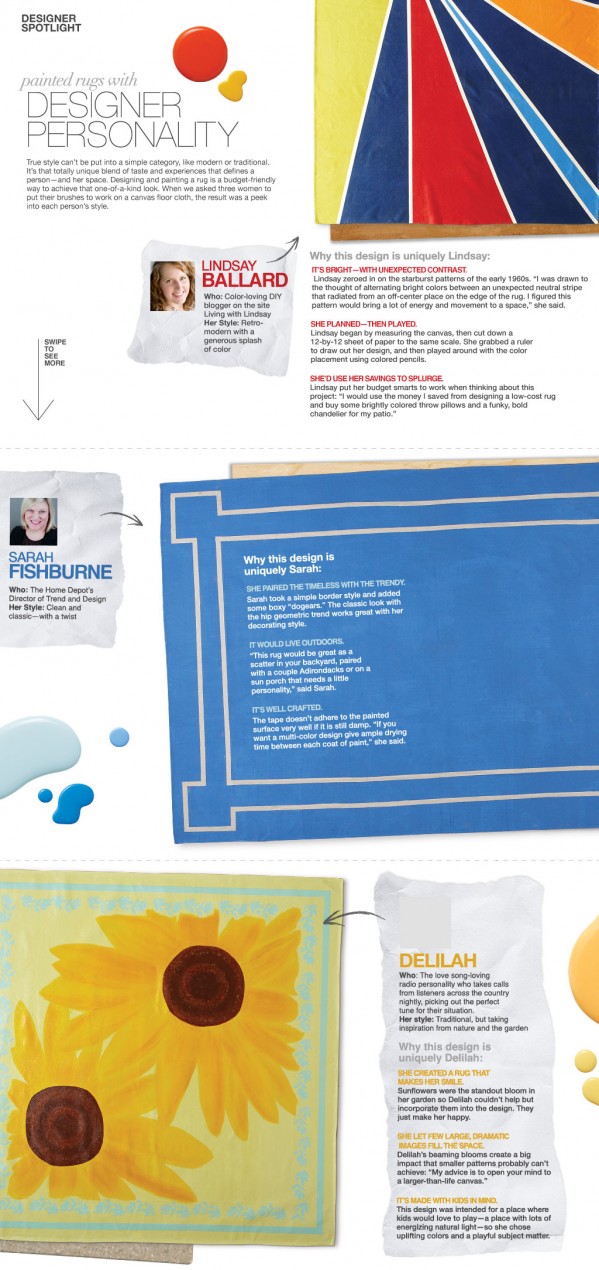
Each season, Home Depot releases a new version of the Style Guide both via the app and online. It’s filled with decor ideas, DIY tips and tricks, and lots of other cool stuff. The summer version of the Style Guide comes out any day now, so if you have an iPad, head over to the App Store and download it so you will be ready when “my” version comes out.
I loved the way the canvas drop cloth turned out. In fact, I’m planning to do another one to hang on the giant, empty wall above my staircase. I think that it will be a cheap and easy way to create a piece of custom artwork that is quite large in scale. I need to figure out another cool pattern, though.
How about you? Would you what colors would you paint your custom drop cloth floor (or wall!) covering?