Makely

Let's Make Life Awesome

  • Home
  • Decorating/DIY
    • Create Your Decor
    • Decorate Your Home
    • Paint Your Walls
    • Transform Your Furniture
  • Healthy Living
    • Essential Oils
    • Family Wellness
    • Household Care
  • Project Gallery
  • Contact
You are visiting: Home » Decorating/DIY » Decorate Your Home » Page 67

How to Replace a Ceiling Fan {Part I}

by Lindsay Ballard on February 20, 2012 2,246 Comments

Last summer, we chatted about the fact that most of us need ceiling fans in our bedrooms, regardless of the fact that we rarely see them in the bedrooms featured in our favorite magazines.  I presented you with my ceiling fan dilemma – a dark bladed fan on my newly white ceiling – and you guys offered all sorts of solutions, from replacing the fan with a white one to painting the blades.

So in July, I began my search for the “perfect” ceiling fan for the bedroom.  I didn’t find it until December, and it was on back order.  I was honestly getting ready to cancel the order and find another fan (this one was a great style and an even better price), when lo and behold I recently received an email saying it had been shipped.  Hooray!

The fan arrived last week, and I spent some of Sunday replacing the old fan with the new fan.  It is an easy task once you know what to do, so I thought I would put together a picture-heavy tutorial for you in case you want to tackle the project yourself.  I’m going to split the tutorial into two parts:  1) Removing the old fan and 2) Installing the new fan.  Please remember that every ceiling fan is built a little bit differently, so refer to your fan’s instruction manual, if needed.

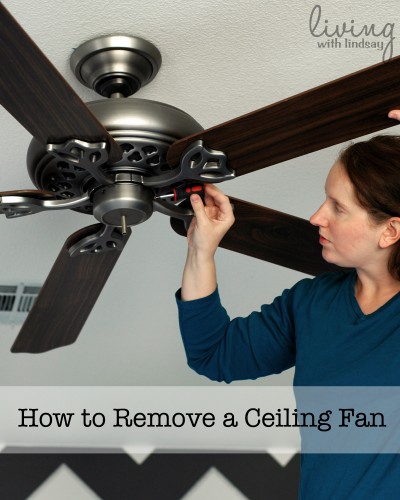
How to Remove a Ceiling Fan

1.  Turn off the electricity to the fan at your breaker box.  You will likely find your box in your garage, a closet or your utility room.  All you need to do is flip the breaker (the switch) that powers your fan.  If you don’t know which is the right breaker, turn the fan on and flip breakers on and off until the fan stops spinning.

2.  Begin by unscrewing the finial (mine’s a ball) on the bottom of your light kit or cover plate if you don’t have a light kit. Mine had a little decorative shroud over a threaded rod; yours may be a little different.
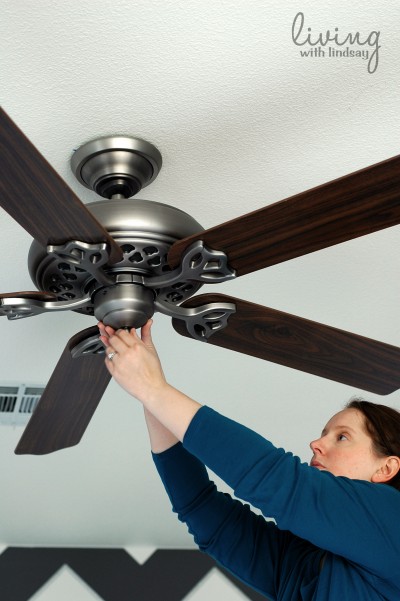
3.  With a screwdriver, unscrew the three screws around the sides of the base below the fan blades.
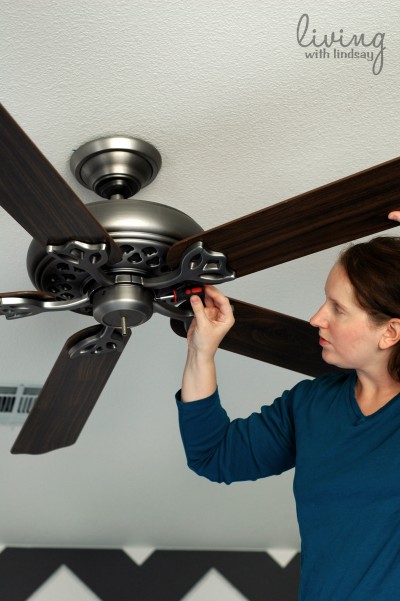
4.  With the three screws removed, you can now remove the light kit electrical portion from the fan.  The shroud will slip off and you will need to disconnect the wires from the light kit to the fan.  Mine were crimped wires that plugged into each other.  Yours may have wire nuts that will need to be twisted off.

5.  With the light kit/light kit cover removed, you will see another set of three screws that need to be addressed.  One screw needs to be completely removed and the other two just need to be loosened.
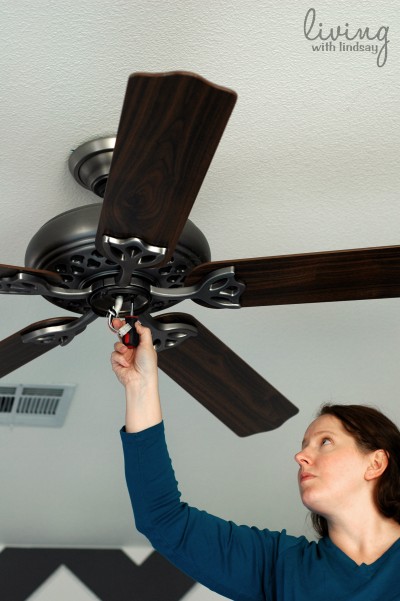
You will be able to tell by looking which two only need to be loosened, because you will simply just twist the component to remove it from the screws.
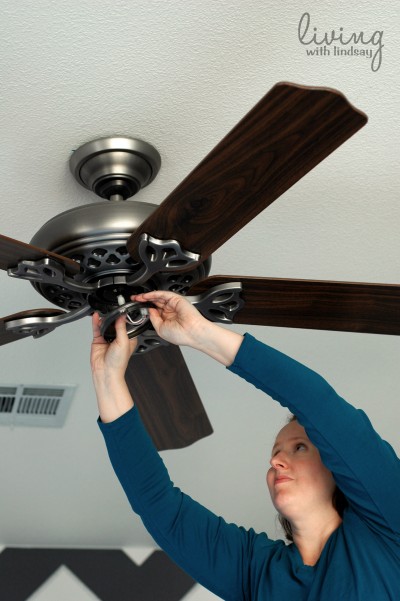
6.  Next, you will remove the fan blades.  There are two screws that attach each blade arm to the fan base.  Remove them in a star pattern to keep your fan as balanced as possible.
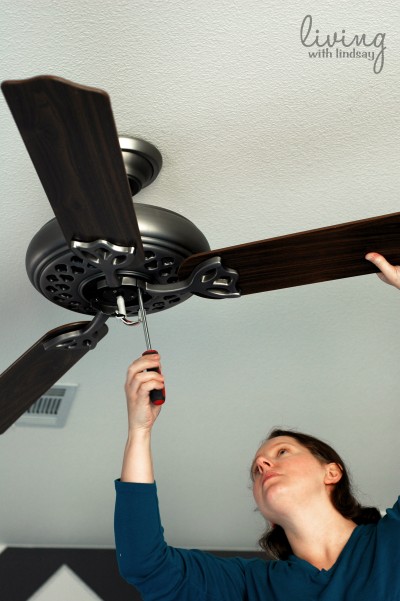
7.  Now that the blades are removed, you can reach the ring on the fan that touches the ceiling.  It hides some more screws you need to remove, so take it off by twisting and pulling down.
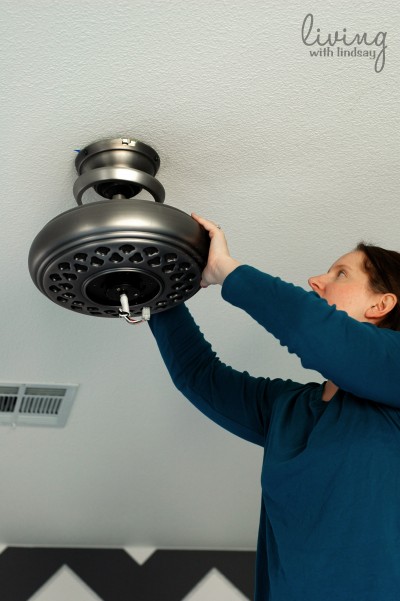
8.  There will be three screws near the top of the fan that connect it to the plate or bracket that holds it on the ceiling.  Carefully unscrew those screws.
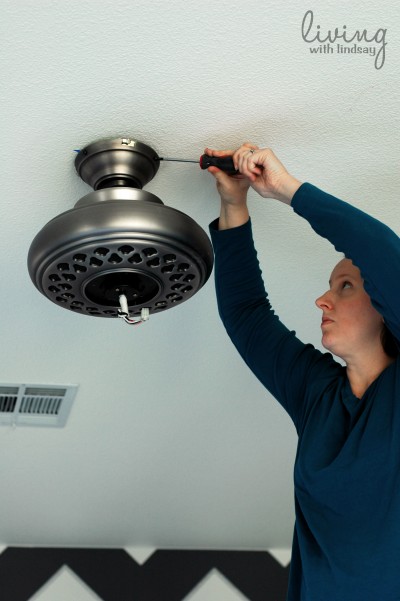
9.  Now that those screws are removed, you can twist and pull the fan base off of the ceiling.  Before you can put it down, you will need to disconnect the wires between the ceiling and the fan.  As you can see, mine were attached with wire nuts that twist off.
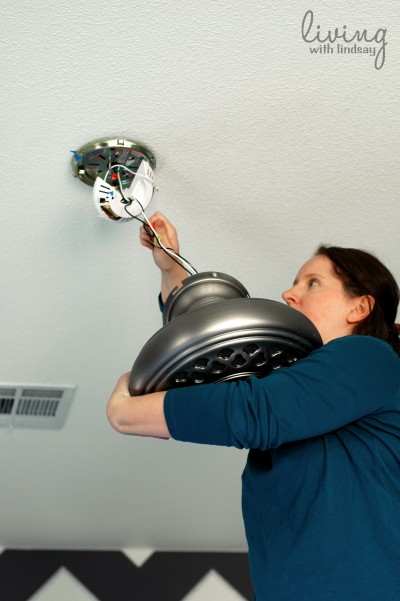
This particular fan has a very heavy motor, so this is definitely my least favorite part of the removal!  Not all fans are this heavy.

10.  The plate and remote control receiver (if your fan has one) will be left on the ceiling.  There are two screws that attach it to the ceiling box, so remove those two screws.  Pull off the plate and remove it from the wires.
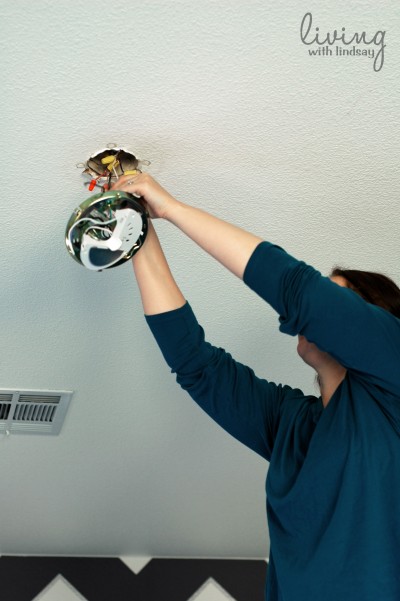
11.  You will be left with a hole in your ceiling with exposed wiring.  If you aren’t going to immediately install a new fan or light source, go ahead and cap off each of the wires with a wire nut.  You can see in this photo that I have one more wire nut that I need to place on the white wire.
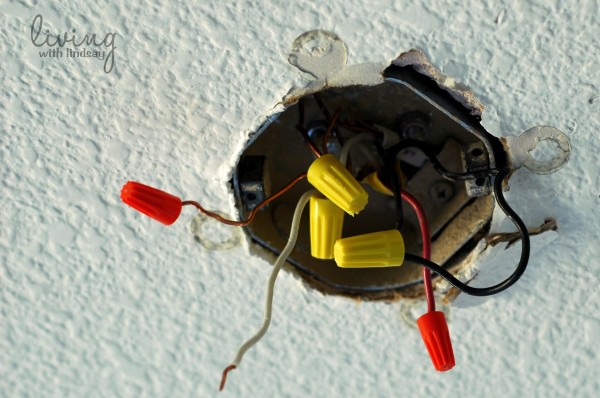
Why are the wire nuts different colors?  They are simply color-coded that way by size.  The blue nuts are tiny (not pictured), the orange nuts are small, the yellow nuts are medium, and the red nuts (not pictured) are large.  You choose a wire nut based upon wire gauges and how many wires you are twisting together.

Congratulations!  You just removed your ceiling fan!  In Part II, I will show you how to install your new fan and show off the fan that I waited all of those months to receive.

Have you ever removed a ceiling fan yourself?  Or, does it seem like something that makes you nervous?
Finding Color Scheme Inspiration in Textiles {and a Quiz!}

by Lindsay Ballard on January 31, 2012 1,657 Comments

Choosing a color scheme for a new decorating project is one of my favorite parts about being a home decor fanatic.  Your choices really set the tone for how the finished room will feel, so I think it’s incredibly important for you to love the colors you decide to use.  It’s a very personal choice.

As you can imagine, I get a lot of questions and emails asking for my help in selecting colors.  It’s a lot of fun to search through my fan decks and put together color scheme suggestions.  A lot of times, my choices are inspired by a “feeling” – the colors just feel right together.  Other times, I draw inspiration from textiles that I think are beautiful.  Regardless, it’s important to me that those colors say something about me or about you (if I’m helping you select a color scheme).

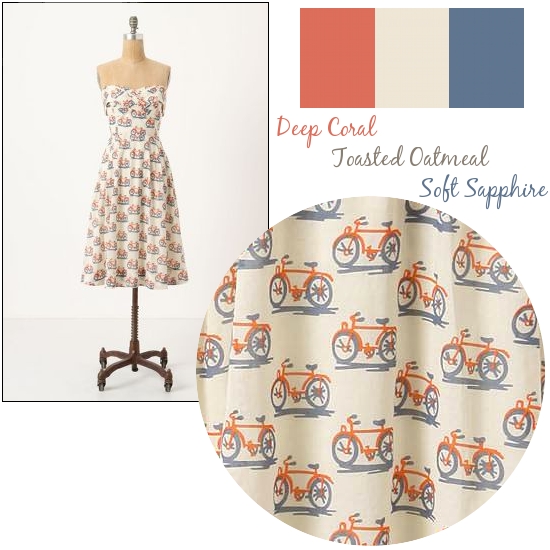
For example, the below Bike Lane Dress from Anthropologie invokes a light and carefree feeling.  You can see that I have chosen a color scheme (the colors are from the Glidden color palette) based upon the dress.  If this was to be a room in my house, I’d use either the Toasted Oatmeal or Soft Sapphire (if my room had a lot of natural light) on the walls, and bring the other colors in through accessories.  I might even steel Mandi’s coral dresser.

If you’d like to go a bit bolder, find some bolder inspiration.  I own (and covet) this bird print top from Old Navy, and it was only after I bought it that I realized it is largely in the same colors as the powder bath that I’m working on.  I’m sure you are thinking, “Oh, Lindsay.  That is crazy.”  But, I’m promising that it works and it works really well.  As you have seen, I have navy on the walls and am bringing the yellow and red in as accents.  I’m hoping to have the entire room finished in the next week or so, but you know how slow I am when I’m making design choices!

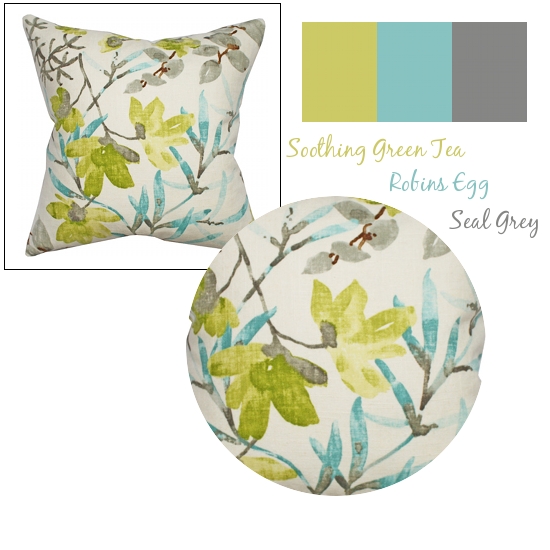
Traditional home decor textiles are, of course, a great place to draw inspiration, too.  A pillow, rug or curtain panel is a great place to start.  This Gazebo Cloud pillow from Tonic Living has a fresh palette.  If you wanted to put color on your walls based on this pillow, I’d suggest going a shade or two lighter than the Robins Egg or Seal Grey.  Or, you could do a neutral wall (maybe something like Glidden’s Oyster Shell) and bring in the colors through accessories and the one boldly painted piece that I think every room should have.

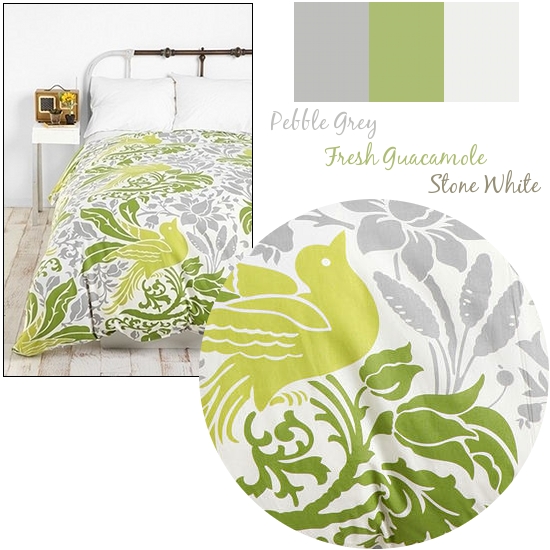
A fun duvet cover is perfect for pulling a new color scheme, and this Flourish Bird Duvet Cover from Urban Outfitters is no exception.  It’s also a great example of how colors can be inspired by a textile but not match them exactly.  As long as the shades you choose don’t clash with the textile or with each other, your blended color scheme will work perfectly.
As I’ve said, color choices are extremely personal.  They need to be based on YOU, not what you see in magazines or read about in blog posts.  They should fit your lifestyle, your home, your feeling about the you that you are.  You will likely notice that you select your clothes based upon those guidelines, and I have a feeling that your home textile selection would be no different.

MyColortopia, the other blog that I write for, has put together a little quiz that you can take to help you choose color schemes that fit your personality.  If you are reading in email or via a reader, you may have to click over to my actual blog to take the quiz.  It was pretty accurate for me, and it even suggested some colors in shades of purple and orange that I hadn’t considered but really liked.


How do you choose color schemes for your home?  What did the MyColortopia quiz say about you?

I have partnered with Glidden/ Akzo Nobel Paints to participate in the My Colortopia program but the thoughts and opinions expressed are my own.

« Previous Page
Next Page »
  • Email
  • Facebook
  • Instagram
  • Pinterest
  • Twitter

About Makely

Lindsay Ballard is a former college mascot turned political geek turned roller derby playing, DIY fanatic.

Lindsay chronicles her projects, design ideas, and lifestyle tips here at Makely, where she shares tutorials and inspiration. Her DIY designs are bold and graphic, while her spirit is fun and full of color.


Archives

Categories

PRIVACY POLICY
Copyright © 2009-2019 Makely School for Girls | All Rights Reserved | Posts may contain advertising content or affiliate links