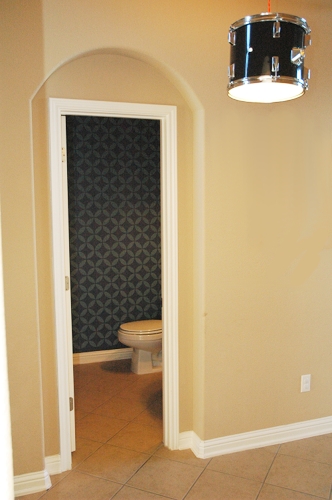
When you walk through the front door of my house, you are greeted by a nice entry way, a nice dining room, and this.
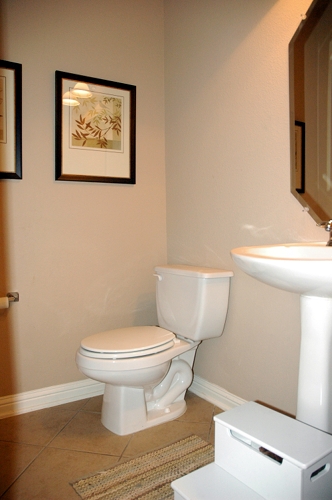
Yep. There’s a very functional, yet eye sore of a half bath right there in my entry way. It’s in the middle of the house, so there is no natural light whatsoever – just the two measly light bulbs in the builder installed fixture. I try to keep the door shut as much as possible, but with two kids in the house, it gets left open more often than I would like.
I have been wanting to redo that bathroom for sometime, but it hasn’t ranked high in the list of rooms I need to redo. I knew that I wanted to do something dramatic with the wall that faces the front hallway (the one with the framed artwork in the photo above), replace the pedestal sink, hang a new mirror and install a new light fixture. When the Royal Design Studio offered me a complementary stencil to review, I knew that the bathroom had to be moved to the front of my list.
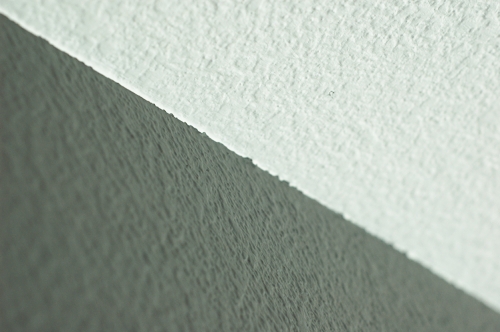
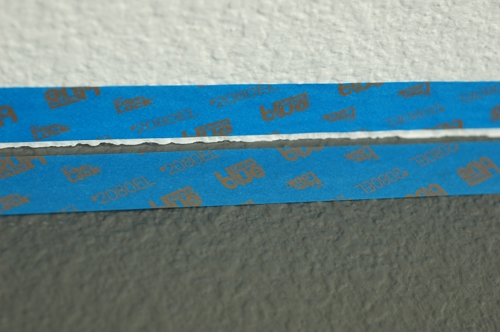
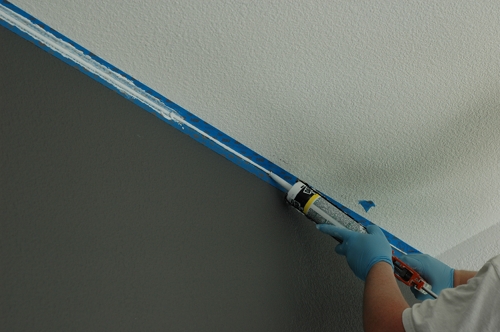
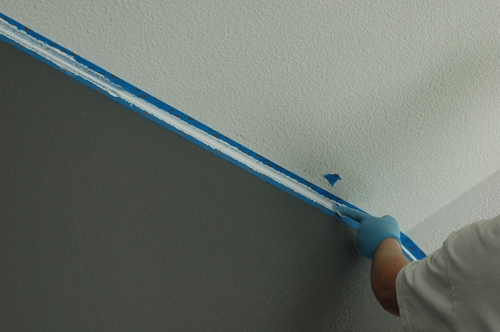
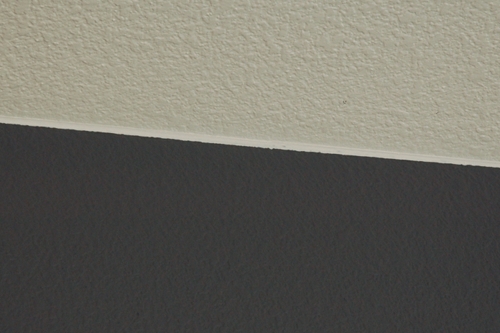
After I removed everything from the walls, I painted the ceiling white using Glidden’s EZ Track Ceiling Paint. I then painted the walls in Behr Ultra’s English Channel. Yes, the walls are very dark, but it helps this small room make a big impact.
I had selected the Moorish Circles stencil from the Royal Design Studio, and I set to work placing the first stencil. I measured the walls and centered the large stencil on the center/top of my wall. {Sorry for the poor lighting in these photos – I was working with a clamp-on work light!}
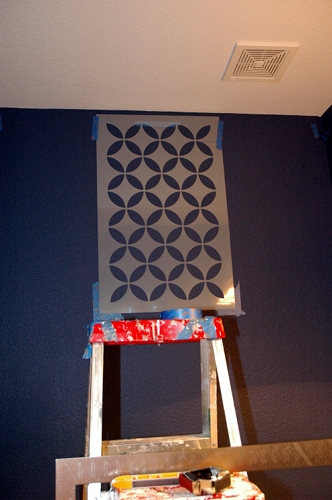
When it was ready, I loaded my paint roller with my favorite color – Smoked Turquoise by Glidden – and got to work. When I removed the stencil, my wall was a mess. I had to paint over it with the darker wall color and start again.
While the wall paint was drying, I practiced with the stencil and came up with the best way to stencil on a textured wall. It ended up working better than I could have hoped for.
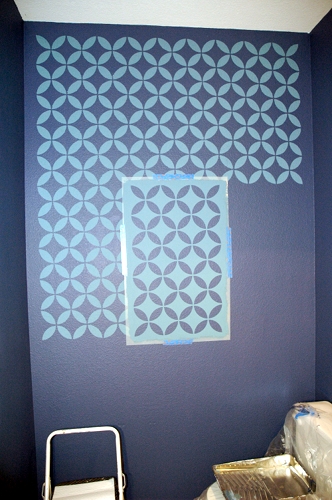
I put together a video tutorial of me stenciling a portion of my wall. I had on my paint clothes, wore no make up, my hair was in a pony tail, the lighting left a lot to be desired, I had a sinus infection, and I had to be my own videographer. Even with all of that on the table, it’s still an excellent way to see exactly what I’m describing in the steps I lay out below.
Tips for Stenciling on a Textured Wall
- Spray the back of your stencil with spray adhesive before you apply it to the wall each time. It will stick closer to the wall and reduce the amount of paint that seeps under the stencil. I used a stencil adhesive that I bought at Hobby Lobby, but probably any temporary spray adhesive would work. Rub your hand over the entire stencil to make sure that none of the design lifts off the wall. The Royal Design Studio stencils are nice and thick, but even they need a little help not lifting off of a textured wall.

- Use less paint that you think you should. I dipped one side of my mini roller into the paint and then rolled it in the tray until the roller no longer looked wet and shinny. Then, I rolled it 6 or 7 times on a folded up paper towel. It will take 4 or 5 passes on the stencil to get the coverage you want, but you will have very few bleeds or fuzzy edges when you remove the stencil. Watch the video tutorial I posted above if that doesn’t make much sense.
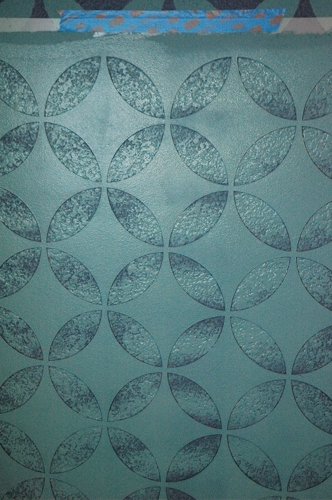
- Remember that you WILL have a few bleeds. There is simply no way around this on a textured wall. Once your wall is dry, take a small paintbrush (I like to use a small, flat artist’s brush from the craft store) and touch up the bleeds with extra wall paint. Stand a few feet back from your wall to see the areas that need to be touched up. If you stand too close to the wall, you will drive yourself crazy touching up everything in sight.
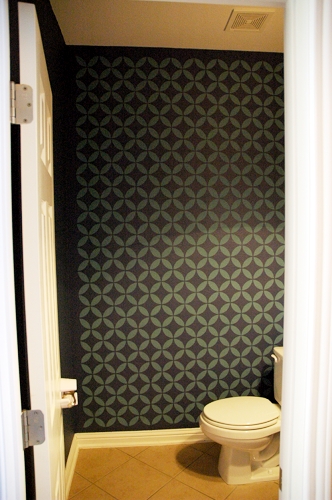
I’m very happy with the way my stenciled wall turned out. Once I have the rest of the changes made in this bathroom, I will no longer be embarrassed for guests to use it! Just adding that dramatic wall has made a world of difference.
Have you ever tried to stencil on a textured wall? What was the outcome?
Disclosure: Royal Design Studio supplied me with a stencil with the understanding that I would write about my experience with it. No money exchanged hands, and there was no encouragement to review the product in a positive fashion.