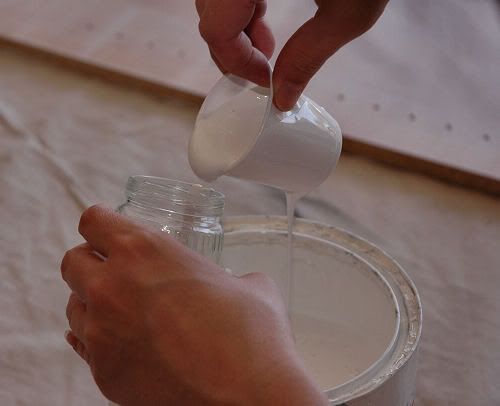
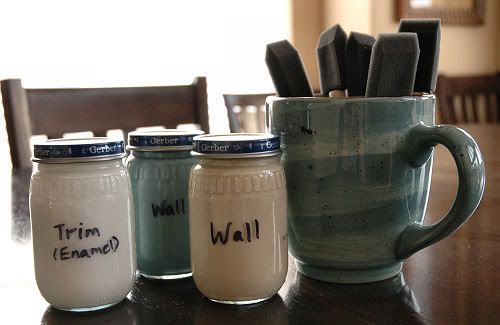
Yesterday, I found myself covered in primer. From head…

Yep, that’s primer on my eye.
…to toe.
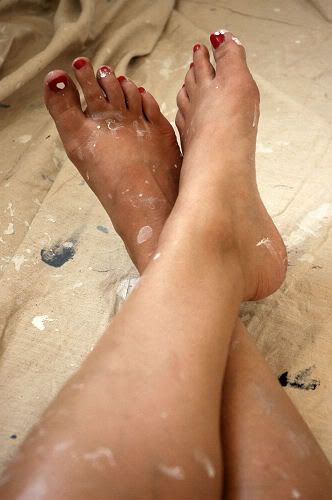
Yep, that’s primer on my pedicure.
I have taken on the big task this week of transforming Zack’s room. He’s on what he calls a “Lake ‘Cation” (aka visiting his grandparents at their lake house), so I am taking this opportunity to work on a little surprise for him.
I have never painted a room by myself before. Usually, my husband does the hard parts – like the ceilings, the trim, the cutting in, anything on a ladder and the touch ups. I usually roll the roller a few times on the walls and drink a Diet Coke. It pays to have a handy husband.
This project, however, I am doing alone. After spending three hours removing everything from Zack’s room and taping off all of the trim, priming seemed like a daunting task. But, I put on my big girl panties and just dealt with it.
As I was painting, I was thinking of you guys and wondering how many primer virgins we have here. I’d guess quite a few, but I really don’t know. Just in case, I thought I’d give you a little primer on primer:
1. Primer is a type of paint that you apply under your color coat of paint. It is a thinner product than regular latex paint, and is made from different properties than regular paint so that it will stick to the item you are priming very well. Most primer comes in white, but you can buy brown, black, red and gray primer if what you are painting is closer to those colors (it will be easier to cover). You can also have primer tinted close to the color of you paint, but that’s not really necessary with all of the different colored primers available today.
2. When painting your walls, primer is a MUST. Not only does it help cover a previous wall color, but it helps your paint color stick better. It’s possible that you will only need one coat of your paint color if you use primer. I also always use primer when I paint furniture. Don’t skip the primer or you’ll wind up spending more money on paint and doing more coats than you should have to.
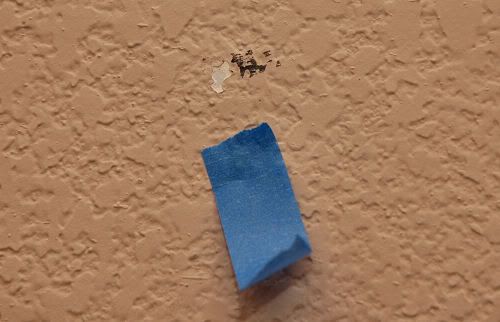
3. Before you begin priming, make sure you tape off the parts of the room (doors, windows, trim work, etc) that you are not painting. I like to use the blue 3M painters tape.

I did buy some of the expensive green Frog Tape that’s supposed to be “the best” to use on one part of the room. I wasn’t impressed, so save yourself the expense and just get the blue tape. If you get some primer on the trim, just wipe it off immediately with a dry paper towel. It’s so thin that it will come right off.
4. Your coat of primer will not look good. This bears repeating, so I’ll say it again: YOUR COAT OF PRIMER WILL NOT LOOK GOOD. Because primer is so thin, it will not look like a coat of white paint on your walls.
Do not get discouraged. I always look at it and think, “Oh no! What have I done? This looks awful!,” and then I remember that yes, it does look awful. That’s just the way it goes.
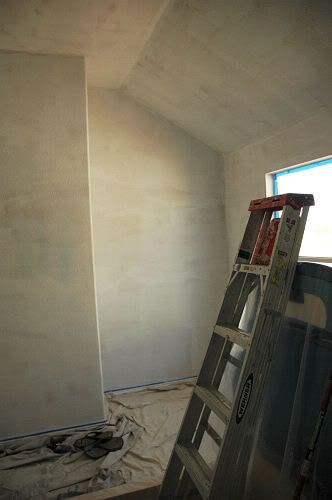
6. I know that you can now purchase paint that already has a primer mixed in. I’ll admit that I have not tried it. I will say, however, that I generally do not like products that do a double duty. For instance, when the embroidery part of my sewing/embroidery machine malfunctions, it means I can’t use the sewing part either (and led to me buying a new stand alone sewing machine). I’d like to hear your thoughts on the new paint with primer that’s available out there. Maybe I should just try it one time and see how it works.
Hopefully, I’ll be able to show you photos of the great transformation early next week. Keep your fingers crossed that I can get it finished and surprise Zack when he comes home!
How about you? Any good primer stories or lessons out there? Any newbie painters out there who have never primed? Any old pros who never prime?Let us know!
P.S. I can’t believe I’m posting a picture of my crazy-haired, crows feet laden, make-up free face for all of the Internet to see. The paint fumes must be getting to me. I need more Diet Coke.