Makely

Let's Make Life Awesome

  • Home
  • Decorating/DIY
    • Create Your Decor
    • Decorate Your Home
    • Paint Your Walls
    • Transform Your Furniture
  • Healthy Living
    • Essential Oils
    • Family Wellness
    • Household Care
  • Project Gallery
  • Contact
You are visiting: Home » Decorating/DIY » Transform Your Furniture » Page 4

How to Get Designer Finishes on Painted Furniture

by Lindsay Ballard on July 24, 2012 2,191 Comments

This post is sponsored by Altar’d.

One of the biggest questions I get here on the blog, through emails, and via Google searches is on the topic of painting furniture. You love it, I’m obsessed with it, and we all want to make sure we do it the right way so it will hold up for as long as we want it to.

Pretty much everything I know about painting furniture, I learned from Mandie Morris of Altar’d. She has a business here in Texas where she transforms gently loved furniture into works of art. A few years ago, she put out an eBook that was game changing in the furniture painting field. Techniques held close to the vest were no longer secrets, and the rest of us could refinish our furniture with confidence.
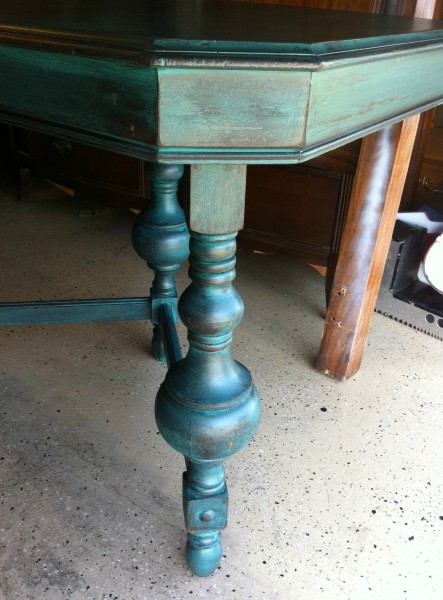
Tarnished Peacock finish by Altar’d

Over the past few years, Mandie’s business has grown and grown. She’s painted thousands of pieces of furniture and moved her business from her garage to a storefront. I have loved watching her success and seeing the amazing pieces she shares via her Facebook page and website.
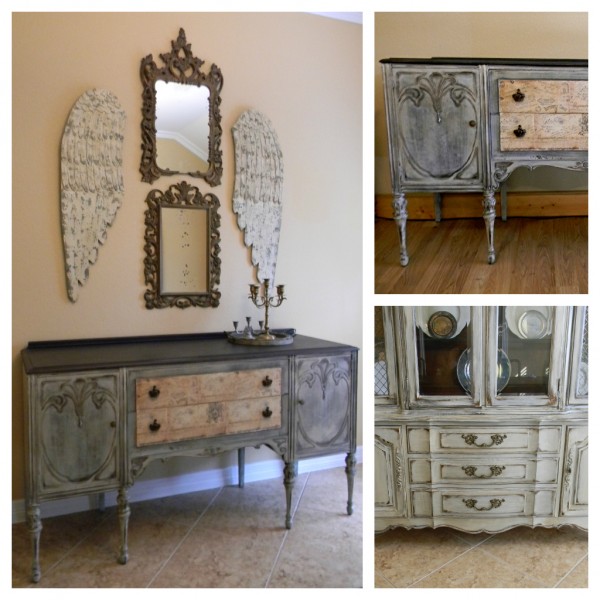
Restoration finish by Altar’d

Mandie’s popularity lies within the fact that she doesn’t just paint furniture. She creates custom finishes that have depth and dimension. Her color selection is very in fashion, and her combination of colors, tinted glazes and metallic finishes just can’t be beat. Every time she posts a picture on Facebook, at least one person asks, “How did you do that?”
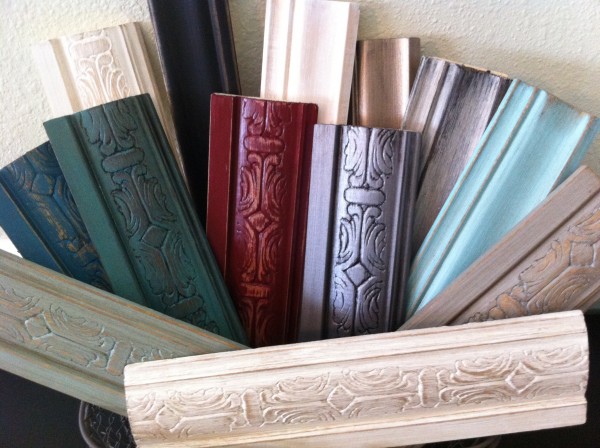
Samples of the most popular Altar’d finishes

Well, she’s finally showed us her cards. Mandie has put together an eBook on her “Most Wanted Finishes,” that includes 15 of her most requested, best selling finishes. She sent me a book to review, and my email back to her was something like, “Crap! This is book is amazing!” And I wasn’t lying.
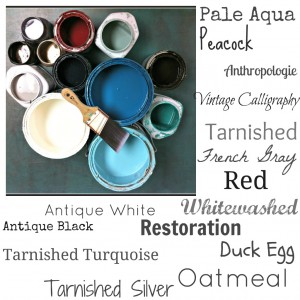
Within the pages of the new eBook, Mandie gives you the exact formulas and brand names of her popular finishes. You can literally print out the page for the finish you like, take it to Home Depot, and hand it over to the folks behind the paint desk if you wanted to. She couldn’t make it more simple to achieve a gorgeous finish.

One of my favorites is her Tarnished Silver finish. I see this one in my very near future.
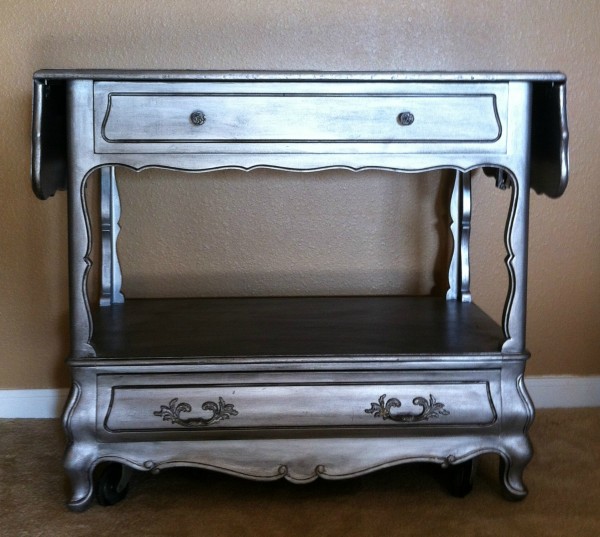
I just can’t give enough gushy love for Mandie’s new finishes eBook. It contains perfect blues, perfect whites, a perfect red (which is hard to find)…you’ll even learn the coolest “Anthropologie” styled finish ever.
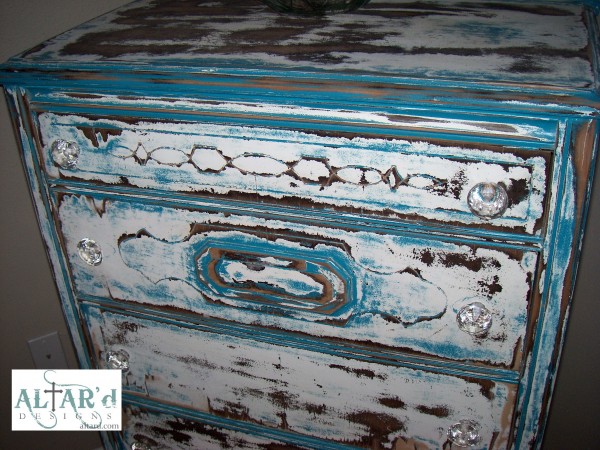
The Altar’d Most Wanted Finishes eBook is $15 and can be purchased here.  You can also get the newly updated and still awesome How to Paint Furniture eBook ($10) and her great Decorative Finishes eBook ($10), as well.  After your purchase, you are able to download and read them instantly.

I know quite a few of you have bought one or both of Mandie’s first two books.  What do you think about them?

Disclaimer: I am an affiliate for the Altar’d eBooks, so that means I receive a small commission on each one sold through my site.  Of all of the affiliate requests I receive, Mandie is the only one I’ve ever decided to partner with.  That should tell you something about the quality of these eBooks.

Guest Post: East Coast Creative Rocks an Old Stereo Cabinet

by Lindsay Ballard on July 18, 2012 1,903 Comments

As you guys know, I’m currently trekking across some secret part of the country with my kids in tow.  I’m driving through all of these little towns with all of these cute little vintage shops, and I’m just dying to stop and shop in them.  But, having four little hands and no more space in the car has kept me from stopping so far.


The good thing is that my friends Monica and Jess at East Coast Creative have put together a great transformation project on a piece of vintage furniture.  If I can’t get my fix by finding a project for myself, I’m glad that they have an AMAZING project to share with you today.


Here they are!
If we haven’t met before, let me officially say, “Hey! It’s super good to meet you!”  I’m Monica, and I blog with my BFF Jess over at East Coast Creative.  You might recognize our faces, but not our name, and maybe that’s because we used to be The Real Housewives of Bucks County (and maybe that still doesn’t help, but at least now we’ve officially met).  

Jess and I blog about all things DIY, home decor, and toss plenty of real life in there too.  We’re super-big fans of Lindsay and all of her awesome projects and DIY knowledge, so we’re flattered to be here today! Outdoor Furniture Upcycle

If you follow along on our blog, you probably know that my hubs and I have been DIYing a 600 square foot patio. It’s been a huge job, but it’s 99% done and we’re loving it! (Don’t tell our blog readers that I’m giving you a sneak peek, because they haven’t seen any of it finished yet!)  

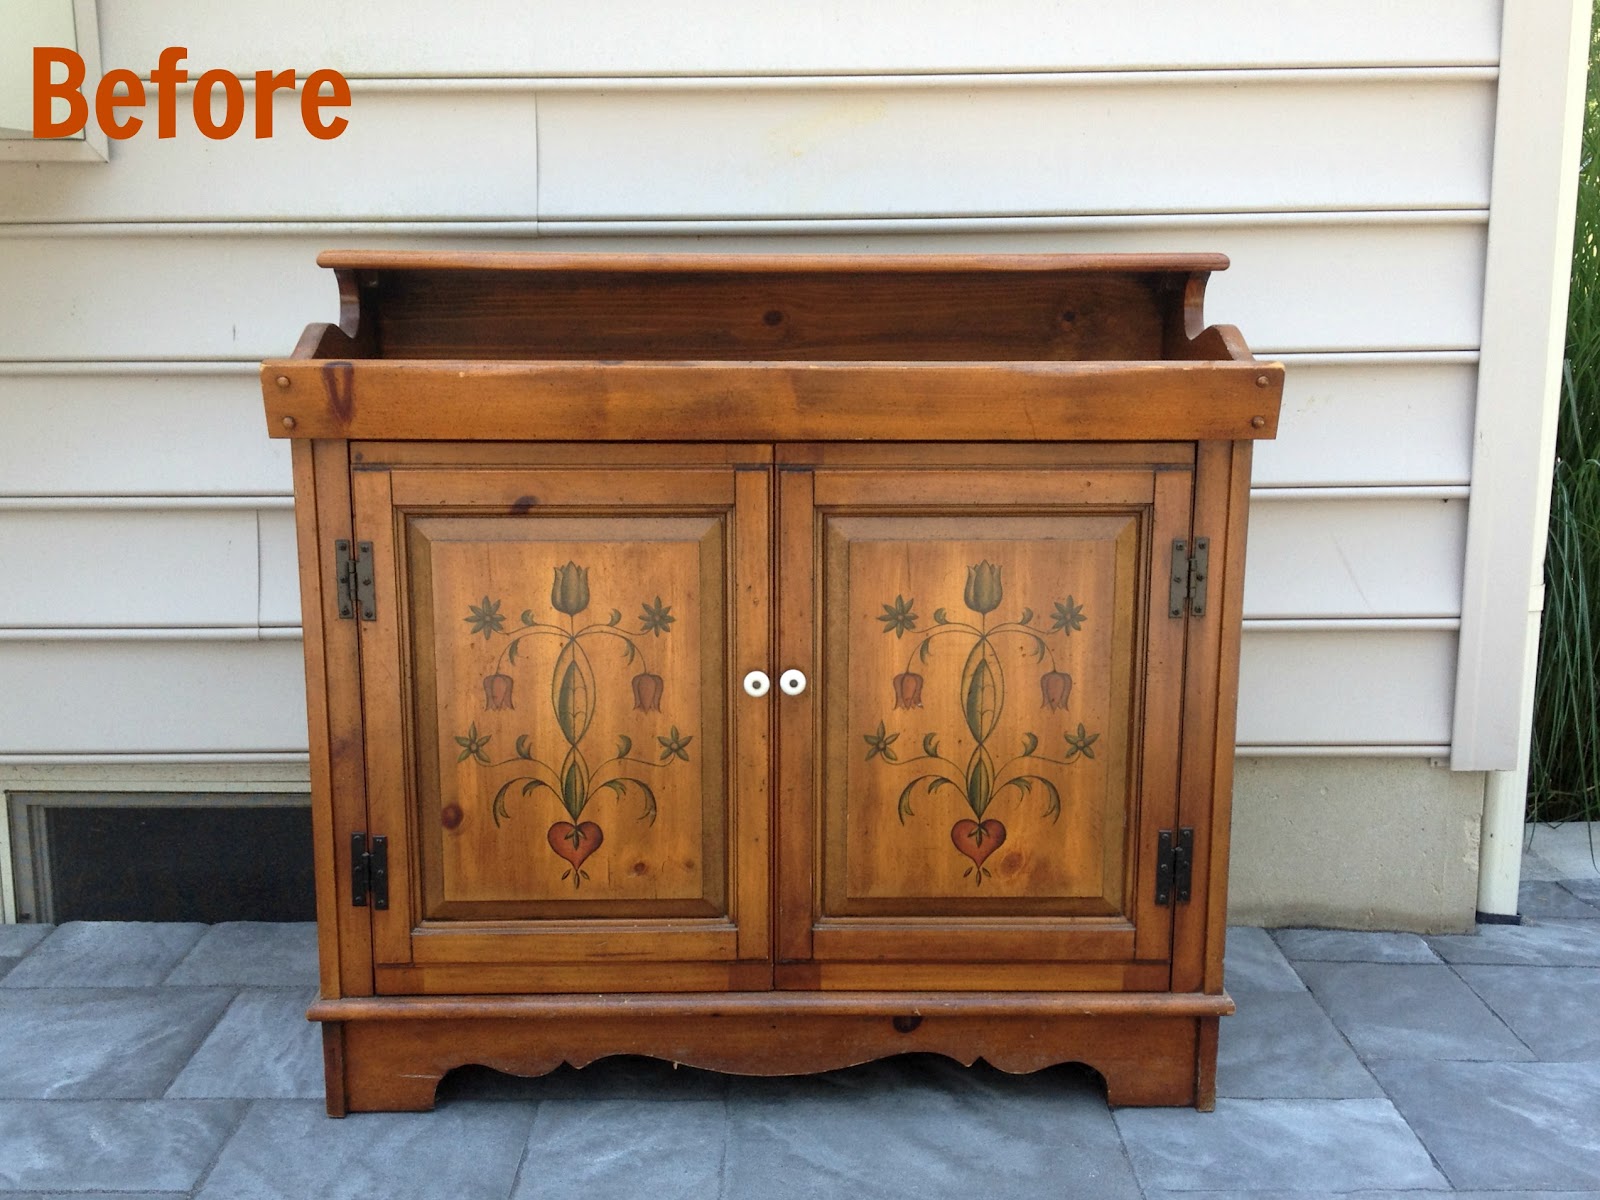
600 square feet is a lot of space to fill and I wasn’t about to go out and buy all new furniture for the space.  I’ve had this old record player hutch (if that’s even such a thing) in my basement for about 7 years now- It was just waiting to be upcycled.

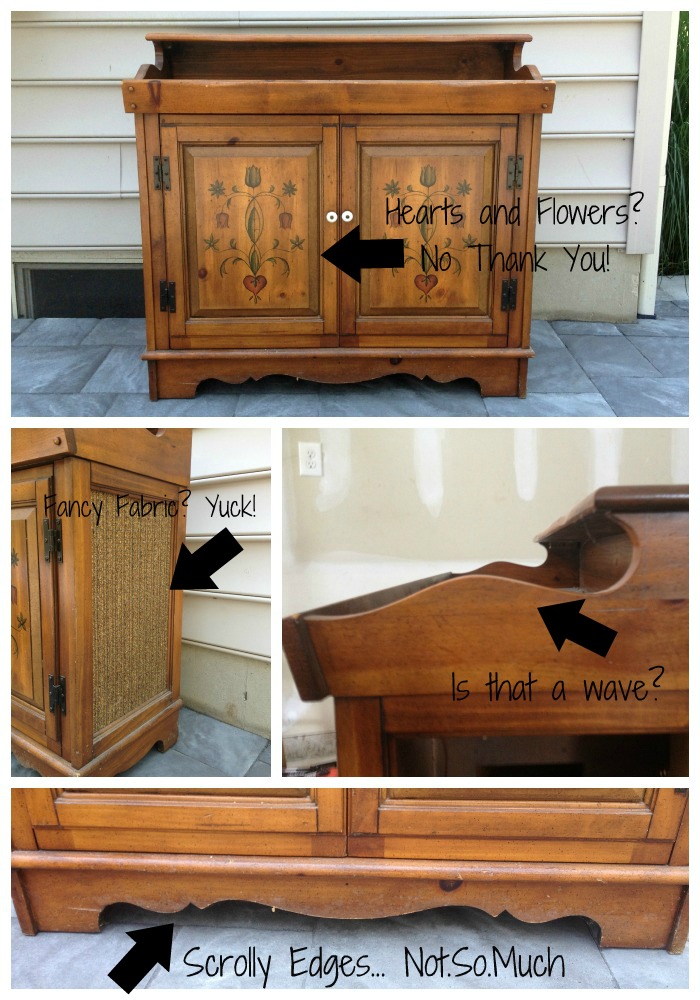
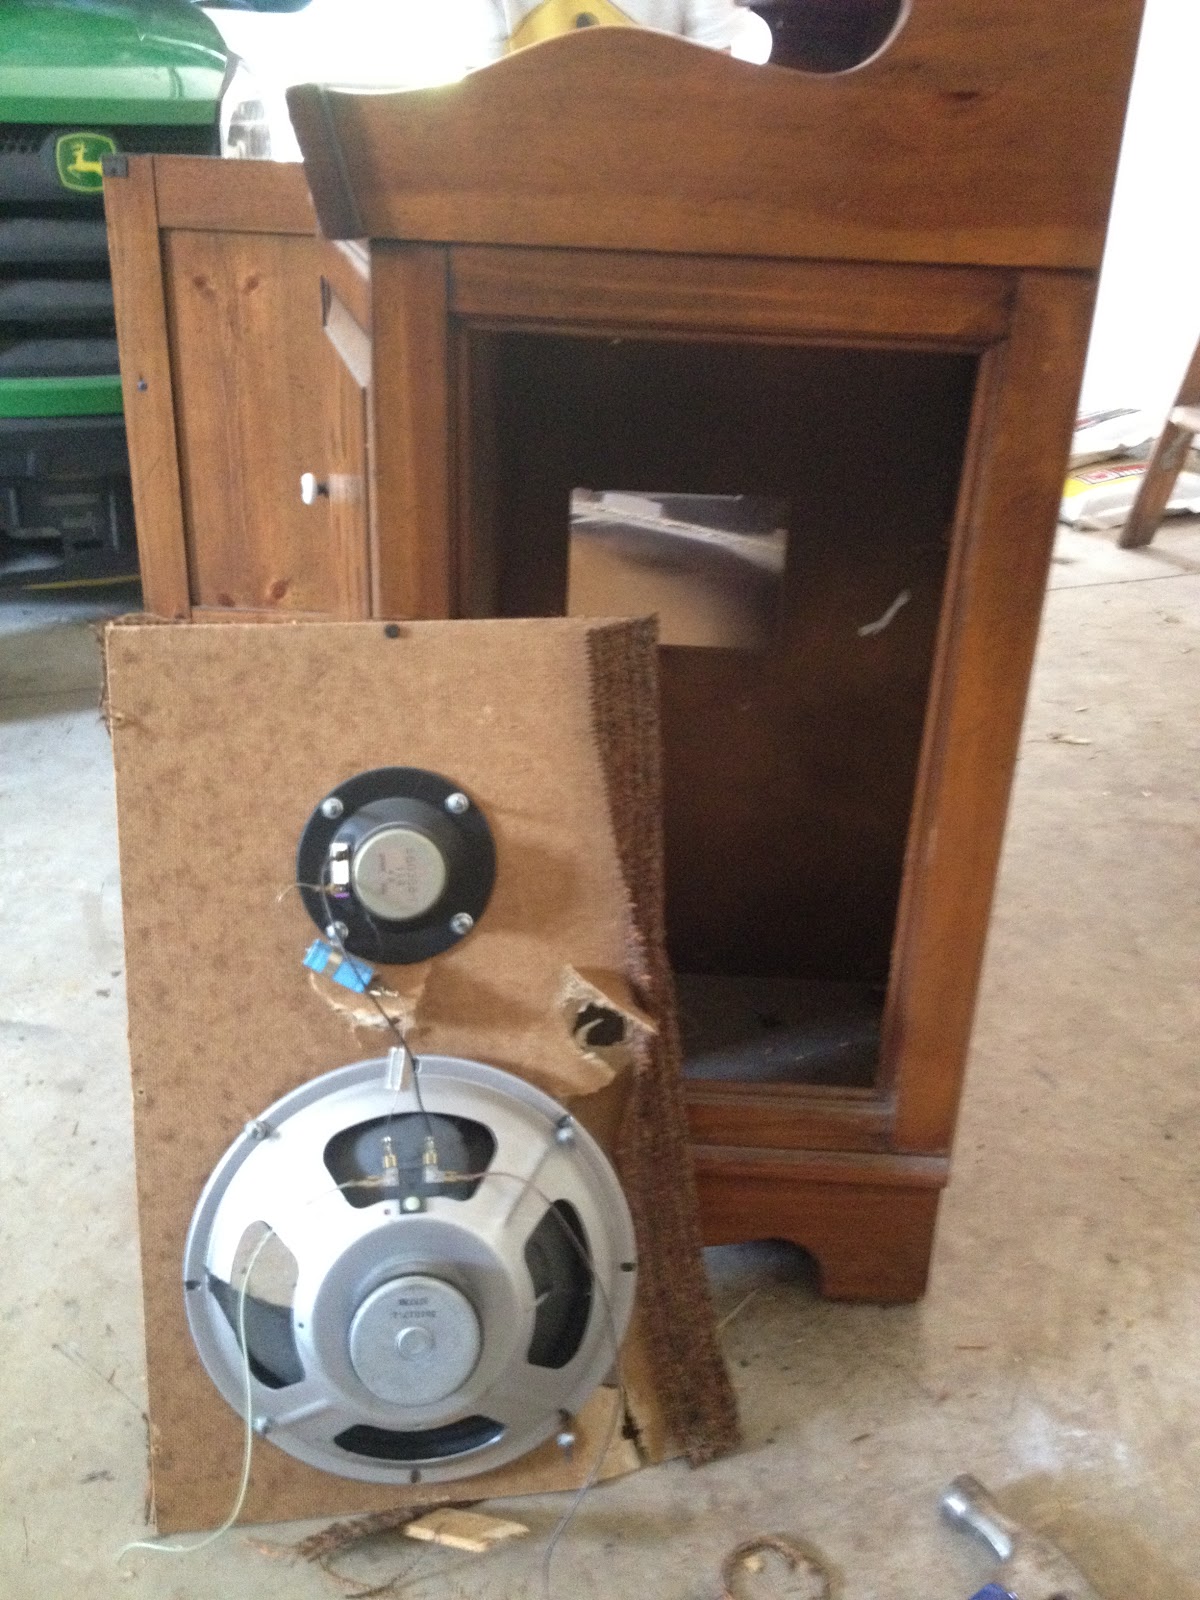
This baby used to house my in-laws old record player and then eventually a boombox.  It’s crazy to think that now that all of my music is on a 4 inch iPhone.  Anyhow, if you need any convincing that this piece needed some upcycling, I’ve provided you with some evidence…

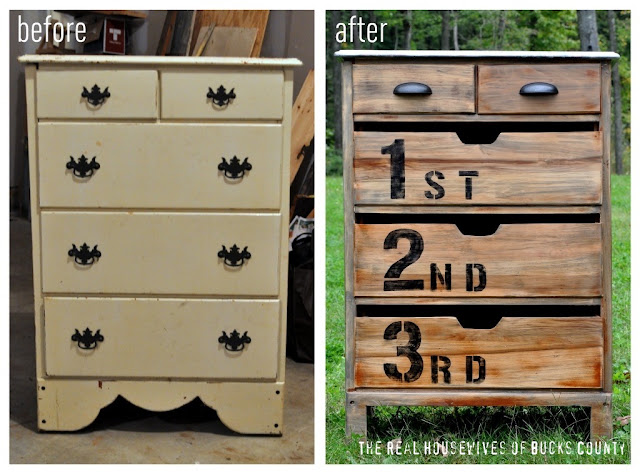
One of my favorite things to do, is to look at a piece of furniture and see past the “yuck” and into the potential it has.  One of my favorite pieces we did was this dated dresser turned Anthro Knock off.

They key to a good furniture upcycle is to believe that anything can be changed and set some goals!

To Upcycle this piece, I had a few goals:

#1- Get rid of any and all scrolly things (I sorta loathe them)

#2- Remove the speaker fabric

#3- Paint it with outdoor paint

#4- Add some bold details

#5- Distress it (so I don’t get mad when one of my 4 kids “distress” it for me)

#6- Add new hardware

Get Rid of Scrolly Things
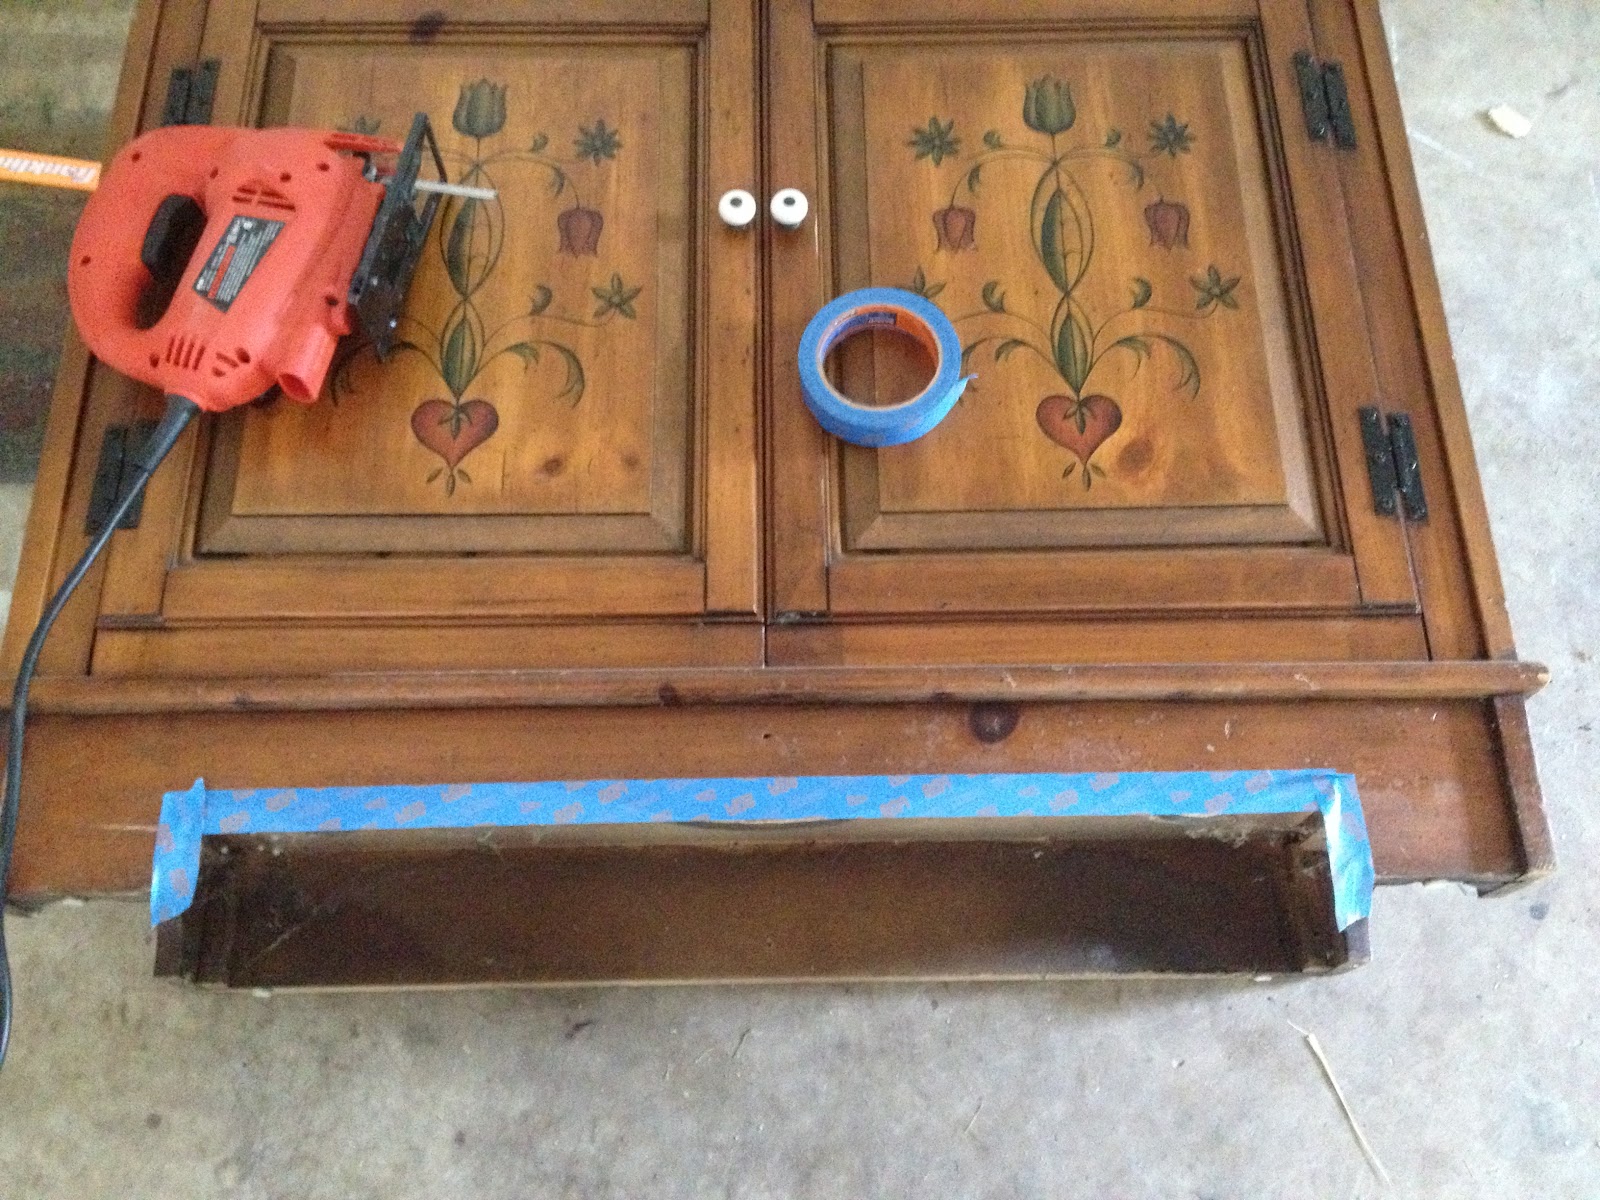
Sometimes it’s easy to think there are things you can’t change about a piece, but it’s amazing what you can do with a jigsaw! I just taped off a straight line and cut those scrolly babies off!

Remove Speaker Fabric
I ripped off all of the lovely fabric and then had to take out the speakers.  There was no magic to this step.  I actually gave a hammer to my seven year old son and said, “bang away!”

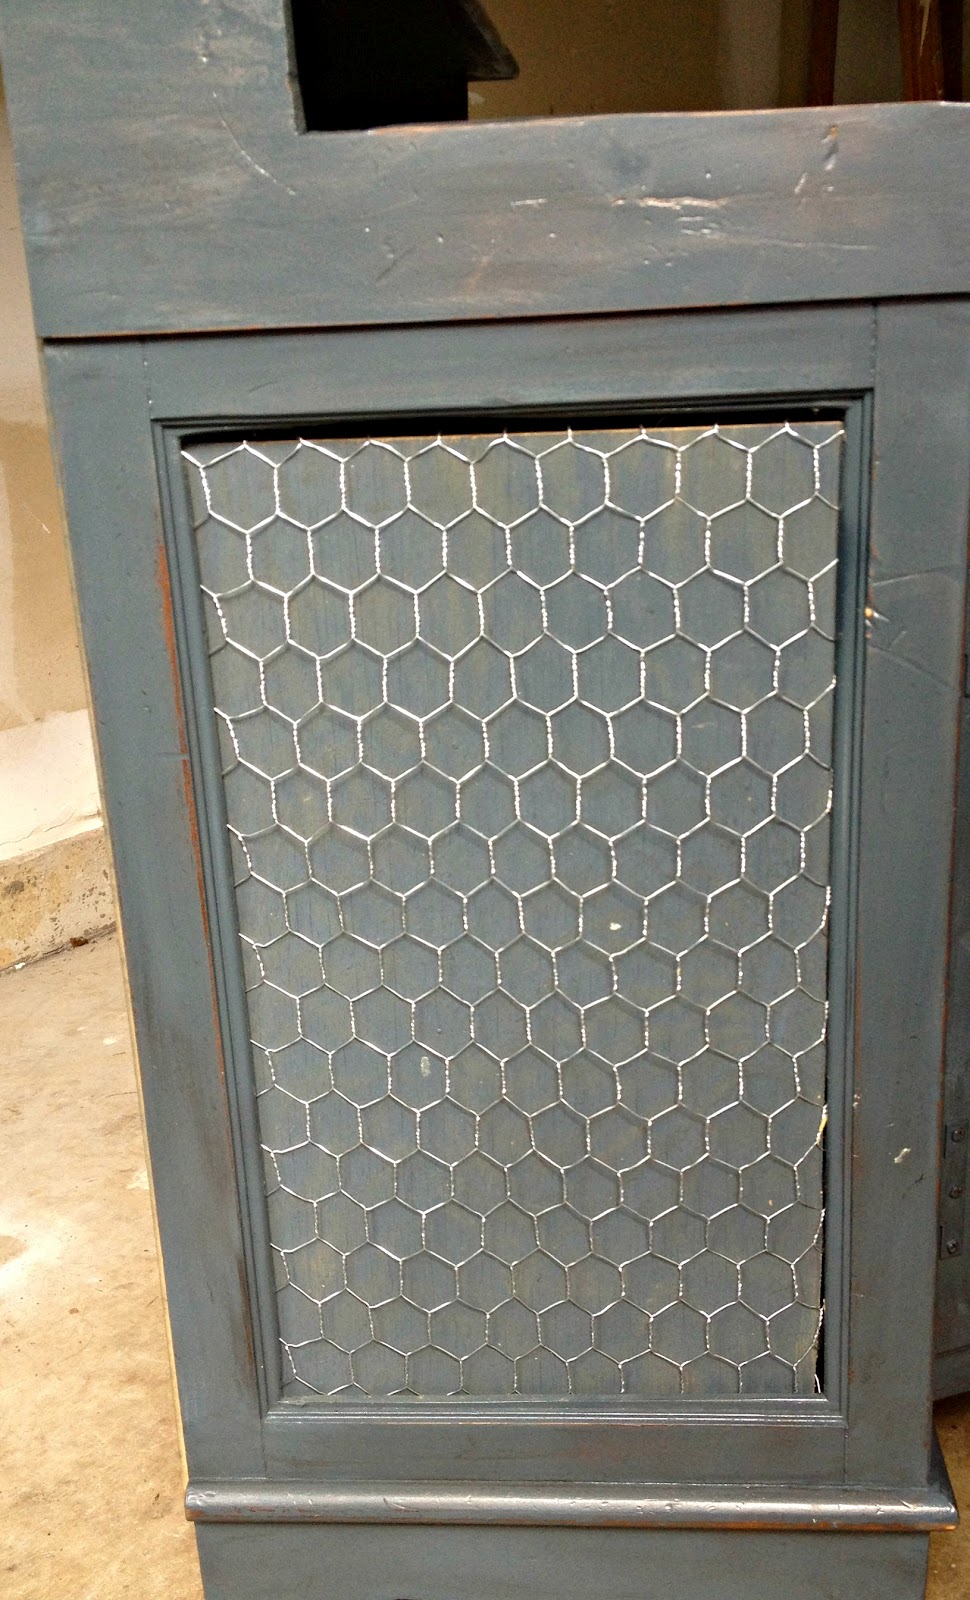
I love when furniture has an industrial flair, so I cut plywood panels and covered them with chicken wire.  It isn’t the most fun to work with, but it’s not impossible either.

Paint with Outdoor Paint
This piece was originally intended to be used indoors, so I wanted to be sure to paint it with good quality outdoor paint.  I really don’t love taking tons of time painting furniture, so I used Valspar’s Exterior Spray Paint.  It took about 3 cans to do two coats on the whole piece.

Add Bold Details
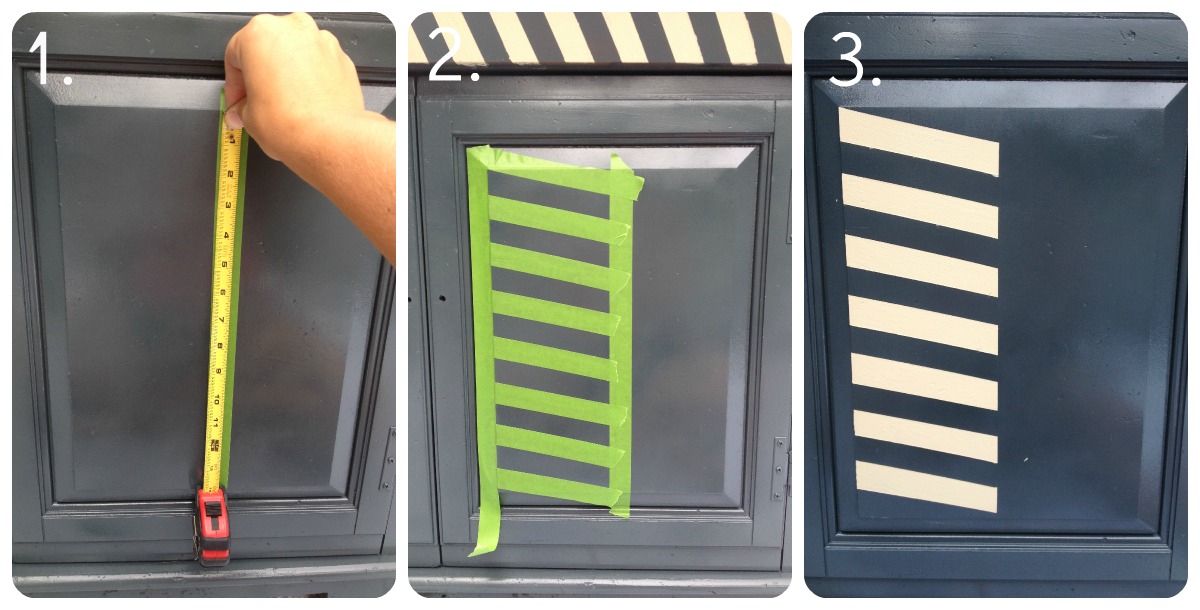
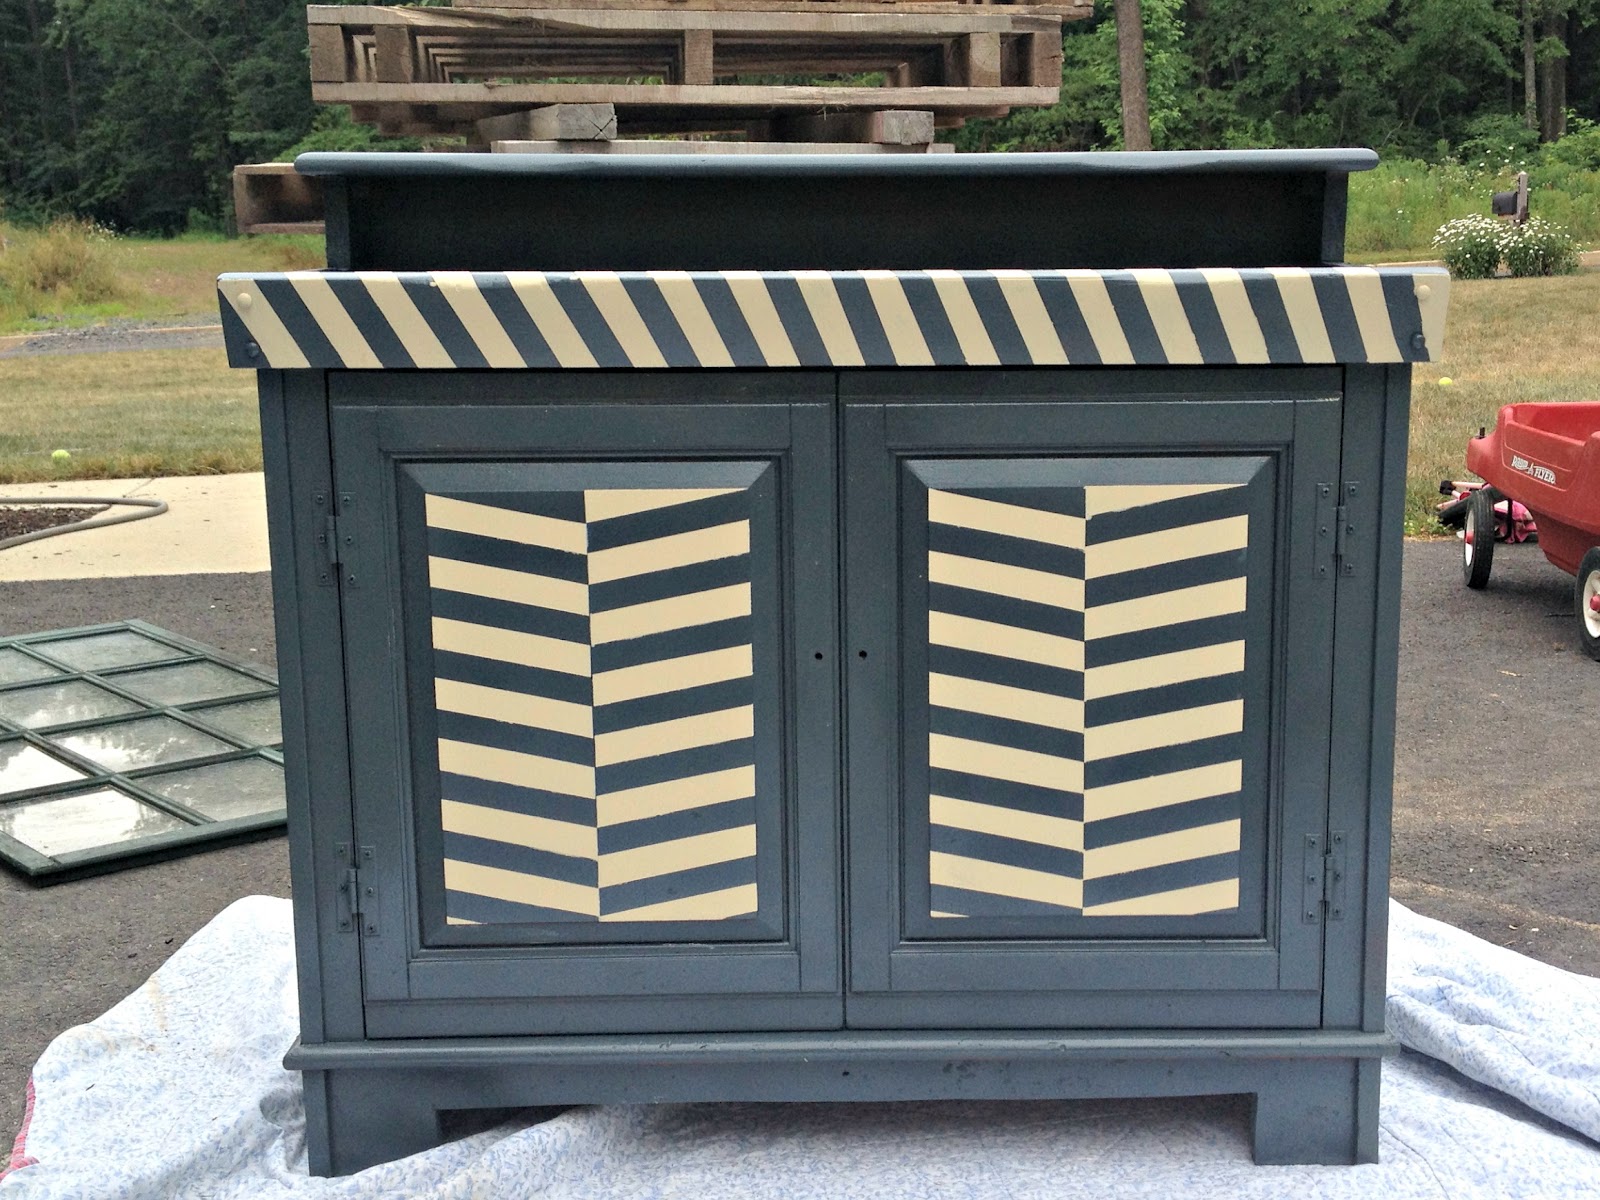
Since this piece was originally so traditional, I wanted to do something graphic and more modern as a detail.  I thought a thin herringbone would do the trick.

Herringbone is super-simple!

#1- Mark out your center line.  Then, measure the width you want the stripes (I used 1″) and make tick marks down both sides of the column.  #2- Tape off your lines. The top of the left side slants down to one tick mark below on the right.  #3- Paint & Remove your tape.  Let it dry and repeat on the opposite side, but shift your painted section down one, so you have the “every other” look.

Distress the Piece
You might notice that my lines weren’t completely crisp in the herringbone.  I was painting outside in 100 degree heat (blogger foul), but I also knew I was going to distress it anyhow.  I’m not always into distressing, but I figured it was going to get banged up outside (and I have 4 kids that are pretty rough on furniture).

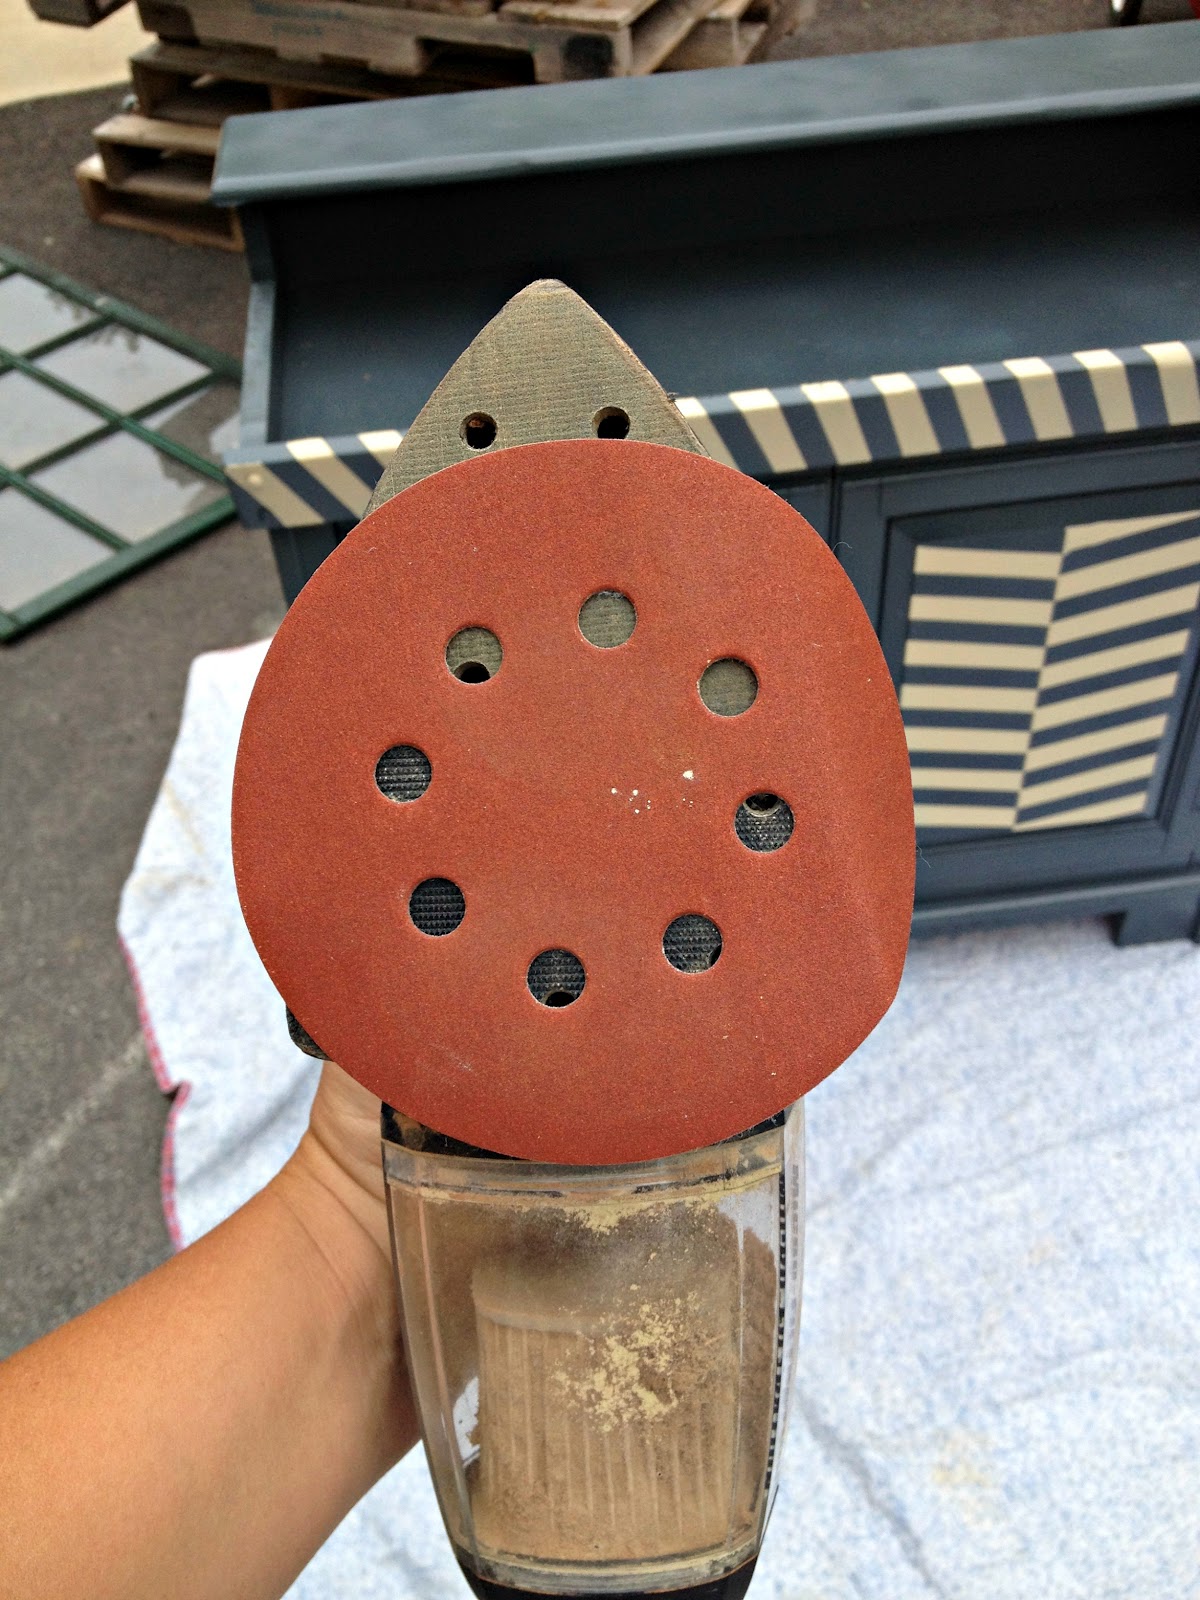
To distress, first I went at it with a sander with 220 grit paper.

Have you ever had this problem?  I ran out of the right size sanding pads.  Oops!

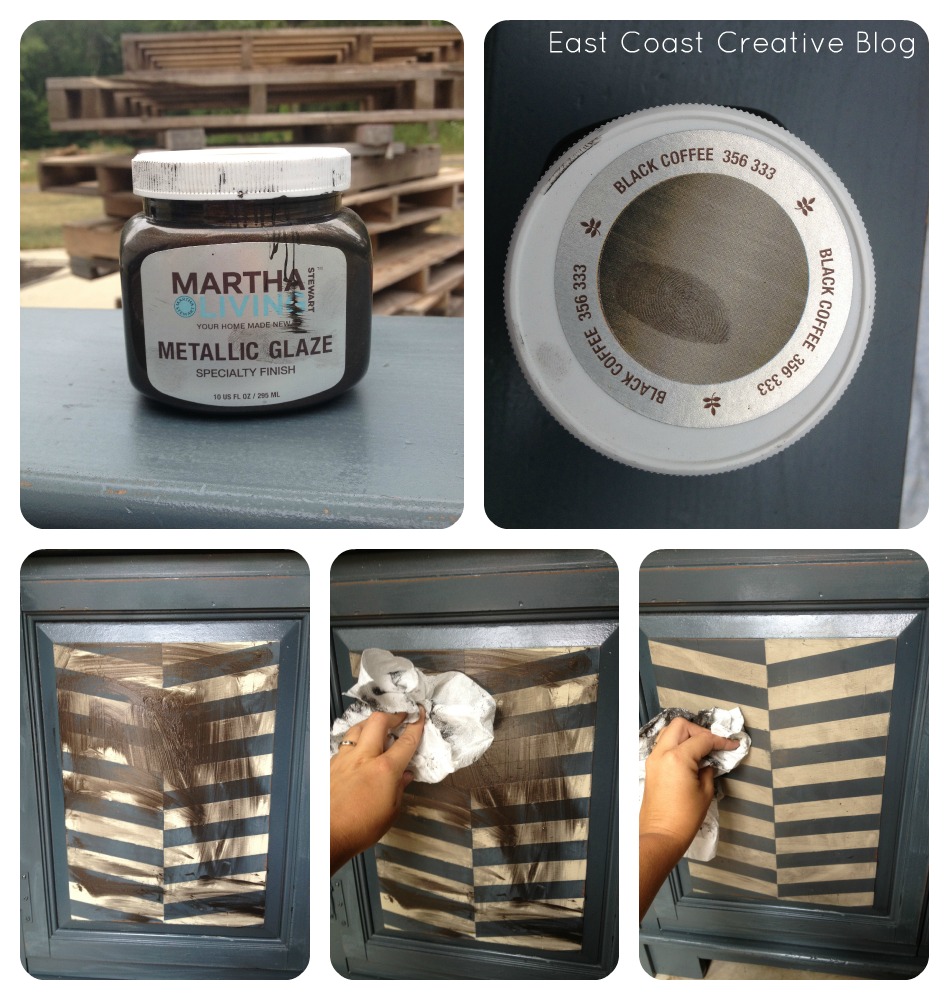
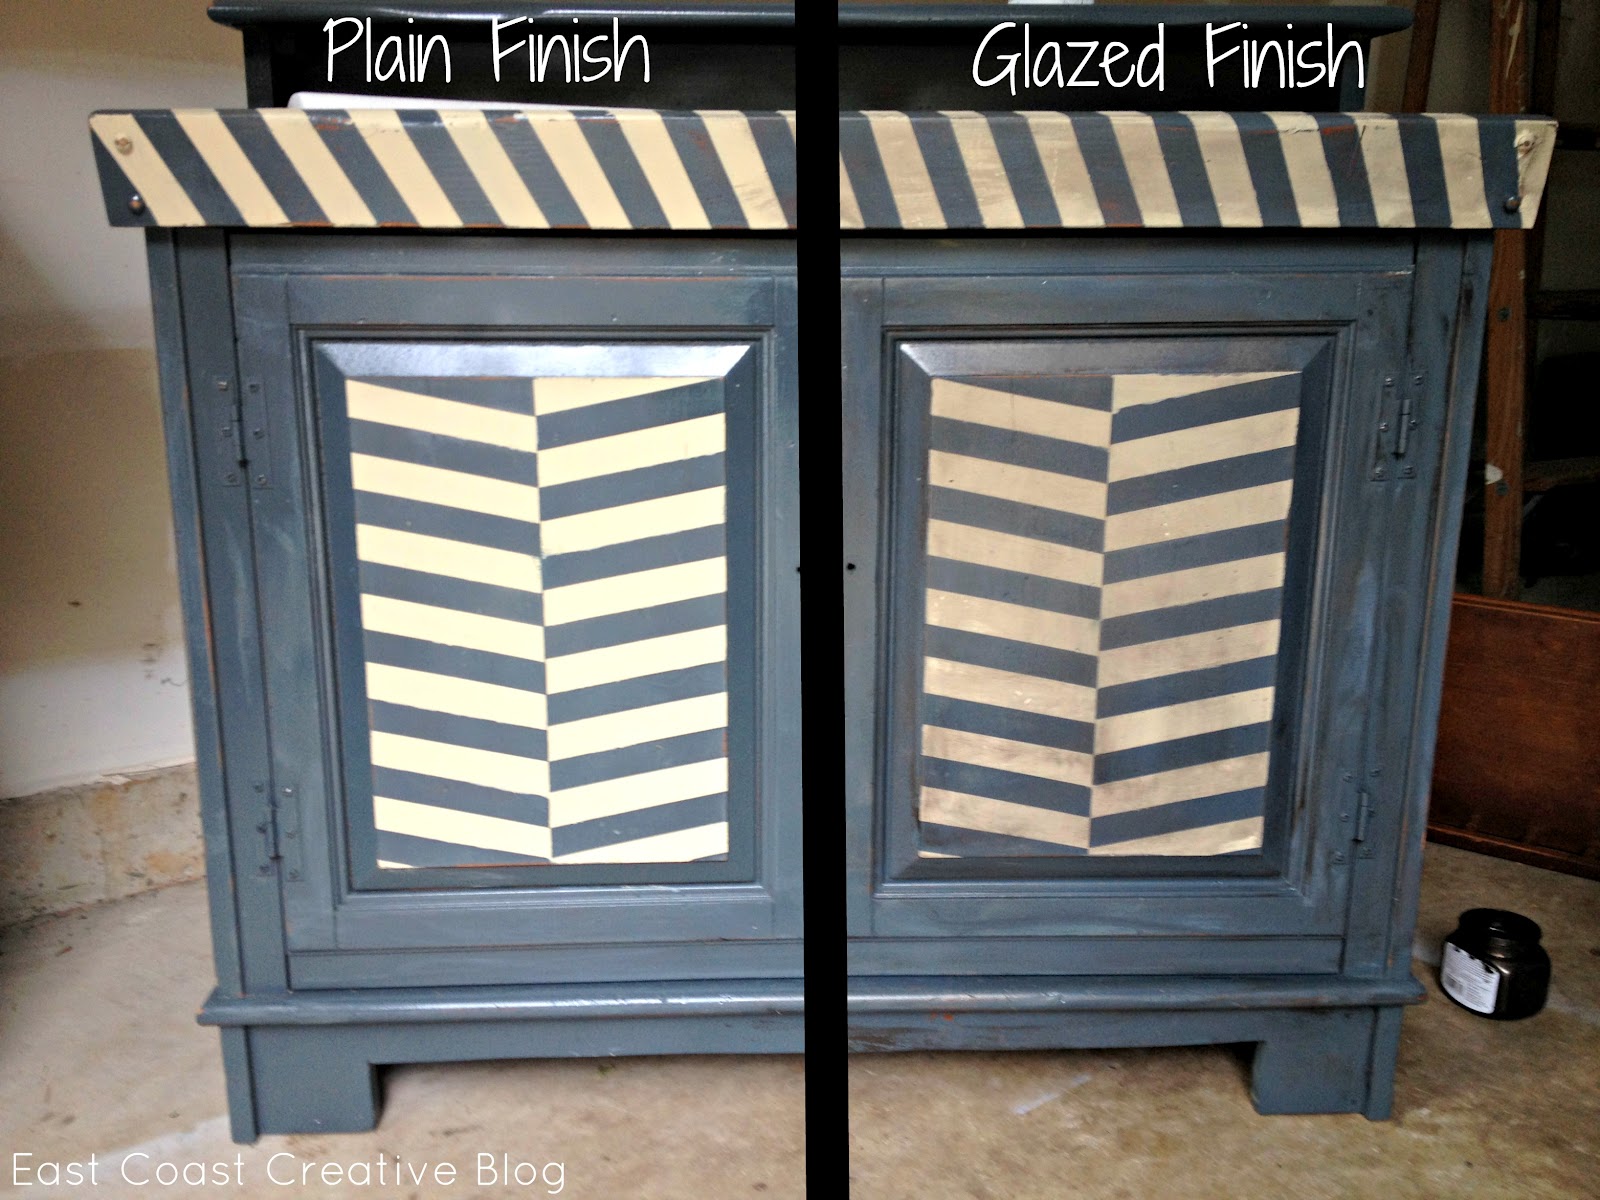
After sanding it down a bit, I gave the entire piece a good glazing.  I actually began my glazing love affair by reading Lindsay’s blog!

My favorite glaze is Martha’s Black Coffee. As you can see, I slopped it on, rubbed it around, and then wiped it off.  I wanted pretty solid coverage, so I used a good bit of glaze.


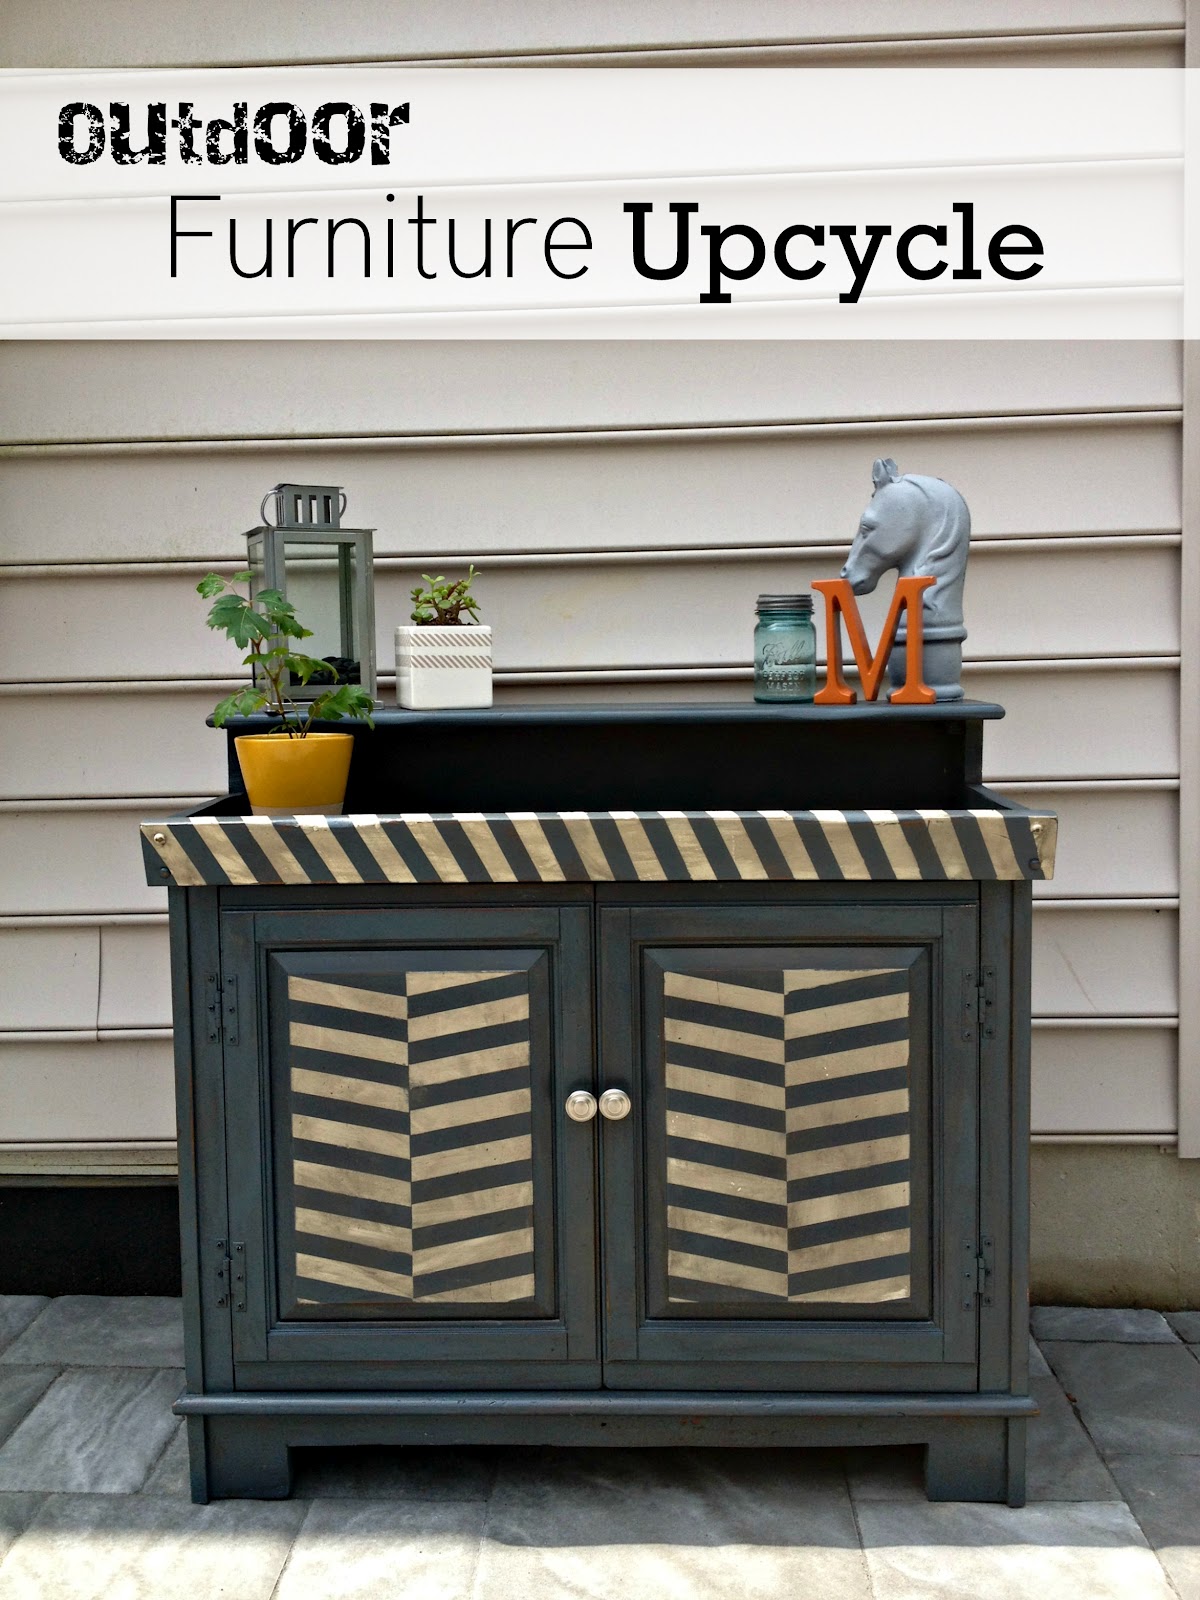
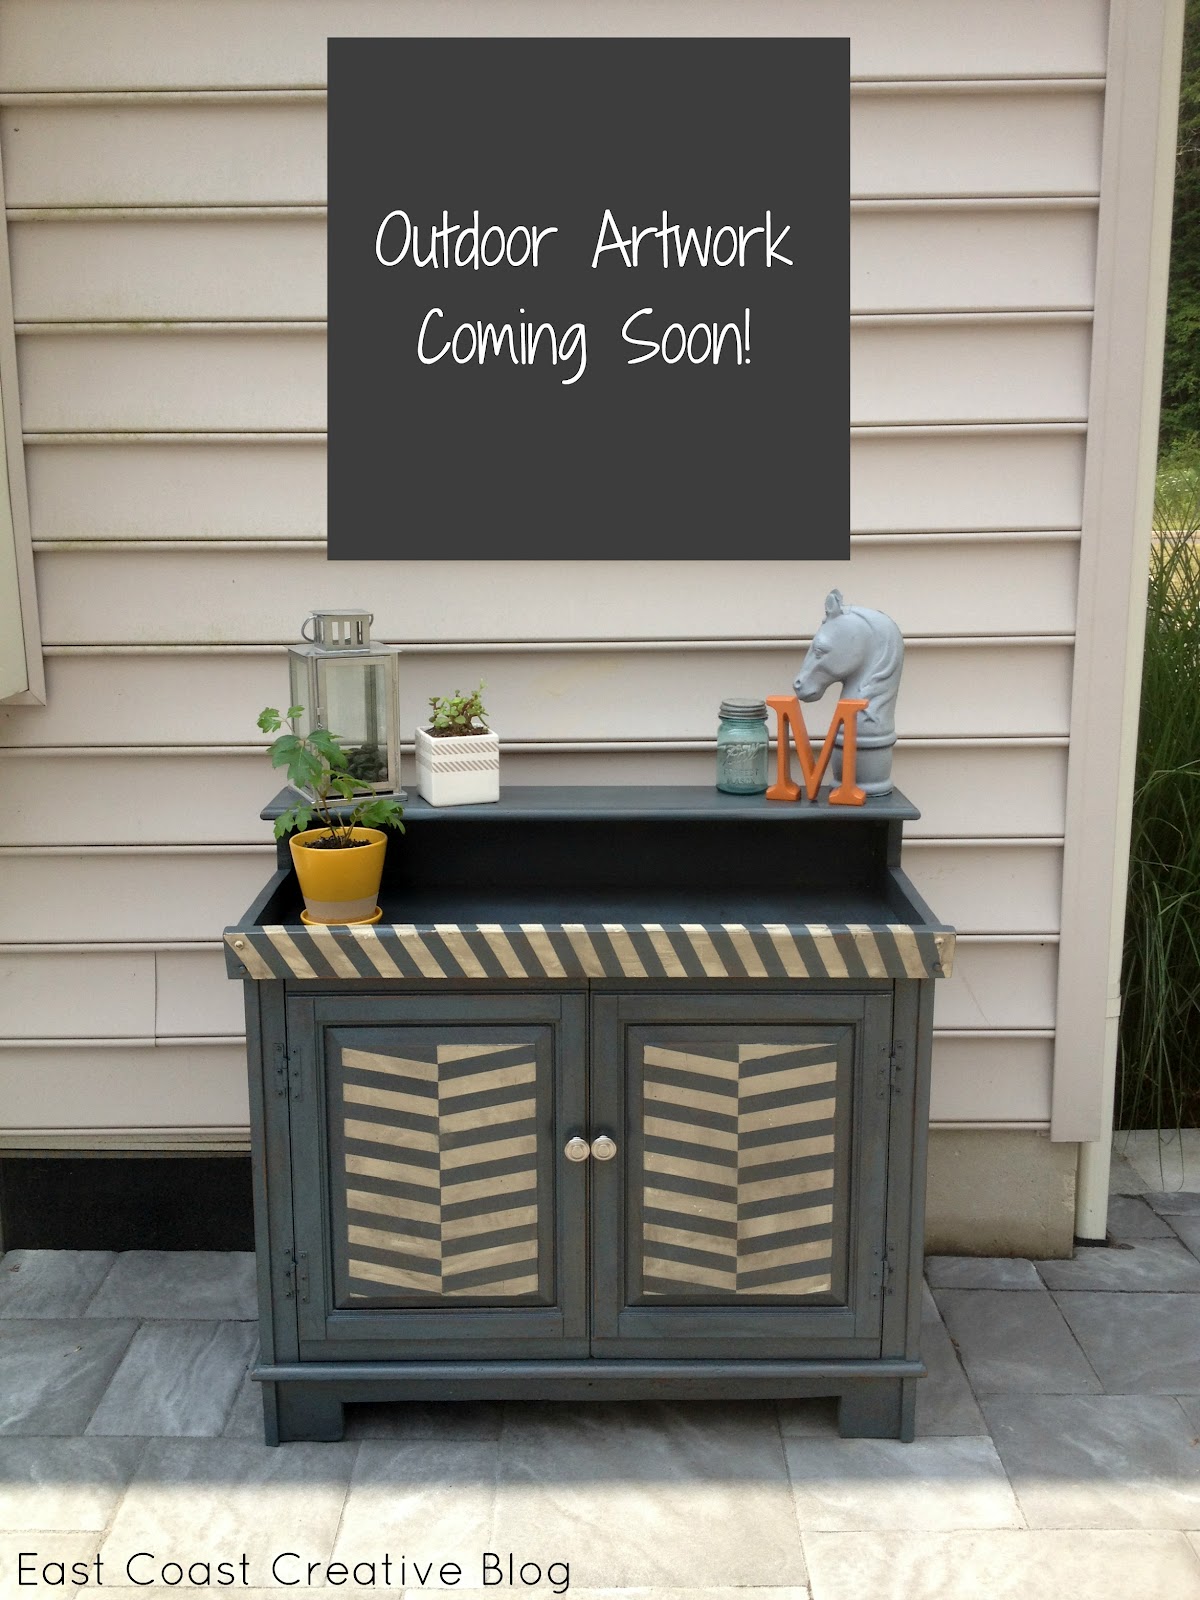
After adding some hardware she was all finished and ready for the patio!

I think she’s much more my style now!

All that’s missing now is some cool, outdoor artwork.  I’d love to hear any ideas you have in a comment.  Lindsay tells me she has insanely creative readers!

Thanks so much for letting us visit today.  We hope you’ll come by and visit us at East Coast Creative sometime.  Here’s a little peek at what we’ve been working on lately.  (You can click on each pic to see the full post)


Lindsay, thanks so much for having us! You know you’re one of our blog idols and we’re so honored to be here today!  Hope you’re having an awesome vacation!

Monica&jess

« Previous Page
Next Page »
  • Email
  • Facebook
  • Instagram
  • Pinterest
  • Twitter

About Makely

Lindsay Ballard is a former college mascot turned political geek turned roller derby playing, DIY fanatic.

Lindsay chronicles her projects, design ideas, and lifestyle tips here at Makely, where she shares tutorials and inspiration. Her DIY designs are bold and graphic, while her spirit is fun and full of color.


Archives

Categories

PRIVACY POLICY
Copyright © 2009-2019 Makely School for Girls | All Rights Reserved | Posts may contain advertising content or affiliate links