

Jess and I blog about all things DIY, home decor, and toss plenty of real life in there too. We’re super-big fans of Lindsay and all of her awesome projects and DIY knowledge, so we’re flattered to be here today! Outdoor Furniture Upcycle

600 square feet is a lot of space to fill and I wasn’t about to go out and buy all new furniture for the space. I’ve had this old record player hutch (if that’s even such a thing) in my basement for about 7 years now- It was just waiting to be upcycled.
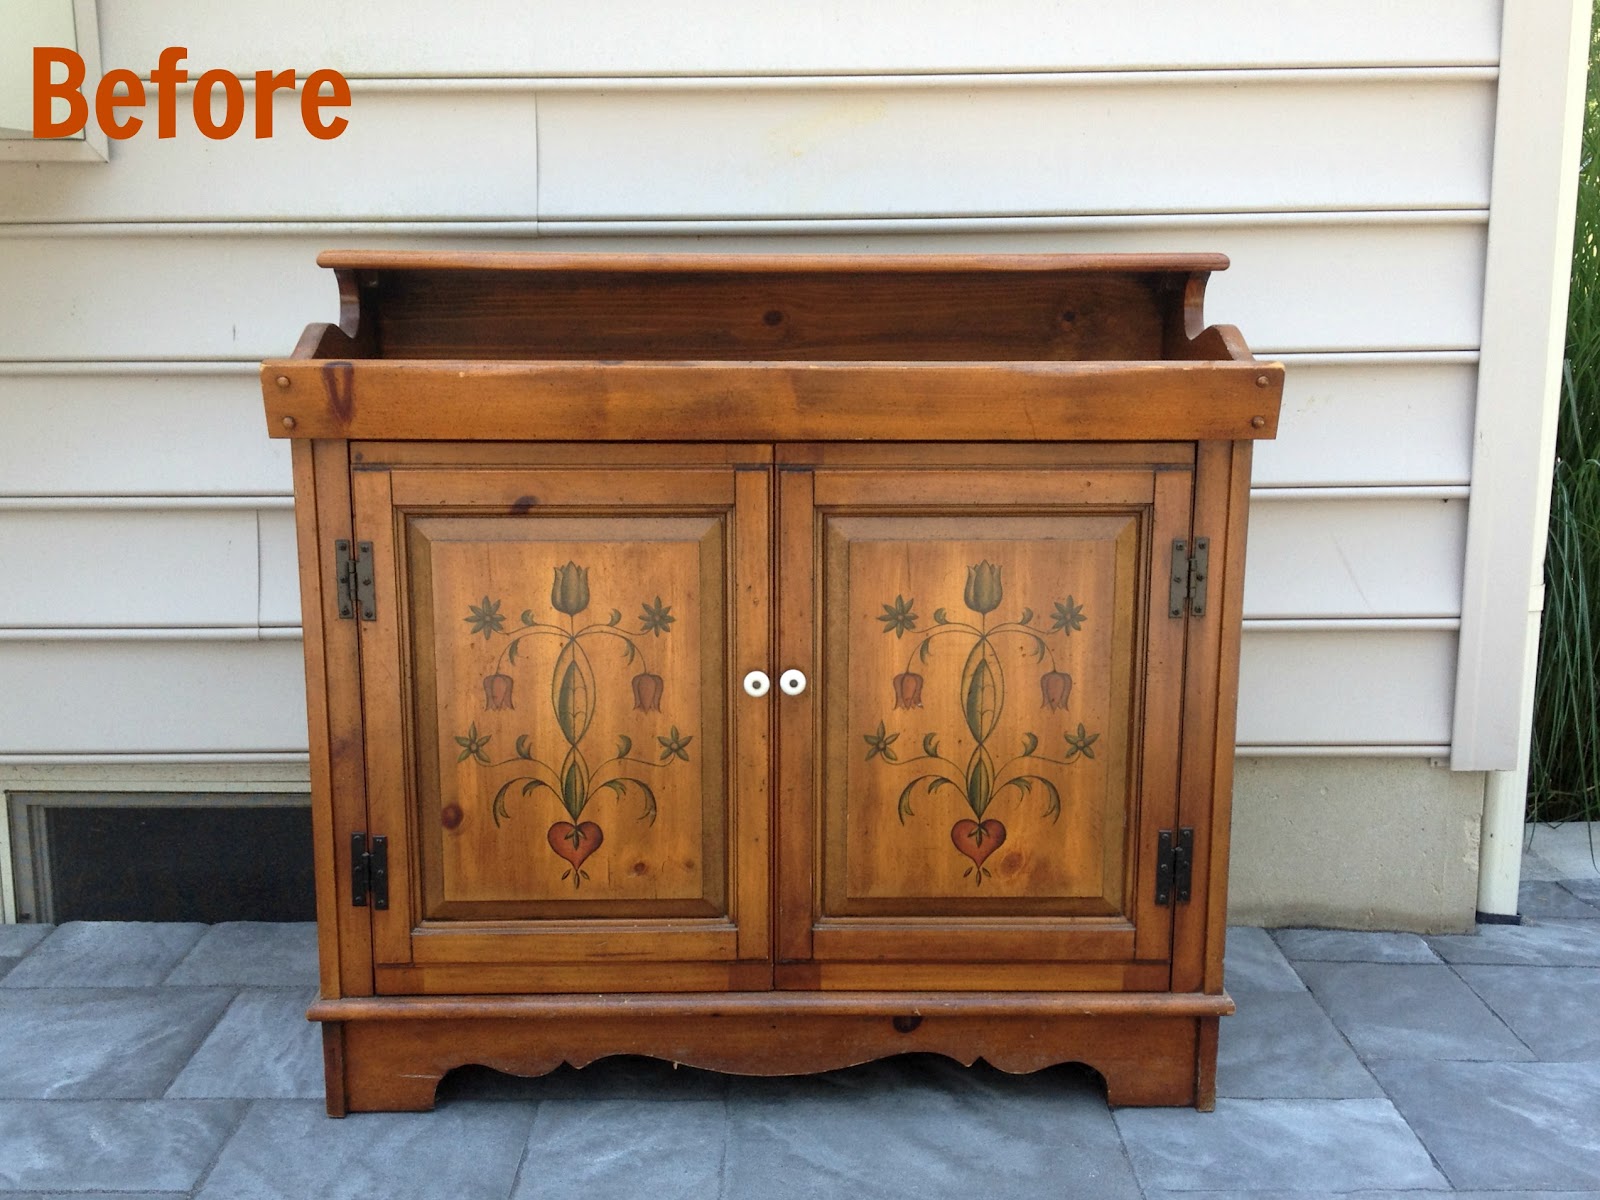
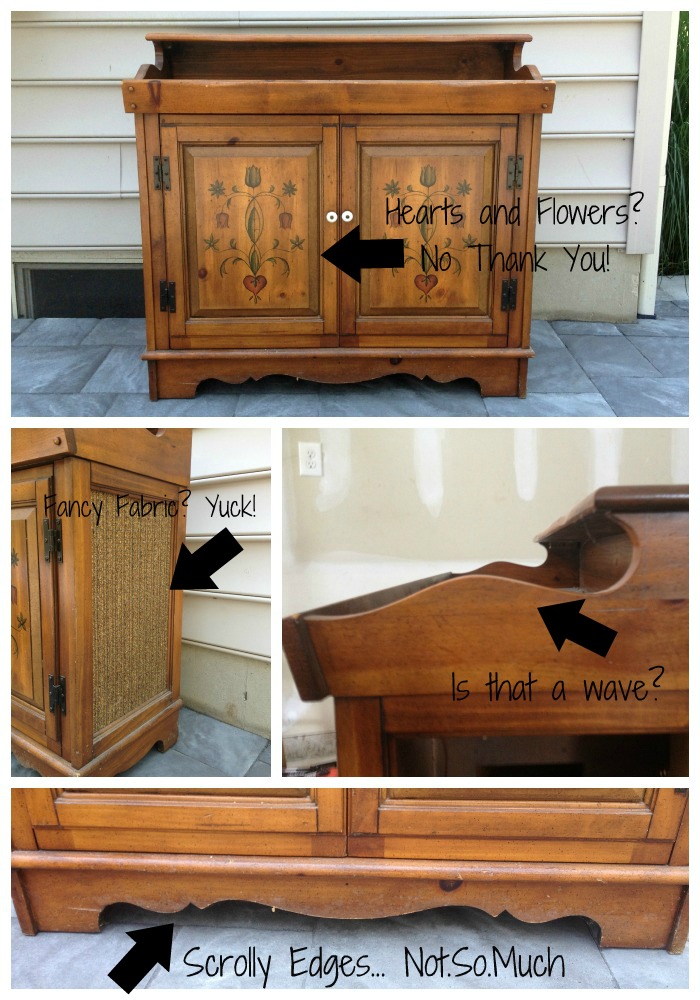
This baby used to house my in-laws old record player and then eventually a boombox. It’s crazy to think that now that all of my music is on a 4 inch iPhone. Anyhow, if you need any convincing that this piece needed some upcycling, I’ve provided you with some evidence…
One of my favorite things to do, is to look at a piece of furniture and see past the “yuck” and into the potential it has. One of my favorite pieces we did was this dated dresser turned Anthro Knock off.

They key to a good furniture upcycle is to believe that anything can be changed and set some goals!
To Upcycle this piece, I had a few goals:
#1- Get rid of any and all scrolly things (I sorta loathe them)
#2- Remove the speaker fabric
#3- Paint it with outdoor paint
#4- Add some bold details
#5- Distress it (so I don’t get mad when one of my 4 kids “distress” it for me)
#6- Add new hardware
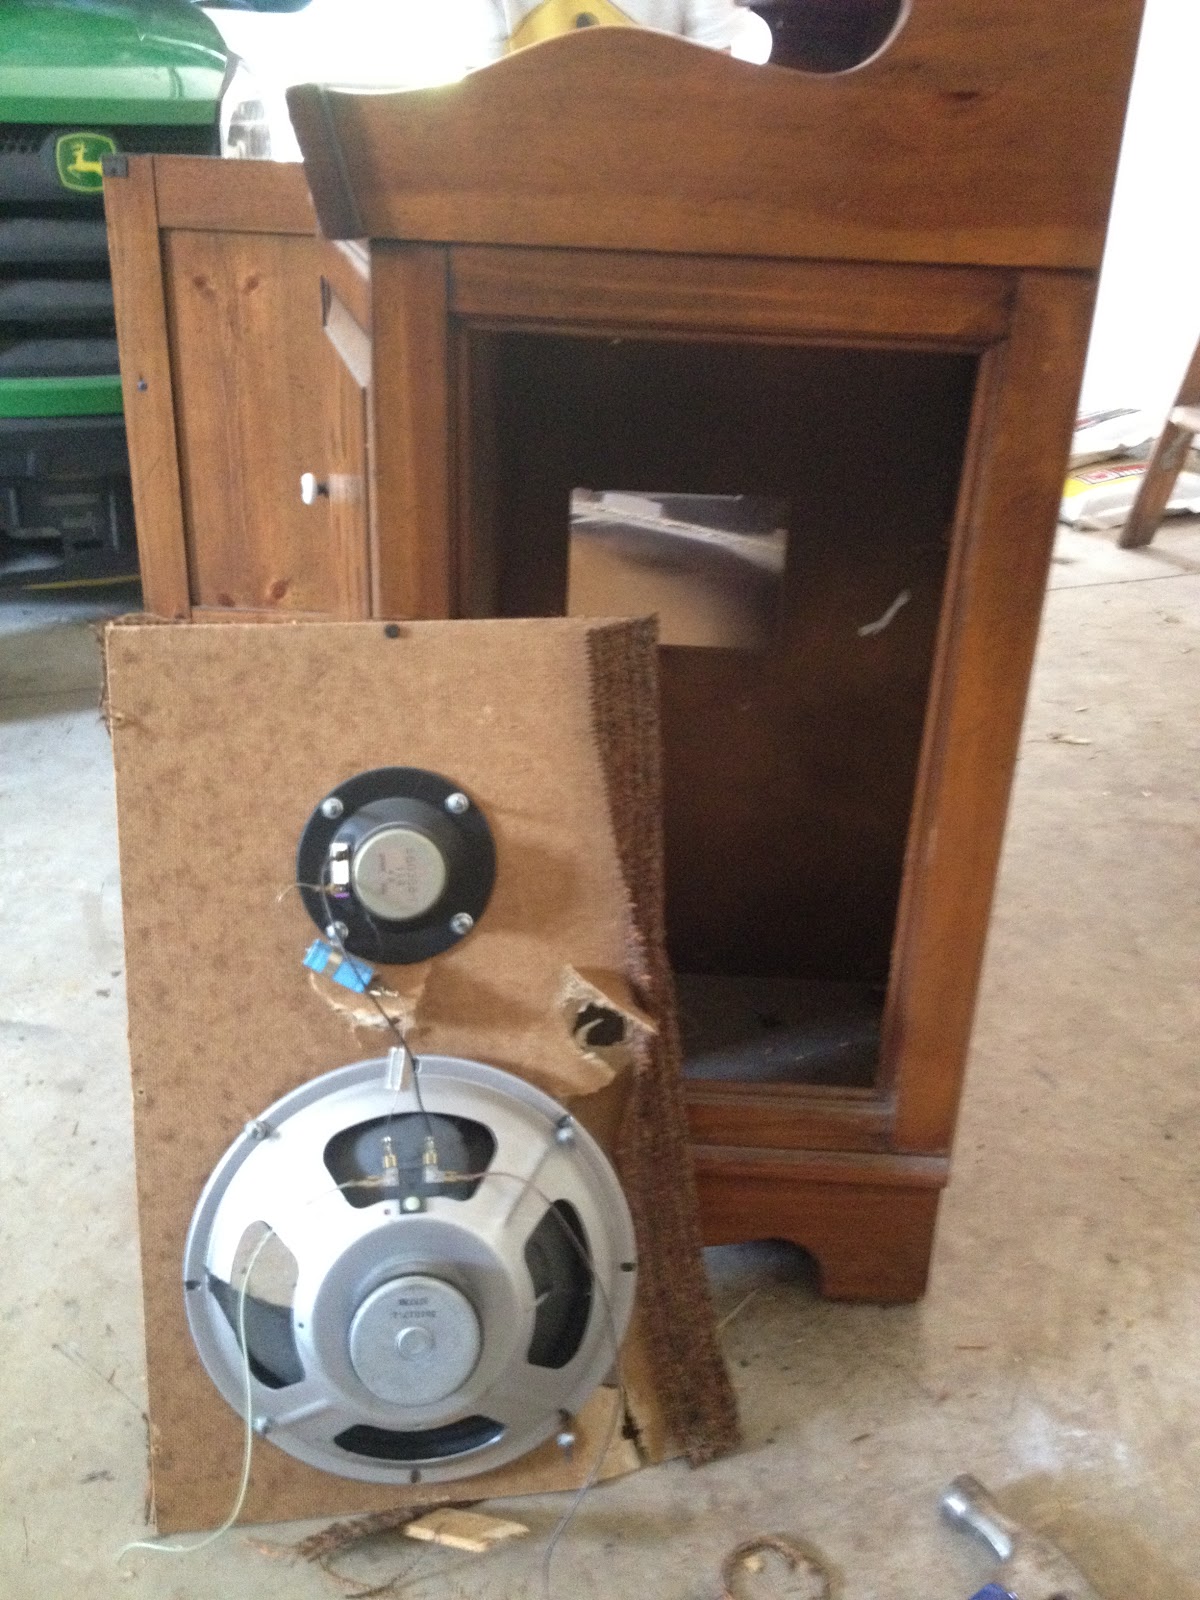
Remove Speaker Fabric
I ripped off all of the lovely fabric and then had to take out the speakers. There was no magic to this step. I actually gave a hammer to my seven year old son and said, “bang away!”
I love when furniture has an industrial flair, so I cut plywood panels and covered them with chicken wire. It isn’t the most fun to work with, but it’s not impossible either.

Paint with Outdoor Paint
This piece was originally intended to be used indoors, so I wanted to be sure to paint it with good quality outdoor paint. I really don’t love taking tons of time painting furniture, so I used Valspar’s Exterior Spray Paint. It took about 3 cans to do two coats on the whole piece.

Add Bold Details
Since this piece was originally so traditional, I wanted to do something graphic and more modern as a detail. I thought a thin herringbone would do the trick.
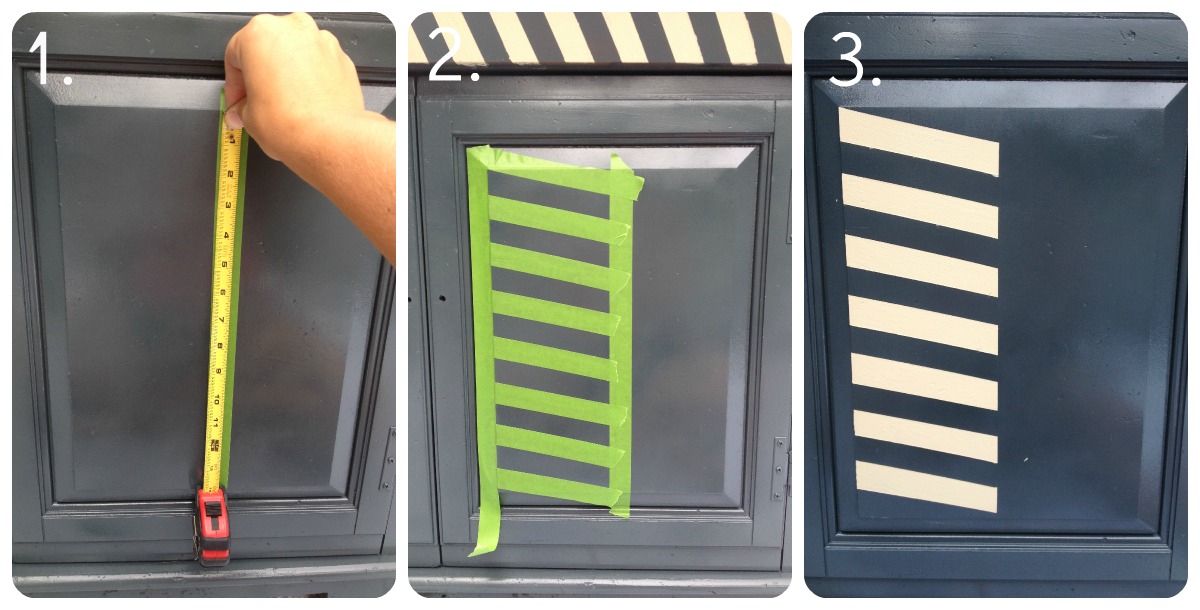
Herringbone is super-simple!
#1- Mark out your center line. Then, measure the width you want the stripes (I used 1″) and make tick marks down both sides of the column. #2- Tape off your lines. The top of the left side slants down to one tick mark below on the right. #3- Paint & Remove your tape. Let it dry and repeat on the opposite side, but shift your painted section down one, so you have the “every other” look.
Distress the Piece
You might notice that my lines weren’t completely crisp in the herringbone. I was painting outside in 100 degree heat (blogger foul), but I also knew I was going to distress it anyhow. I’m not always into distressing, but I figured it was going to get banged up outside (and I have 4 kids that are pretty rough on furniture).
To distress, first I went at it with a sander with 220 grit paper.
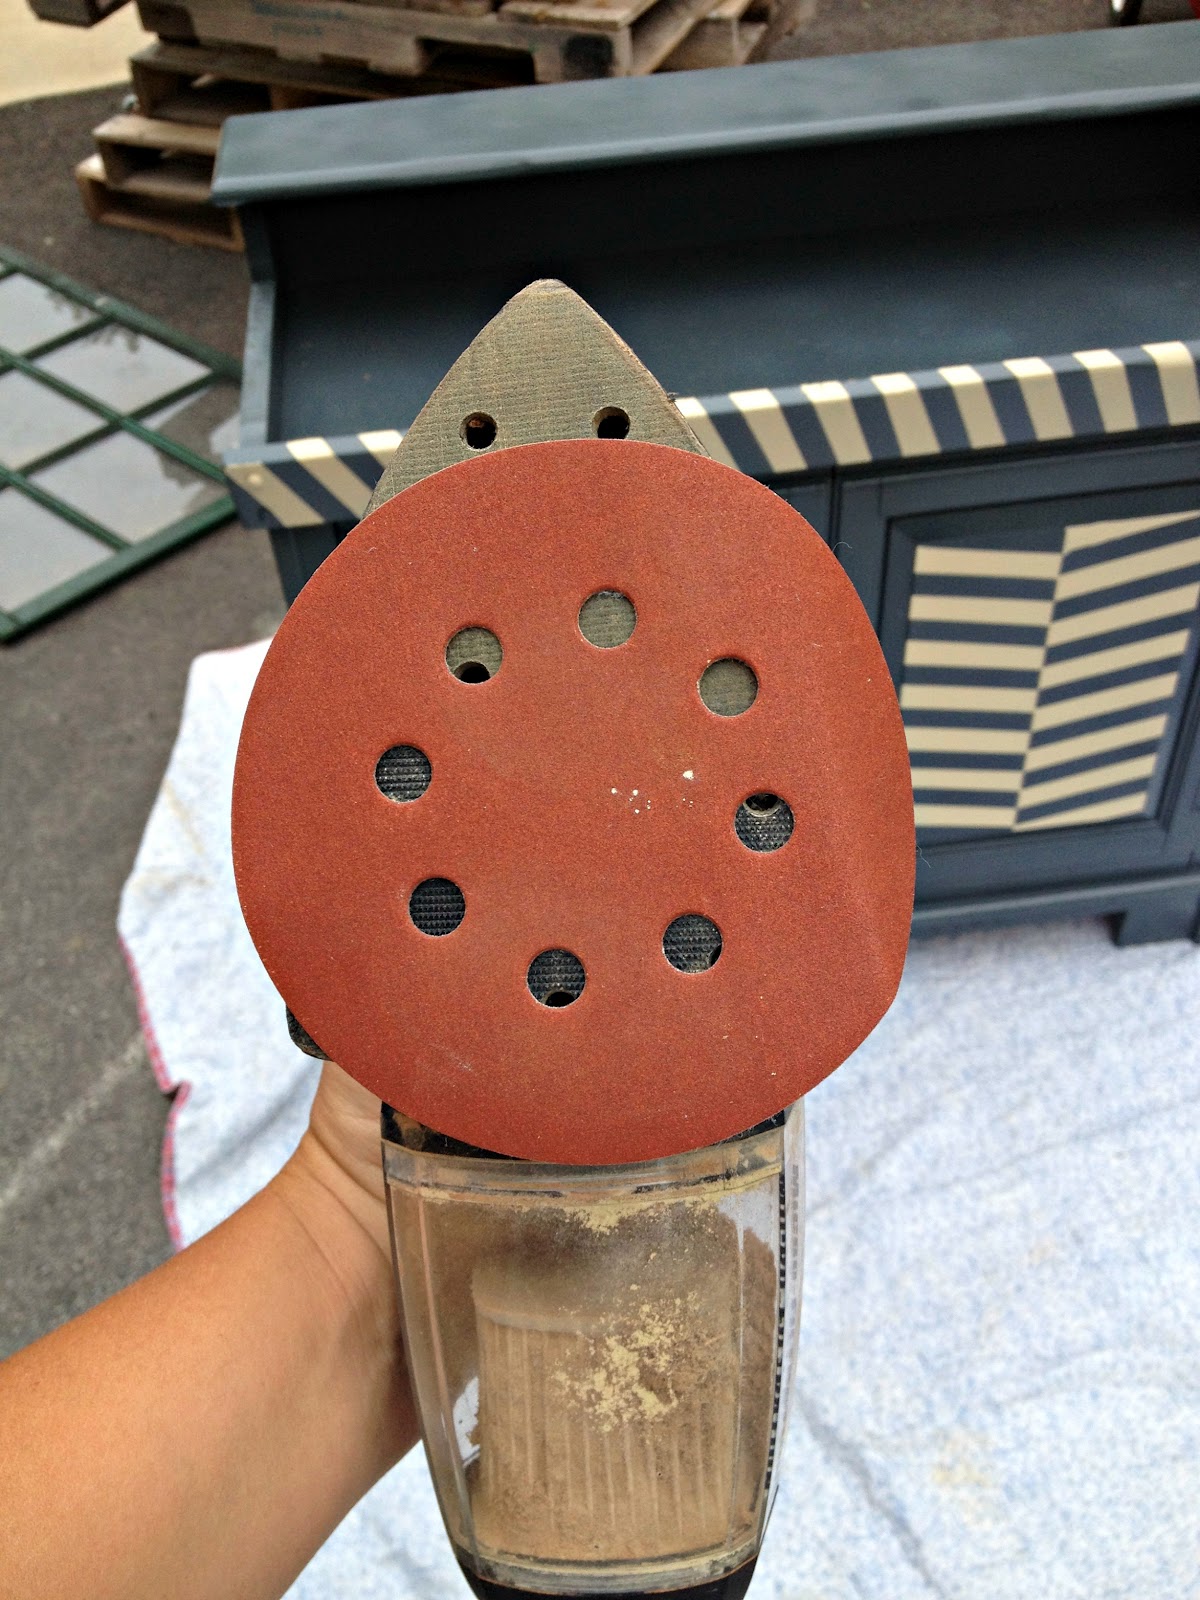
Have you ever had this problem? I ran out of the right size sanding pads. Oops!
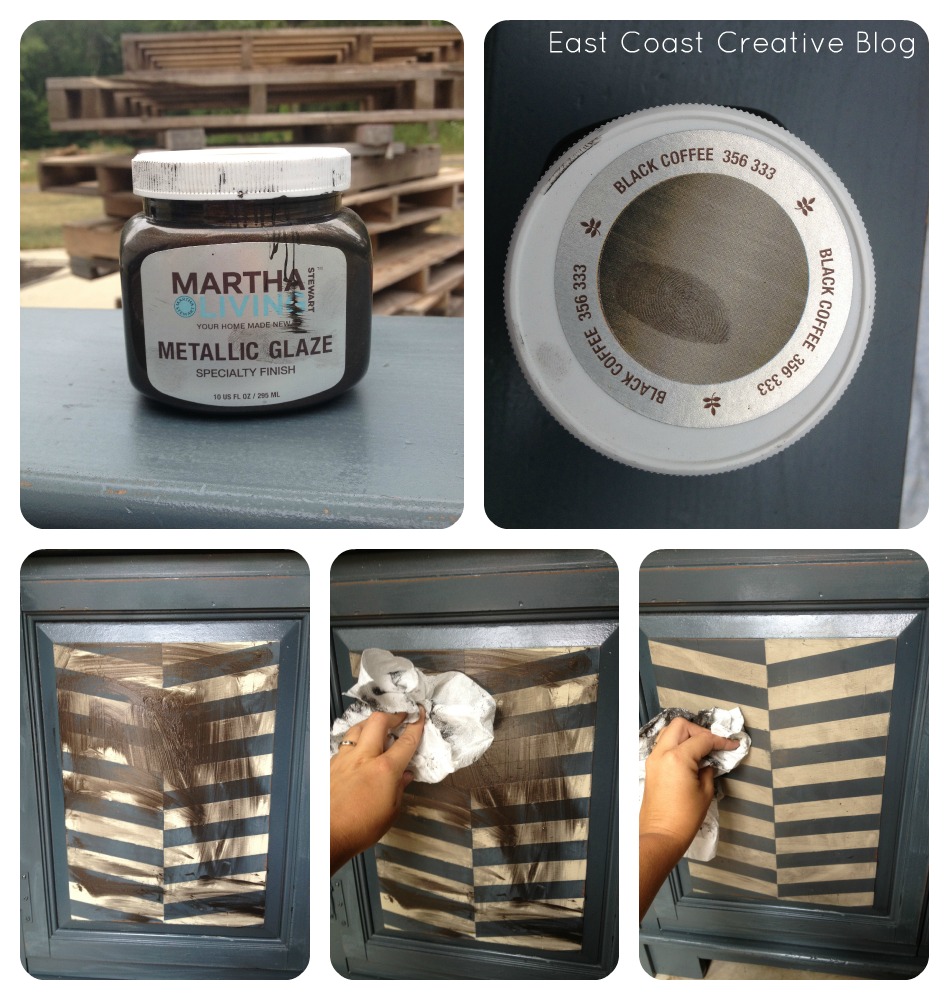
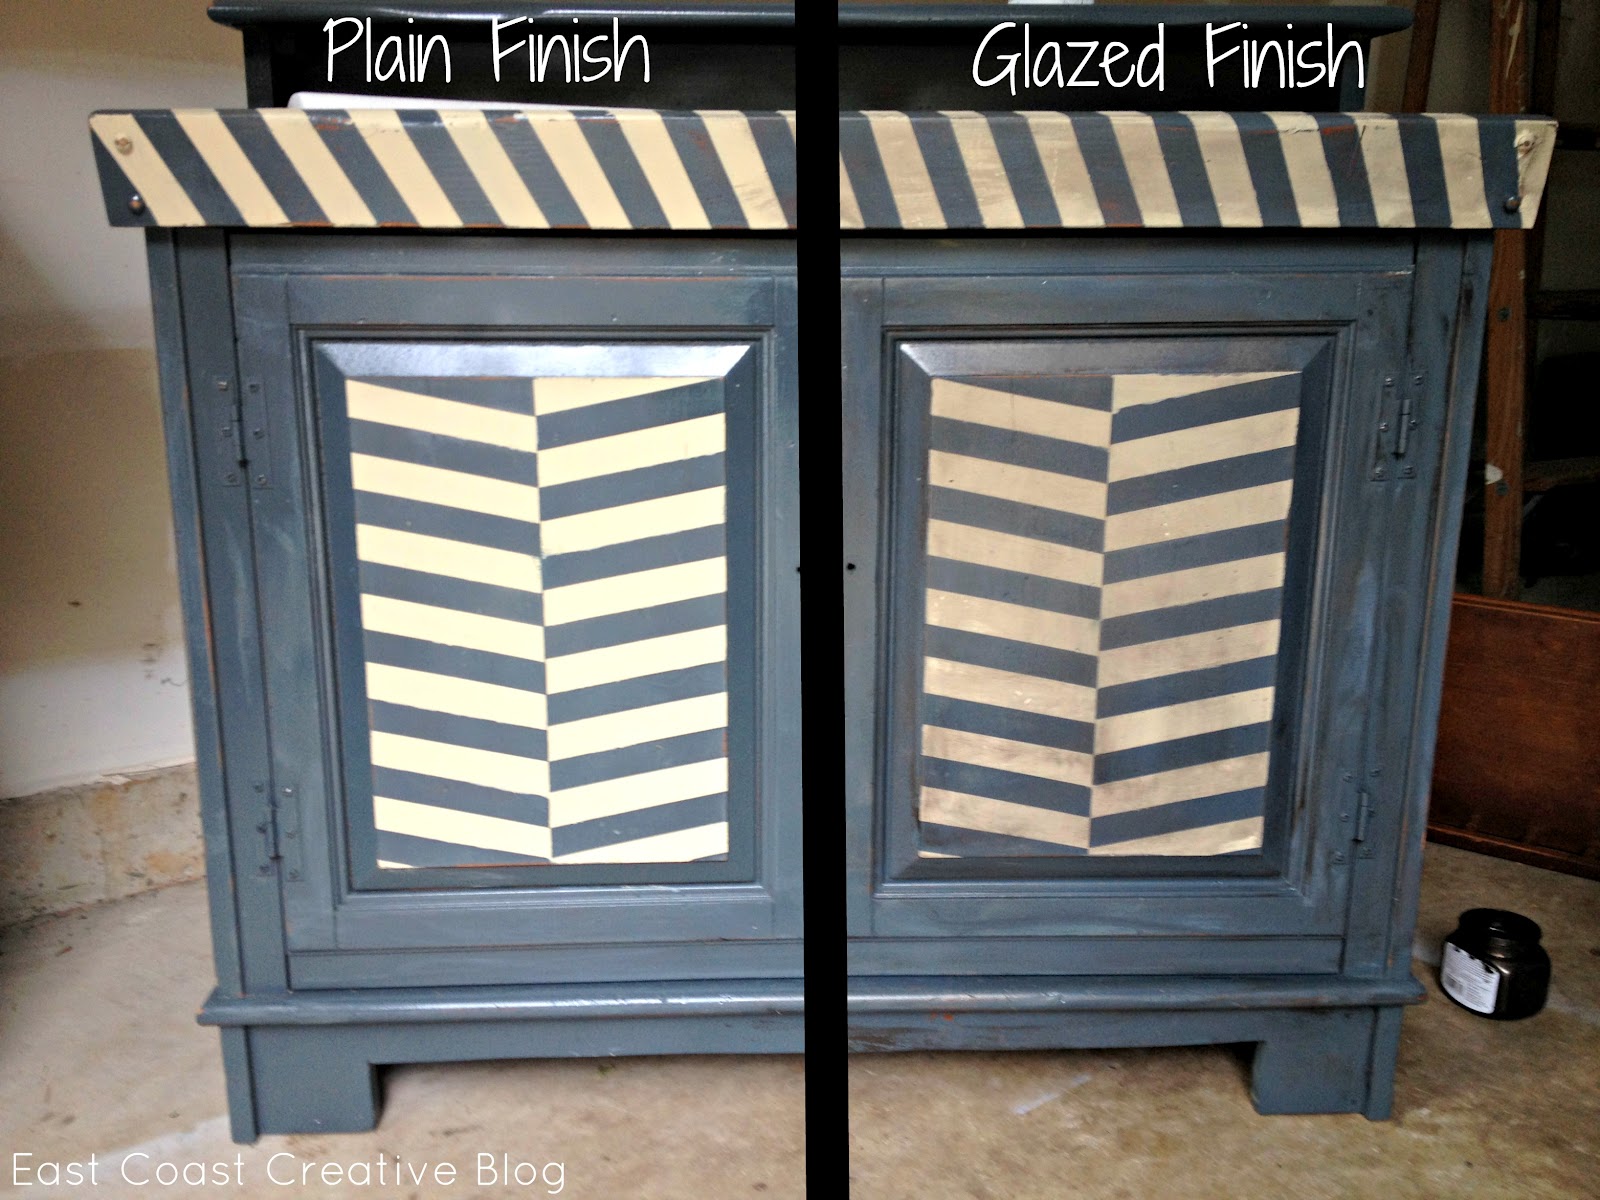
After sanding it down a bit, I gave the entire piece a good glazing. I actually began my glazing love affair by reading Lindsay’s blog!
My favorite glaze is Martha’s Black Coffee. As you can see, I slopped it on, rubbed it around, and then wiped it off. I wanted pretty solid coverage, so I used a good bit of glaze.
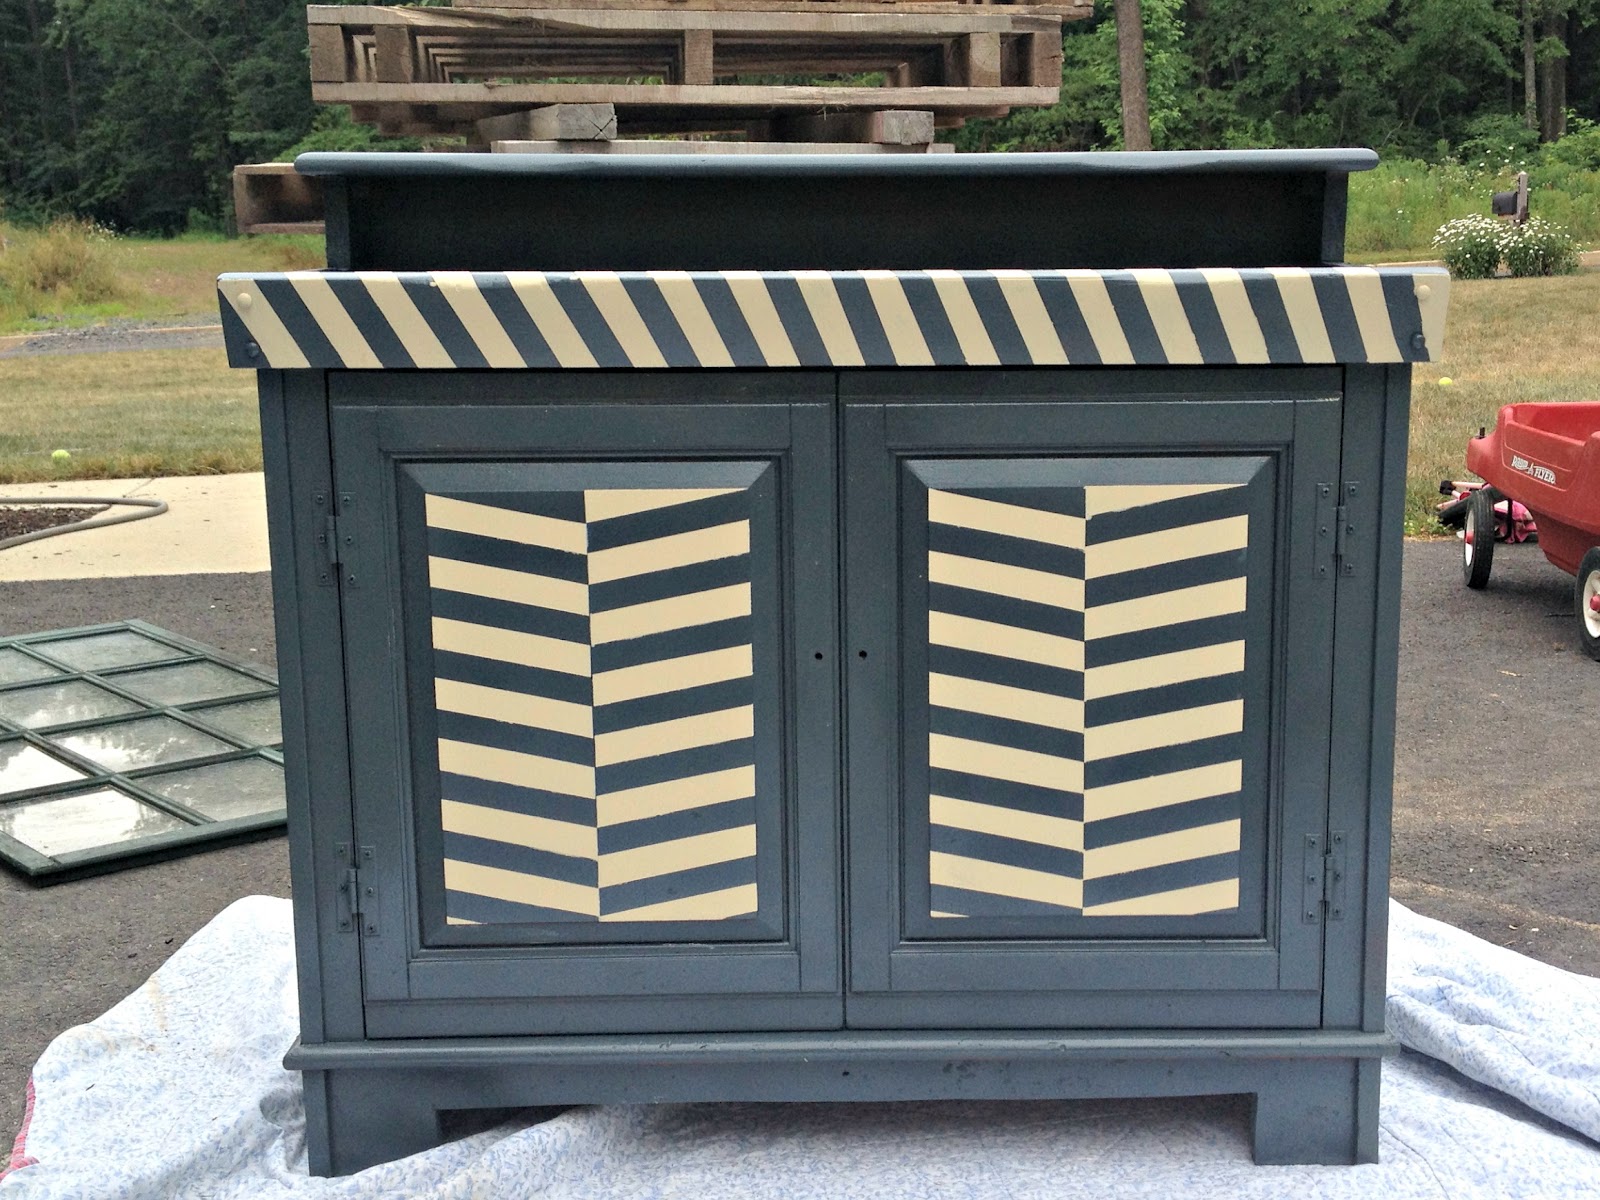
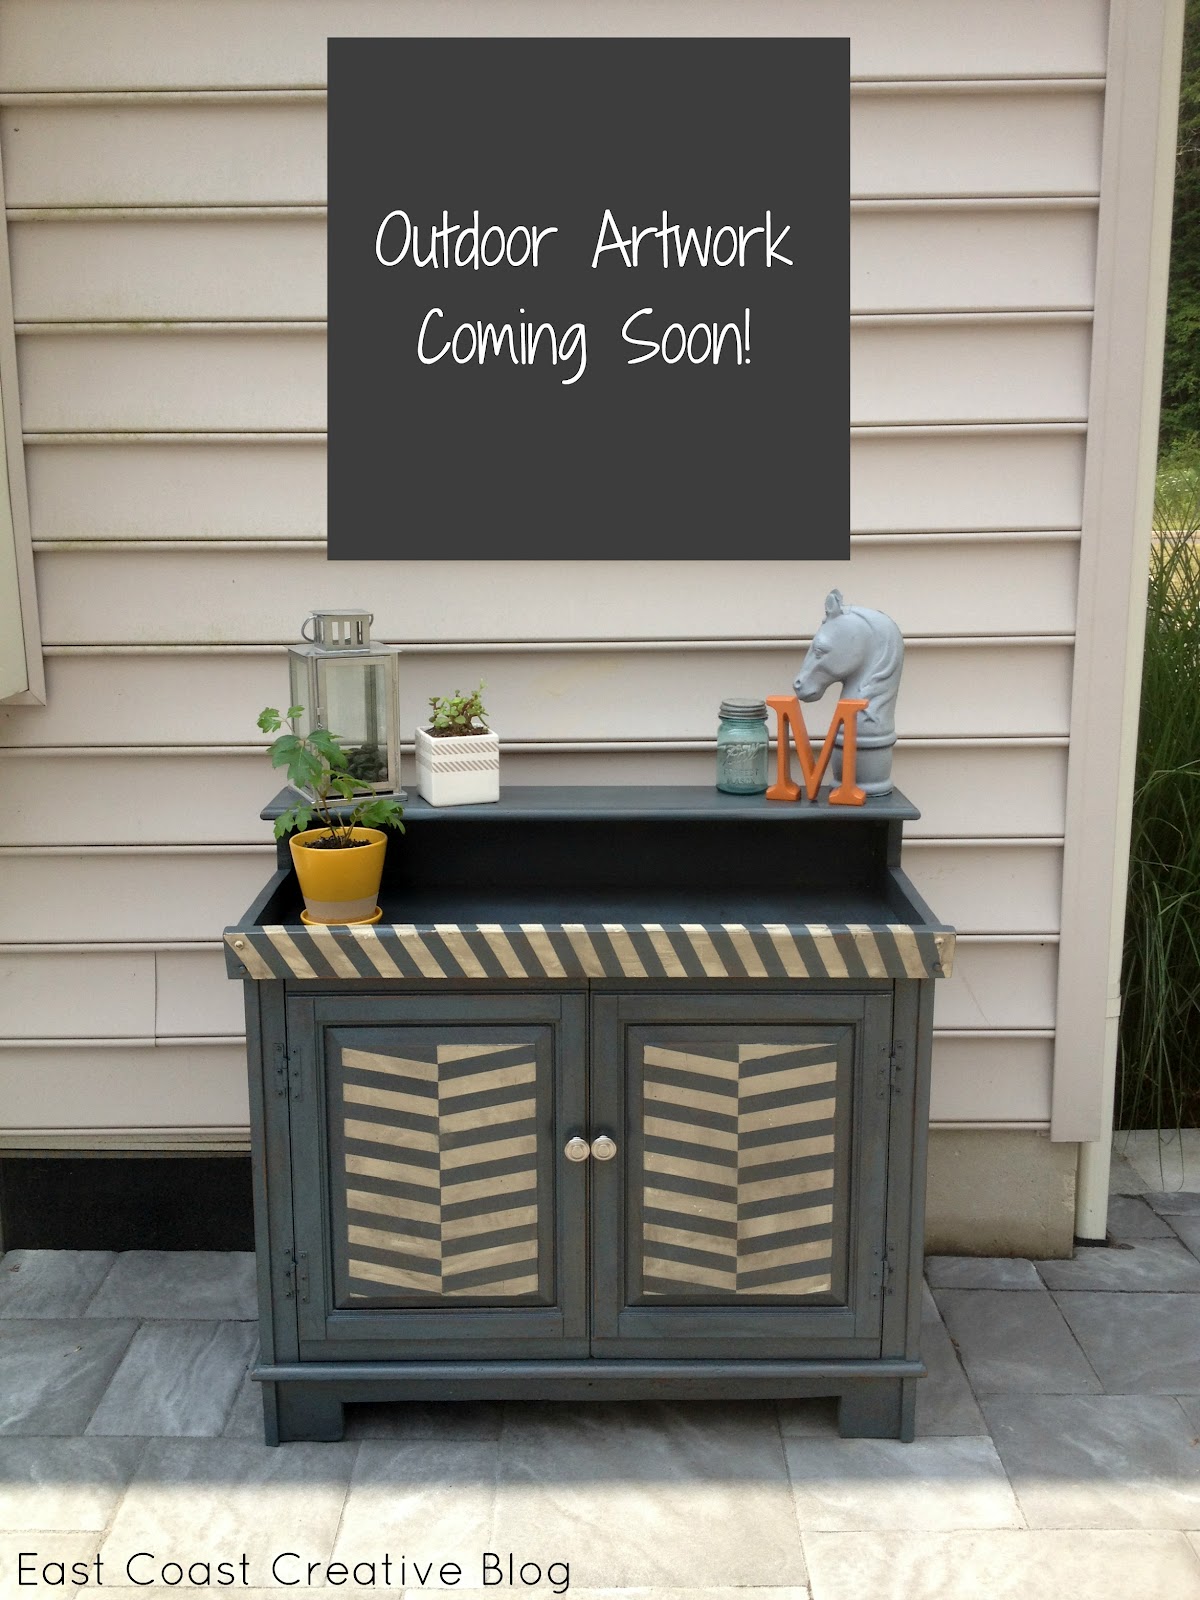
After adding some hardware she was all finished and ready for the patio!

I think she’s much more my style now!

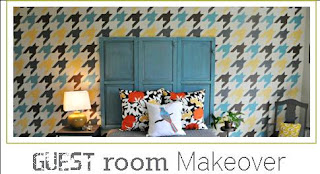
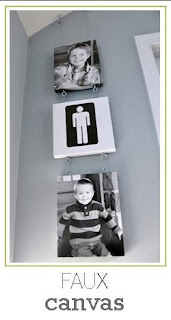
Thanks so much for letting us visit today. We hope you’ll come by and visit us at East Coast Creative sometime. Here’s a little peek at what we’ve been working on lately. (You can click on each pic to see the full post)


Great job! I love it!!! I LOVE using “indoor” furniture outdoors! And what a transformation! As for the outside artwork, I recently read some tutorials on “moss art” and was intrigued. Then I read this post from Not Just A Housewife, and I was drooling!! http://www.notjustahousewife.net/2012/07/a-secret-garden.html Keep up the great work!!!
Don’t you love Stacey’s Secret Garden? It’s totally amazing (as is she, by the way).
Love it all. Amazing
Personally, neither the chevron design nor the colors are favorites of mine, but it’s very nicely done and truly transforms the piece. Things like this often make me wonder, though, what someone 25 years from now will think of a grey and yellow design with chicken wire…hee.
That’s the beauty of DIY’ing! You can always upcycle an upcycle! So in “25 years” if Monica decides her style has changed so can the furniture. Prime example is Mandi’s dresser she painted a couple of years ago and then decided to change it up. Check out her post.
http://www.vintagerevivals.com/2012/07/how-to-get-naked-furniture-with-heat.html
P.S. Monica- I’m a loyal follower of EC2 and have been dying to see your backyard! This was such a great tease.
Again, a very nicely done job…but putting the mirrors on a classic mid-century Danish modern piece kind of makes me cringe. I guess I’m showing my age, eh?
Yeah, Not my favorite either. This was an antique that should have been restored instead. I am guessing the music components were nit working. I guess I have an opinion on the transformation because I have the exact same piece and I love the way it sounds, I’ll keep mine just like it is, thank you.
The transformation is just stunning! Great job.
Amazing idea there nice job form with us entreprise lévisienne!