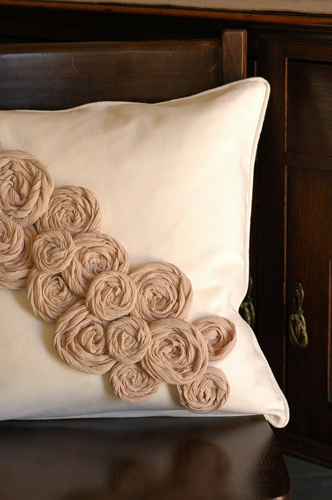
Makely

Let's Make Life Awesome

  • Home
  • Decorating/DIY
    • Create Your Decor
    • Decorate Your Home
    • Paint Your Walls
    • Transform Your Furniture
  • Healthy Living
    • Essential Oils
    • Family Wellness
    • Household Care
  • Project Gallery
  • Contact
You are visiting: Home » Decorating/DIY » Page 200

Signs of Spring

by Lindsay Ballard on March 7, 2011 1,428 Comments

Spring has breathed such a fresh air into all that was quickly becoming stale.  Just as I couldn’t handle wearing a jacket (we don’t need “coats” around these parts!) any longer, the weather has climbed into the 70s and the birds are singing from the branches of my newly-budding pear tree.

I don’t put out much seasonal decor in the winter, as I find winter drab and depressing. Sorry, but I just do. I know a lot of you rock the snowflakes and all of the goodness that goes with it, but I just spend the winter months wishing I could play outside with my kiddos and feel the warmth of the radiant sun on my face.  Spring is the time when I finally reinvigorate our home with some reminders of the season.

On Thursday, I bought my first stem of spring: a beautiful blue and white hydrangea. Paired with some eucalyptus I also picked up and some greenery clippings from my front yard, it brought such a perfect reminder of Spring to my living room.

I put the stems in a silver plate bucket I picked up a few years ago at an antique market. I haven’t used the urn as a vase before, but I really love it used in that capacity.
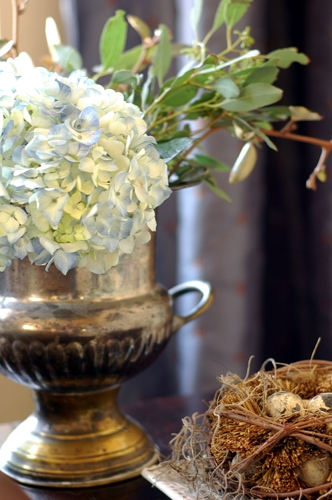
The first nest of the season has also made its appearance. Putting out my nests is really one of my favorite parts about decorating. They just remind me of the anticipation of my own little nestlings, whom I just love more than life itself.
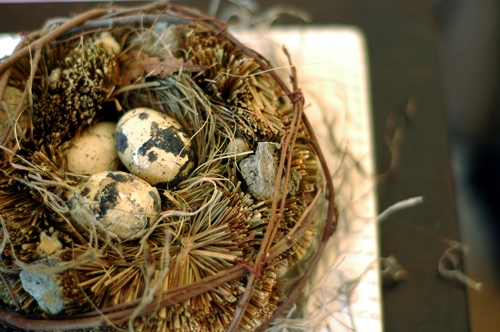
Spring is here (or almost here), my friends. What is your favorite part about getting your home ready for spring?
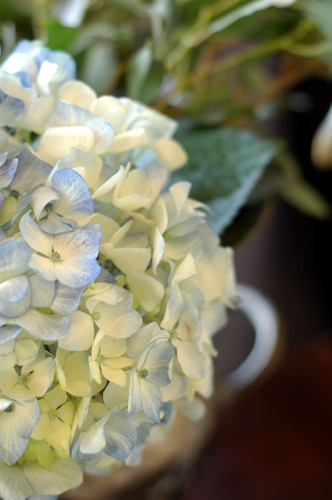
P.S.  Within 24 hours, my beautiful Hydrangea was a goner.  It was the first Hydrangea stem I had ever purchased.  Once cut, do they have a ridiculously short lifespan?  Did my silver plate urn hurt it somehow?  Was it too close to the window?  The greenery still looks brilliant, so I’m quite confused.  If you have any guidance for me on Hydrangeas, please let me know!

P.P.S. A lovely reader, Janet, supplied this link on overcoming Hydrangea wilt.  Have you tried these techniques?  I’m definitely going to next time!
DIY Rosette Embellished Pillow

by Lindsay Ballard on March 2, 2011 1,880 Comments

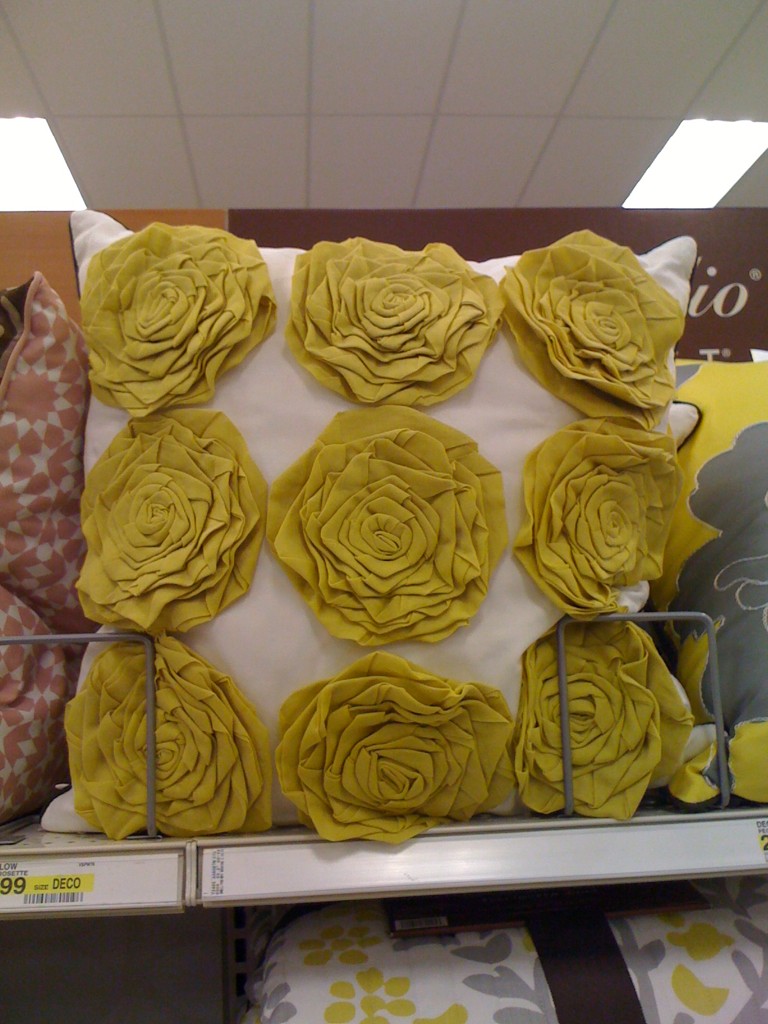
Technology is an amazing thing. Last week, I spied a Dwell Studio for Target pillow I loved, only the colors were wrong for my home. I tweeted the picture asking for ideas on how to replicate it, and I had several replies within minutes saying it would be easy to do.

One such reply came from Gina @ Stampin’ with Gina.  She sent me a few pictures of different rosettes she made, and when I told her which one I liked the most, she even wrote a tutorial for me on her blog – all by that evening.  That’s technology at work, my friends!  {I have since found a nearly exact replica of the Dwell Studio pillow in a tutorial over at Crazy Wonderful!}

Since I figured out how to make the rosettes (with Gina’s guidance), I could go crazy and create my own design inspired by not only the Dwell Studio for Target pillow but also this amazing Ankasa ($540!!!) pillow I spotted in the March edition of House Beautiful:

House Beautiful

I put together a tutorial of the process I used so that you can put your own twist on the rosette embellished pillow.

Rosette Embellished Pillow

Supplies:

  • Pillow cover (mine is a 20 x 20 ivory “Aina” from Ikea)
  • Pillow insert (I used a down “Fjädrar” insert, also from Ikea)
  • Fabric for rosettes (any fabric will work – I used 1 yard of cotton gauze)
  • Felt
  • Glue gun w/ glue sticks
  • Straight pins
  • Aluminum foil
  • Fabric glue (permanent)

Directions

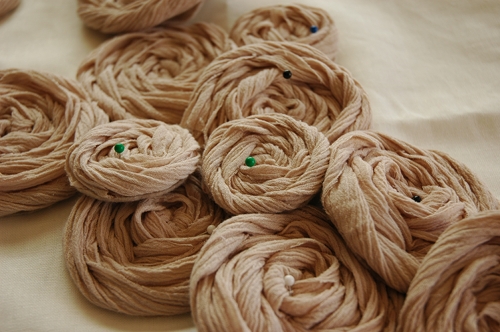
1.  I began by cutting my fabric into 2 inch wide strips, per Gina’s instructions.  I just sort of eyeballed it because they don’t have to be perfect.  Because I was using 1 yard of fabric, my strips were 1 yard long and 2 inches wide.

2.  Next, I put a dot of glue…oh, wait.  Just see for yourself.  Here’s the video I put together on making the flowers, which is slightly different for this project than Gina’s technique:


3.  After I made all of my flowers, I laid them out in a design on the pillow cover WHILE the pillow insert was inserted.  You will want to see how it looks with the dimension of the pillow in the cover, not just with the cover lying flat.  After you have arranged your flowers in a fun design, pin them in place as best you can with the straight pins.


4.  Slide the pillow insert out of the cover and insert some aluminum foil in its place.  This will keep the fabric glue you are about to use from gluing your cover shut.

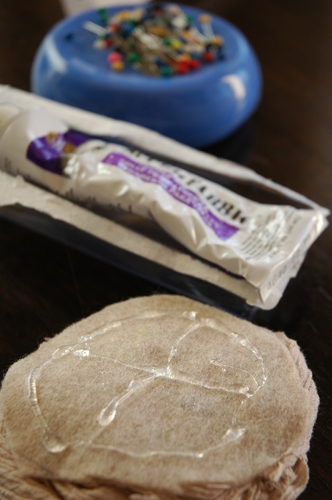
5.  On the felt side of the rosettes, apply a good amount of fabric glue.  I applied the glue in a circle around the edges and then made an X in the center.  If your rosettes are layered in your design, work from the bottom up.  It helps to take a quick photo of your arrangement in case you have to move them around when gluing.

6.  Once your rosettes are glued to the pillow cover, find something heavy to lay on top of them while the glue dries.  I used a few heavy books and left them there for a few hours.  Then, I removed the books and let the glue set overnight.

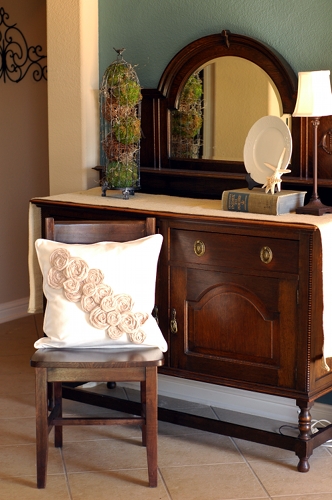
7.  The next morning, the pillow was ready to go in the insert, and I was ready to have a gorgeous designer-inspired throw pillow!

Want to add some color to your decor?  Look beyond my beige flowers and try some in brightly colored fabrics.

Seems like an easy weekend project, huh?  Get to it!

P.S. My pillow and I are partying at Gina’s Transformation Thursday at the Shabby Chic Cottage.

« Previous Page
Next Page »
  • Email
  • Facebook
  • Instagram
  • Pinterest
  • Twitter

About Makely

Lindsay Ballard is a former college mascot turned political geek turned roller derby playing, DIY fanatic.

Lindsay chronicles her projects, design ideas, and lifestyle tips here at Makely, where she shares tutorials and inspiration. Her DIY designs are bold and graphic, while her spirit is fun and full of color.


Archives

Categories

PRIVACY POLICY
Copyright © 2009-2019 Makely School for Girls | All Rights Reserved | Posts may contain advertising content or affiliate links