I know it’s been a little quiet around here lately as far as my projects are concerned. I have been working diligently on decorating my soon-to-be daughter’s nursery. I must stay that it is coming along beautifully.
And, I’m going to be a tease and not reveal it to you until it is entirely completed. I’m such a big ‘ole meanie.
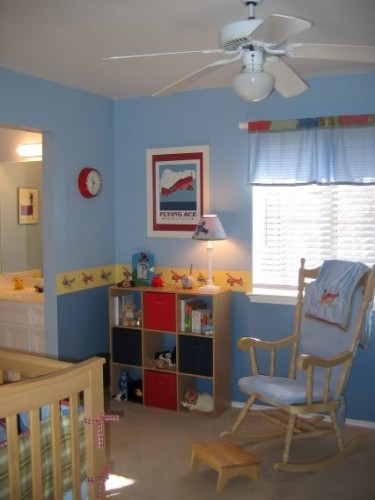
There are, however, a few projects here and there that I want to share with you. One such project is the comfy-fying of my wooden rocking chair. We bought this chair off of CraigsList back before my son, Zack, was born. At the time, I just put a blue rocking chair pad on it and called it a day. It was never soft enough to ease the burden of 3 am feedings on my sore body, so this time I vowed it would be different.
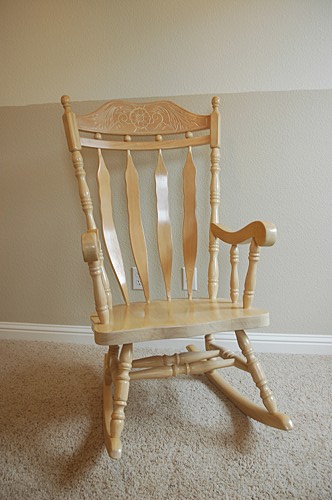
I decided to add some foam cushioning and a slipcover to this old chair. I could have just gotten another chair for Emma’s nursery, but this was the chair I rocked Zack in, so this will be the chair I will rock her in. I’m very sentimental in that way.
Because this tutorial is a bit lengthy, I have divided it into two parts.
Adding Comfort to a Wooding Rocking Chair – Part One: Adding Padding
I began with a 2 1/2 yard sheet of 2 inch foam from the fabric store. Using a large sheet of craft paper (a sheet of newspaper would work, too), I traced the outline of the chair’s seat. I then used that as a pattern to cut the foam padding for the seat. The foam is squishy enough that I was able to cut it with my scissors. Remember, it doesn’t have to be perfect, since I will be slipcovering the chair.
Then, I shoved the remaining of the foam into the back of the chair so that I could measure it for the back cushion. Using a marker, I drew lines roughly along the edges.
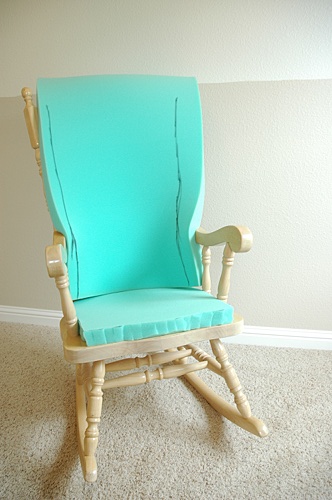
I trimmed the foam on the lines. Then, I turned the chair around and marked the height of the foam on the back. I wanted my foam to be a little higher than the actual back of the chair. I marked that the same way I did on the sides of the foam.

I cut the top part of the foam in an arch so that it was similar to the natural line of the chair. Once it was cut, I draped it in some fabric to see how it would look once it was slipcovered.
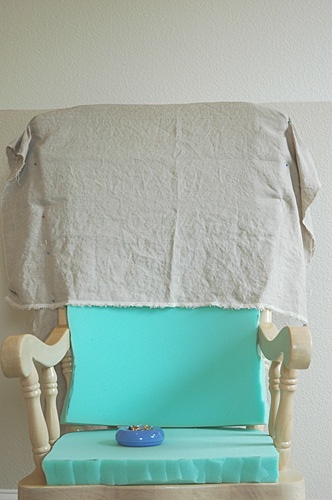
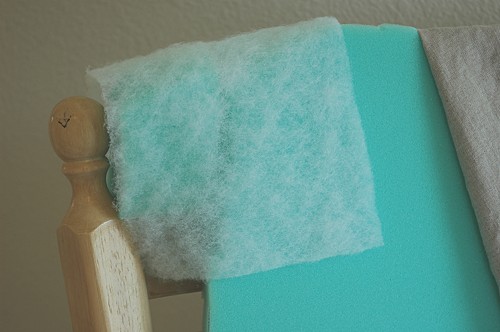
I decided I wanted to round the arch a little bit, so I cut a view wedges of foam to add to the arch and covered those pieces in batting. Why? I don’t know. I just thought it was a smart thing to do to help keep the little wedges in place. Heh.
Then, it was time to move on to the arms. I cut a length of foam long enough to cover the arms, and then I cut that piece in half lengthwise, making it only about an inch thick instead of 2 inches. To hold it in place, I tied little bits of ribbon around the foam and the arm.

Hilarious, huh? Well, it works. 🙂
I finally had a comfy rocking chair. Just adding 2 inches of foam made all the difference in the way this chair feels.
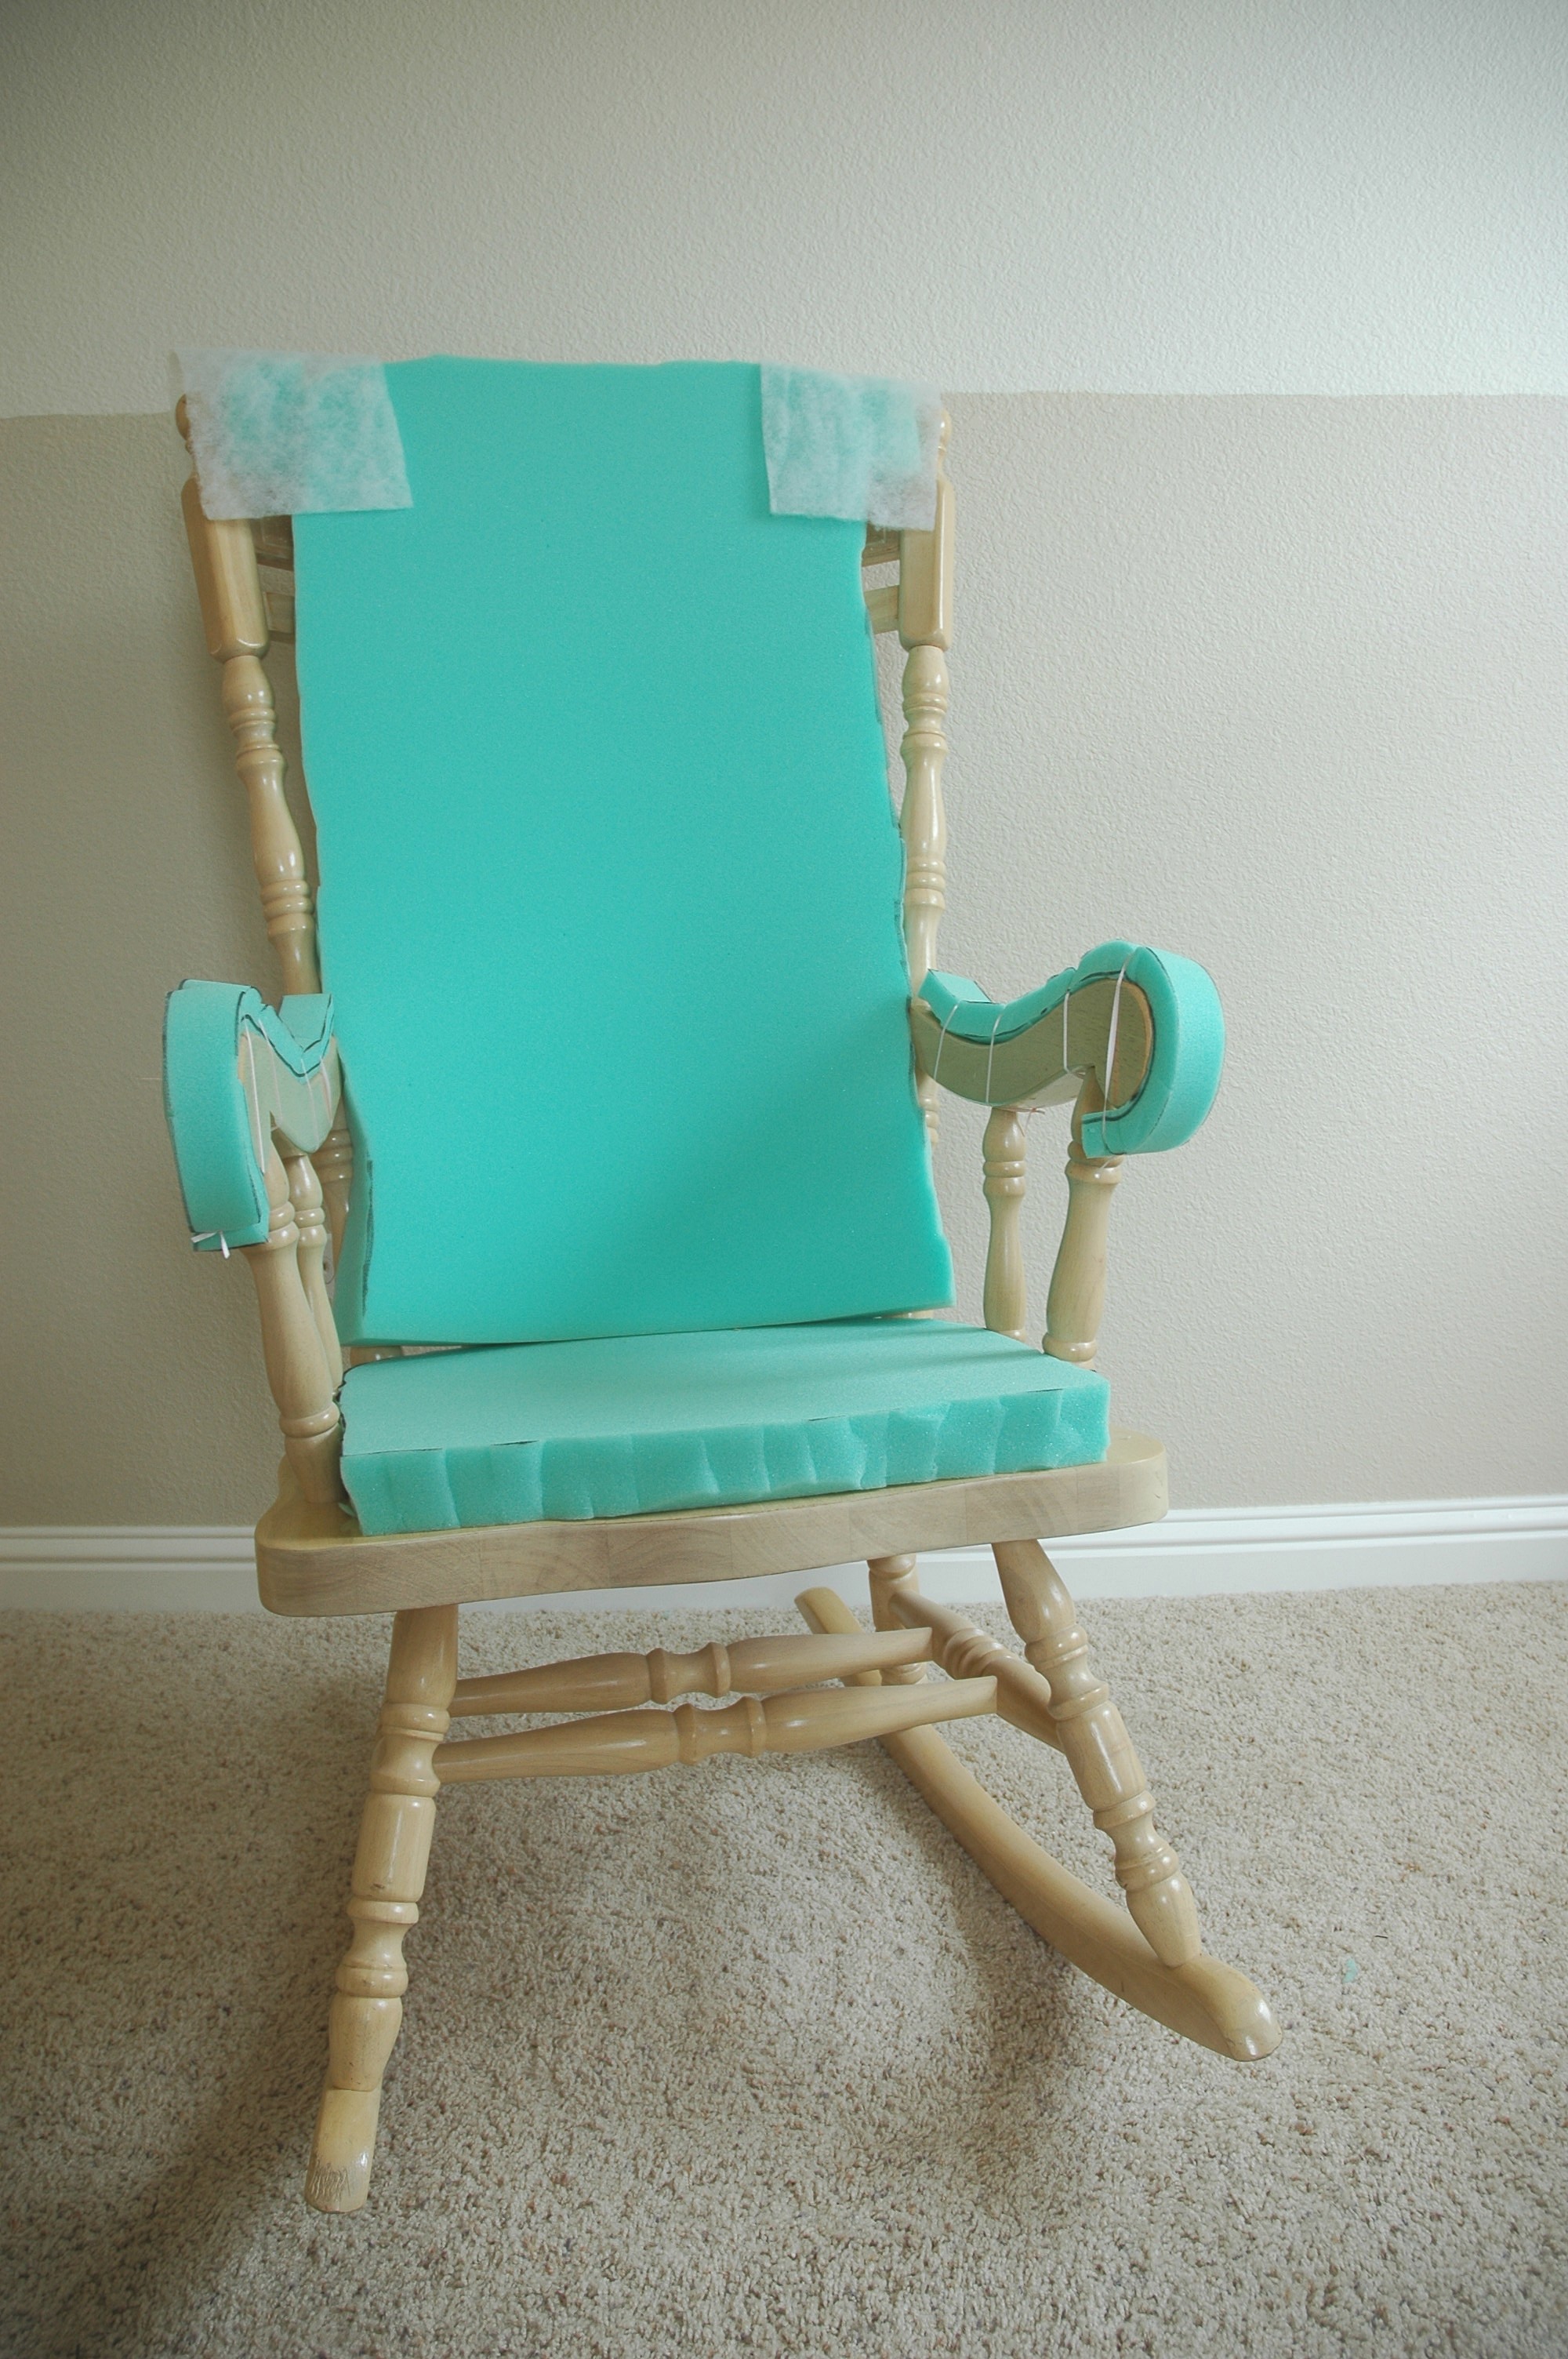
It’s not pretty right now, but we’ll fix that next week with a custom slipcover. I’m looking forward to showing you the finished project!