I had a great first post of 2010 planned, you guys. I had been thinking about it for weeks. I even had my list started…I was going to fill you in on all the great projects I have in store for the new year.
The closer it came to January 1st, the more nervous I became. What if I didn’t get them all finished this year? What if I said I was going to do something that I didn’t actually do? We all know how the toile-covered headboard and mirrored nightstand tutorials that I promised but never actually wrote turned out. Y’all still email me about them weekly. You people are like elephants that never forget! I love it.
So, I panicked and decided to teach you an easy glue gun craft instead. Cool?
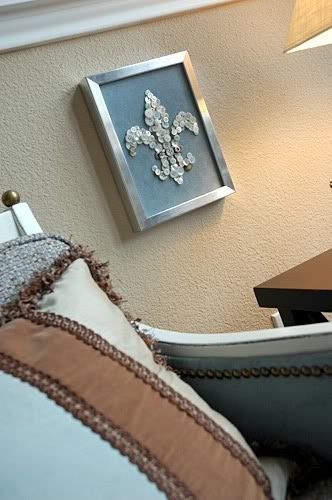
Framed Button-Filled Design
Supplies:
– Picture frame with glass
– Fabric scrap approximately the size of the glass
– Assortment of buttons
– Spray adhesive
– Glue gun and gluesticks
You will likely be able to throw this together without spending a dime. I raided my button stash, fabric stash, and frame stash (man, I have a lot of stashes!) and was able to pull this together for free.
Well, I take that back. I bought another frame at the Dollar Tree I was going to use, but my husband ran over it in the garage while I was letting the spray paint dry. I ran outside when I heard him pull into the garage and I said, “Did you run over my frame?” He replied, “Oh, is that what that crunching sound was?” But, I digress.
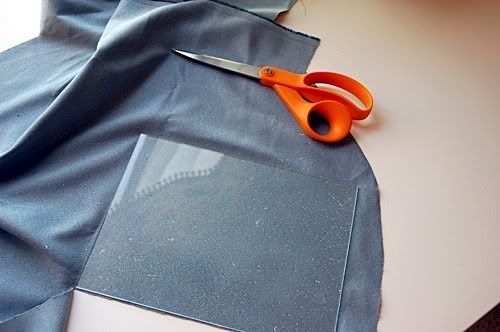
To start your project, remove the glass from the frame and set the frame aside. Spray the adhesive onto one side of the glass and onto the back of your fabric scrap. Wait for about one minute, and then apply the fabric to the glass, sticky side to sticky side. Smooth out any bubbles or wrinkles with your hand.
Flip the glass over, and trim away the excess fabric. You want it to just cover the glass.
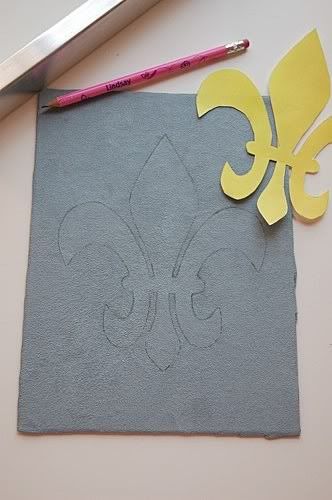
Next, lightly draw your design onto the front of the fabric with a pencil. I printed a fleur-de-lis design from the Internet, but you could draw an initial or any other design. Just remember that a design without a lot of small or skinny details works best.
Sort your button stash into like hues. For my design, I used white, off white, light brown, and light blue buttons. You are welcome to use a mix of every color under the rainbow if you would like, but I decided to keep mine in the color scheme that matches the room in which this picture will hang.
Now comes the fun part! Fire up your glue gun and just start gluing buttons on the fabric, filling in the design. After playing around with it, I decided that I like the buttons to overlap each other in areas. Make sure you are really varying your button size and color throughout your design.
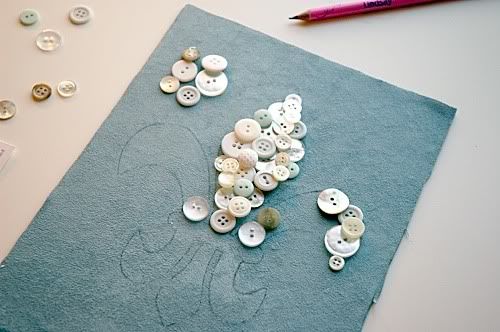
The time this will take will depend upon your design, but mine took me about an hour to glue together completely. You can still see the pencil lines on some of the areas if you look closely, so don’t look too close!
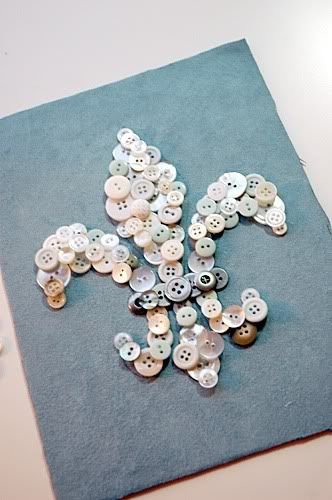
Once you are happy with your button-filled design, simply put the glass back into the frame and hang on the wall or set out on a table.

Isn’t it so fun? I love that I was able to customize it to fit in with my living room decor AND I was able to use up some supplies I had on hand.
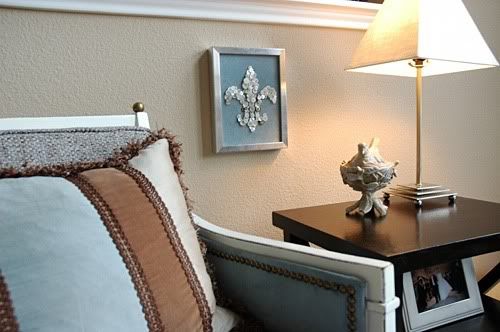
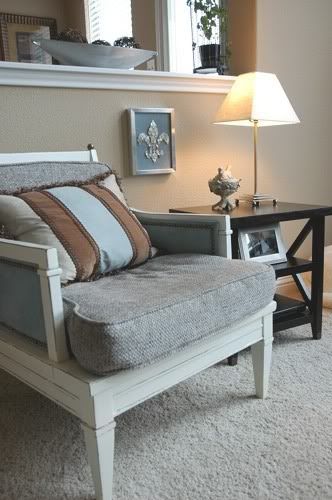
I’ve been wanting to hang a small picture in that space, and this fits just perfectly. I love it! What do you think?