It’s no secret around my blog that I’m in love with tie-dye. I recently discovered the most awesome tie-dye tutorial. It’s based off of the ancient Shibori technique, but I simplified it for our office curtains and for a recent tie-dye pillow.
The best part about tie-dye is that tiny variations in the process yield a totally different product. I started doing some experimenting and came up with this tie-dye stripe pillow, which I’m totally loving!
Here’s how I made it:
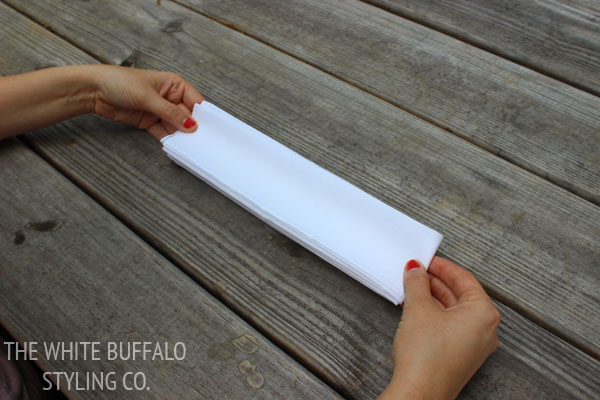
Step 1: Lay Out Fabric
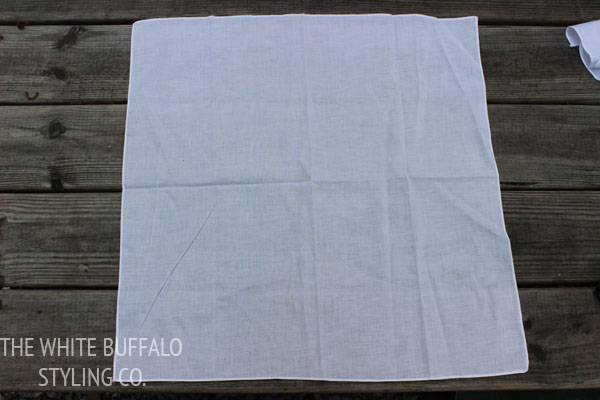
I started with a handkerchief from Hobby Lobby’s dye section. These are perfect for pillows because they’re a great size for a pillow front. Just sew two together, stuff, and you have a pillow!
Lay the fabric of your choice out on a flat surface and you’re ready to fold!
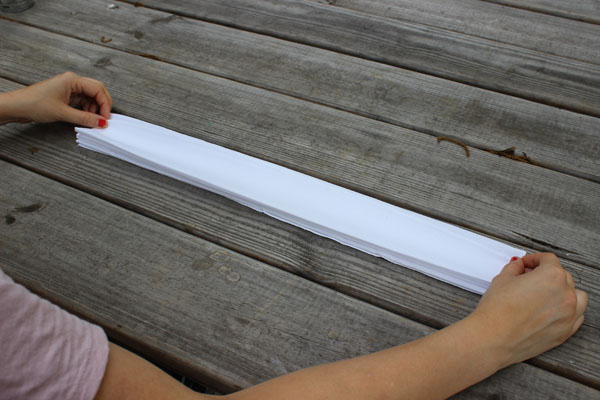
Step 2: Accordion Fold

Using an over, under method, accordion fold your fabric.
First fold a section over. Then fold an equal section under until your fabric looks like this:
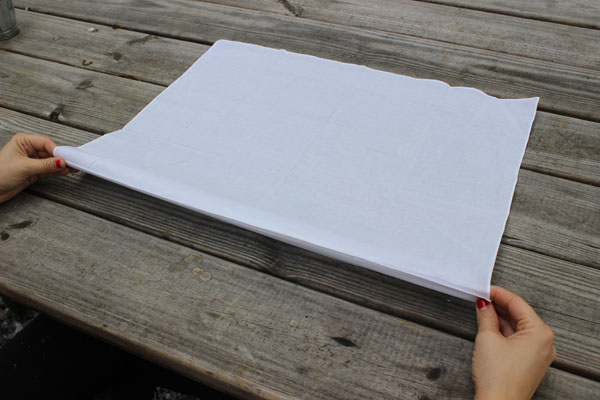
Step 3: Fold Fabric in Half
Step 4: Dye Fabric
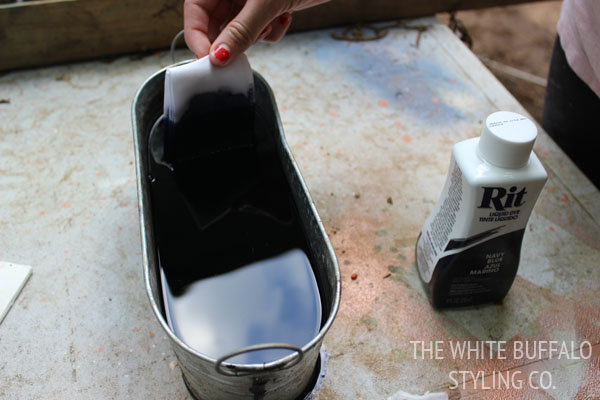
Start the dying process by holding the fold. You want to place the end (where the two ends meet) in the dye. I left only an inch showing.
I used a bit of an “ombre” process because I wanted the stripe to be a bit gradual and not harsh.
Hold this for two minutes. Then, lift the fabric one inch further out of the water. Hold again for two minutes.
Continue this until all of your fabric is out of the water. I lifted it out slightly four times before the entire strip was dyed.
Step 5: Dip the End
You’ll notice that the end of my fabric is still white, but there’s no white on my pillow. At the very end, I quickly dipped the white end in the dye, not holding at all.
I used Rit Dye in Navy. This is a really dark color and my fabric dyed fast. If you use a lighter color like Denim, you’ll want to increase all hold times to get strong color.
Step 6: Rinse Clean
Rinse your fabric with water until the water runs clean.
Step 7: Lay Out to Dry
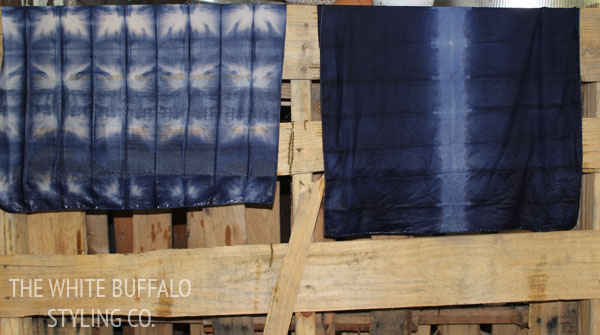
You can really see the difference in the two tutorials here. The left is using my simplified version of traditional Shibori. You can find my tutorial here.
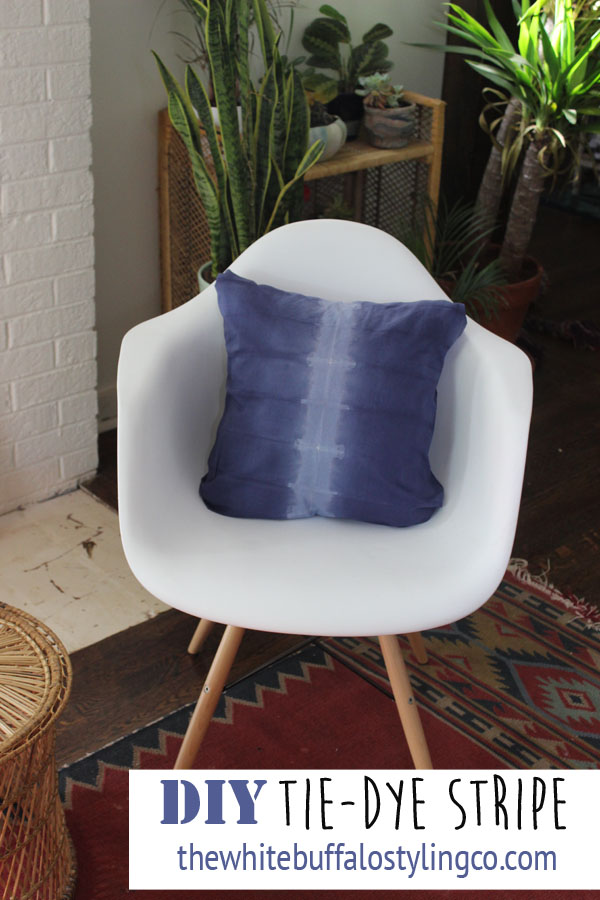
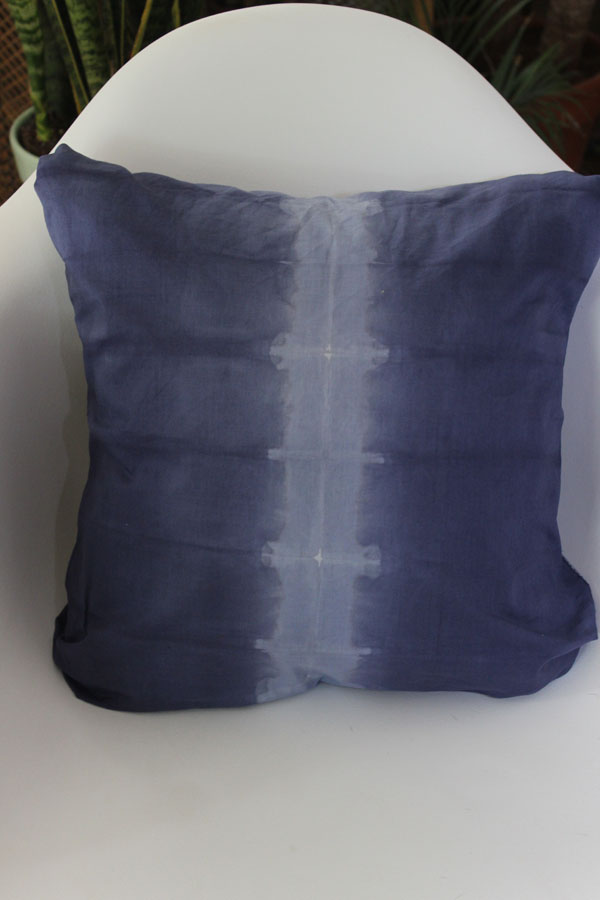
The right is my stripe pillow. You can see the slightly gradual darkening of the fabric as it goes out toward the edges and the stripe down the center is from that last minute dip.
Then, I sewed mine into a pillow.
What I love about this technique are the limitless variations. You could do this same tutorial and leave a really wide stripe. You could remove the fabric quicker and have more of a distinct ombre effect. And the best part is that tie-dye is basically impossible to mess up! Mistakes look purposeful and that’s a project I can get on board with!
I made mine into a pillow, but this could work great for curtains, tablecloths, or even clothes!
Thanks for having me, Lindsay! I always love an opportunity to share some good tie-dye!
Yay! Thanks for having me Lindsay! I’m always up for sharing some tie-dye 🙂
Love Lindsay and this tutorial! Great post!
Love these! Great job, Lindsay!