Before our Zack was born, Tom and I had a set of really awesome coasters from Crate and Barrel in our living room. They were slate and chunky and natural and cool. I loved them.
We’ve been without coasters for nearly 3 years now. We didn’t really care because we had old cruddy end tables. However, we bought new end tables about a month ago, and I’ve been making Tom put his Diet Pepsis on notepads and magazines so they wouldn’t leave a ring. We needed coasters before I became Joan Crawford-esque by yelling, “No drink rings on the table!!”
Have you been in the market for coasters lately? I found this one:
And then this beauty:
Um, no me gusta. Are you kidding me? And more importantly, who is buying these?!?Anyway, I figured that the perfect solution was to make my own. It’s really a pretty easy thing to do.
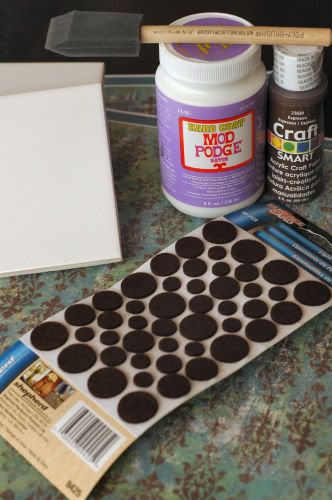
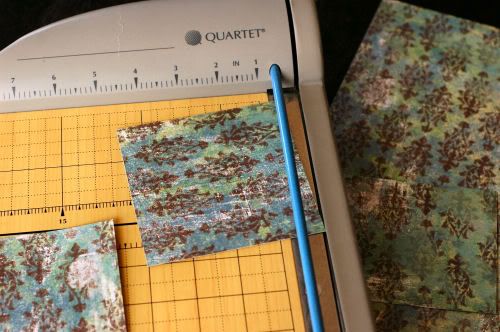
I bought 6 cheap ceramic tiles (they were 16 cents each!) and some felt dots at Home Depot. Then, I went over to Michael’s and picked up 2 sheets of 12×12 scrapbooking paper that matched my living room decor, a bottle of coordinating acrylic craft paint, a foam brush and a bottle of Mod Podge.
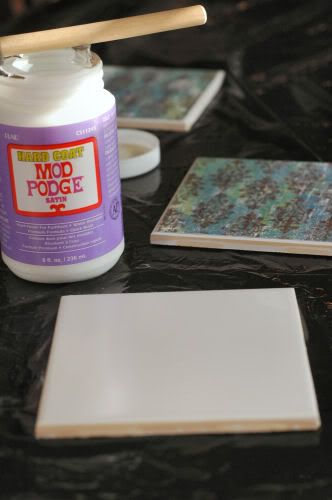
I laid out a garbage bag so I wouldn’t ruin my kitchen table with the glue. Don’t use paper towels or newspaper. They will stick to the tiles when you put the Mod Podge on them, and it will make a huge ugly mess. Don’t ask me how I know that.
Next, I used the foam brush to spread a thin layer of Mod Podge onto the tiles and then centered a square of paper on the top. I smoothed any bubbles out with my fingertips.
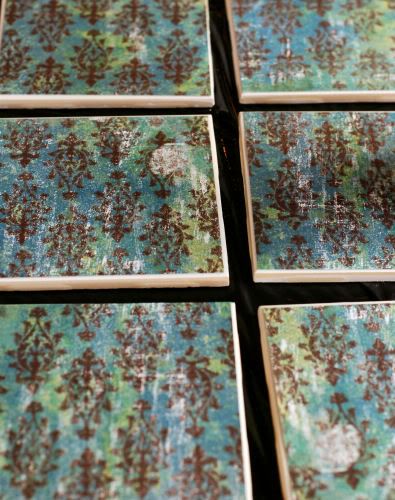
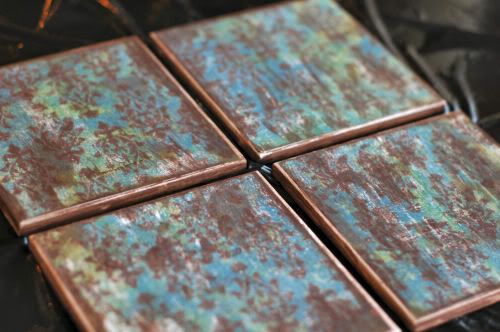
Once the paper was applied, the tiles looked like this:
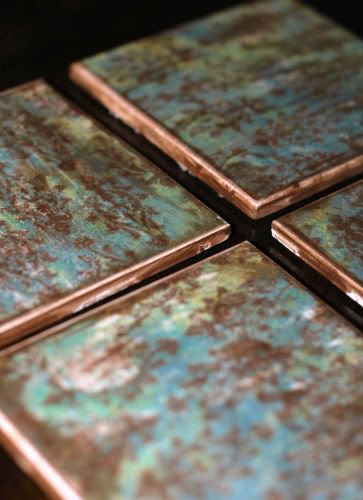
I let the Mod Podge dry for about 20 minutes, and then I broke out my brown paint. I wanted to paint the edges of the tiles and the edges of the paper so that they looked a little worn. I used a dry paper towel to wipe off any extra paint on the paper. You could use colored tiles, stone tiles, or just leave just leave the edges white if you don’t want to paint them.
Lindsay tip: Did you notice that I started with six tiles and now only have four? That’s because I dropped one on the floor and broke it (doh!) and put too much paint on a second one and it looked awful (double doh!). Since this project is so cheap, buy a couple of extra tiles, just in case.
After the paint dried, I applied a coat of Mod Podge to the top and let it dry for about 20 minutes. I repeated that process five more times for a total of six coats. I used the “hard coat” Mod Podge, so that it would really seal the paper and make a solid surface.
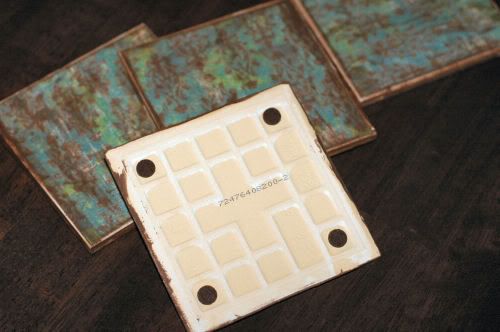
Once the tiles were dry, I added four felt dots to the bottom so that they wouldn’t scratch my tables. See? You can even see my sloppy paint job! No one is ever going to see the bottom of your coasters, so it doesn’t really matter.
One last Lindsay tip for you: According to the bottle, the Mod Podge takes about a month to fully cure. I normally don’t believe in little things like directions, so I just ignored that and put my coffee cup on a coaster this morning. Well, the hot mug stuck to the coaster! I guess because the Mod Podge hadn’t fully set, the hot beverage heated it and made it sticky again. It’s fine now and they work great with cold drinks, but I don’t think I’ll be putting any hot mugs on them for about a month!
Now, my tables are protected from those evil drink rings. I’m not sure these are actually any safer for Zack, who will probably now use them as weapons, but they sure are cute.



That is a great idea! We haven’t had coasters in forever, ours were beads the size of marbles. No bueno for a tot.
This gives me something to do instead of shop!!
And I bet my grandparents have the bass fish coasters. No lie.
These look great! I haven’t had coasters in years. I think I got tired of picking them up when the kids were litte. I should try again now that they’re bigger! I like your idea!
-Kim
Love it! Girl, you are my NEW source for INSPIRATION! I wish you lived in my neighborhood! BTW, LOVE this paper, I have a bunch of it that I use to make the most awesome cards! BTWx2 – my house is also dark brown, but I decided to go with green instead of blue, too funny! I call it my chocolate house – dark brown (chocolate), white (chocolate) and a little bit of green (mint, but not really mint green, lime green). LOL
Thanks for the idea! I got a whole box of tiles at a garage sale for free a few weeks ago and thought I could make something with my son over summer break! I have a few thousand dollars worth of scrapbooking paper that I now can put to good use, lol! Maybe we will do tiles for decoration somewhere. 😉
What a great looking finished project! I’ve always wanted to try to make coasters…..thanks for the inspiration!
This article has been up a while, but I hope you’ll answer. In the picture, you are using Hard Coat Mod Podge. I have heard that Outdoor Mod Podge is recommended for coasters since it’s watertight, although Hard Coat is for everyday use. How have the coasters held up to water? Is Hard Coat definitely your recommendation?
Were the tiles shiny and smooth before you used them? I just got a couple tiles at ReStore but I wasn’t sure if glue or paint would adhere… Thanks!
Hi Hilary! I honestly don’t remember, but I know that the Mod Podge will still adhere to them if they are shiny.
I am wondering, after a year or so….have your coasters held up? Did the Mod Podge stay intact with hot beverages placed on the coasters? I am making these and trying to find a good water-proof sealer that will hold up under hot and cold things. I tried clear spray paint but it smells so bad (even after curing) that I am afraid the recipients of my coasters are in danger of brain damage…ick. So I’m trying to find something that is going to hold up, without the icky smell.
I am very interested in hearing your reply to Albo and Heidi’s messages. I have made a ton and would like to know how to seal so that they can handle hot mugs.
Thank you
Thanks for the step by step! Great instructions – my first layer is drying now. I wasn’t able to view your pictures – not sure if that is on my end or if your site has changed??? Would love to see your step by step.
Too bad you threw the slate coasters in the trash. Donating them or even leaving them in the yard or garden would have been a more ecological alternative.
Yours turned out so pretty! I’m obsessed with DIY coasters. I made them last week for my blog, and I’m giving away a set to a random commenter! You can see them here:
http://www.paintsandpans.com/2012/01/23/diy-coasters/
Love your blog!
-Natalie
Hot mugs stick onmy newly made coasters!!! I used matte finish modge podge then clear coat spray. I allowed ample drying time in between several coats. I also tried modge podge brand acrylic sealer spray on top of clear coat. No luck, still sticks. Does anyone have any idea if it will ” set ” over time and sticky will stop? I do not know if it is the modge podge or acrylic coat that is the problem. Again, plenty to time lapsed in the Texas heat to set the coat. I made them about three weeks ago and used photos and keep sakes to make the coasters for Christmas gifts. Thank you.
Hmmm…I think the sticky will stop. I bet the humidity is having something to do with it (I’m in Austin and it’s so HUMID). I’ve never had any problems after I used the clear coat, though, and I even Mod Podged and sprayed something this past weekend. Are you leaving them outside or inside?
Hello,
I really like your coasters .
May I ask where did you get your scrapbooking paper and what color is your paint?
Thanks,
Pam
Really good tutorial and thanks for the laughs! Seems the hot mugs still cause problems and that is mostly what I use coasters for. Is there any solution to the sticking problem yet?
I made these and also did a tutorial on my blog—just found yours today well after you posted it. I used a clear coat engine paint to seal them and have not any trouble with hot mugs sticking. The trick is to let them seal for a pretty long time before putting hot items on them. I have that same scrapbook paper, btw!!! 🙂 Here is my post on it:http://bethannchiles.com/2012/11/16/coasters-everywhere/
I would like to make some of these as gifts. My question is …. how many coats of Mod Podge do you recommend over the scrapbook paper? Then for the finish coat what product do you recommend for the seal? I really don’t want the coasters to get sticky. I am sure they will put hot mugs on them.