Today is Day 30 of a 31 day series on creating and cultivating an eclectic home. For some crazy reason, I have accepted The Nester’s challenge to write on the same theme every day for the month of October. This may end up killing me. Or you. But, I appreciate you reading and welcome your comments.
Not too long ago, I assigned some homework to you guys. I wanted you to find a chair to rehab so you could bring some great color into a room in your home. As far as I’m concerned, a piece of painted furniture is one of the easiest yet most substantial changes you can make when you are aching for some color.
I, too, found a tired chair. She was thrown in the corner of a little shop here in town, with several other items stacked on top of her. She needed to be rescued.
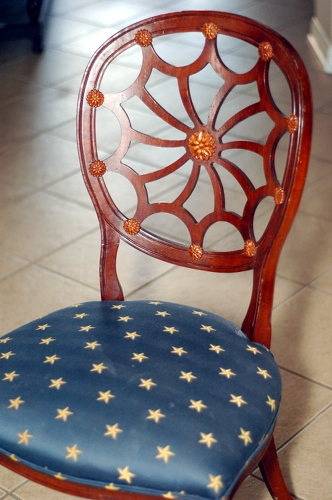
Oh, the poor little chair. She had so much potential, but she desperately needed a makeover. Over the course of just a few days, she found a new life and now adds a fun touch to my bedroom.
How to Rehab a Tired Upholstered Seat Chair
1. I began by removing the yucky upholestry from the chair. I didn’t worry about pulling out the upholestry staples. I just used my scissors and cut off the top layer of fabric and the batting. This revealed an original layer of fabric (this chair was being made over for at least the 3rd time), and I just left that one in place.
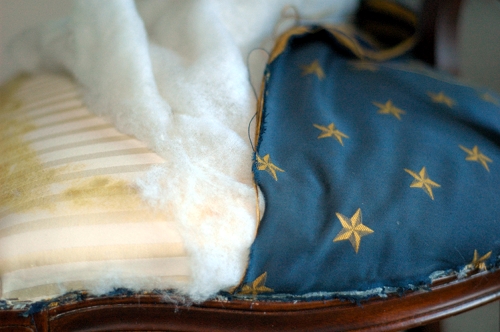
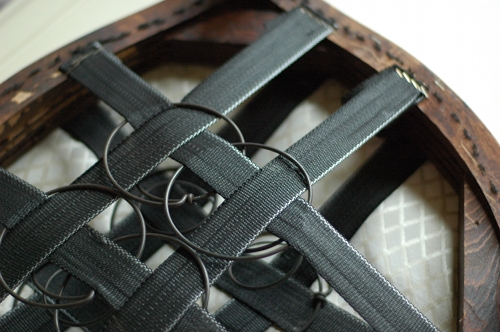
The dust cover on the bottom was also ripped, so I removed it the same way. If it had been in good shape, I would have just left it alone.
2. Next, I sanded the wooden frame of the chair to remove the shine and years of grime. I sanded with a 150 grit and then a 220 grit sandpaper. I wiped the chair down with a wet cloth between each sandpaper grit and when I was finished.
In order to prep the chair for painting, I used ScotchBlue painter’s tape to tape off the fabric around the frame. This isn’t absolutely necessarily, but I didn’t want to get a lot of paint on the fabric I was leaving on the chair.
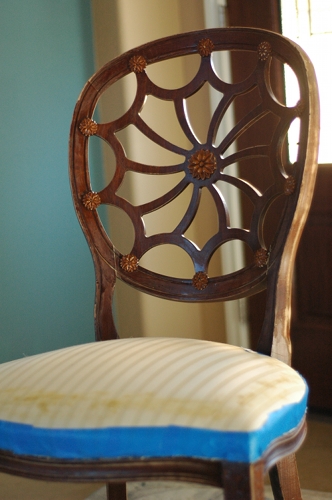
3. I primed the wooden frame of the chair with Kilz primer and a Purdy paint brush. I prefer to prime wooden pieces with a brush or roller instead of using a can of spray primer. It’s a personal preference, but I think the finish is much smoother when done by hand.
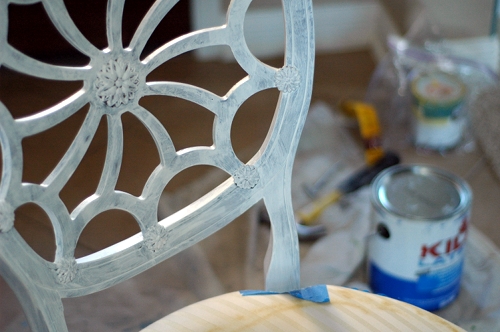
4. I had some of the yellow paint left over from my dresser rehab, and I used it to paint the chair frame once the primer was dry. Again, I just used a paintbrush.
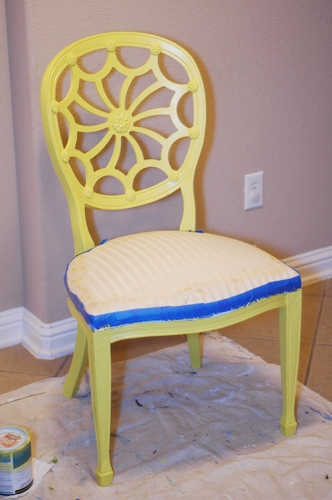
5. I decided that the chair needed a little depth so I {surprise! surprise!} glazed the detailing with my favorite Ralph Lauren glaze tinted to Black Silk. I used a cheap chip brush (not my Purdys!) and dabbed the glaze into the detailing. I worked a section at a time dabbing, wiping with a wet cloth, wiping gently with a dry cloth, and wiping only what I wanted removed with another wet cloth. Once you have the technique down, glazing is quick and easy (although I was really scared the first time I ever attempted it).
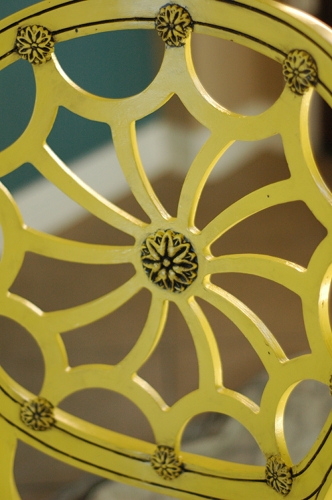
When the glaze was dry, I added 2 coats of glossy Minwax Wipe-On poly.
6. After the poly was dry, I sprayed some spray adhesive onto the original fabric (see why I kept it?) and laid a thin sheet of craft batting on the top. I stapled it above the frame in a few places. If you have access to a pneumatic staple gun (one that attaches to an air compressor) you definitely want to use it. Otherwise, you can use a regular staple gun, but just be prepared to remove about 4/5 of the staples that don’t go in all the way.
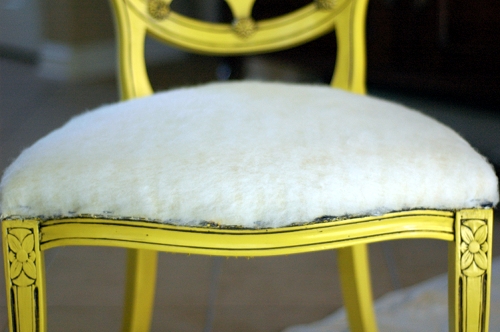
7. I laid the fabric over the batting, stapled it on one side, pulled it tight, and then stapled it around the frame. I cut away the excess fabric as I went around each side. Again, this step is made ridiculously easier with a pneumatic staple gun.
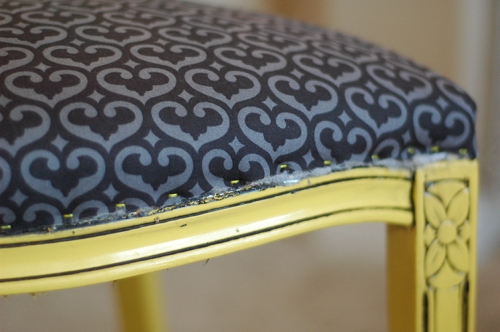
8. Lastly, I applied a thin bead of hot glue over the staples and attached some gimp trim. It finishes the look and hides all of those staples.
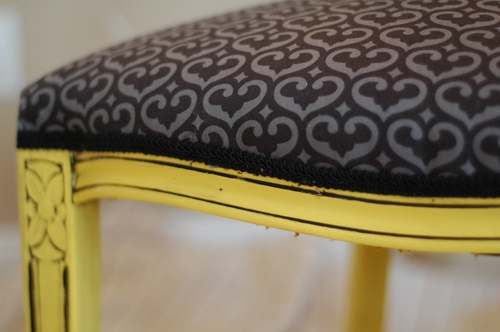
9. My local fabric store was out of the type of fabric I like to use for a dust cover, so I haven’t added that yet. I bought some plain cotton fabric to use, but I really like to use dust cover fabric so I’m going to wait until it’s back in stock. I will just staple it on the bottom of the chair, folding the raw edges to the inside of the chair.
That tired little chair, once neglected at a an antique/vintage/junk shop, now has a new life in the sunny bay window in my bedroom.
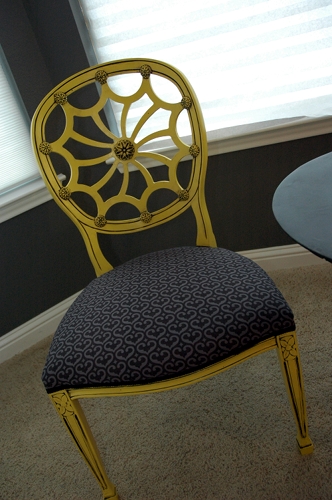
Now, it’s your turn. I challenge you to paint your chair frame any color other than black or white. What color will you choose?


 Original source unknown
 Original Source Unknown