Makely

Let's Make Life Awesome

  • Home
  • Decorating/DIY
    • Create Your Decor
    • Decorate Your Home
    • Paint Your Walls
    • Transform Your Furniture
  • Healthy Living
    • Essential Oils
    • Family Wellness
    • Household Care
  • Project Gallery
  • Contact
You are visiting: Home » Eclectic Home » Page 7

{31 Days to an Eclectic Home} Day 19 – Adding an Element of Surprise

by Lindsay Ballard on October 19, 2011 7 Comments

Today is Day 19 of a 31 day series on creating and cultivating an eclectic home.  For some crazy reason, I have accepted The Nester’s challenge to write on the same theme every day for the month of October.  This may end up killing me.  Or you.  But, I appreciate you reading and welcome your comments.

One of my favorite parts about putting together an eclectic room is that it is so easy to add an element of surprise.  I love that someone can walk into my home and be delightfully shocked by something fun I have placed in a room.  I think that every eclectic home is well served by a few whimsical surprises, be they an old piece repurposed in a fun way or something that’s new and creative.

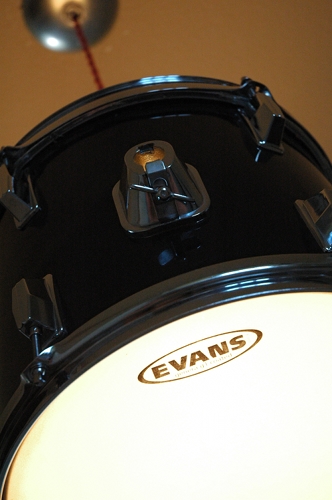
In the last month, the favorite in my home has been the real drum shade pendant.  It’s great to see the look on someone’s face when they go from thinking it’s an interesting light fixture to actually realizing that it’s made from a drum.
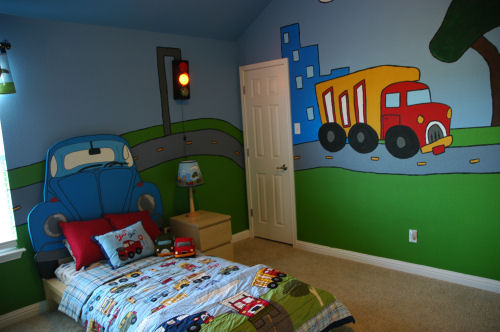
I also love hearing the squeals of delight, from children and adults alike, when my son escorts them into his bedroom.
The question, “Is that a dead tree in your entry way?” is always a good one, too.
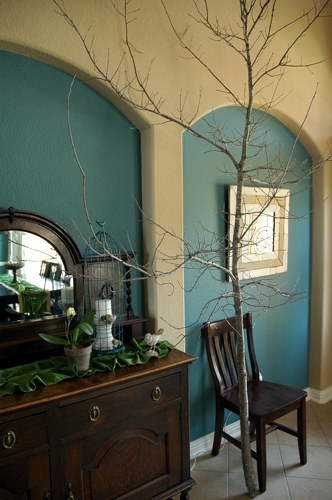
I have two small but fun surprises that I’m working on for my bedroom right now.  What surprises would I find if I walked into your home?
{31 Days to an Eclectic Home} Day 18 – Layering Your Room

by Lindsay Ballard on October 18, 2011 70 Comments

Today is Day 18 of a 31 day series on creating and cultivating an eclectic home.  For some crazy reason, I have accepted The Nester’s challenge to write on the same theme every day for the month of October.  This may end up killing me.  Or you.  But, I appreciate you reading and welcome your comments.

I have a confession.  I used to spend hours watching “The Christopher Lowell Show” on the Discovery Channel.  Back just 10 years ago, there were very few design shows on TV.  It was thrilling to watch someone design a room, a task usually performed behind closed doors at the hand of a pricey interior designer.

I’m going to be honest – I thought Christopher’s style and designs were mediocre, even at the time.  Occasionally he’d produce some interesting ideas, but most of the show was cheesy schtick wrapped up in costumes and faux wall treatments.  If you ever watched the show, you know just what I’m talking about.

But hidden in all of the craziness, Christopher taught his viewers a skill that I continue to use all these years later.  He honed a formula for layering a room, and passed it along to us.  I know it’s killing many of you that I post photos of my master bedroom in progress with no accessories and no window coverings.  Well, it’s because Christopher taught me to think about my room thoughtfully as layers instead of just throwing it all together.

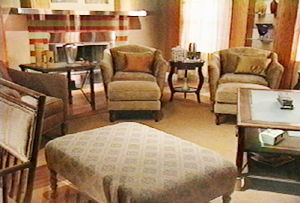
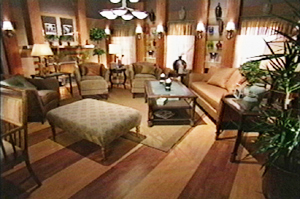
Although the photos are terribly dated, I still feel that his “Seven Layers of Design” are worth being shared.  I know it’s difficult, but you should look past the example photos and see the method being described.  If you consider decorating in layers while you are putting together an eclectic room, your room will end up with far more visual interest.

The Seven Layers of Design

Layer 1: Paint and Architecture –   Consider the paint color of the walls and the ceiling.  I know that seems backwards, as most people choose a paint color based upon upholstery fabrics.  In my opinion, when you are working within a room, you generally know what color direction you are headed.  If you choose a neutral color (and not beige!) that will work with your color scheme, you will be fine.   Also take into account the architecture of the room, such as trims and moldings.

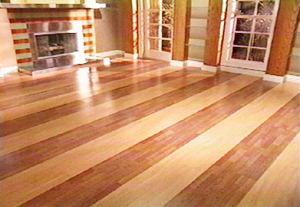
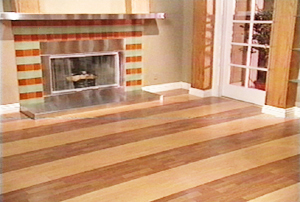
Layer 2: Installed Flooring – Most DIYers who are redoing a room are likely working with existing wall-to-wall flooring, be it hardwood, tile, laminate or carpet.  If you get to replace your flooring, keep it simple and without bold patterns (and not at all like the floor shown below, which totally scares me when paired with that fireplace).

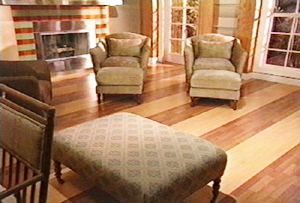
Layer 3: High Ticket Upholstery Items – Now you add in your larger and likely more expensive pieces of furniture.  Lean toward solid colors, as these items are still considered part of the background.  Christopher suggests making sure the pieces are of solid construction, so they can withstand repeated reupholstering in the future.  He also suggests that they be of simple, more classic lines, but again, that doesn’t necessarily mean they have to be beige.

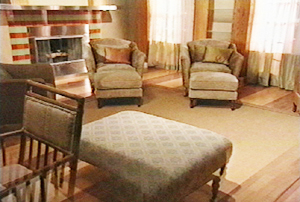
Layer 4: Accent Fabrics – Now’s the time to add in pattern and texture.  Do it through pillows, window treatments and area rugs.  This is where I like to go wild and do something a little funky (unless I paint a crazy pattern on my walls and go much tamer with my accent fabrics).

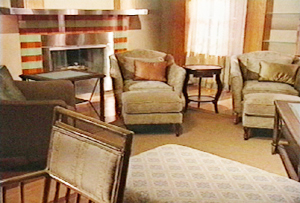
Layer 5: Non-upholestered Furnishings – Christopher describes these pieces, such as side tables and coffee tables, as the work horses of the room.  They are the pieces that serve your storage and display functions.  I also feel like these are the pieces that can help inject some major color into your room if you look beyond traditional wood stains and metal finishes.

Layer 6: Accessories – Now is finally the time to add accessories.  Hang your art, group smaller objects into collections, and vary objects by height and color.


Layer 7: Lighting and Plants – Lighting is extremely important.  Christopher says that light from the midpoint of the room, such as from lamps, is the most important.  You can use spotlights to cast light directly onto particular objects.  He was also big into uplights which, when placed behind furniture or plants, cast interesting light and shadows on walls (I’m not sure that uplights  are particularly of the moment, though).  A few well-placed plants provide life and energy in a room.

Well, there you have it.  As dated as it seems, I generally follow this formula when putting together a room.  For my master bedroom, I am finally on Level 6.  I’m hoping to be finished by the end of this month and will be able to bring you the big reveal.  For those who have been reading along for a while, I think you will be very surprised with how far it’s come since the last time I shared my progress.

What do you think about the Seven Layers of Design?  Do you feel like it would help you to think about putting together your room in a more thoughtful manner?

« Previous Page
Next Page »
  • Email
  • Facebook
  • Instagram
  • Pinterest
  • Twitter

About Makely

Lindsay Ballard is a former college mascot turned political geek turned roller derby playing, DIY fanatic.

Lindsay chronicles her projects, design ideas, and lifestyle tips here at Makely, where she shares tutorials and inspiration. Her DIY designs are bold and graphic, while her spirit is fun and full of color.


Archives

Categories

PRIVACY POLICY
Copyright © 2009-2019 Makely School for Girls | All Rights Reserved | Posts may contain advertising content or affiliate links