My renewed creative spirit has really energized me, y’all. I have a list a mile long of projects I want to do now, and I’m waking up excited to see what I can get done each day. I had forgotten how much I thrive on creativity!
As a part of that process, I’ve decided to take my heat transfer vinyl game up a notch. I love making HTV items, but I always have trouble with the designs lifting. It seems that I can’t get enough pressure on the design, and my household iron just doesn’t get hot enough to really adhere the vinyl to a shirt.
So, I bought myself a gift – an actual heat press! I bought this bad boy (Amazon affiliate link) about a month ago, and I’ve been going hog wild putting HTV on everything in sight. I seriously couldn’t recommend this heat press more, so add it to your wish list if you are in the market. And if you have any questions about it, let me know and I could put together another post on the heat press.
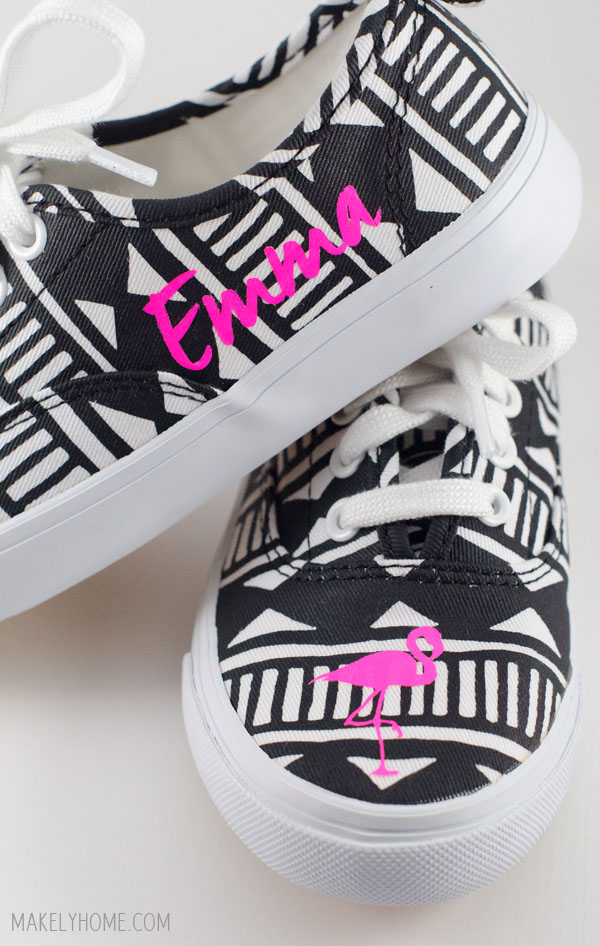
I found some cute little shoes for Emma at Old Navy, and I decided I wanted to try to put some HVT designs on them.
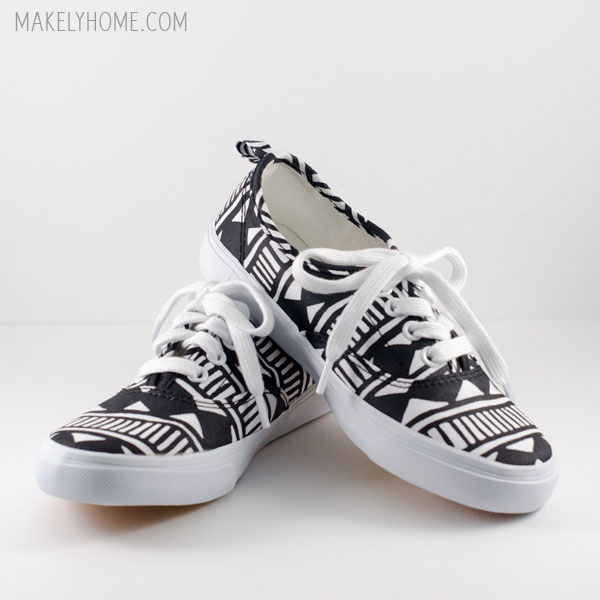
Crazy idea? Sure was. But did they turn out adorable? Absolutely.
Here’s the easy process I went through to make these. Those of you who have craft cutters, listen up! I use a Silhouette CAMEO (Amazon affiliate link) and am very happy with it.
I began by finding a piece of black and white flamingo clipart online. I imported it into my Silhouette Designer Edition software, and “traced” the design. If you need help learning how to trace in your Silhouette software, check out this post.
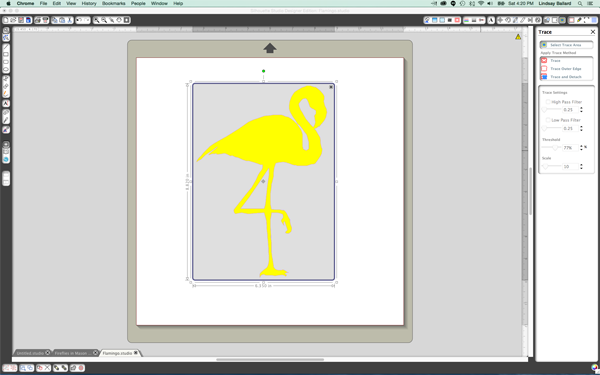
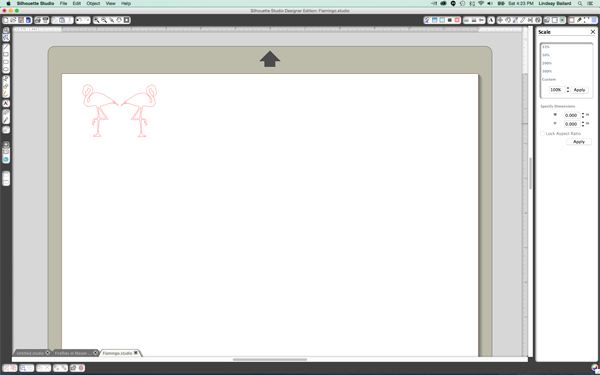
Then, I was left with the outline of a flamingo. I resized it so that it would fit on the toe of the shoe, duplicated the design, and then flipped one of them so that the flamingos could be facing each other.
I wanted to put her name on the side of the shoe, so I found a cute font and sized her name so that it would fit.
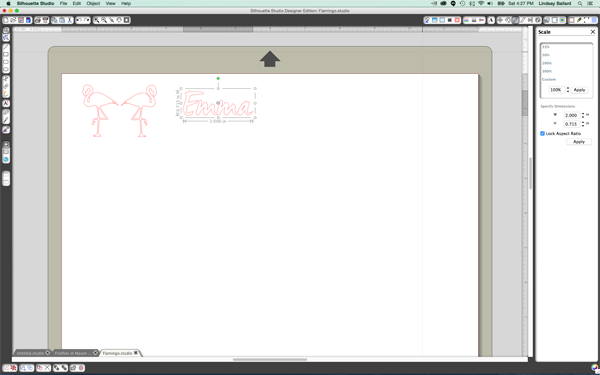
I duplicated her name and then flipped the entire design horizontally – you have to cut out all HVT in reverse!
I cut the design out of Siser Easyweed vinyl in Fluorescent Pink. Over the past few years, I have traditionally only used Siser vinyl for my HVT projects, because they have many different texture and color options. Additionally, I think their vinyl just cuts cleaner and adheres better than other brands I have used. I generally buy pieces of Siser vinyl at Expressions Vinyl, but Siser sent me a sample pack recently – including this Fluorescent Pink.
After cutting the design, I trimmed and weeded the pieces.
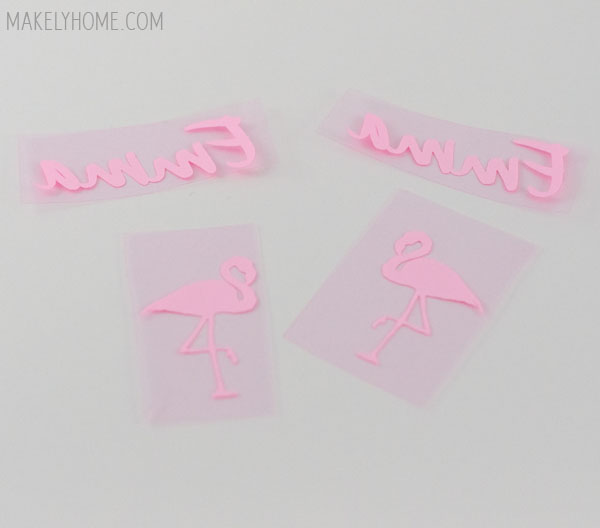
Then, as my heat press was warming up, I positioned the elements on the shoes. I used heat resistant tape (Amazon affiliate link) to secure the designs so that they wouldn’t shift.
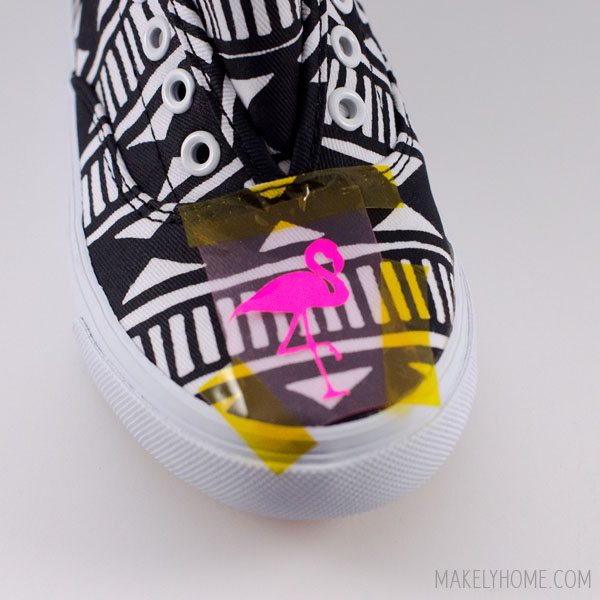
Then, I wrapped a Teflon sheet (Amazon affiliate link) around the shoe and carefully pressed each design to the top plate (the heated part) of the heat press. I have heat resistant gloves (Amazon affiliate link) I wear so that I could get my hand inside the shoe and really press hard. Siser Easyweed HTV is recommended to be applied at 305° (see why HTV doesn’t work great with a household iron?), so I wanted to be careful in case I accidentally touched the top plate.
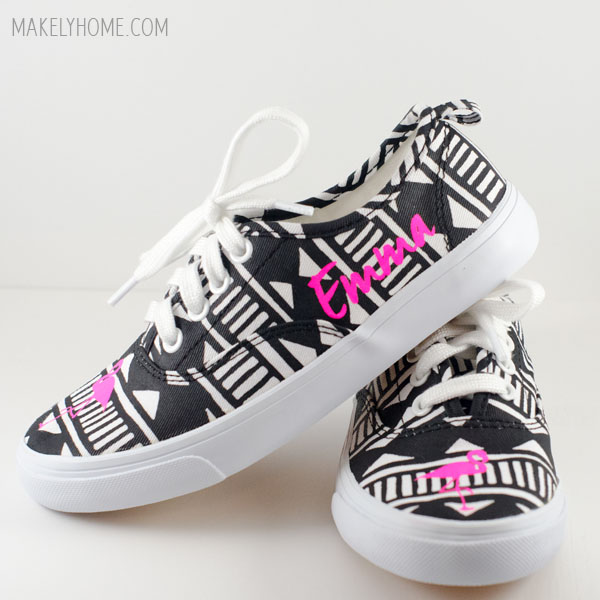
 When the vinyl was secured, I peeled off the clear transfer sheet and her shoes were ready to go! They turned out so darn cute!
Do you do HTV projects? If so, check out the Siser app on the App Store and Google Play. They have all of their colors listed and many excellent how to videos.
Siser sent me a sample pack of heat transfer vinyl to use in a few projects. All ideas and opinions are my own.