This post is sponsored by Rustoleum.
One of the easiest (and cheapest) ways to refresh your kitchen is to give the cabinets a little face lift. Sometimes, a little change such as adding/changing the hardware on the doors and drawers is enough. However, he majority of the time, a fresh coat of paint or a new stain on the cabinets makes the biggest impact.
If you are like me, you’ve seen fabulous kitchens all over Blogland transformed by washing, stripping, sanding, priming, painting, and using a lot of elbow grease. While the outcome is usually gorgeous, I get nervous thinking about doing all of those steps exactly right so as not to really mess up the largest focal point of one of the most used rooms in the home. Yep, I’m scared.
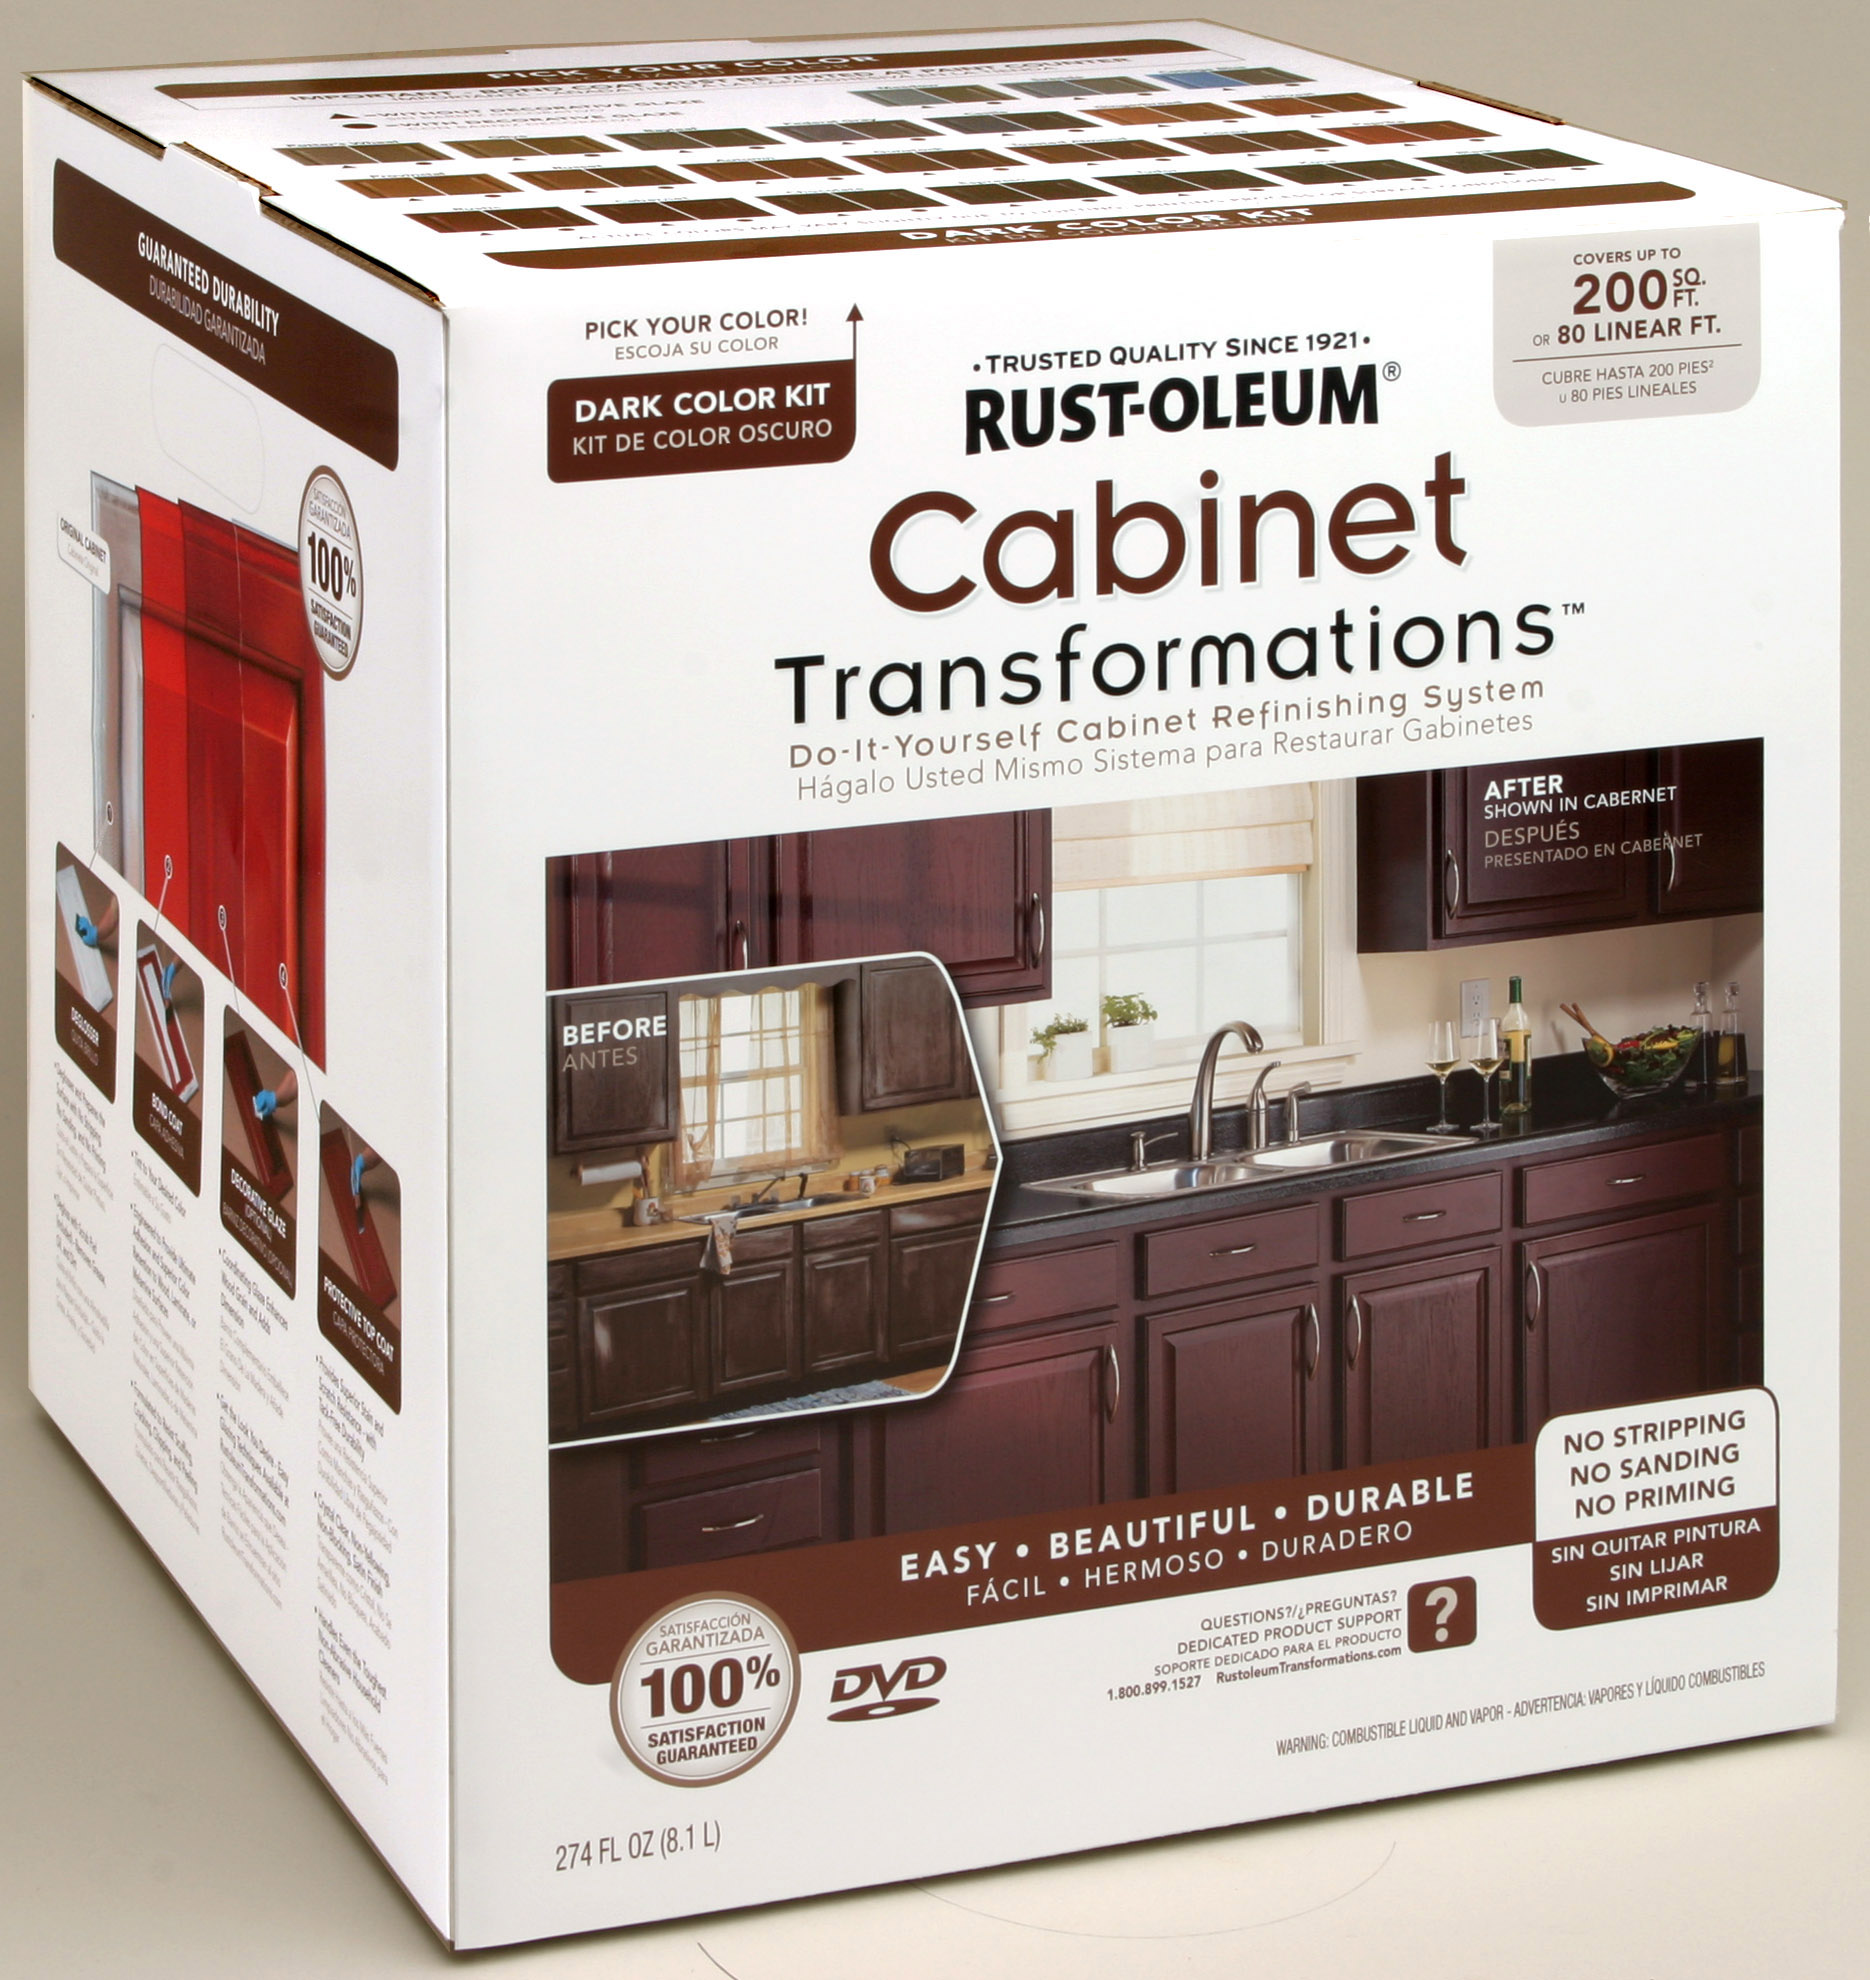
In early February, Rust-Oleum hosted me in New Orleans for a little hands-on time with a new product designed to take the worry out of updating your kitchen cabinets – Rust-Oleum Cabinet Transformations. They promised no sanding, no stripping, and no priming with the new product, and I wanted to call their bluff.
Okay, not really. The Rust-Oleum family of brands includes some of my favorite products, including my beloved Zinsser line of primers, so I figure they know what they are talking about.
The Cabinet Transformations product is a kit sold in home improvement stores (it’s definitely at Lowe’s and Home Depot). It’s a water-based, multi-purpose product for use on wood, laminate, melamine and metal. You take the kit up to the paint counter and ask them to tint it in one of 35 different colors – which becomes 70 when you add the optional decorative glaze.

Then, you take it home and get to work. The process is four steps and it’s really no more difficult than painting and wiping.
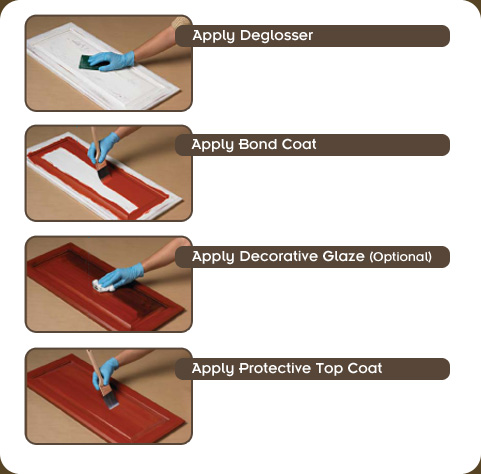
The product experts at Rust-Oleum demonstrated how to use the product and then put us to work ourselves. It was honestly no more difficult than the above instructions. The Cabinet Transformations kit comes with an instructional DVD or you can watch it here.
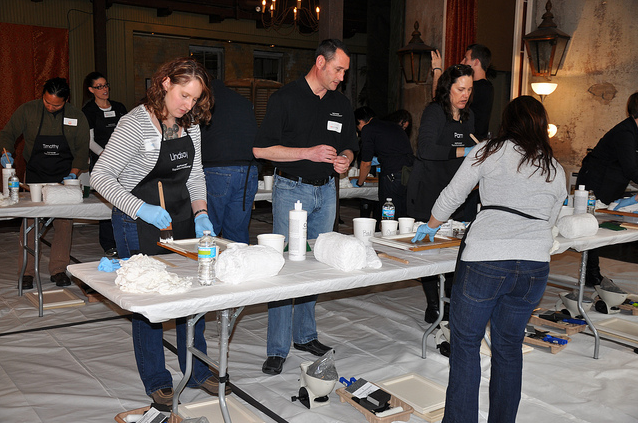 Hey, that’s me!
I have absolutely zero complaints about this product, and I honestly do recommend it. I even tried to scratch some of the dried sample cabinets with my fingernail to see if the paint would come off, but it didn’t leave any sort of mark. Shhh…don’t tell the Rust-Oleum people that I tried to destroy their cabinets. But, in case you don’t want to just take my word for it (Gah! The nerve!), check out these testimonials – including my favorite transformation by Savannah:
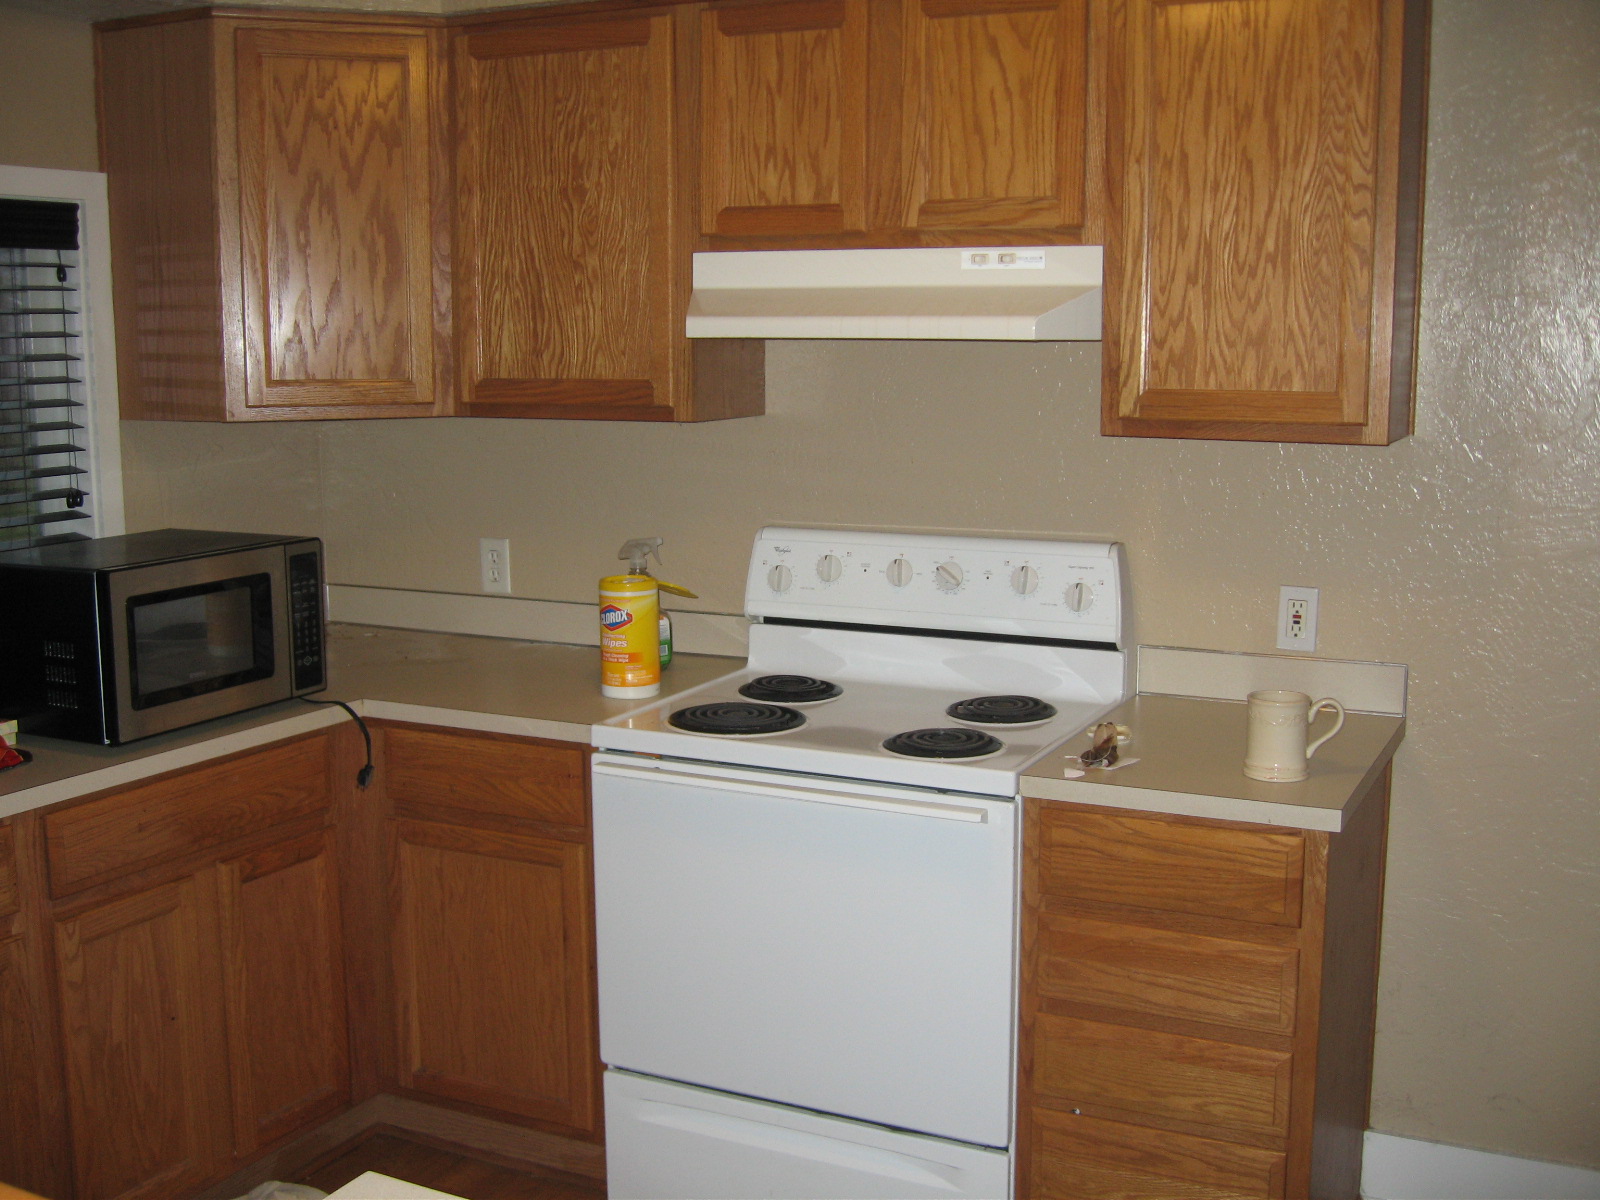 Before
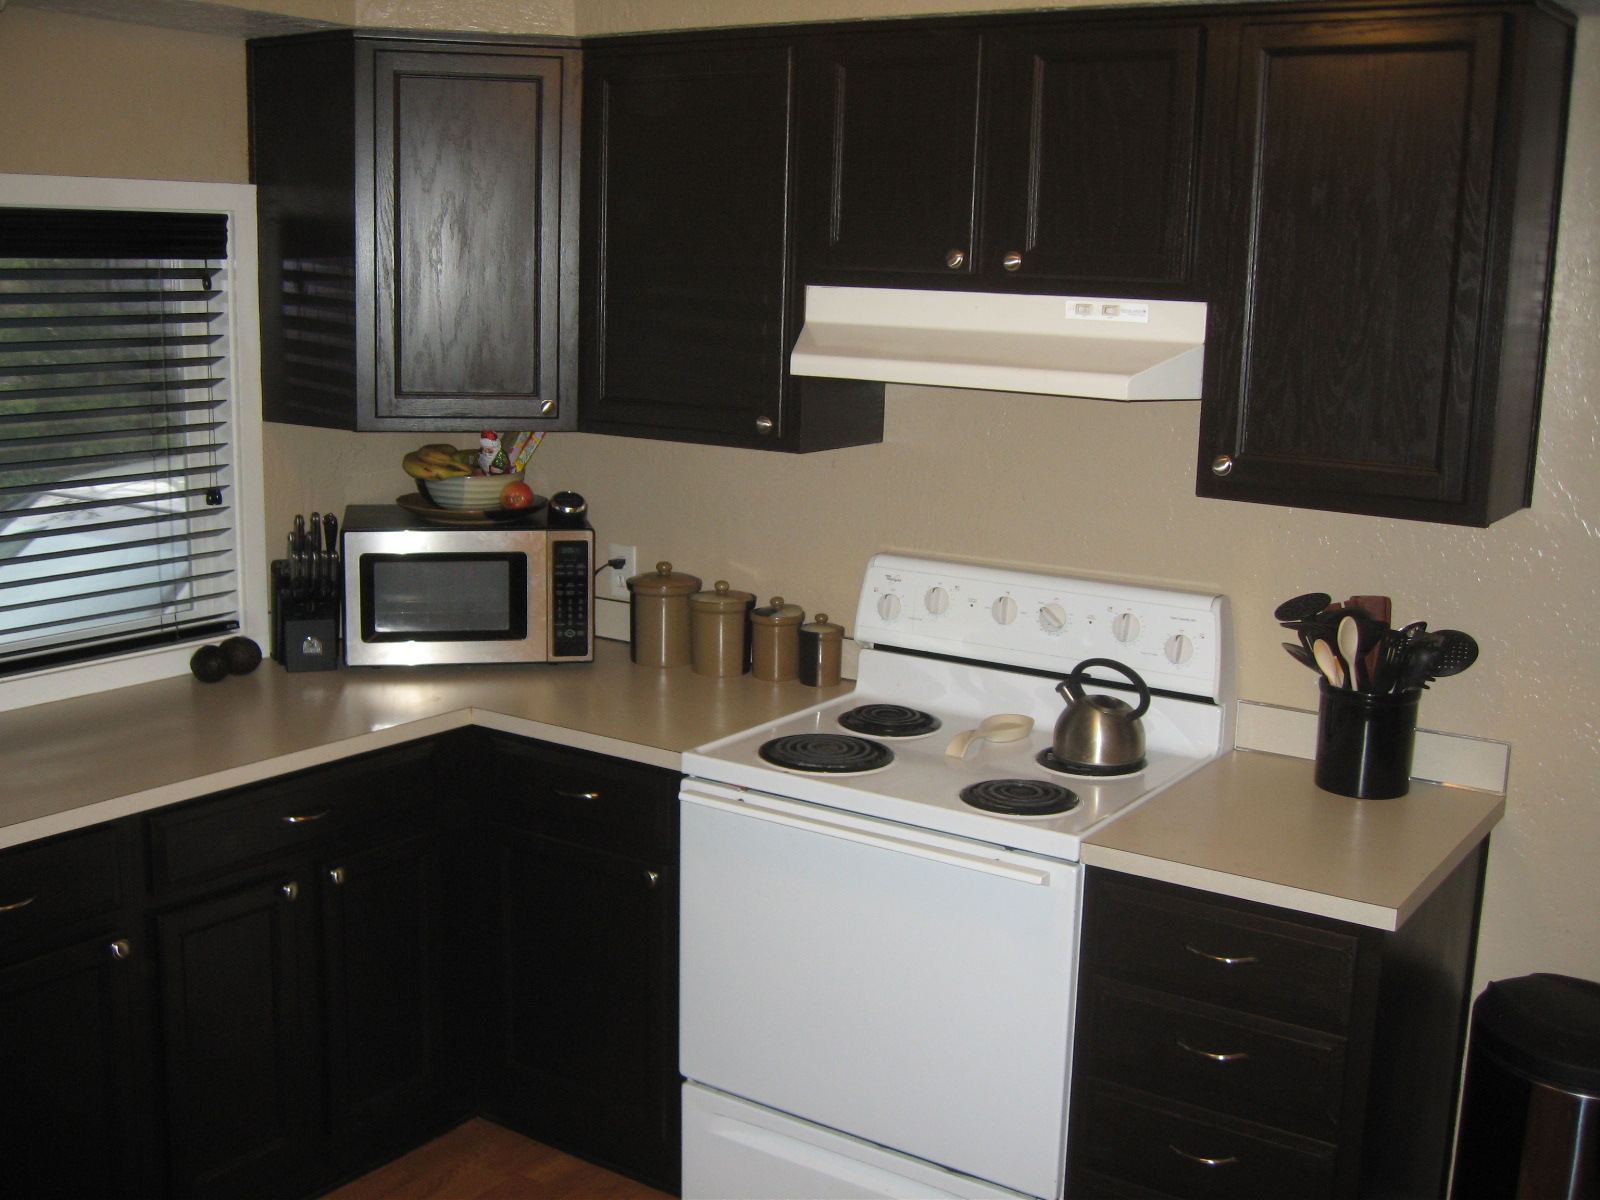 After
After
Doesn’t that look great? You can’t really tell in these photos, but the decorative glaze makes a big difference when used over the bond coat. When transforming your cabinets using the lighter colors, I recommend using a light hand with the glaze and really just work it into the corners instead of spreading it all over. Perhaps it’s just the aesthetic that I am drawn to, but I thought it looked best that way.
The Cabinet Transformations kit comes in 2 sizes – Small (covers 100 sq ft, like a condo) and Large (covers 200 sq ft, like an average kitchen) – and has the suggested retail price of $79.99 and $149.99 respectively. Upon first glance, the price seems a little spendy, but once I calculated the cost of sandpaper + primer + paint + protective coating + a lot more time, I decided that it was well worth the price.
Also, since this product can be used on so many different surfaces, there are many other items you can transform with the kit, such as LAMINATE FURNITURE! See? An (easier) way to paint laminate furniture than my original tutorial. Woo hoo! I know all of you who have been emailing me about your laminate bookcases and dressers are doing a happy dance right about now.
Does this sound like a product that you would use? I’d love to get your opinion and answer any questions you may have in the comments – and if I don’t know the answer, I’ll get in touch with the fine folks at Rust-Oleum and find the answer for you.
P.S. We also got a hands-on experience with the sister product, Countertop Transformations. I’ll review that one for you in an upcoming post.