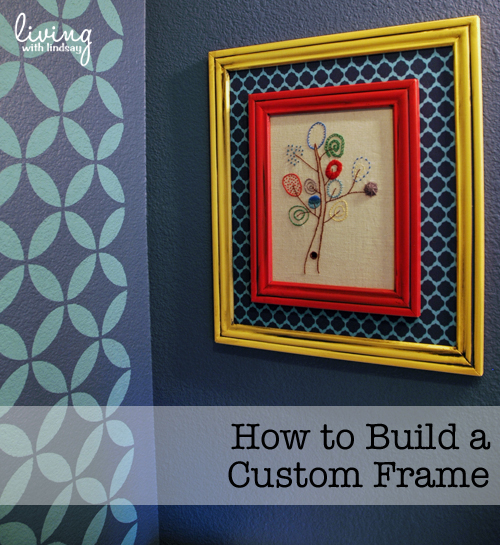
After I took my crewel work class a few weeks ago, I forced myself to close my computer and work on finishing the stitching on my sampler pattern. Each night, I worked on it for about half an hour instead of randomly flipping between Pinterest, Facebook and Twitter. I’m not a person who relaxes very easily, and I have to say that working on this needlepoint project worked well for me. I see more hand embroidery in my future – for the sake my own sanity.
Once I completed the project, I realized that the sampler was an odd size. I wanted to frame and hang it in my powder bath for the finishing touch to that room, but I was going to have to get creative on finding a frame. I decided to just build my own with some wooden trim from The Home Depot. I made a few mistakes along the way, but I am ultimately happy with the way it turned out.
I put together a tutorial of the process so that you could easily build your own custom frame, too. Although I do use a compound miter saw, power tools aren’t necessary. I will explain below.
How to Create a Custom Sized Frame
1. Measure your piece and decide the inner dimensions of your frame. Purchase trim from the home improvement store in that size, making sure you buy extra length in case you make any mistakes. Trust me, and save yourself the trouble of having to go back a second time to buy more.
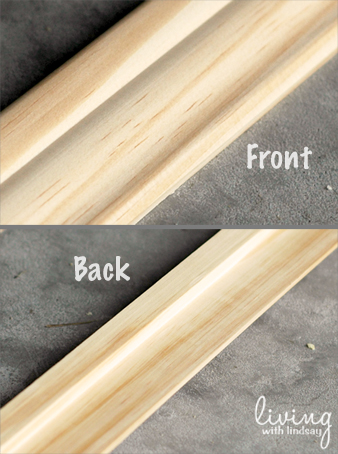
The trim I selected was pine panel casing, and it ran $1.16/foot. I chose this trim because it had a lip on the back. When I put my picture frame together, I wanted it to have a place for the glass or framed piece to sit into like a frame you buy from the store has. I hope that makes sense.
2. Using my compound miter saw, I cut out four lengths of trim with 45 degree angles on each end. The length of the shorter side of each piece is equal to the dimension I wanted for each side of the interior of the finished frame. Obviously, the outer edge of each length is longer since the ends are cut to 45 degrees.
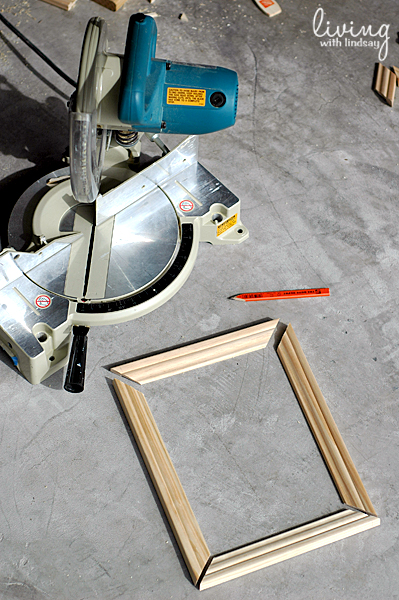
Because the 45 degree angle isn’t a compound angle (one cut at an angle on both the horizontal and vertical planes – I know, I just got super geeky), you can use a miter box and hand saw to make these cuts.
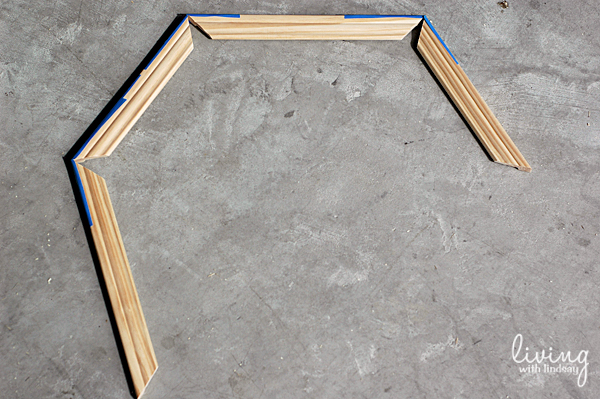
3. With blue painter’s tape or masking tape, put together three of your corners by wrapping the tape over the corners. Use two pieces in case one breaks (again, trust me) and pull the tape tight. You will want to make sure your inside and outside corners meet up correctly before you tape it.

Why just three corners? Well, I want you to be able to open the frame like so.
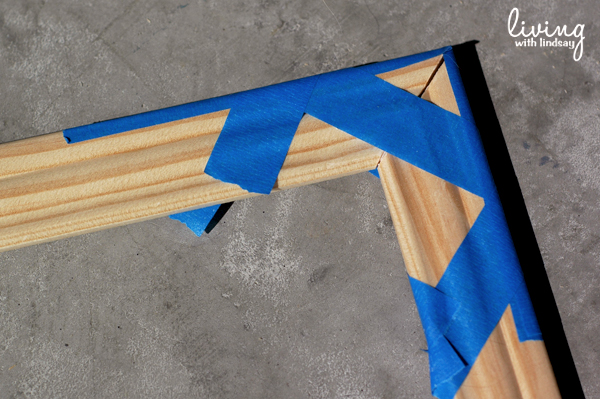
4. With the corners open, squirt some wood glue into each of the three corners and wrap more blue tape or masking tape around them to hold into place. Work one corner at a time, and make sure you wipe off any excess glue with a paper towel before taping.
Once your three corners are secure, your fourth corner should (hopefully) match up. Slide it apart, add the glue, and tape it both over the corner and around like you did the other three.
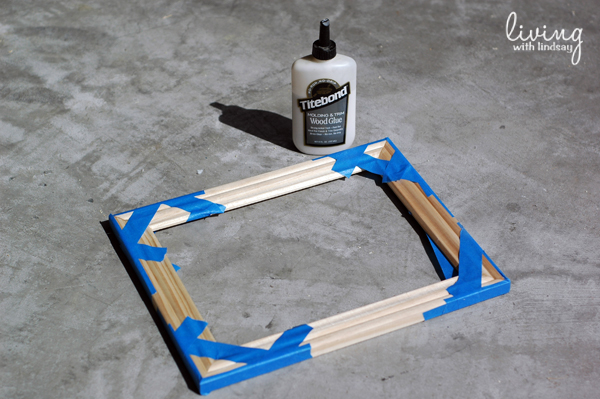
If your corner doesn’t meet up exactly perfect, don’t worry too much. We’ll fix that in a future step.
Lay the frame flat and allow the glue to dry. The label on the bottle I used said to allow 30 minutes dry time, but each brand is different.
5. Once the glue was dry, I removed the tape and lightly tapped some wood joiners onto the corners on the back of the frame. This will give the frame some added stability.
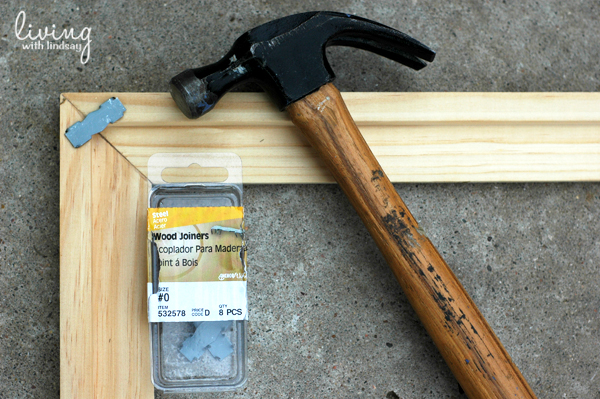
In hind sight, I wish I would have used a different type of joiner. As you can see in the above photo, these joiners overhang the corner lip a bit, so it made it hard to fit my piece inside the frame without a lot of trimming. If I were to do it again, I would have used a corrugated fastener, which is hammered into the frame in the same was as the wood joiners.
6. Next, I flipped my frame over and filled in the gaps at the joints with wood filler. Some gaps were larger than others. I applied the wood filler with my finger, and then lightly sanded it (I used 220-grit sand paper) when it was dry.
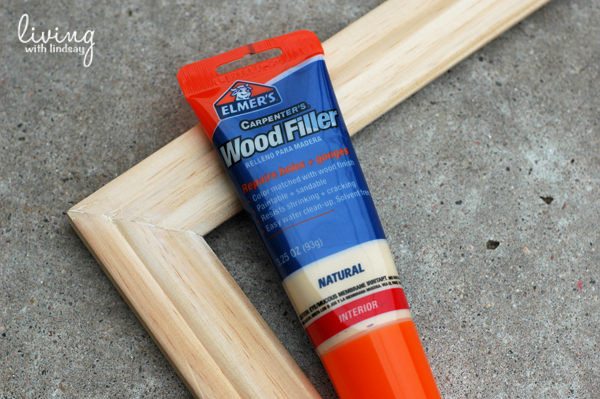
If I were a carpenter, maybe I wouldn’t have had any gaps in my joints. But, I’m not, so I did. No worries!
7. I then painted and glazed the frames. I was working on two frames, so I spray painted one a shade of red and the other a shade of golden yellow.
8. Once the paint was dry, I cut a piece of foam core to fit inside the frames. I covered the foam core with fabric (a printed piece in one and then my crewel work piece in the other) and secured the fabric to the back of the foam core with clear packing tape. Yep, I was that fancy.
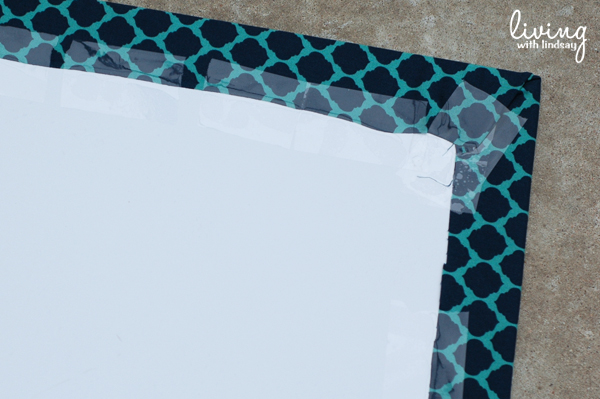
If you are going to be putting glass and photos in your frame, you would do that instead of foam core. You can either cut the glass yourself or have a custom piece cut at a local shop. Like any other frame, put in your glass, then your photo, and then add cardboard to the back until it is level with the back of the frame.
9. After inserting the foam core into the frame, I added more clear tape around the edges to secure it inside the frame. Again, super fancy.
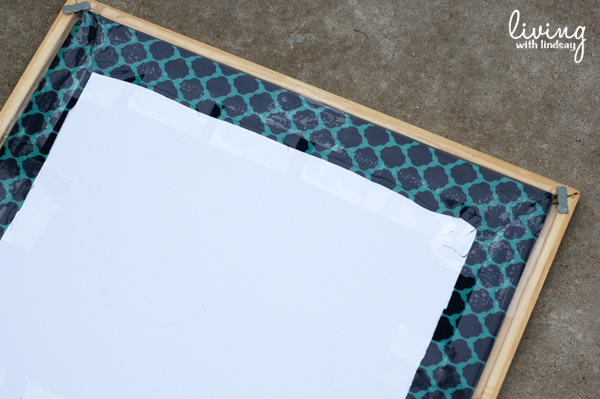
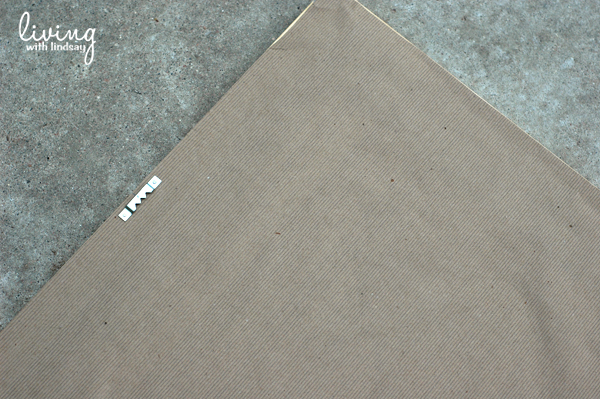
10. In order to hide my shame fanciness, I ran a heavy-duty glue stick over the back and glued a piece of kraft paper to the frame. I trimmed the edges with an X-Acto knife.
I also nailed a sawtooth picture hanger onto the back. You can find these hangers just about anywhere – even the grocery store.
11. Because I was hanging two frames on the wall, I used two nails. I put a nail in the wall and hung the larger frame directly to the wall. Then, I put another nail through the fabric and foam core of the larger frame and hung the smaller frame onto it.
The result is an awesome, layered piece of artwork in custom frames!
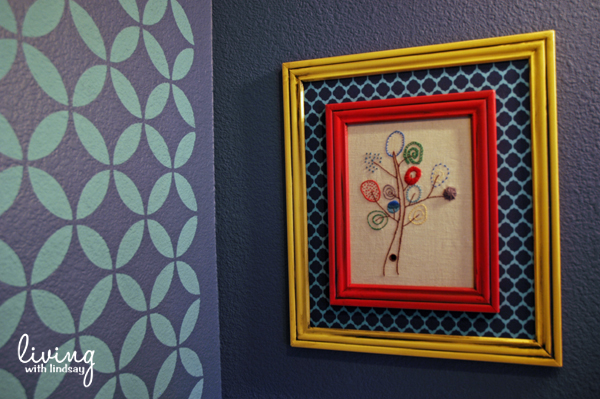
Can we take a minute to revel in the fact that I found that backing fabric in a perfectly complimentary fabric to the stencil on my wall? I couldn’t even believe it when I ran into it at JoAnn. I was looking for a more subtle print, but when I saw this navy and turquoise print, I decided that it was meant to be.
Have you ever needed to create your own custom frame? What did you do?
P.S. I am so honored to have been nominated for an Apartment Therapy Homie Award for the Best Home Design blog. Craziness! In case you don’t know, Apartment Therapy is like the best and biggest design blog out there.

I obviously know I won’t win when I’m up against the likes of some of the heaviest hitters in the blog world, but wouldn’t a Top 20 finish be neat? I’d love for your vote! All you have to do is visit the site and log in to AT to vote. If you don’t already have a log in name, you can just log in with your Facebook or Twitter account. You’ll have to scroll to find my blog name (but with every vote, it moves closer to the top). Thank you in advance for your support! The voting is open through March 2nd, and you can vote for as many of your favorite blogs as you would like.
this is SOOOO cute!! I never even considered such a thing .. I’m sure my house is so glad I’m now part of the blog world. lol no more boring picture frames / walls / houses .. etc. 🙂
I have taken several framing classes and a lot of what you did is the way it is taught. I love framing my own pics, and know that I can get “frame sticks” from the hardware store will help when i don’t have access to an arts and craft center on a military base. Thank you! And fyi the professionals put craft paper on the back of their finished pieces too 😉
This is soooo cute!! The combo of colors is great! So impressed with your woodworking skills! have a great day! 😉
Bonnie @ uncommon
Great tutorial! Do you have any tips for building a frame for a large mirror without a router or table saw?
Lindsay, I have to say I am pretty picky about what I put up on my walls. I usually go for the less is more approach. That being said what I choose to place on my walls is usually something unique and I have to say that I am in love with what you have created here. I have seen some of your other galleries that you’ve made like with the photo frames which I love as well. You have great taste and style. Awesome job. I can wait to see what you come up with next! Lesley
Great tutorial, Lindsay! And love your crewel. You’d like the Erica Wilson videos I’ve been showing on my site.
How beautiful! The unique framed crewel is so pretty!
I have paid incredible sums of money to have frames built for my at the craft store. I can’t believe it’s so easy! Thanks for the awesome instructions!
Hi Lindsay,
Great post. I’ve been making some larger frames myself and am glad to know about those wood joiners and the other hardware you mentioned. I haven’t tried those. We tried small L brackets which work if your frame is thick enough.
Thanks for the tips!
Love this! Thank you for this tutorial – I have a very large print I want to frame, but can’t afford the cost of the frame. Thanks to you, now I can!
I had been trying to find a way to make my own frame for about a week now! I’m so happy that I came across this post! I plan on making a chalkboard and need it to have a frame so that I can cover the frame with loteria cards. I have yet to decide what size I want to make the frame or what to use for my actual chalkboard. I’m thinking maybe some drywall?
I love the fluidity of your words. And I whole heartily agree about writing. It is very thitepeurac. Since getting sick, my vocabulary and sense of spelling has degraded but I don’t let that deter me. I will continue to write so long as there is something to write about. And I’ve got the journals upon journals to prove it. ^^
I stumbled upon your website while searching pinterest for help making my own picture frames. The way you presented the process is both informative and easy and made me feel like we were just havung a regular conversation 🙂
Thank you for sharing in spite of what seems to be a busy life and a fascinating mix of hobbies and career.
That’s what we’ve all been waiting for! Great posting!
That consideration peradventure had sown the seeds of an voluptuousness handbag brandin his managing director. Bargain shoppers often visits outlets prior to shopping with amichael kors outlet shop. His logo is inscribed or engraved during the entire design or feature centric details in the watch.
Hi great info, how do you keep the glass in the frame? I didn’t see info on that. Thanks for any help.
Instead of using clumsy corner fasteners you could use staples from a gun.It worked for me & is easier & quicker
This is a great article. The author provides clear and concise instructions, as well as helpful tips and tricks. I especially appreciate the emphasis on safety, such as the importance of wearing safety glasses and gloves when working with power tools.
One thing I would add is that it is important to choose the right type of wood for your frame. If you are planning on using the frame outdoors, you will need to choose a wood that is weather-resistant. Some good options include cedar, redwood, and teak.