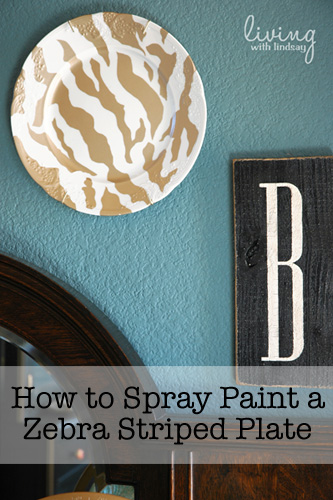
In honor of the 80 degree weather we had last week, I decided to refresh the vignette on my sideboard to give it a more spring feeling. On top of my green knotted table runner, I added a fabulous lamp and an old globe that I had found a while back at Goodwill. But, I felt like I needed something high above the sideboard for scale.
I remembered a great tutorial I saw a while back on how to create a Zebra stripe pattern on a side table using painter’s tape, and I decided it would be fun to try to replicate the technique on an old white plate I had laying around. The worst that could happen was that I ruin a white, thrift store plate. The best that could happen was that I could have a fabulous new piece of art for my wall. I think it was a best case scenario type situation.
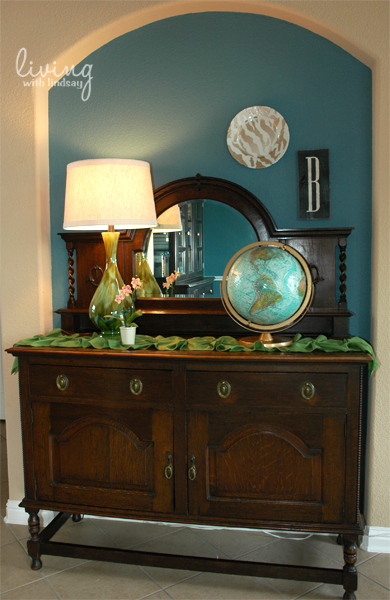
You wouldn’t believe how easy it was to paint that plate. I took some photos along the way, so that I could write a tutorial for you in case I liked the way it turned out. I loved it, so I’ve put together the instructions below. The plate only took about 30 minutes from start to finish (not including paint dry time), so you could pull off this bad boy today!
How to Paint a Zebra Striped Plate
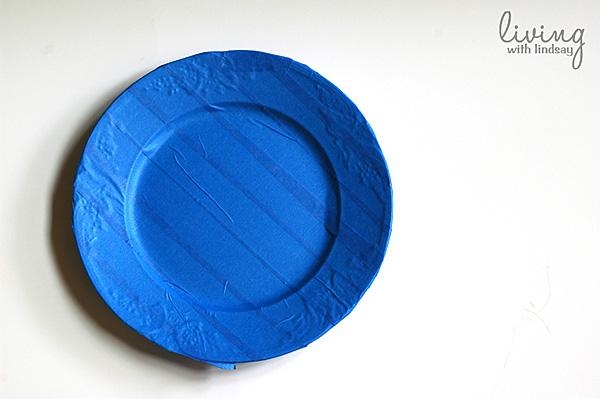
1. I washed and dried my plate, and then I covered it in painter’s tape. I overlapped the edges of the tape to make sure the whole plate was covered. You will see that my plate had a raised design around the edges, so I pushed the tape down really well in those areas.
2. With a pen, I drew a zebra pattern onto the plate. I’m not an artist, and I promise there’s no “right” way to do this. I actually searched “Zebra Stripe” in Google Images and just sort of copied a design that I liked. I then filled in the areas I wanted to cut out in black so it would make it easier to cut.
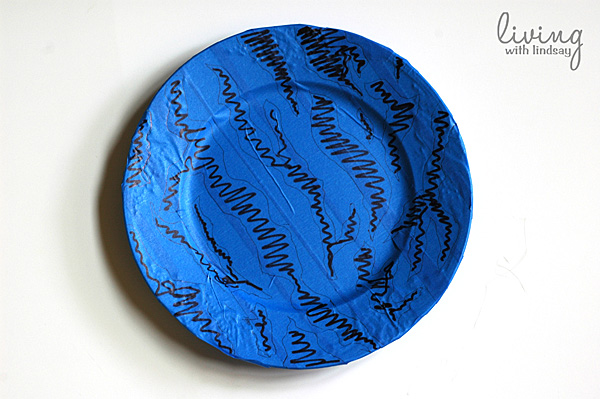
3. Using an X-ACTO knife, I cut along the pen lines I had drawn. It doesn’t have to be exact. I was happy that it was easier to cut than I thought it would be. I carefully peeled off and discarded the tape that I cut out.
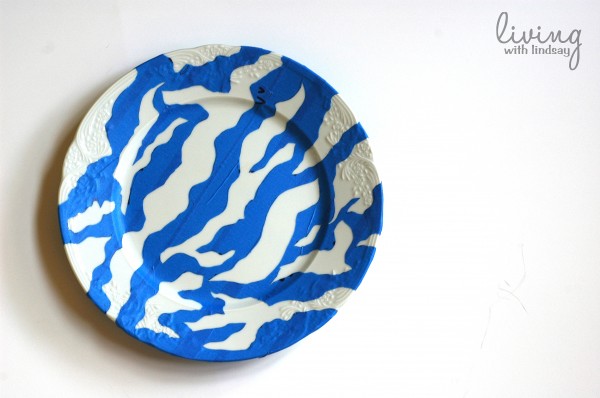
4. I rubbed my finger along the tape to make sure it had good adhesion to the plate. I took it outside and sprayed it with Krylon’s Brushed Metallic spray paint in Carmel Latte. That color was a good match to the gold in my thrifted globe.
I let the paint dry for about an hour and then carefully peeled away the tape. The result was so fun! I only had one tiny place where the paint tried to come up with the tape, and I was able to just push the paint back down onto the plate.
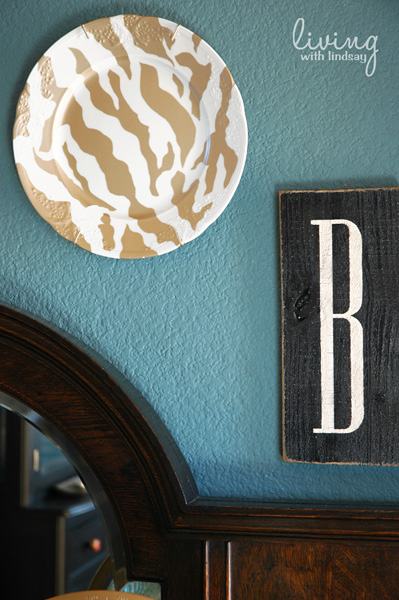
Obviously, you don’t want to actually use this plate for food. Also, the paint will easily scratch off, so it is best used for display purposes that won’t see any use. I carefully added a plate hanger to hang it on the wall, and the durability has been just fine for that use. If you’d like to make it more durable, you’d need to spray a coat of primer, a base color, and then follow the directions I outlined above.
Give it a try! What color would you paint your zebra striped plate?
That is awesome!
Thanks for the tip!
–Katie
Thanks, Lindsay! Wow, that seems really easy. . . .I see myself creating a display of 12 of these plates for my home office.
PURPLE;; Dont know why? Just love a good shot of color. Neat project. I think Ill try this..
I love how you made your own design for this, imagine the other patters you could try too. And these are great for accents in the home for sure!
Color, hmm, I’m into blue these days, but I love the metallics too. There are so many to choose from.
Great project 🙂
I love this. Though I probably wouldn’t use a plate … this method would work on so many things you wanted a zebra stripe on. Xcelnt.
What a fantastic idea! I love the way it turned out! 🙂
I love it!! I think I will try this but in a darker brown (since that would match my home more 🙂 ) Thanks for sharing:)
I love how that turned out. I’m going to have to try that too!
I LOVE it! So cute and easy!! My kind of project for sure! xoxo
Well, my word! In a word, excellent! Yep. That’s the word alright. Excellent. Job. Excellent. Exciting. WOW!