Makely

Let's Make Life Awesome

  • Home
  • Decorating/DIY
    • Create Your Decor
    • Decorate Your Home
    • Paint Your Walls
    • Transform Your Furniture
  • Healthy Living
    • Essential Oils
    • Family Wellness
    • Household Care
  • Project Gallery
  • Contact
You are visiting: Home » Project Gallery » Page 69

Cleaning Smelly Thrift Store Furniture

by Lindsay Ballard on June 2, 2011 4,336 Comments

A few months ago, I bought a fabulous dresser at our local Salvation Army.  Since then, it has sat in my garage, waiting for it’s turn in the redo queue.

This week, it was its turn for a new life.  I pulled out the drawers to begin wiping them down and was almost knocked over by the smell.  You know – “the” smell.  That thrift store smell.  That dusty, musty, old combination of aromas that’s both delightful (to the avid thrifter) and scary (to the rest of the world).

So, what do you do if you have a wooden piece, such as a dresser, that has that “smell?”  I have experimented with a few different options, and perhaps one of them will work for you.

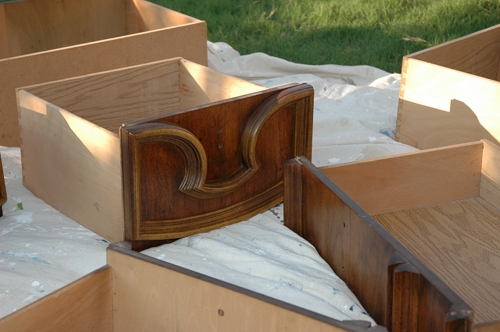
Sunshine – After wiping down my piece to get off the majority of the dust and the crud, I like to sun it.  Mother Nature works in mysterious ways, and direct sunshine often goes a long way in getting rid of the thrift store odor.  I generally lay out a painting tarp to protect the wood from any moisture in the grass and leave it there for as long as possible.  Separate the drawers from the dresser and turn the dresser on its back so that the sun reaches the inside.  I was inpatient with this piece and only left it out for an afternoon, but a few days would have been ideal.
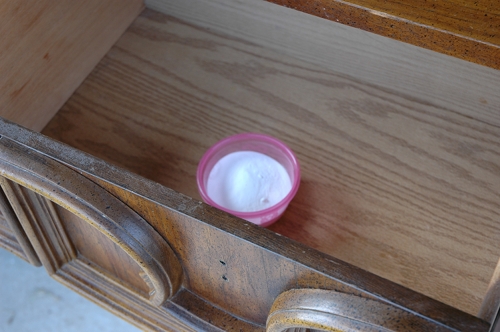
Baking Soda –  Another old trick is putting baking soda inside the piece to absorb the odors, just as you would your refrigerator and freezer.  I pour a small bowl full of baking soda and put it in each closed drawer.  As with the sunshine, the longer you leave it inside the drawers, the better.  Again, I’m incredibly impatient, so I only left the baking soda in the drawers overnight.
Pine Sol – The last trick I like to use is cleaning the inside of the piece with Pine Sol.  I mix 2 gallons of water with 1/2 cup of Pine Sol and scrub the inside of the drawers and the dresser with a nylon bristled brush.  Don’t use too much of the water solution, because you don’t want the wood to get too wet.  Once you have it scrubbed down, stick it back out in the sun to dry.
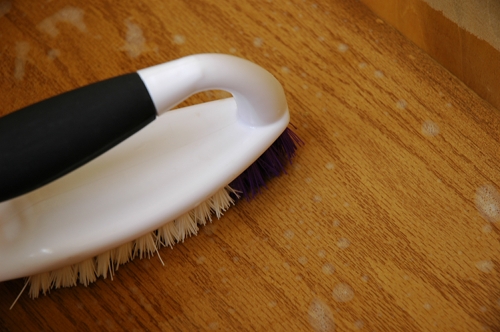
Now, my piece is almost unsmelly (is that a word?).  By the time I finish painting it and putting in drawer liners, we should be good to go.

I’ve heard of a few other tricks, such as using fresh coffee grounds in the same way as I used baking soda or placing dryer sheets in the drawers.  My concern is that these would only mask the thrift store smell instead of actually getting rid of it.  Thoughts?

What techniques do you use to get odors out of thrift store furniture? Please share!
Mastering the Master Bedroom {Chevron Walls}

by Lindsay Ballard on May 25, 2011 1,939 Comments

Sometimes you start a project that you think you are going to finish in a weekend. And that weekend comes and goes and you decide it will be finished the next weekend. And then that weekend comes and goes and you decide it will be finished the next weekend. And then that weekend…okay, you get my point.

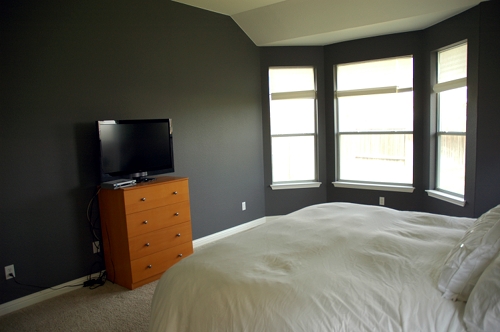
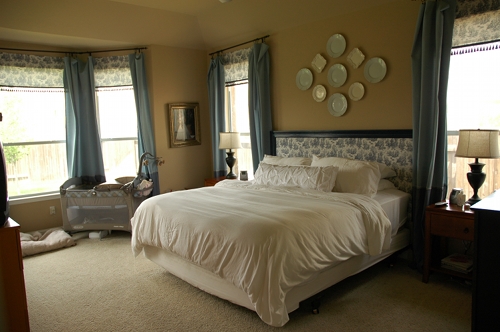
I’m a big believer that paint can do wonders for a room.  It’s fairly cheap and fairly easy to create big changes, although depending on your particular level of insanity, it can take a fairly long while to finish.  About a month ago, we started with this:

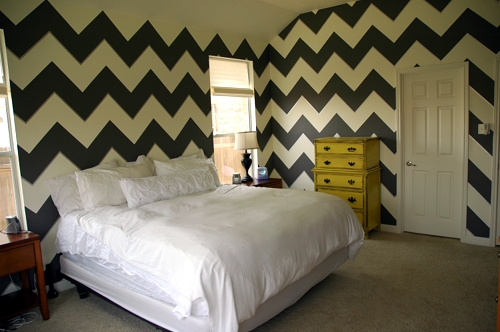
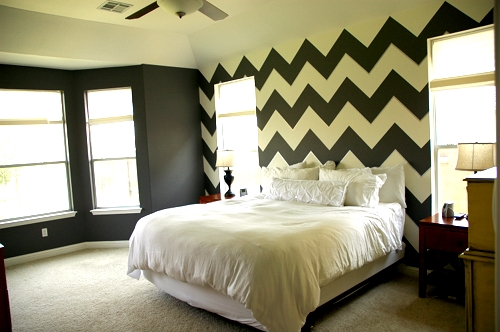
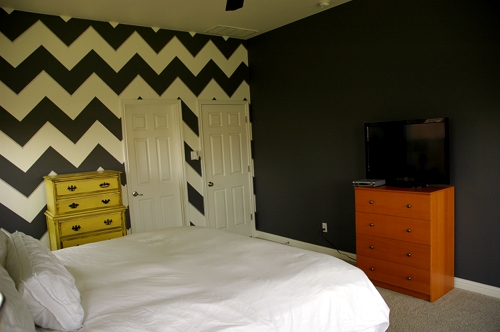
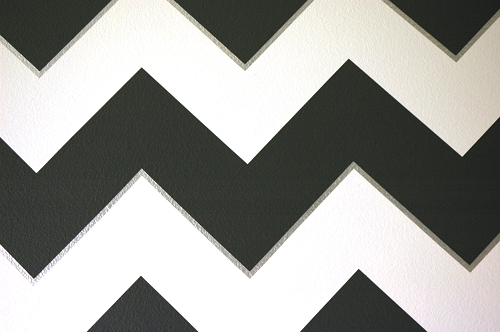
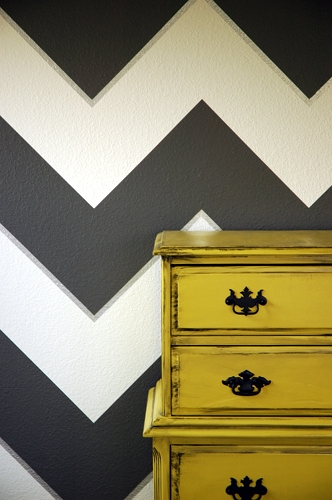
And almost a month later, we have this:

The two gray walls (Dark Granite by Behr) and the white ceiling (Powered Snow by Behr) were easy.  The chevrons (or zig-zags, as Tom insists we call them) took lasers.  And trigonometry.  And the use of the word hypotenuse.  It probably wouldn’t have taken *you* quite as long to do this as it did us, but that’s what happens when you marry an engineer.

At least I can say that the paint lines are, in a word, perfection (tutorial coming soon).  You can’t really tell from the wide shots, but each gray stripe has a small silver metallic stripe underneath.  It shines so beautifully in the sunlight, and is a great update to the basic chevron design.

The morning after we finished painting, I honestly felt like I had woken up in the pages of a magazine.  I commended myself for my vision and Tom for his ability to follow my instructions, even when he thought that just two stripes on one wall would have been sufficient.  🙂

Obviously, we still have a ton left to do to our master bedroom.  The only thing pictured that’s staying is the yellow dresser and the walls.  🙂  I’m trying to take it slowly and make sure that everything is exactly the way we want it to be.  Next up – redoing the other dresser that’s been living in my garage for two months.

What do you think?  How have you used paint to completely alter the look of a room?

UPDATE: I put together a tutorial for painting perfect stripes on textured walls.  You can find that tutorial here.


SAS Interiors


« Previous Page
Next Page »
  • Email
  • Facebook
  • Instagram
  • Pinterest
  • Twitter

About Makely

Lindsay Ballard is a former college mascot turned political geek turned roller derby playing, DIY fanatic.

Lindsay chronicles her projects, design ideas, and lifestyle tips here at Makely, where she shares tutorials and inspiration. Her DIY designs are bold and graphic, while her spirit is fun and full of color.


Archives

Categories

PRIVACY POLICY
Copyright © 2009-2019 Makely School for Girls | All Rights Reserved | Posts may contain advertising content or affiliate links